

Rotterdam Map - Conquest Mode Battlefield 5 Guide and Tips
Last update: 14 May 2019
Key points of Battlefield V - Rotterdam Conquest
Useful and helpful places
British respawn
German respawn
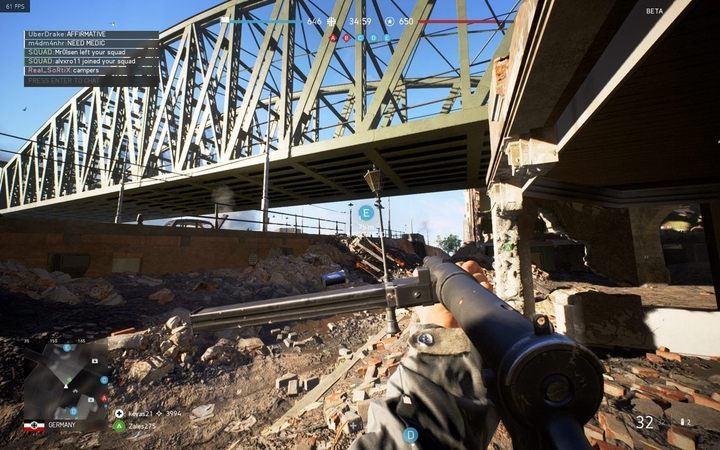
Objective A � The flag is located under the railway bridge. Lack of cover nearby (from B and British respawn). You can use the bridge, there is a lot of cover there.
Objective B � The flag is located in building - even if building is destroyed, you can rebuild it with sandbags. There is a lot of cover, when you attack from objective D. When you attack from objective A, there is a higher probability that the enemy will not cover this side. On objective B you can easily fire at buildings near objective D
Objective C � The flag is located on square - it is hard to attack when it's fortified. The only way to succesfully capture this objective is to leaning out from streets or find cover on square, behind low wall.
Objective D � The flag is located between ruins of buildings - it can be fortified. Attacking from objective E is fairly easy, aswell as from objective B (a lot of cover). You can fire at buildings near objective B.
Objective E � The flag is located on parking - there is a lot of columns, you can use them as a cover. This objective can be easily captured, it is rarely guarded. There is a lot of cover from German respawn side and objective D side.
In this chapter you will find the Rotterdam map in Conquest mode in Battlefield V. This chapter also contains a general description of the map, a legend and descriptions of flags in terms of the number of available shields.
Rotterdam
Rotterdam is a cramped city cut by canals. The city has a railway bridge, partially destroyed, from which you can fire at some points (A, C and partly D).
Battles on this map are a mixture of battles in narrow streets and buildings. The key here is the use of the terrain as well as the ruins and wrecks. The map gives a lot of possibilities of attack from a distance (most often along canals or points B and D), as well as in a short circuit. Mainly the number of shields determines whether it is possible to effectively wing the enemy (e.g. from the left side of the map, next to A there are few shields, but also few guards here).
The surroundings of flags A, C and possibly E are moderate in terms of shielding. At A you can use a railway bridge or from the left side of the map - a tram and one open building (when you are attacking from B). Flag A is located under the bridge, there are many bags of sand, the only problem is to get to this point. At C, as long as it is not particularly fortified, you have to be prepared to lean out of the streets or quickly cross over to the middle of the square in search of a low wall. Point E has a good approach from the German side and from the D side, a bit worse with shields in the middle - you can use the columns as shields. Points B and D have a lot of guards, some space and it's easy to get between them - you can hide and find cover near the boxes on one side and the other side of the road.
Very cool sniper spots are located at the railway bridge, on left side of the map (next to A). From point D you can fire at point B and vice versa (and the way between them). Point C is rather a risky approach, a lot of short distance fighting there. Point E is a poor viewing point for a sniper.
Point B is often worth overlapping from the north-west and E from the north-east or south-east (depending on the side of the conflict).