
Narwik Map - Grand Operations
Last update:
Key points of Battlefield V - Narvik Grand Operations Day 1
Useful and helpful places.
British respawn (aircraft)
German respawn
Objective A – It is the easier one to destroy. A lot of cover. It is farthest objective from german respawn.
Objective B – This objective is harder to destroy. It is next to point C, so enemies from that target can just spray bullets at B. Use the shape of terrain to get cover. It can be heavily fortified.
Objective C – Same situations as objective B. It can be heavily fortified.
Objective D – It can be flanked from the north and west. It is harder to defend, when enemies can destroy C and B target easily.
This chapter focuses on Narvik map in the Grand Operations mode available in Battlefield V. Here, you can find the overall description of the map, its legend and descriptions of the flags with the emphasize on available covers.
Day 1
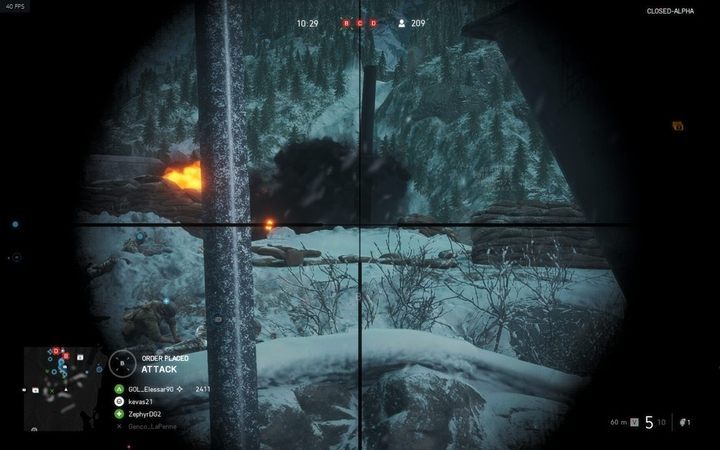
The map for the day 1 is very similar to that from the Conquest mode. The only difference is that the points that must be destroyed by the attackers are in completely different spots. These points (artillery cannons) are always heavily fortified and defended by large groups. Point A is the easiest one to attack. Points B, C and D can cause the attackers a lot of problems. Use everything you have (including grenades) to capture them. Try to also flank these positions from different sides. After destroying the point A, you can use railway wagons as a cover - thanks to this you don't have to walk a long distance to reach the point B. This also gives you an opportunity to shoot at that position. Another thing you can do is to get behind the enemy's back by using the railway wagons or the terrain below them.
The defenders have small chances at keeping the point A. Almost the entire landing zone of your enemies can be seen from the point B. Don't forget to shoot at the planes that transport soldiers (this reduces spawn points for your enemies) by using anti-aircraft cannons. As a defender you should try to shoot those players who carry bombs (one player can carry two of them). A dead player drops their bombs on the ground - others will try to pick them up so be ready to shoot other enemies.
Day 2 and 3
In the next stages the points are located in the same spots as during the Conquest mode. However, not all of them are available right away. To unlock new sectors with more points to capture your faction must conquer and keep 2 flags. Check "Narvik - Conquer mode" chapter in this guide - days 2 and 3 are essentially the same as that mode (the only difference here is that not all flags are available from the beginning).
You are not permitted to copy any image, text or info from this page. This site is not associated with and/or endorsed by the Electronic Arts Inc. or EA DICE / Digital Illusions CE. All logos and images are copyrighted by their respective owners.
Copyright © 2000 - 2025 Webedia Polska SA for gamepressure.com, unofficial game guides, walkthroughs, secrets, game tips, maps & strategies for top games.