
Plague Tale Requiem: Chapter 11, Explore the underground area - walkthrough A Plague Tale Requiem guide, walkthrough
The heroes must explore the underground area in Chapter 11 (The Cradle of Centuries) of Plague Tale Requiem. From the walkthrough you will learn how to pass the puzzle with wagons on rails and how to destroy explosive copper containers.
Last update: 20 October 2022
After reaching the ruins in Chapter 11 -The Cradle of Centuries of Plague Tale: Requiem you must explore the area underneath them. Our walkthrough describes exactly how to do so. We explain how to detonate greek fire (copper) tanks and how to solve the puzzle with three carts moving on rails.
Explore the underground area
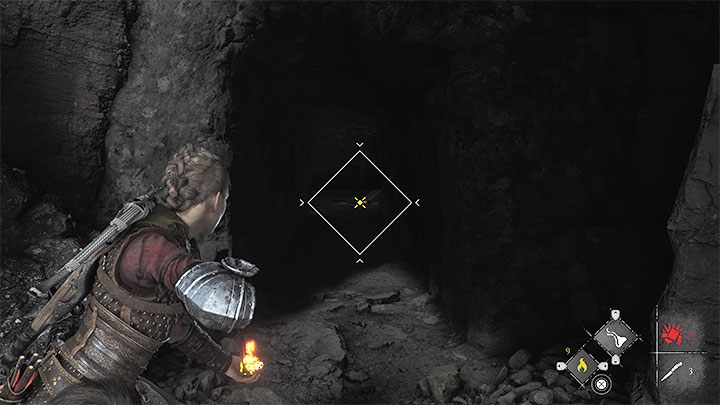
Follow the linear path. After reaching a dark area use an Ignifier on the faintly visible basket. This will illuminate the entire room.
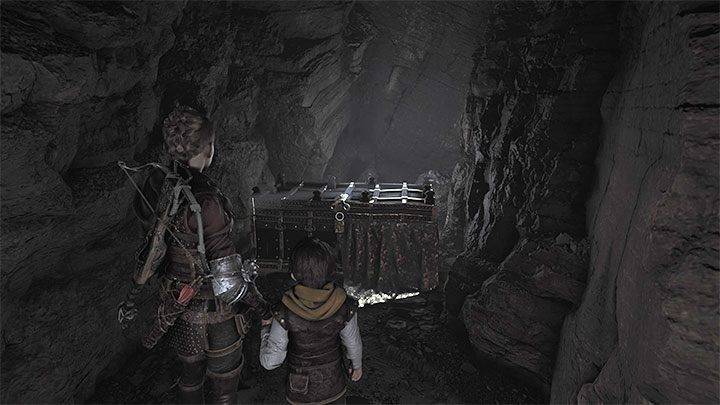
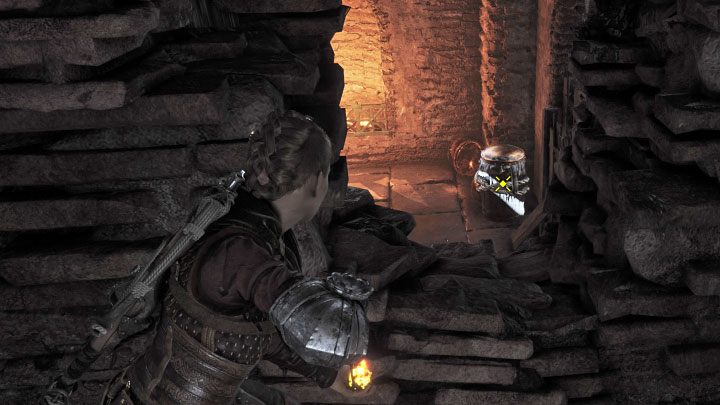
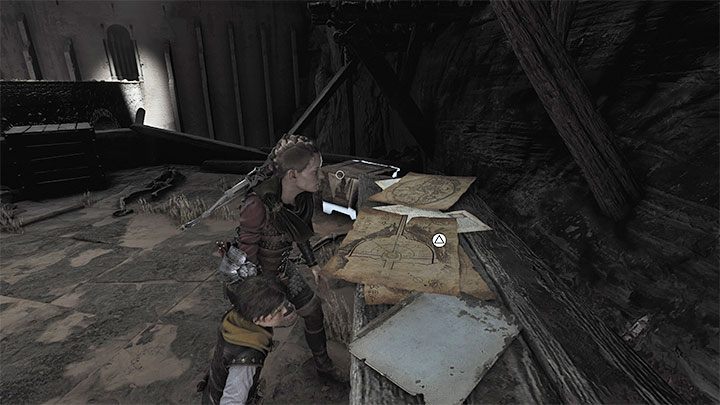
Explore a small area to the side before moving further. You'll find a secret chest there, as pictured above.
Follow the illuminated path and examine three symbols on the ground in the next room. You'll reach a gap you must squeeze through.
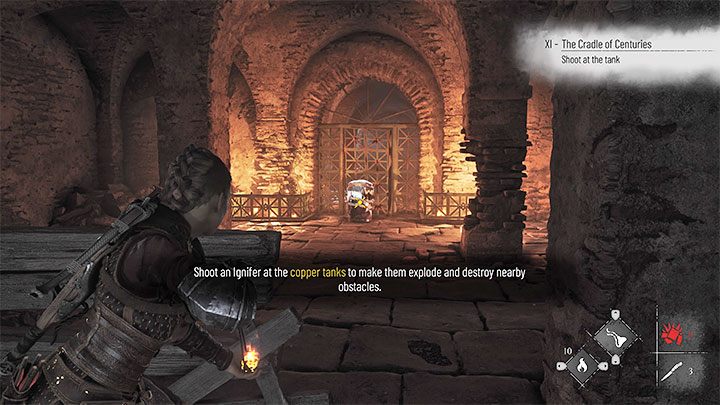
Jump down to the lower levels. You'll reach a locked gate and find tanks filled with greek fire, that is, copper. Sophia will let you know they can be detonated. Wait for her to move one of the tanks near the locked gate. Back off to a safe distance and shoot the tank with an Ignifier. The explosion will blow the gate open.
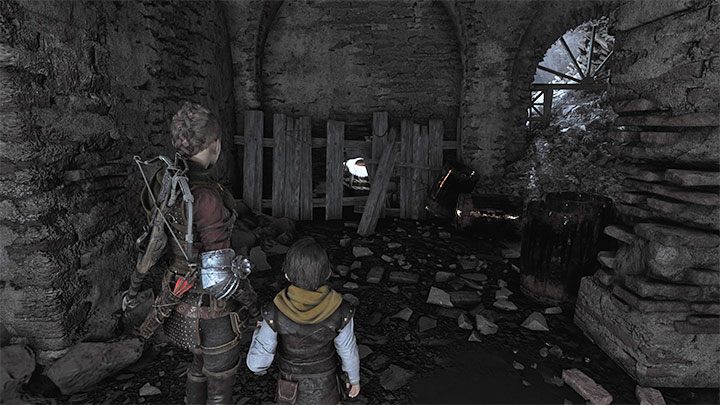
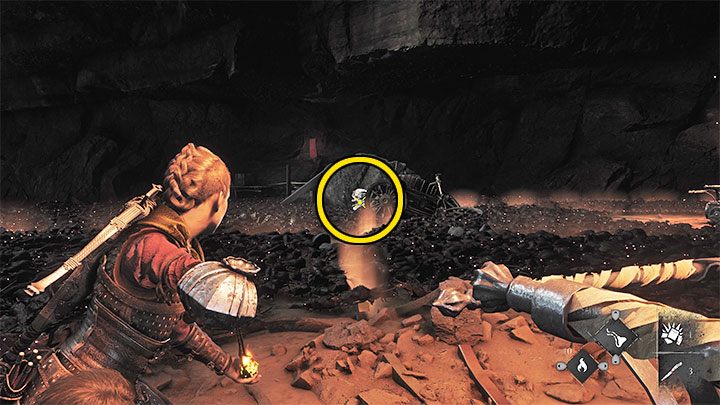
In this area you can find a workbench. In the place pictured above you can blow up another copper tank hidden behind the boards. This unlocks a passage to a new area, hiding a feather for Hugo's Herbarium: European Goldfinch.
To progress you must climb up to a higher ledge and destroy the explosive tank through a hole in the wall (pictured above). The explosion will unlock a new passage.

In the new area turn left and head uphill towards the large cart. Walk underneath the damaged grate and use the crank. Raise the grate and the cart will start rolling downhill. This unlocks the way forward.
Three carts puzzle
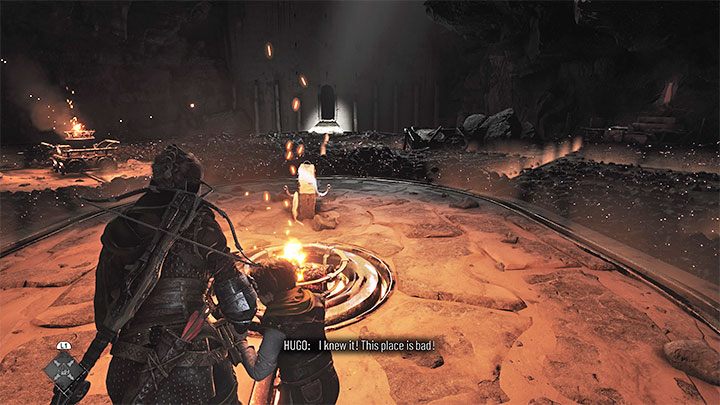
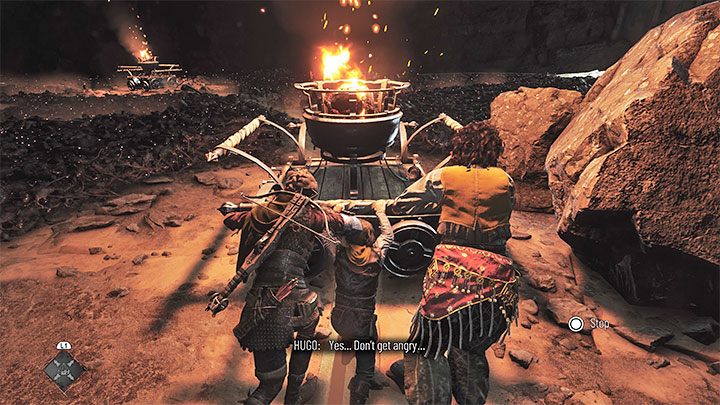
You'll reach a large cavern - start by using an Ignifier on the central bonfire pictured above. There's a puzzle you must complete. You must create a safe way forward to the faraway bridge. Rats will be getting in the way. To solve the puzzle you must use three nearby carts on rails.
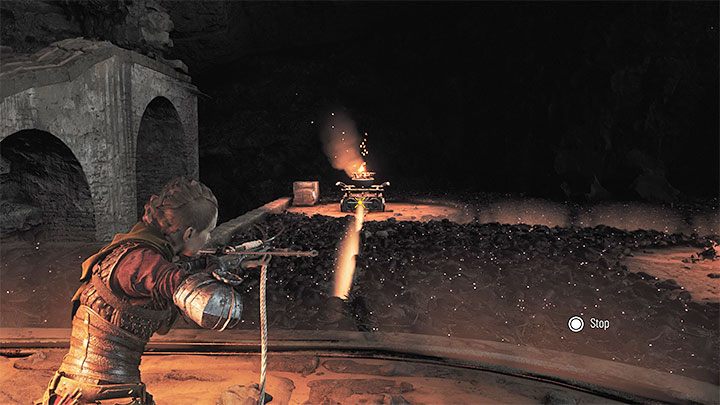
First, head towards the right carts (looking towards the exit). You can reach it by asking Sophia to refract the light with her prism.
The carts can be pushed, but only on rails. You may need to push them in different directions depending on your need. Move the cart near the side area pictured above.
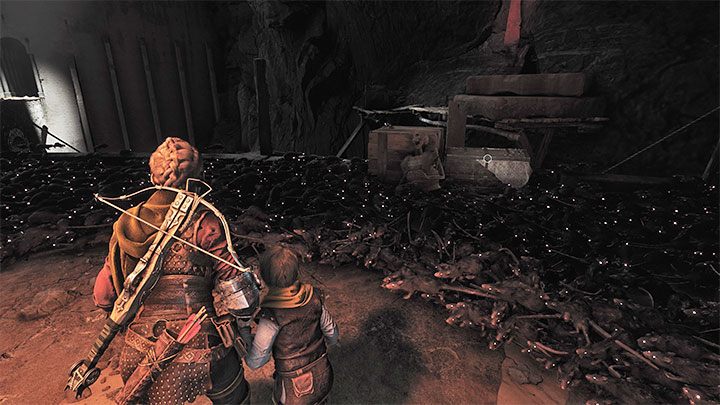
You need to chase the rats away for some time, the easiest way being to throw tar into the bonfire to increase the light radius. Jump down to a lower ledge and examine it. You'll find a souvenir: Chateau d'Ombrage.

You must now safely return to the higher level. Shoot the burning basket inside the cart with some tar. This will give you enough time to climb up and return to it.
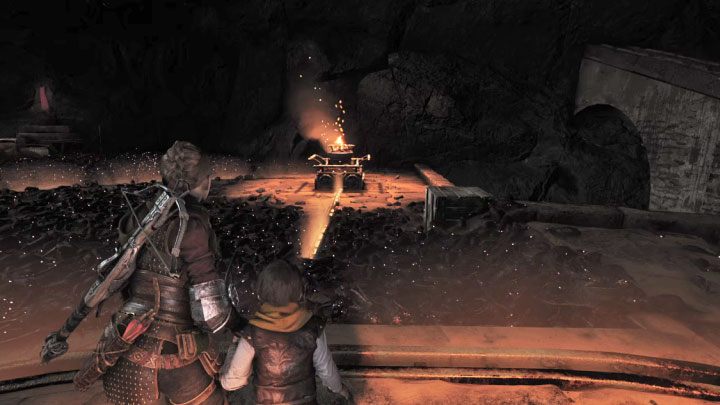
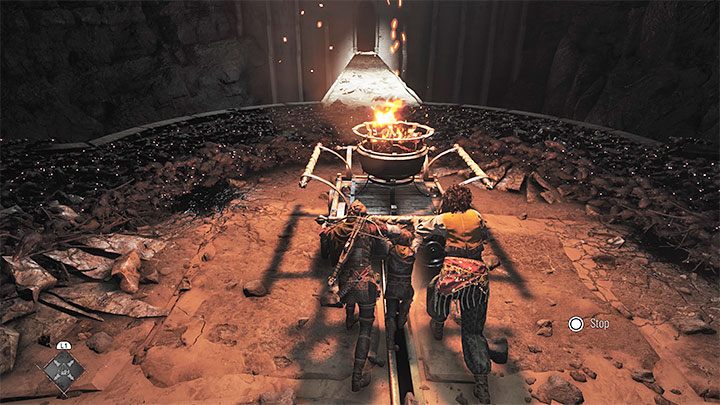
Push the cart towards the central structure (pictured above) next to which you've started off the puzzle.
There's an anchor point in the center. Stand next to it and aim your crossbow at the left cart pictured above. Grab onto it and pull it a bit closer.
It's time to refract light with the prism again - first reach the central cart pictured above, then the left one.
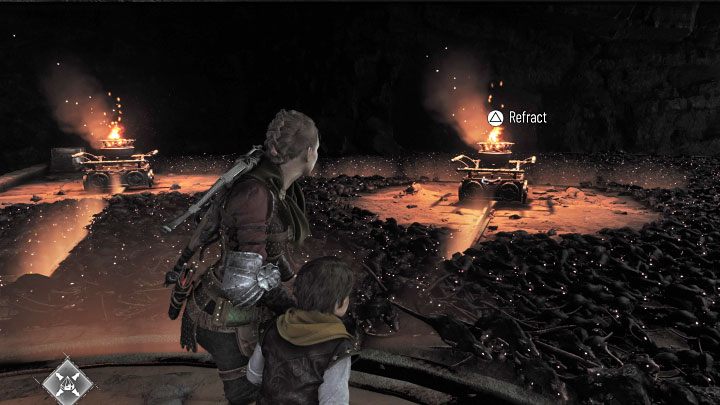
Start moving the left cart along the rails. Take it towards the cavern exit and stop once the rails end (pictured above).
From here you can detonate a copper tank pictured above with an Ignifier.
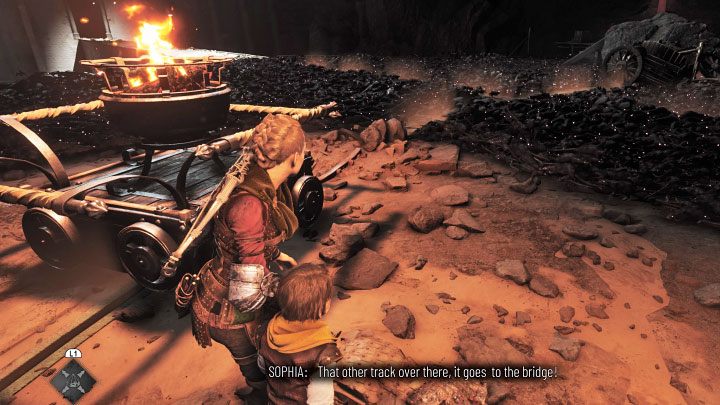
After the explosion return to the starting point, that is, the central circular platform.
Once again, start pushing the right cart (the one you've used to get a collectible before). Thanks to the explosion the way forward is now available. At the first fork, turn left, then right.
Following these steps will let you take the cart to the bridge, which serves as the area's exit.