Getaway I Timeshift Guide
Last update: 11 May 2016
Detailed mission walkthrough:
You'll start the game inside the exact same elevator. Read your first objective.
New mission objective: Reach the exfiltration point
You will have to wait patiently for the elevator to reach its destination. Exit the elevator and head on to the right door. After that, you will have to use the staircase in order to reach an upper floor. There's a second door there (screen). Move over closer to it and you'll be rewarded with several new mission goals.
New mission objective: Use the radar to eliminate the four anti-aircraft turrets on adjacent rooftops
New mission objective: Destroy the first turret
New mission objective: Destroy the second turret
New mission objective: Destroy the third turret
New mission objective: Destroy the last turret
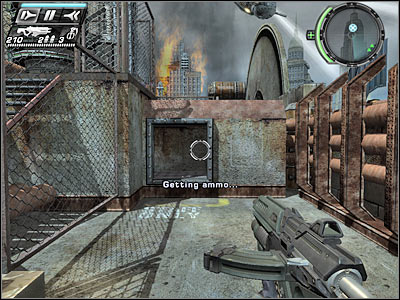
Despite what you might think, you won't have to be in a lot of hurry here. An allied Zeppelin will be able to defend itself without your help. There's an ammo crate to your right. Rearm yourself. Turn left and start moving forward. You will have to enter a small ventilation shaft here. This will allow you to reach a new area of the roof. Save your game.
Once you're still inside the first ventilation shaft, you should notice two enemy soldiers. It would be wise to surprise them by shooting at them from here. Make sure that they have been killed. Approach their bodies and pick up a new weapon. It's going to be a sniper rifle - Echo Rifle. I'd strongly recommend exchanging it for the pistol. You won't be using the sniper rifle all the time, however I wouldn't recommend dropping this weapon later on during your progress, because you never know when it may come in handy. As for now, you'll need it to fulfill several important mission objectives.
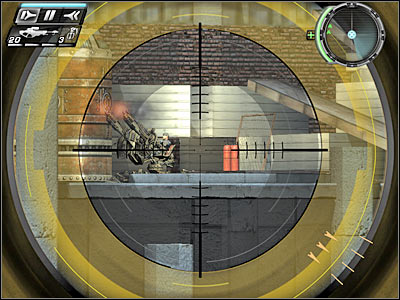
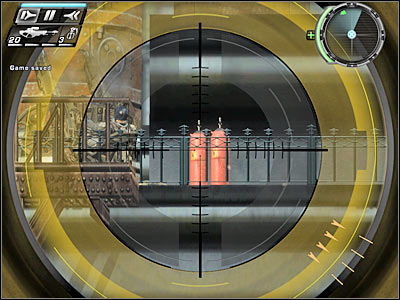
Turn right and choose the newly acquired sniper rifle from your inventory. You can zoom in the view by pressing the right mouse button. You will have to destroy one of the visible gas cylinders in order to trigger a huge explosion. As a result, you'll neutralize your first AA gun. Turn around quickly and choose a shotgun from your inventory.
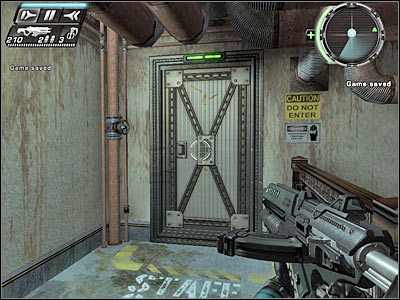
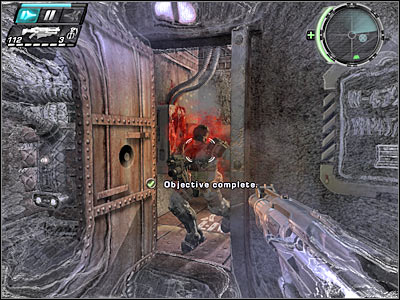
There's a door nearby. Get ready, because a small group of enemy soldiers will attack you here. If you don't want to risk too much here, try activating a time stop function. Once they're gone, enter this new corridor. Turn right and approach a second door. I'd strongly recommend saving your current progress there.
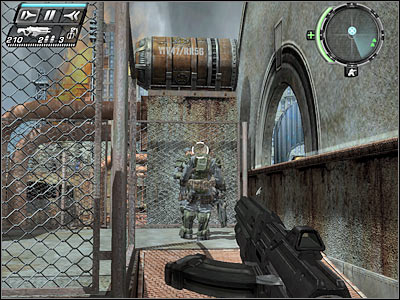
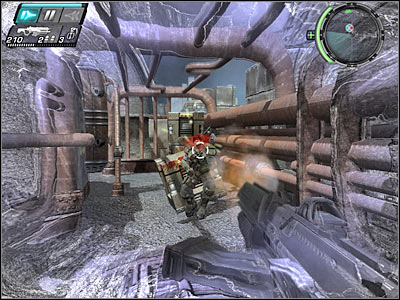
Keep moving forward. Turn left and activate the slow-motion feature. You'll probably notice a few enemy soldiers in the distance. If you're using your powers, you shouldn't have any problems getting rid of them. Once they're gone, head on to the second sniper post. It would be a good idea to use a quicksave option here.
You should be able to find a second sniper rifle here, so make sure that you've picked it up for more ammo. Activate the zoom option and aim at one of the red objects. Once the explosion has occured, you will have to avoid an enemy helicopter. Hide in one of the corners. Make sure that you're crouching. Thankfully, the helicopter will leave this area very soon.