
The Jagged Crown - p.2 | Stormcloak Rebellion Quests TES V: Skyrim Guide
Last update: 11 May 2016

No matter which option you choose, you need to get rid of every Imperial Legion soldier. Afterwards, follow Galmar and go into the west corridor. There is a single opponent (the above screen) to eliminate in one of the adjoining chambers, but your allies should take care of him. Examine the corpse of a Draugr and continue through the temple. After a while you should reach the Korvanjund Halls.

Follow Galmar. There are probably two more Imperial soldiers to eliminate on the way, but due to the fact that they are largely outnumbered, the Stormcloaks can deal with them without your help. Continue the exploration of the ruins until you reach the Hall of Stories (the above screen). Here, listen to Galmar's short speech and proceed to solving quite an easy puzzle.
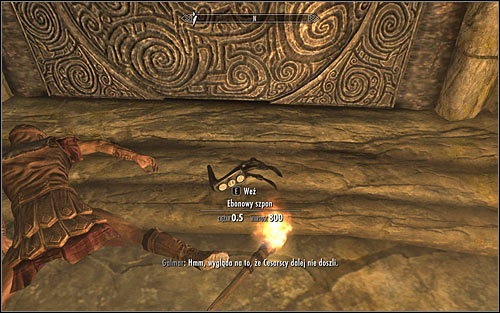
Start by picking up the Ebony Claw, which you can find on one of the dead bodies (the above screen). Open the Inventory, go to the Miscellaneous category and examine the newly found item until you notice that it contains the proper sequence of symbols.
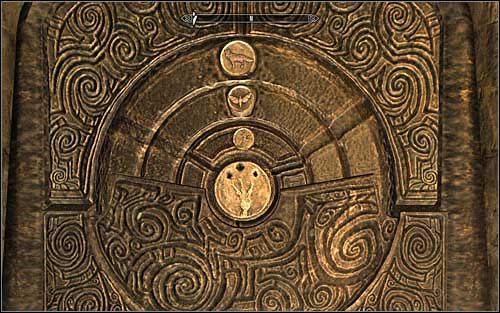
You can now approach the wall with the symbols and three interactive rings. The full solution to the puzzle is pictured on the above screen - the upper ring has to show the Wolf, the middle the Moth, and the lower the Dragon. Finally, use the claw on the keyholes to unlock the entrance.
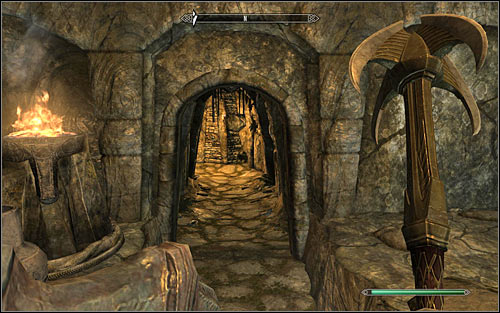
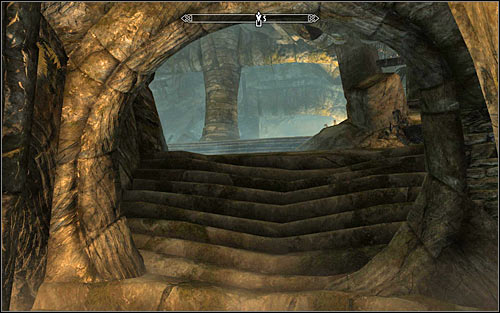
You can proceed further on, and of course it's good to travel in the company of the Stormcloaks. Soon you reach a larger hall with a portcullis blocking your way; as a result, you'll have to find a way to raise it. Go into the small north corridor (the above screen).

Use the stairs to get to the upper balconies and follow the only available way until you reach the handle pictured above. Use it to raise the portcullis.
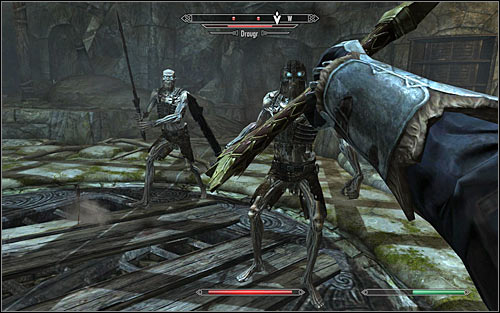
Be aware of your surroundings, because Draugrs (the above screen) will start coming out of the nearby crypts. If you're playing a warrior, jump down and join the fight. Otherwise, I suggest staying close to the handle and attacking from a safe distance. After the battle, use the unlocked path and move to Korvanjund Crypt.

Follow Galmar's unit, saving the game after you reach a large chamber. The crown you are looking for rests on the head of a Draugr Deathlord (the above screen), whom it would be better to attack before he is awakened by one of the Stormcloaks. I recommend using weapons, abilities and spells which can weaken or paralyze the monster right at the beginning of the battle.
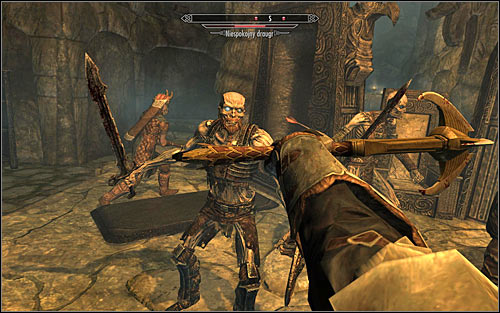
Apart form the Draugr Deathlord, two other monsters come to life, namely a Restless Draugr (the above screen) and a Draugr Scourge. I suggest taking care of them quickly, because they are much more resilient than the Deathlord. The battle will probably be rather chaotic, so remember not to injure any of the Stormcloak soldiers.

Save the Scourge for the end, when he's the only enemy on the battlefield. Fight until his health bar is empty and he dies. Now you can approach the Draugr Deathlord, examine his body and take the Jagged Crown (the above screen).
New Main Objective: Deliver the crown to Ulfric Stormcloak

I recommend going north, because there is a Word Wall nearby (the above screen), which teaches a new Word of Power - Slow Time. You now have a choice either to use the corridor and get to a door leading to Korvanjund Temple easily, or to follow the same path you took to get here, carefully examining every location you missed in the hurry.
If you chose the shortcut, when you get back to the temple you'll have to interact with a bolt which will take you back to the ruins entrance (the above screen). Return to the surface, open the world map and head to the Palace of the Kings in Windhelm.
New Main Objective: Get new orders

When you get to the Palace of the Kings, locate Ulfric Stormcloak and initiate dialogue to tell him that you have found the crown (the above screen). He won't give you any reward for the quest, but asks for your help to deliver a message to Whiterun. This assignment is your next Stormcloak Quest.
Unlocked Stormcloak Quest: Message to Whiterun