
Under Saarthal - p. 3 | Side quests TES V: Skyrim Guide
Last update: 12 December 2019
On this page of our guide to TES V: Skyrim we have prepared a detailed walkthrough of the third part of Under Saarthal side quest, that is one of the missions related to College of Winterhold quests. This is the final part of the quest which takes place in the ruins of Saarthal. You have to defeat two mini-bosses - Draugr Deathlord and Jyrik Gauldurson. Also, you have to solve another pillars puzzle.
- Duel with a mini-boss - Draugr Deathlord
- Second pillars puzzle - solution
- Duel with mini-boss - Jyrik Gauldurson
- New main objective: Talk to the Arch-Mage
Duel with a mini-boss - Draugr Deathlord
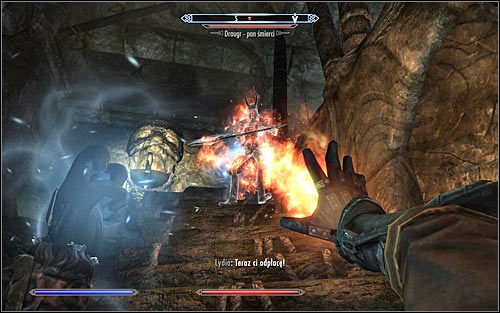
Save your game and only afterwards enter the southern room. You will have to fight a mini-boss in the form of a Draugr - Deathlord (screen above). Use the fact that the monster is a warrior and try to keep it at distance. Also be sure to use your best powers, spells and items, as the Draugr is very resistant. Afterwards examine the body, collecting the very precious and useful for the warrior, Ebony Battleaxe.
Go up the stairs and head to the southern door. Look out for the two traps in the nearby corridor (screen above), as activating them might electrocute you. I'd suggest destroying them from a safe distance.
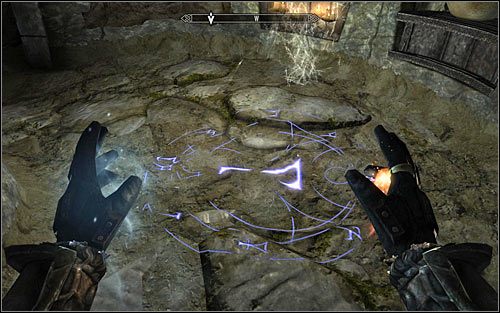
Second pillars puzzle - solution
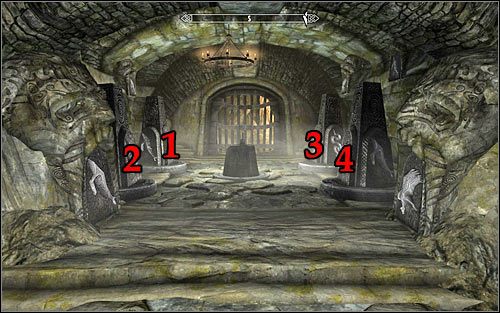
Destroying both traps will let you access the room with another puzzle. Stand as shown in the screen above, opposite to the locked grate. Approach the pillars in the suggested order:
1) Approach pillar 1 (second from the left). By default it shows a snake, but the plate behind suggests that it should show a fish. Turn the pillar so that it shows a fish. Ignore the fact that by turning this pillar you have also turned the others. It's just important to approach them in the order presented in this guide.
2) Approach pillar 2 (first from the left). By default it shows an hawk, but the plate behind suggests that it should show a snake. Turn the pillar so that it shows a snake.
3) Approach pillar 3 (second from the right). By default it shows a snake, but the plate behind suggests that it should show an hawk. Turn the pillar so that it shows a hawk.
4) Approach pillar 4 (first from the right). By default it shows a snake, but the plate behind suggests that it should show a fish. Turn the pillar so that it shows a fish.

The proper pillar arrangement can be seen in the screenshot above. If you made a mistake, remember to repeat everything in the above order, as only that way you will avoid the problem on multiple pillars moving at the same time. Pull the lever to use the newly unlocked passage.

Soon enough you should be joined by Tolfdir, so consider waiting for him. Look out for the pressure plate in the corridor, as it activates a trap (poison arrows). Your objective is reaching the big door (screen above) and enter the room behind. Save your game, as the final battle in this quest is waiting for you.
Duel with mini-boss - Jyrik Gauldurson

Temporarily ignore the magic sphere in the distance, as before you can take a closer look at it you will have to fight Jyrik Gauldurson (screen above). Don't attack him at all in the beginning, as your attacks will only do minimal damage. Instead, wait for Tolfdir to note that the boss is very resistant and take away part of him power.
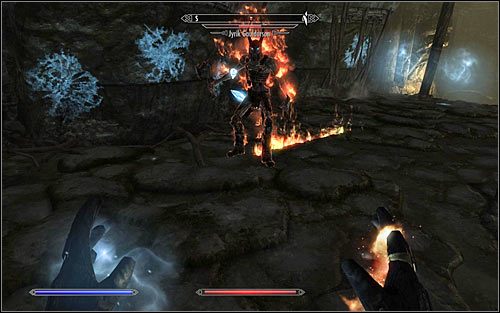
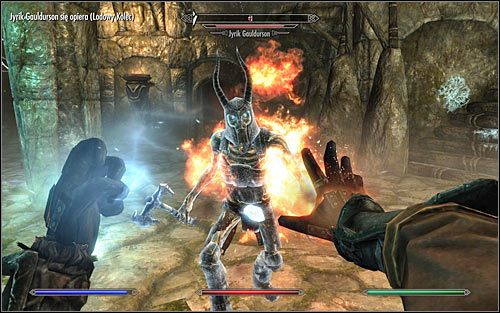
Start attacking the boss only after Tolfdir tells you that he was able to weaken Jyrik. You can of course use standard spells, powers, Shouts and magic items, but there's also an easier way of eliminating him. Note that Jyrik alternates between using fire and ice spells. The key to winning is therefore attacking him with the opposite element. If you see, that Jyrik is about to use fire spells (screen 1), attack him with ice and with fire if he's using ice (screen 2). Regardless of the chosen tactic, you need to deplete the boss' of his hp bar completely.
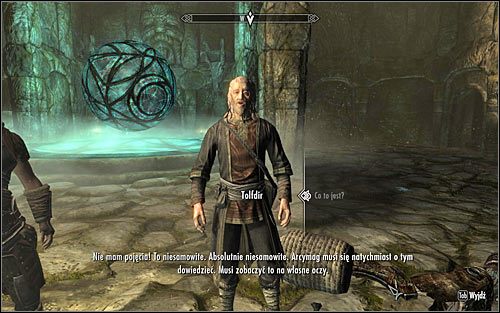
Be sure to examine Jyrik's body, as you will find the valuable and very useful Gauldur Amulet Fragment. Apart from that, you can take the Writ of Sealing, connected with one of the side quests. In the end approach Tolfdir and talk with him about the sphere that you found here (screen above). Tolfdir will want to stay here and will send you to tell the Arch-Mage of what you found.
New main objective: Talk to the Arch-Mage
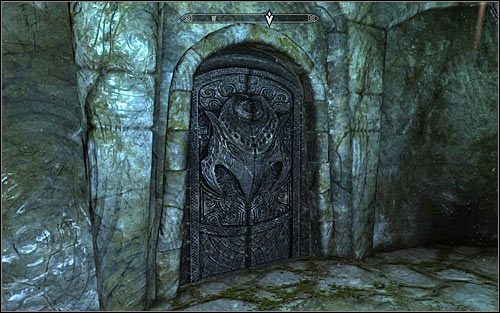
Luckily you won't have to go through the whole ruins again, as you can use the door behind the magic sphere (screen above). Cross the narrow corridor. After reaching the new room, approach the Word Wall to learn the Word of Power - Ice, Ice Form. Apart from that, be sure to check the chest containing precious artifacts (inter alia the Adept Robes of Restoration).
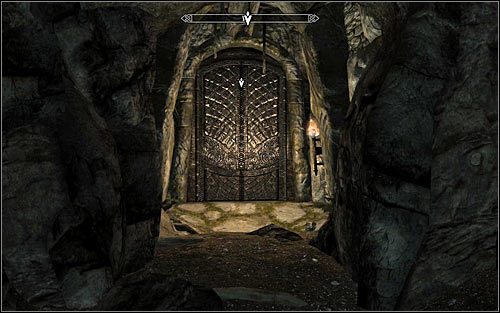
Go through the western door (screen above), thus returning to Saarthal Excavation. Afterwards interact with the handle to reach one of the previously visited rooms. Head to the exit, therefore reaching the surface.

Open the world map and head to College of Winterhold. Afterwards go to the Hall of the Elements and use the previously locked left door, leading to the Arch-Mage Quarters. Go up the stairs and find Arch-Mage Savos Aren (screen above). If it's your first conversation, you're in for a short introduction. Otherwise, you will be able to inform him of the finding at once. The Arch-Mage will want you to take care of investigating the origin and meaning of the sphere, therefore sending you to Urag gro-Shub. You will also receive a reward, the Staff of Magelight.
College of Winterhold quest unlocked: Hitting the Books

Now you can connect the three pieces of Gauldur Amulet into one. You can learn how to do it in the description of Forbidden Legend, in the Reforge the Gauldur Amulet section.