
Under Saarthal - p. 2 | Side quests TES V: Skyrim Guide
Last update: 12 December 2019
On this page of our guide to TES V: Skyrim we have prepared a detailed walkthrough of the second part of Under Saarthal side quest, that is one of the missions related to College of Winterhold quests. You have to explore the further depths of Saarthal in the company of Tolfdir. Along your way, you will have to defeat various enemies like Draugrs and solve a difficult puzzle with six pillars.
- New main objective: Tell Tolfdir about the vision
- New main objective: Follow Tolfdir
- New main objective: Find the danger within Saarthal
New main objective: Tell Tolfdir about the vision
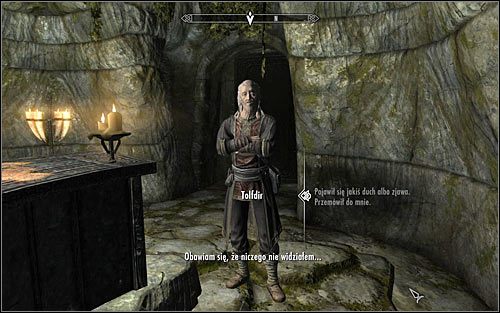
Tolfdir should approach you and start the conversation himself, though his first question will be quite general as he hasn't witnessed any vision himself. You should of course share tell what you saw (screen above). You can ask the mage about the Psijic Order, though it's optional. After the conversation be sure to SAVE your game, as the first group of monster will soon attack you.
New main objective: Follow Tolfdir
Be ready for Draugrs to break through the walls (screen above). Moreover, it will probably be their elite types, including a Restless Draugr and Draugr - Wight. Fight them and remember not to use any AoE spells, as they would also hurt your allies because of the small size of the room. You also have to be careful not to let the monsters surround you.
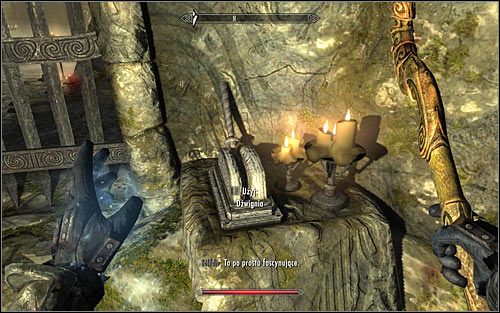
After the battle, Tolfdir should head through the western passage. Follow him, of course. Soon enough you should reach a locked gate and considering that your guide isn't necessarily sharp-witted, you need to pull the nearby lever yourself (screen above). Once again save your game and enter the big room afterwards.

Here you will have to fight Draugrs once again, though this time most of them should be of the "standard" type. However be sure to look out for the Restless Draugr (screen above), as he should be the only one that might cause you trouble. Afterwards Tolfdir should start examining the ruins, sending you to explore the deeper parts.
New main objective: Find the danger within Saarthal

Head towards the northern exit (screen above). It's locked, so you will need to pull the TWO chains on its sides. Only afterwards will you be able to open the door leading to the proper part of the Saarthal ruins.
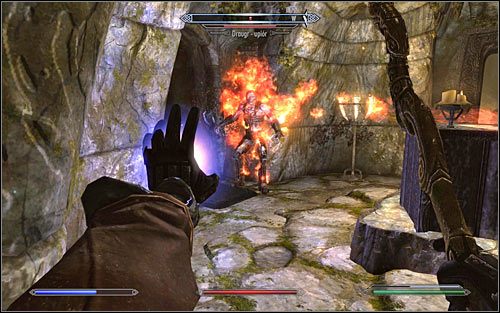
After reaching the next part of the ruins I'd recommend saving your game, as there's another difficult fight waiting for you. At first you will have to eliminate a normal Draugr. Look out for the nearby runic flame trap (screen above). You can detonate the rune from a distance or just avoid it, hoping to use it in the next fight. Unfortunately, in the second option you have to consider the danger of your clumsy team member activating the trap.
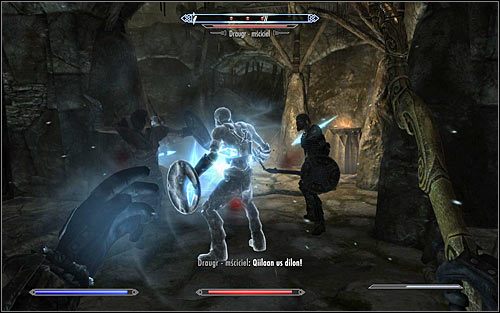
Soon more Draugrs (including a Draugr - Wight) will attack you, though you will most of all have to look out for the Draugr - Scourge (screen above). The monster is very resistant and can also deal high damage, so you will have to use your best skills, Shouts, magic and weapons, healing your hero and replenishing mana when it fall down too low. Note - Don't hope to safely attack the Scourge with ranged attacks, as it will probably use a bow by default.

After the battle ends, use the stairs leading onto the upper level. Look around for two chests or head towards the only possible exit, located in the eastern part of the room (screen above). Move onwards, but be ready to deal with a Draugr - Wight on your way. Soon you should reach the first puzzle in this location.
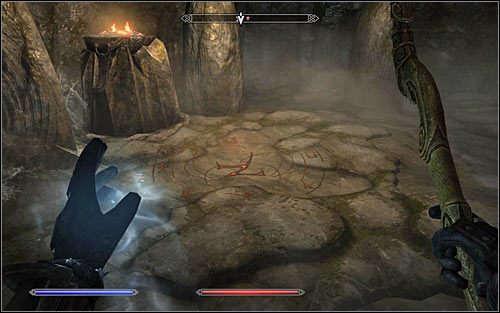
How to solve the six pillars puzzle - solution

The puzzle will require you to interact with six pillars. You will have to turn them so that they show the proper signs. Stand as shown in the screen above (opposite to the locked grate) and approach the pillars in the order below:
- Approach pillar 1. By default it shows a fish, but the plate behind it suggest that it should be an hawk. Turn the pillar so that is shows an hawk.
- Approach pillar 2. By default it shows an hawk, but the plate behind it suggest that it should be a snake. Turn the pillar so that is shows a snake.
- Approach pillar 3. By default it shows a snake, but the plate behind it suggest that it should be a fish. Turn the pillar so that is shows a fish.
- Approach pillar 4. By default it shows a fish and the plate behind suggests the same, so you don't have to change anything.
- Approach pillar 5. By default it shows a snake, but the plate behind it suggest that it should be an hawk. Turn the pillar so that is shows an hawk.
- Approach pillar 6. By default it shows a fish, but the plate behind it suggest that it should be a hawk. Turn the pillar so that is shows an hawk.
Afterwards pull the lever to raise the grate.