
The Only Cure - p. 3 TES V: Skyrim Guide
Last update: 11 May 2016

You need to be careful, as soon you will be attacked by two Dwarven Spheres (screen above). Just like in the previous fight with the enemy automatons, it would be good to attack them on at a time and try to avoid direct combat if possible. Alternatively you might consider using a certain trick, i.e. run north-east and use the lever to activate a trap. With proper timing, you can easily destroy one or even both Spheres.
Head north-east, afterwards turn east and be ready to eliminate more Afflicted. Find the stairs leading onto the upper level and turn south-west (screen above). Be ready to fight Dwarven Spiders and head into the southern corridor after dealing with them.
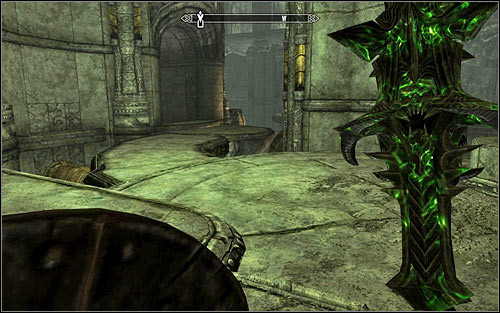
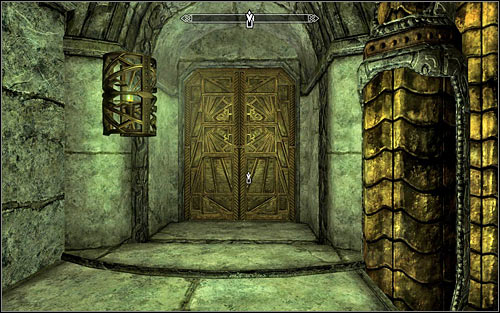
Soon enough you will reach a big gate. Open it and you will be carried to Bthardamz Workshop. Start off by exploring the eastern room and afterwards head south (screen above). Look out for the pressure plate which activates as much as two traps, but also remember where it's located as you soon will be able to use it.

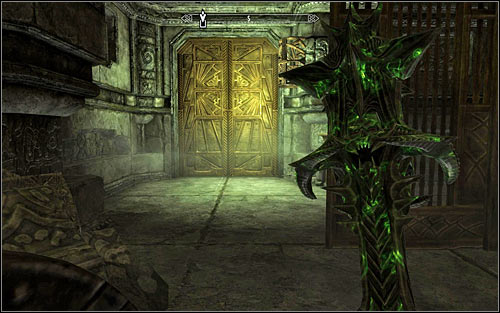
Go up the ramp onto the upper level and note that a Dwarven Sphere Master jumped out of one of the holes. The automaton is of course even more resistant and dangerous than the normal Spheres, though the good news is that you don't necessarily have to fight it at all. Quickly return down and stand on the pressure plate to destroy the Sphere with the spinning blades (screen above). Go back upstairs and open the northern door. Search for a chest and afterwards open the gate leading back to Bthardamz Dwelling.
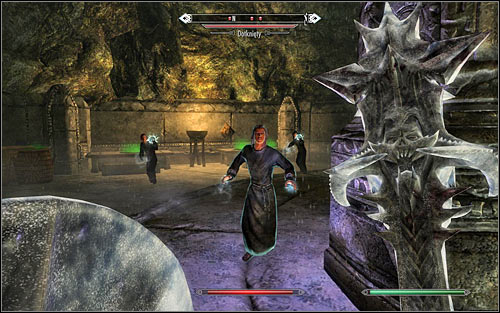
Move onwards and go down the ramp onto the lower level. I'd suggest exploring the eastern room, as inside you will find a chest with at least one precious item. Afterwards go west and you will reach another big cave. In this case you will need to defeat a group of Afflicted (screen above). As all the enemies will be at first standing inside a narrow corridor, it's worth to hit them with an AoE power.
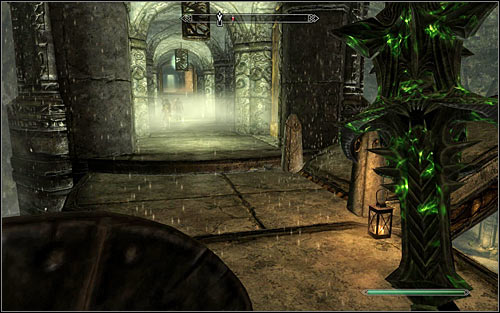
If you want to explore the area thoroughly, you might backtrack a bit and use the north-east ramp leading onto the upper level. You would need to eliminate a few Afflicted with magic skills (screen above), though in return you would be able to check the storage box on the wall. After exploring the area, return down and head south. Soon afterwards you will reach a gate leading to the last location of the Dwarven ruins, the Bthardamz Arcanex.

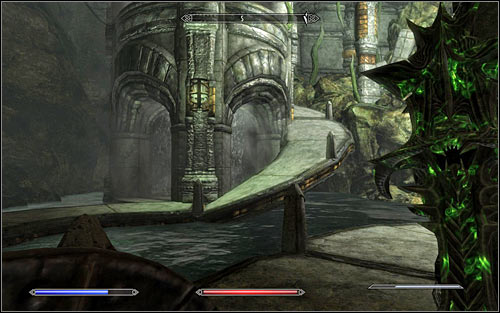
Turn south and after reaching a large cave stand by the balustrade. Note that Dwarven Spiders and Dwarven Spheres are heading your way and it would be good to attack them before they can reduce the distance to you (screen above), using ranged weapons or spells. It's of course not obligatory, though you will need to eliminate all of them either way.
After the fight, go across the succeeding ramps and eventually you will reach one leading onto the upper level (screen above). Go up and head towards the stairs. Before you make anything, I'd suggest looking around for a chest in the east and save your game, as you will have to fight a mini-boss.
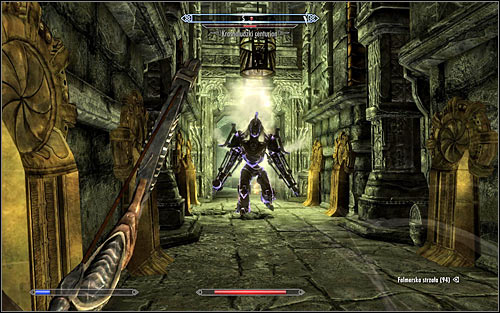
Choose the corridor going south and a Dwarven Centurion will cross your way. The machine is best at direct combat, though it can also attack from a distance with hot steam. Personally I'd suggest using the fact that the Centurion will have go through a long corridor and start attacking him from a distance (screen above). It would be also a good idea to place some traps in the area, for example runic. Keep successively retreating and don't let the centurion get too close.

If your character isn't good with ranged attacks, it would be good to help yourself with additional powers or Shouts to slow down or temporarily stop the Centurion. Only afterward should you move to attacking him (screen above), without letting him hit you too much. It's also a good idea to wait for the Centurion to reach the cave which you had previously secured, thanks to which you will be sure that no other automaton will join the fight.
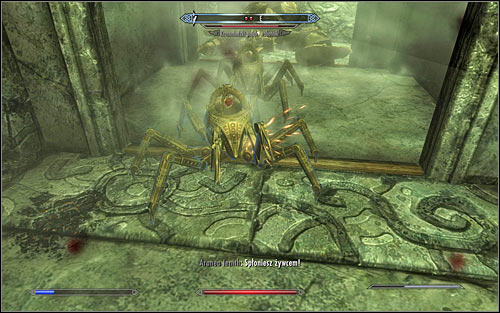
After eliminating the Centurion, check its remains and use the passage in which the machine has appeared for the first time. Be ready to get attacked by Dwarven Spiders (screen above), though they will be much easier without the Centurion. Keep fighting until you eliminate all the spiders and afterwards use the northern stairs.

You will now mainly travel through linear corridors and you have to take into account that at least three Spiders will attack you on your way. Soon afterwards you should reach the last room of the ruins (screen above). Be sure to save your game, as you will have to fight the most important enemy in this quest.
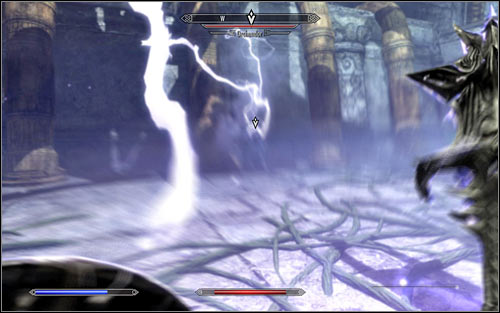
It would be good to start the battle with Orchendor with a surprise attack and unfortunately skills like the Unrelenting Force Shout won't work here, as the boss will defend against any attempts of knocking him down to the ground. As for the boss' attacks, the mage will mostly base on ice and lightning spells (screen above). As a result it would be good to increase your resistance against such attacks before the battle.

The factor which distinguishes this fight from others is the fact that Orchendor will regularly teleport throughout the area. Generally it's not that much of a difficulty, as you can use that time to regenerate. If it irritates you however, you can for example use the Slow Time Shout (screen above) to make sure you deal the maximum possible amount of damage in a given "round". Keep fighting until the monk dies.
Returning to the Shrine of Peryite
New main objective: Report Orchendor's death to Peryite
Start off by examining Orchendor's body, as he was using many powerful items. Additionally you will have to take the Key to Bthardamz Elevator. Only afterwards use the ramp leading onto the upper level and head north (screen above). Open the gate using the key, look inside the next chest and pull the lever to get transported to the surface.

Open the big gate and after reaching the surface use the world map to return to the Shrine of Peryite. After getting there, you will once again have to interact with the cauldron and speak with the aspect of Peryite for the last time (screen above). The Daedric Prince will be pleaser with you completing the mission and give you the very precious shield Spellbreaker, which not only has great parameters, but also protects you from spells when blocking.