
The Only Cure - p. 2 TES V: Skyrim Guide
Last update: 11 May 2016
Heading to Bthardamz
New main objective: Kill Orchendor

If you want, you can speak with Kesh the Clean and ask him about the ruins and Orchendor. Open the world map and look for Bthardamz to establish that it's west from your current location (screen above). It's not far away, so you don't need to plan your journey as you can just walk by feet or ride on a horse all the way there.
Head west and eventually you will reach some big constructions of the surface. There you will come across the Afflicted for the first time (screen above). Eliminating the first group shouldn't be problematic, though you should know of a certain difficulty that will arise in the further part of the quest. The Afflicted, apart from attacking you conventionally, will also want to poison you by letting fumes out of their mouths. In such situations you should of course jump sideways and it's especially important with characters preferring close combat. If you want to prepare for the journey better, you should consider buying antidotes or learn good protective spells before heading into the ruins.
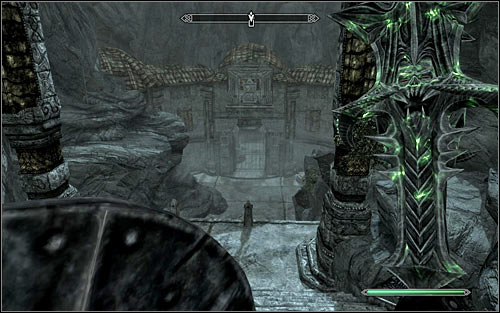
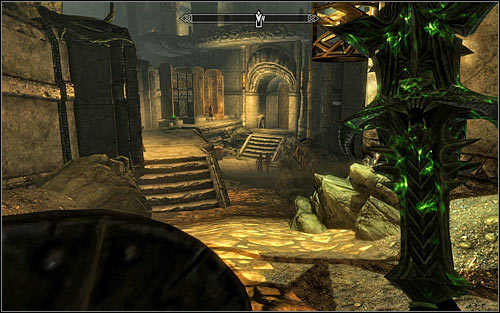
Keep heading west, towards the point marked by the game. Eventually you should reach the ruins entrance (screen above). Ignore the lever by the stairs, as it activates a trap. Instead approach the one located on the right. Wait for the passage to get unblocked, go inside and look for a chest. Afterwards open the second gate, leading to Bthardamz Upper District.
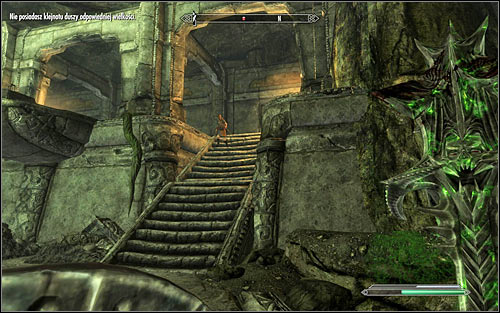
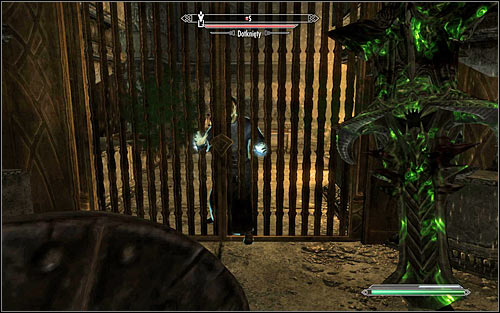
Find the next chest and afterwards follow the western corridor. Soon enough you will have to make a choice. If you want to avoid the first Afflicted group, you will need to break the lock on the northern gate. Otherwise enter the western room and get rid of the enemies (screen above) or sneak pass them.

Regardless of the chosen option, keep exploring the ruins and going north-west. On your way it would be good to explore the northern room and open the new gate to gain access to a chest with precious items. More Afflicted wait for you in the big room (screen above) and with some luck you should be able to attack them by surprise. Get rid of all the enemies and use the western corridor.
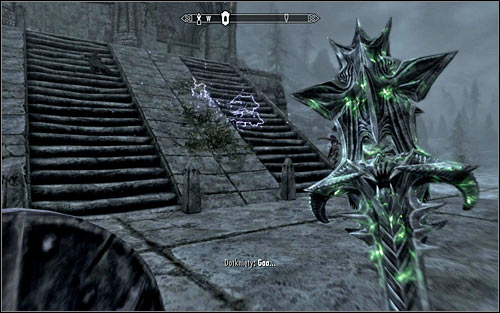
Be careful, as inside the next room there will be more Afflicted. It's worth to keep your eyes open, as some enemies might occupy the upper floors and use ranged weapons (screen above). After the battle, search for a lever unlocking the southern passage in the distance. Use any set of stairs to get there and head south-east. Depending on your likings, you can leave this area at once or go down the ramp to check the chest.

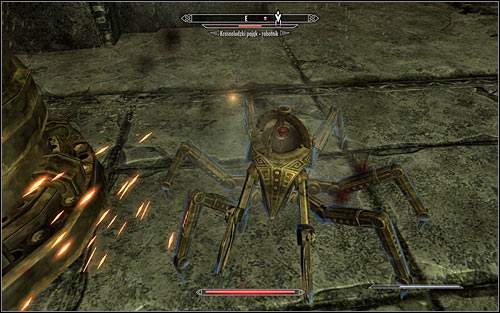
Head east and soon you will reach a ramification. Exploring the eastern room is optional and you would be attacked by Dwarven Spheres (screen above). If you want to fight the machines, remember to take them on one at a time and try to block or avoid their attacks in direct combat. In order to continue the exploration, you will need to follow the southern corridor.
Note the corpses that suggest the presence of a trap activated by pushing the pressure plate. Soon enough you should reach a room with more Afflicted (screen above) and you should be able to attack them by surprise. After the battle, look around the area and head to the gate leading to Bthardamz Workshop.
Be careful, so pretty much right after reaching the new location you will be attacked by a group of Afflicted and at least one of them will be a mage (screen above). After the battle I'd suggest exploring the two nearby room. Afterwards head south and save your game after reaching a bigger room as you're in for a harder fight.
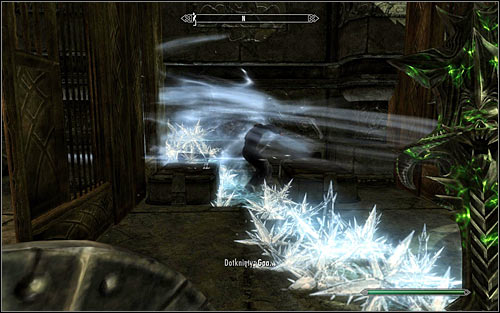
Head to the middle part of the new room and you will be attacked most of all by Dwarven Spiders (screen above). Luckily you will be able to use your favourite attack while fighting them, though keep in mind that all dwarven automatons are partially resistant to magic. Especially look out for Spider Guardians, as they usually attack with electricity. Afflicted should join the battle after some time, but eliminating them will be much easier.
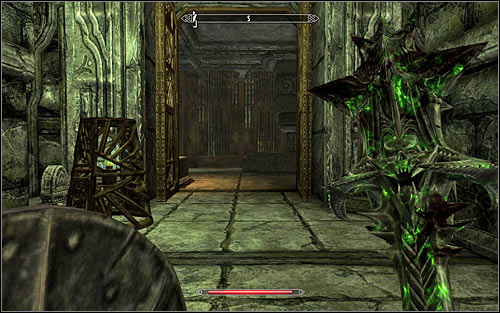
After the battle you should take a look around the area, though keep in mind that trying to open one of the chest here might lead to yet another Spider appearing. Ignore the eastern door and head south (screen above) thanks to which you will reach a gate leading back to Bthardamz Upper District. Don't worry - you won't return to exactly the same place, but explore a previously inaccessible part of the Upper District.
Head south and attack the new group of Afflicted. The battle won't be any different from the last ones, though make sure not to overlook anyone. After the fight's over, take a look around for new chests and use the stairs to reach a ramp leading to the room exit (screen above). Enter the new corridor and find a gate which will lead you to Bthardamz Dwelling.
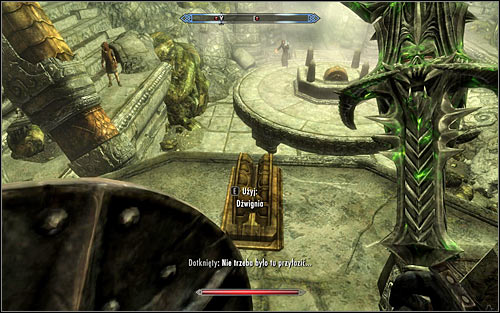
Head west and afterwards turn north to find a chest. Use the northern passage and be ready for a fight with a new Dwarven Spider. Save your game and enter the bigger, eastern room that resembles a coliseum. Quickly approach the lever (screen above) to turn on a trap that will damage the enemy below. Fight the Afflicted, who shouldn't be too much of a threat.

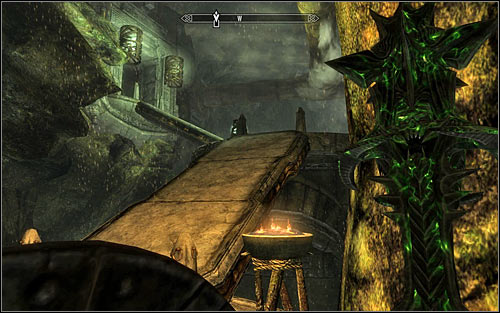
Check the chest found where the blades were activated and follow the eastern corridor. You won't come across any enemies in the next room, so you can head to the north-west corridor. You will eventually reach a big cave with footbridge, where fights with Afflicted await you (screen above).
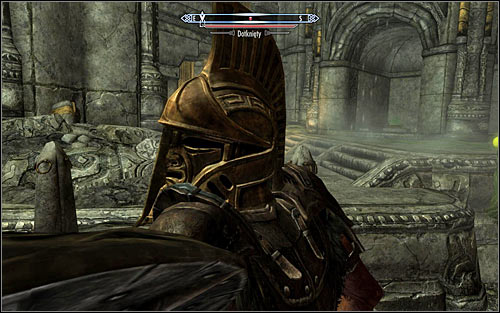
Don't worry if you fall down off one of the bridges, as you can easily return to stable ground. Look out for the enemies in the distance which you can attack with ranged weapons or wait for them to approach you themselves. I'd suggest being careful throughout the fight with the heavy armoured Afflicted (screen above), as he will be much more resistant than the other enemies. Save your game after the fight and head north-east.