
The Break of Dawn - p. 1 TES V: Skyrim Guide
Last update: 11 May 2016
Activating the quest
Quest requirements: This quest can be completed only after reaching at least level 12. I'd however suggest waiting a bit longer, as while most of the fights you will need to have during it are easy, the last mini-boss battle is rather hard.
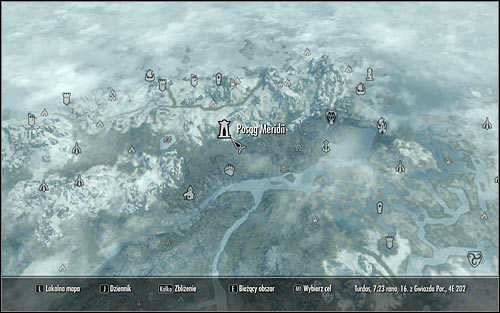
Open the world map and head to the location known as Statue to Meridia (screen above), located in the north-west part of Skyrim. If you haven't unlocked this area yet, it would be good to begin at Solitude or Dragon Bridge and use the main track connecting those two cities.
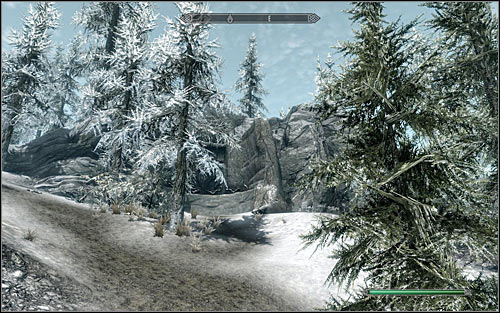
It's best to approach the destination from the south-west, finding the path leading onto the hill onto which the title statue had been built. Before approaching it, head a bit further north to find a Word Wall (screen above) from which you can learn the Word of Power - Air, Elemental Fury.
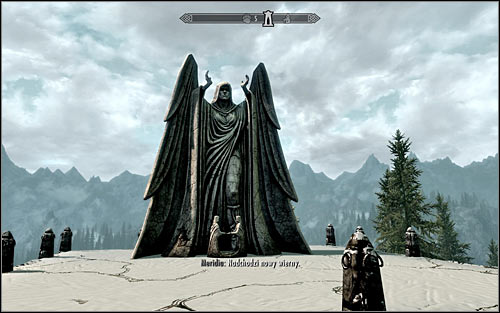
Only afterwards use the stairs to approach the statue, which should automatically start a conversation with the Daedric Prince Meridia. She will inform you of forces of darkness infesting the temple. However before you can take care of them, you will need to find a certain artifact knows as Meridia's Beacon.
Obtaining Meridia's Beacon
New main objective: Find Meridia's Beacon
Note! You can find the Beacon even before officially beginning this quest. In such situation you will be able to skip this step and move to the next part of this quest.
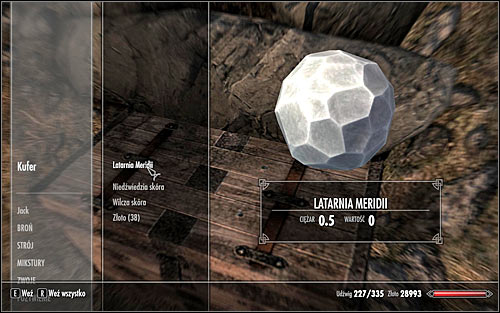
The Meridia's Beacon will be hidden in a randomly chosen location, so I can't give you a specific location. Open the world map and head to the destination point. The artifact will be most probably hidden is a chest of some kind (screen above) and you need to take into account that in order to obtain it you will have to eliminate some enemies.
New main objective: Bring Meridia's beacon to Mount Kilkreath
New main objective: Replace the beacon

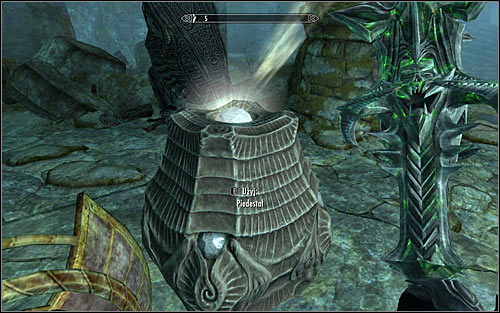
Listen to what Meridia has to say. Open the world map and head to the Statue to Meridia. Notice: If you find the beacon without previously speaking with Meridia, the quest will activate at that moment. After reaching the destination, approach the pedestal and place the beacon onto it (screen above).

Ignore the blinding light and note that you're in the sky. A rightful conversation with Meridia awaits you (screen above). The Daedric Prince will order you to clear her temple of the forces of evil and recovering the artifact known as Dawnbreaker, at the same time informing you that a certain necromancer Malkoran is behind this all. After the conversation you will be brought back to the ground.
Clearing the temple of evil
New main objective: Guide Meridia's Light through the temple

The temple entrance can be found below the statue, so you don't need to open the world map at all. Instead, head down and find the door leading to Kilkreath Temple (screen above). Save your game and start exploring the location.

Head south. On your way you will come across a locked door, if you can unlock it you will find a lever unlocking the western room with a chest inside. Afterwards head south and then east, reaching a bigger room.
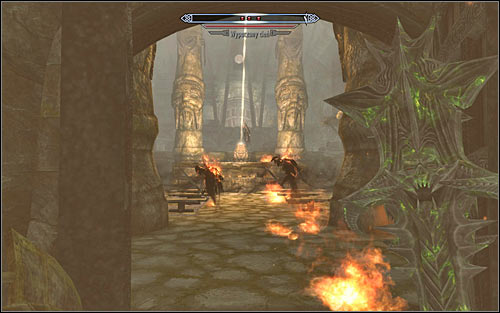
Examine the room and approach the pedestal in the middle (screen above). Interact with the pedestal to raise a beacon and send a light beam to a new place. As a result you will unlock the eastern corridor, where you need to head now.
Inside the next room of the temple you will come across enemies in the form of Corrupted Shades (screen above). These monsters luckily aren't hard and can be easily eliminated. It's also worth to add that the Ghost are especially vulnerable to both normal and magic attacks with elemental effects.
After the battle, look around the room and interact with another pedestal to reflect the light beam off the new beacon. Don't however head east, as you would therefore reach a collapsed passage. Instead, choose the corridor leading south (screen above). be ready to deal with a new group of Corrupted Shades, though the fight won't surprise you with anything special.
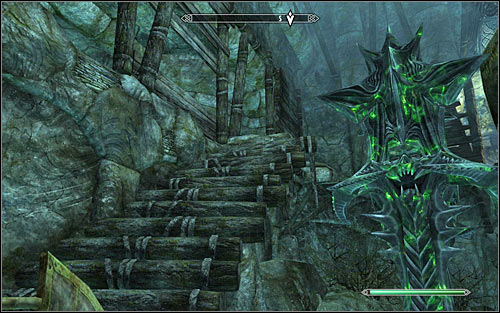
Head further south and you will reach a small room with a chest worth of checking out. Afterwards go east. After reaching a bigger room, traditionally begin by eliminating all the Corrupted Shades. Find a set of stairs in the eastern part of the room, leading onto the upper level (screen above). Head north and you will find a locked door. If you open it, you will be able to pull a level to unlock access to the neighbouring storage room.

You can now go south. Head across the small bridge and interact with the third pedestal (screen above). Note that therefore you have unlocked the southern door, so you can now head there and unlock a passage leading to Kilkreath Balcony.

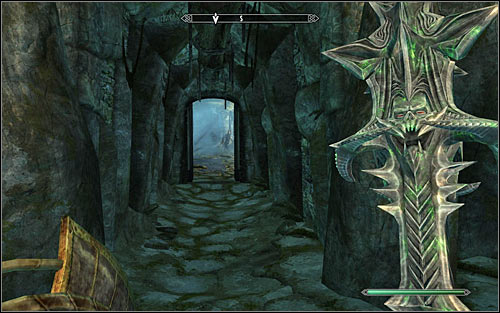
Head east. Look out not to fall off the roof of the temple, as you would have to walk through the previous location once again. The chest you come across on your way is locked and you don't necessarily have to pick its lock as it doesn't hide anything really precious. Turn north (screen above) and use the door leading to the Kilkreath Ruins.
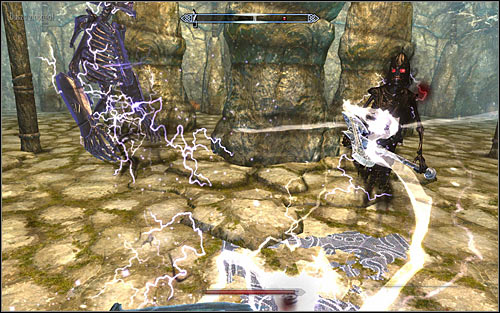
Head north. After reaching a bigger room you will be attacked by new Corrupted Shades (screen above), though exterminating them should be rather easy. Nevertheless you look out for the Shades on the upper balconies, which you can eliminate on your own or wait for them to approach you themselves.