
Stray: Jail, Chapter 11 - walkthrough Stray guide, walkthrough
Jail is chapter 11 in the game Stray and you need to escape from it. The walkthrough from our guide tells you how to rescue Clementine and B-12, as well as how to get out of jail together.
Last update: 22 July 2022
Chapter 11 of Stray takes place in Jail (as the chapter name suggests) which you need to explore and successfully escape. Our walkthrough will help you with escaping the cage, freeing Clementine, finding B-12 and getting him free, and finally escaping the Jail and safely returning to Midtown.
- Getting out of the cage
- Finding and saving Clementine
- Finding and freeing B-12
- Returning back to Clementine
- Escaping the jail building
Getting out of the cage

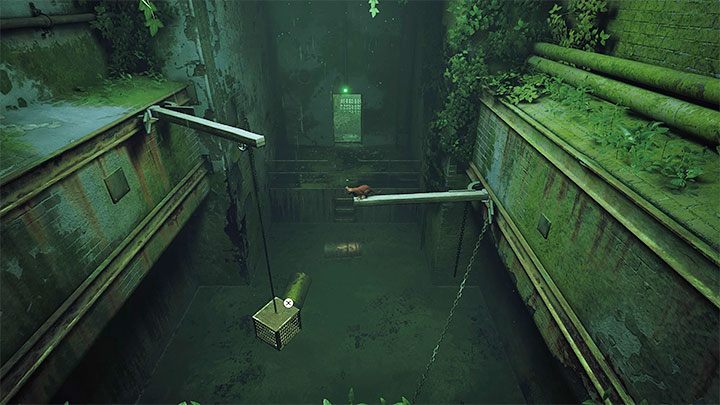
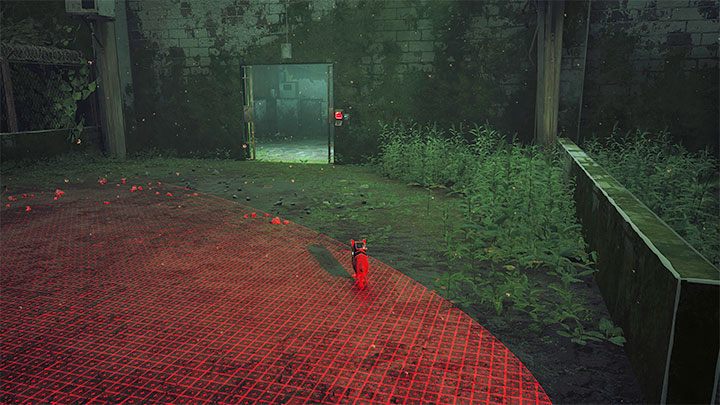
The chapter begins in a hanging cage from which you need to break free - to do that, rock the cage by moving the analog stick left to right (or A and D buttons on PC) After some effort, you'll break free and can begin exploring the prison with a goal to find your companions.
Finding and saving Clementine
Follow the path laid by the ledges and protruding beams (remember that they can change their location after reaching them).
Once you reach a larger area, jump to the right beam first and then proceed to the cage connected with the left beam. You should reach the barrels and follow the path to the exit.

The prison block is guarded by Sentinels. Remember to stay out of their field of view.
You can get past the first Sentinel by jumping on the ledge shown in the screenshot above. In case of mobile drones, hide in cells or cardboard boxes and wait for them to pass you by.

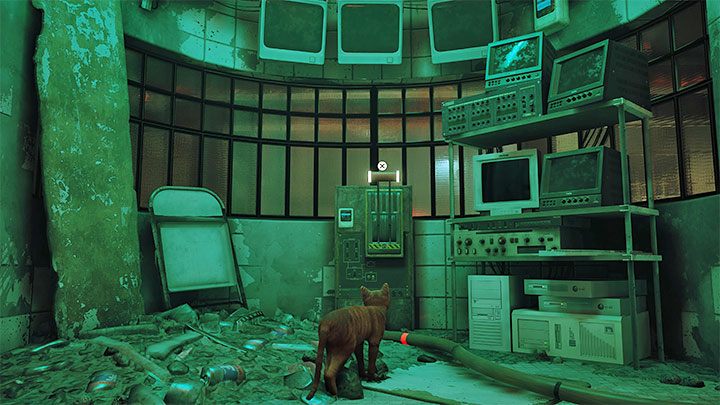
You'll reach the cell where Clementine is, but a key will be required. Make your way through the pathway between the bars (screenshot above) and continue through a small area outside of the prison.
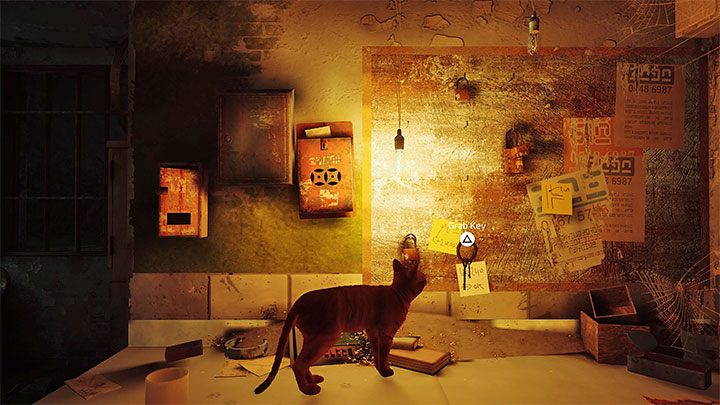
To get the key, you need to climb the table and get it off the wall . Return back to Clementine's cell by backtracking and give the key to her. One less thing to worry about.
Finding and freeing B-12
Follow Clementine.
You will reach a cell with a force field where B-12 is imprisoned .
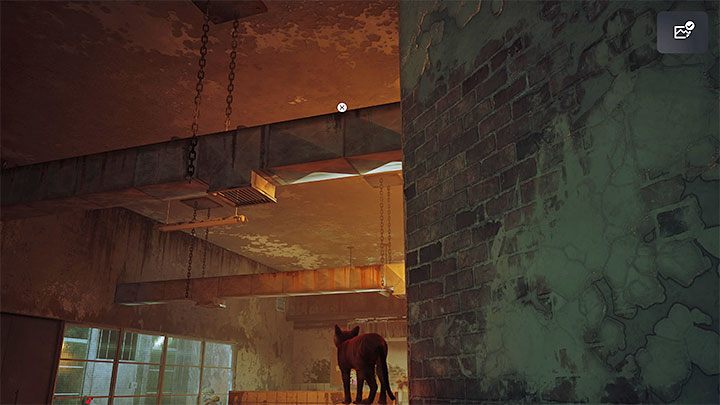
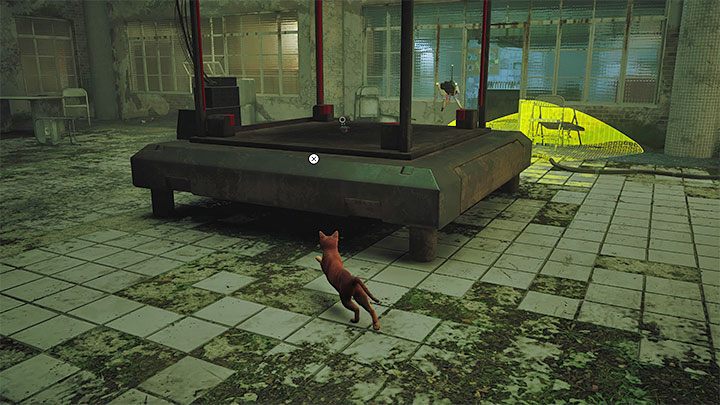
Go straight ahead and jump through the opening into a small room. Turn left. Here you need to watch out for laser traps. To get past the first one, climb the crates and then jump towards the shafts by the ceiling (screenshot above)
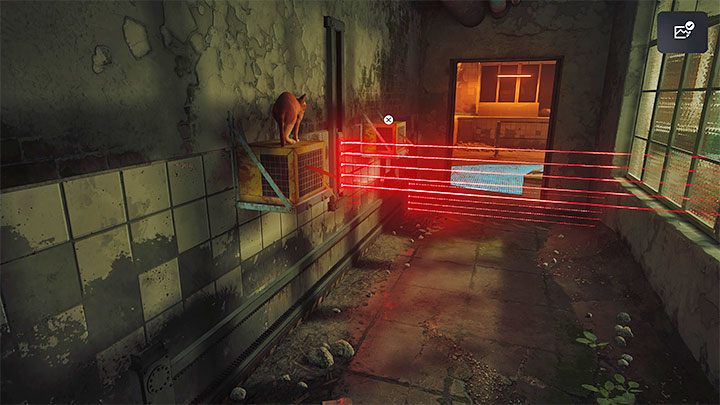
The next corridor contains mobile traps and an enemy drone . You can hide near the right window and wait for the trap to pass you by.
Avoid the next two moving traps by climbing onto two crates connected to the leftmost wall.
In the next area, you'll need to get past a Sentinel again. Once past him, reach the lever and activate it to disable the force field imprisoning B-12. Unfortunately, this won't solve the problem, as the drone has been deactivated and cannot free itself on its own.
You need to reach B-12 and carry him across . Watch out for nearby Sentinels, especially the drone that is close by. Wait with the rescue until the drone faces the other way.
Returning back to Clementine
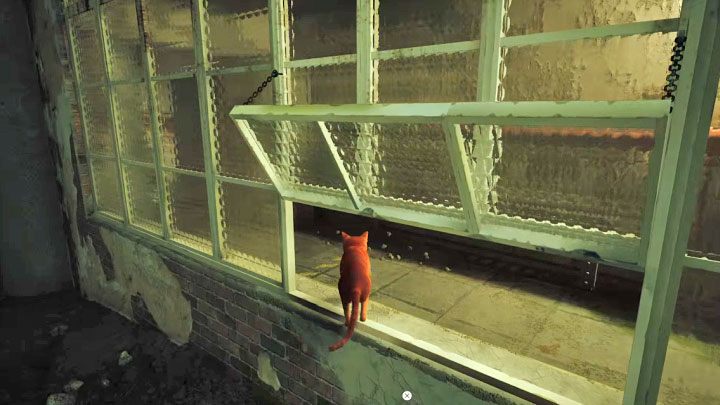
Going back the same route is not recommended. Instead, use the small side window again , but wait with the action until it is safe (when the closest bot is facing the other way). Jump down, go left and reach the place where Clementine is waiting.
Escaping the jail building

The B-12 is back in action - you can proceed with the escape. Ask B-12 to hack the panel of the nearest door.
You'll come across a locked gate. Climb onto the box on the right and push down the bricks to get Clementine's attention . The robot will throw one of the bricks at the glass part of the wall above the goal. Approach Clementine and use her help to get upstairs. On the other side, there is a lever that will unlock a passage for Clementine.

You will reach the square - Clementine will ask you to distract a nearby Sentinel. Let the Sentinel see you and run (zig-zag!) to the side room.
Hide behind the obstacles (screenshot 1) and wait for the Sentinel to arrive. Leave the room quickly and send B-12 to close the gate, trapping the Sentinel inside (screenshot 2). You can continue now.
The next area is a bit more difficult, as you need to trap two enemy drones. You can get them one by one or get the attention of both bots at the same time. The side area has two entrances, each having a hackable lock. . Once you get both Sentinels to this location, make sure to close both pathways.

Proceed forward - you'll reach a new small door. Clementine will have problems with opening the gate - you'll going to have to use the shaft on the right. The other side has a lever - use it to open the path for Clementine.

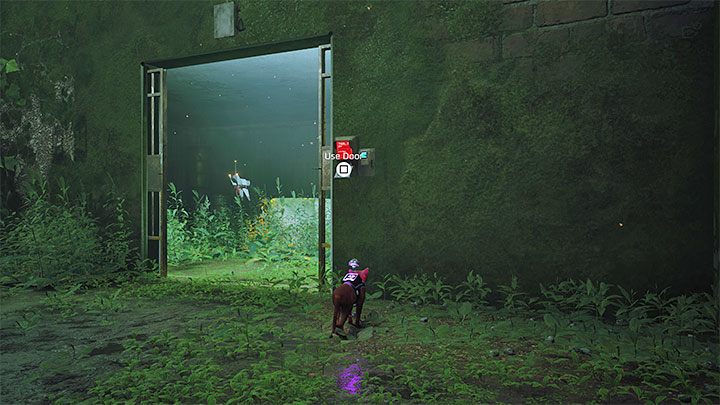
The next step involves reaching the control room to unlock the exit route. Examine the small vehicle - Clementine will repark it. You can now climb onto its back and jump across the fence. Reach the lever in the control room and activate it.
An escape sequence awaits you - start dashing towards the fence and after getting across, run zig-zag behind the vehicle controlled by Clementine. Running slalom is a must, as Sentinels chasing you will fire.
You need to be close enough so that you can jump towards the vehicle and successfully escape. Chapter 12 begins with your arrival back to Midtown.