
Steelrising: The Master of the Machines - walkthrough Steelrising guide, walkthrough
The search for the maker of automatons continues. On this page of the guide to Steelrising you will find the walkthrough of the task Lord of the Machines. You will face the Unstable Forger, repair the elevator and meet La Fayetta.
Last update: 10 October 2022
The search for Vaucanson continues. This page of the guide to Steelrising contains the walkthrough of The Master of the Machines quest. You will encounter the Unstable Forger, repair the elevator and visit the inventor's workshop.
Automats
While doing this quest, you must prepare that you will encounter Light Jaguars (you can learn more about them on the Felines page) and all kinds of Prototypes (you can read about them here: Prototypes). You should also prepare yourself to fight Lancers and Musketeers (you can read about these opponents here: Guards), as well as Assault Acolytes (we wrote more about them here: Acolytes).
Gros Caillou
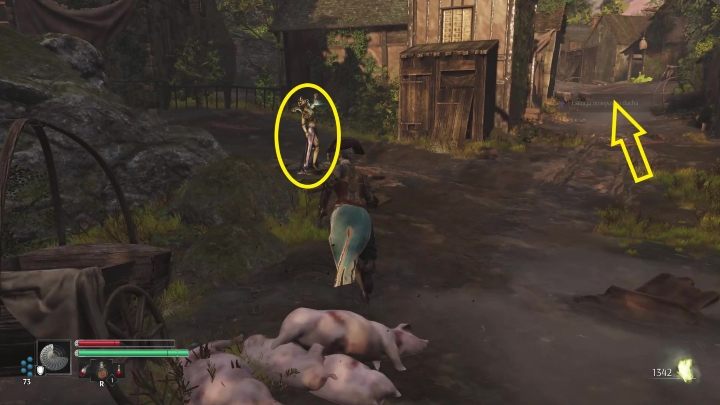
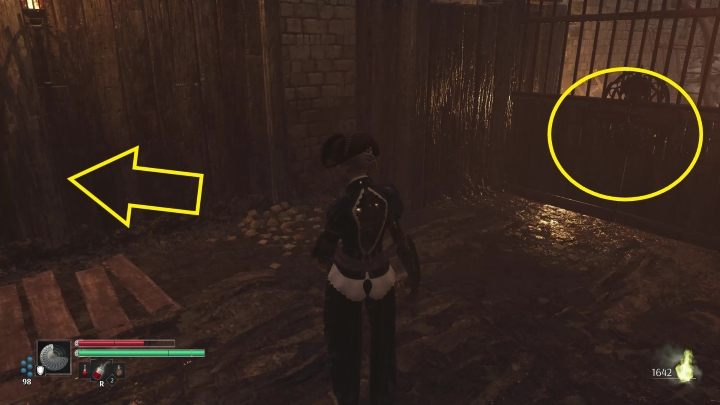
Go straight to the village. There on the square, activate the Vestal. Take the path to the right (as indicated by the above arrow). Along the way, you will encounter a regular Prototype and face the Light Jaguars for the first time (there will be 2 of them).
Walk along the road until you reach the church. Turn left to the cemetery. Then go through it. Be careful, however, as this is where you will encounter an Assault Acolyte for the first time.
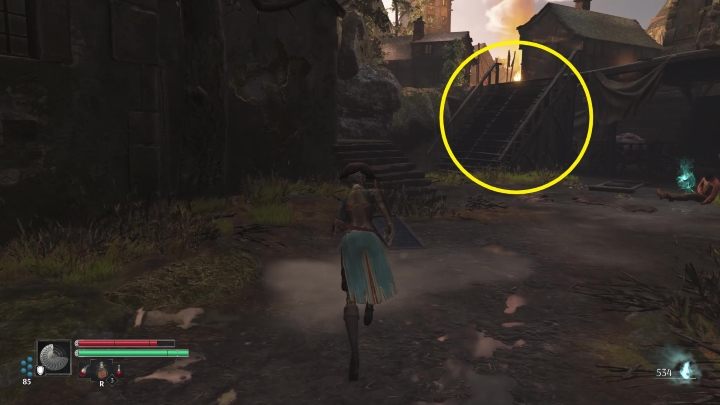
Immediately after passing through the cemetery, turn left. There is a small square, which is patrolled by 1 Assault Acolyte (there is also a chest there). Follow the path further and climb the stairs. There is 1 Prototype on them.
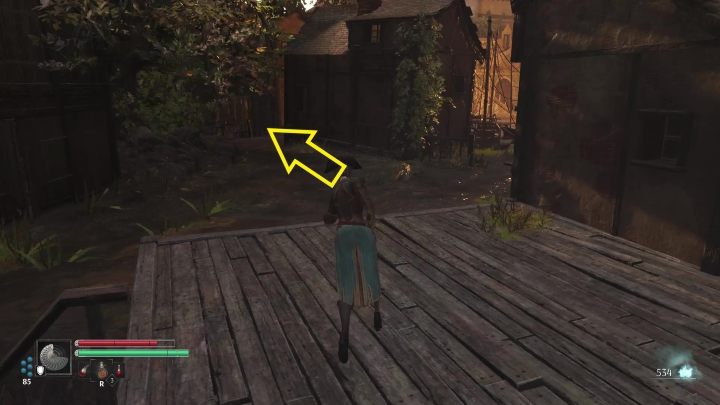
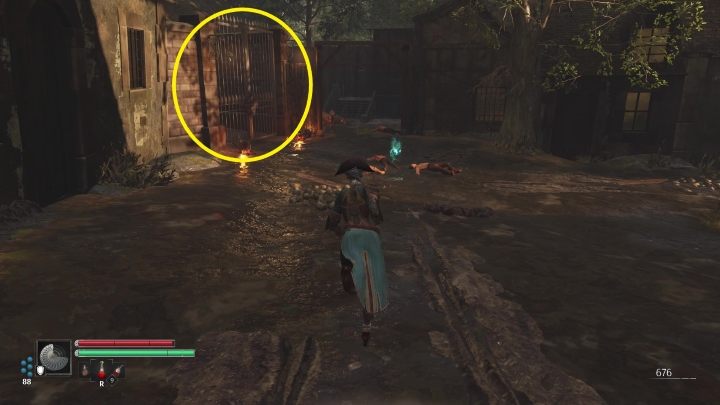
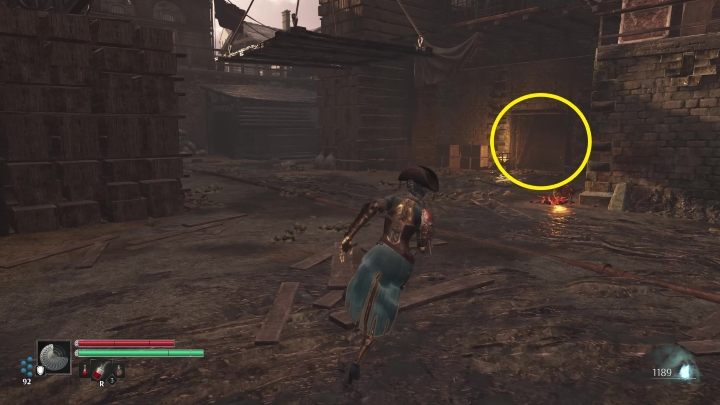
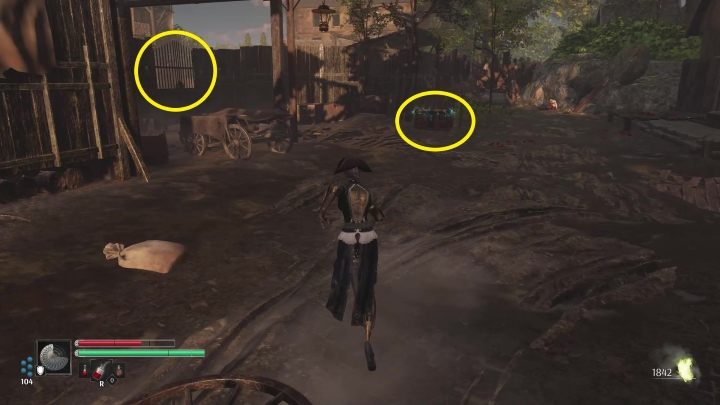
Turn left just after the stairs. Do not approach the square with the fire yet, but follow the path (marked above) to the gate - unlock it. This will open a shortcut for you to the Vestal and significantly shorten your path in case of death.
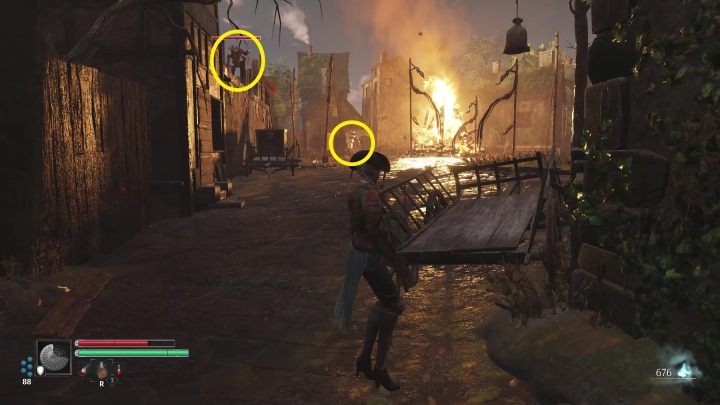
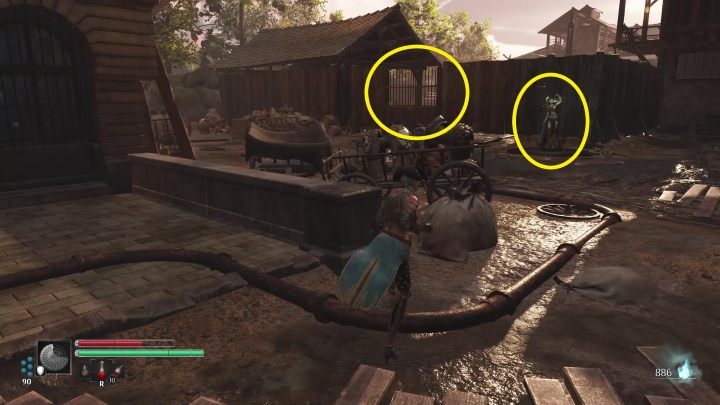
Now head to the square with the bonfire. There is 1 Assault Acolyte patrolling around the fire. A Musketeer is standing on the rise. A Prototype is also in the area. If you want to face them, we recommend starting with the Musketeer (and then getting rid of the Prototype if it joins the fight). Only then face the Acolyte, as it is much tougher. You can also use it to weaken (or even kill) the other robots.
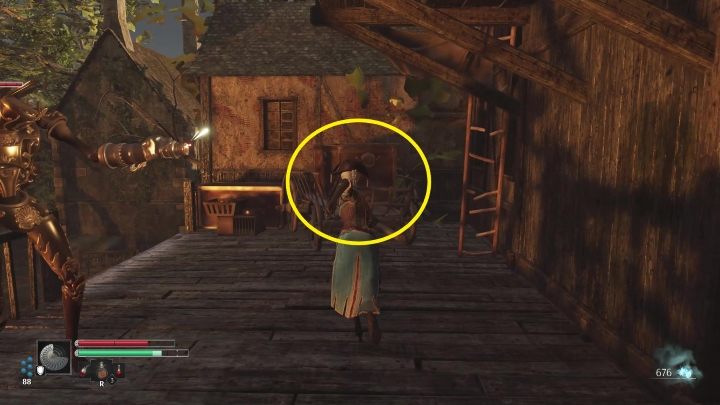
The passage to the next location is located on an elevation, in a place guarded by a Musketeer. You have to climb up the crate and platforms. Cross the room and jump down on the other side.
Follow the path straight and then to the left. Continue straight again until you reach a gate. Unlock it to activate another shortcut to Vestal. Be careful, though, because along the way you will encounter a Musketeer (on the elevation), Light Jaguars (including the one at the gate) and a Stalker.
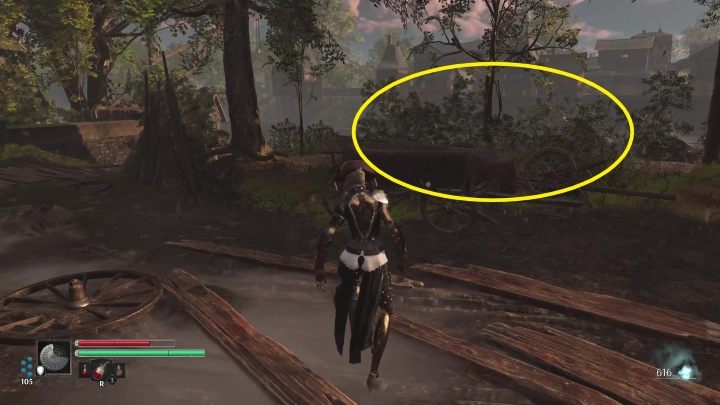
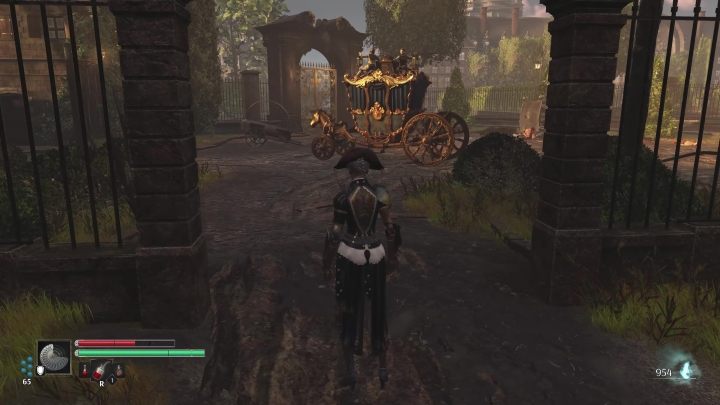
Have your back to the gate and head straight ahead. Go left when you reach a destroyed carriage - into the forest. A Heavy Prototype is at the turn.
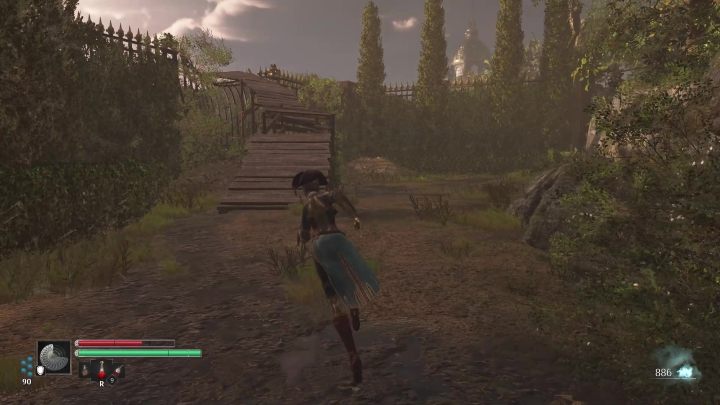
Go straight, on the forest path you will meet a Stalker. At the end of the road you will see a footbridge. Walk through it. Continue straight through the park until you reach Eugene Vaucanson's studio. There are Assault Acolytes in the park, so be careful.
Factory Zone
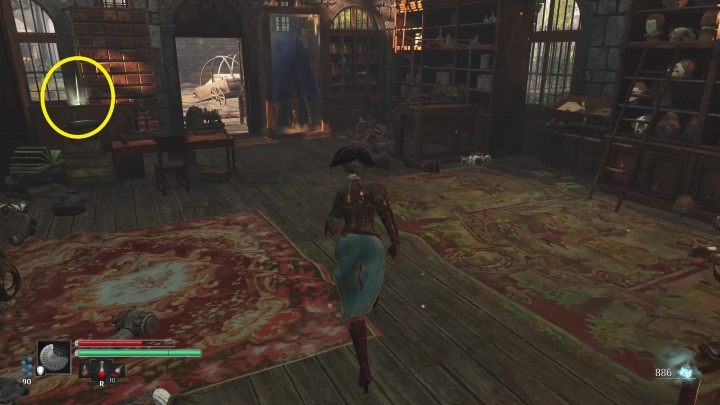
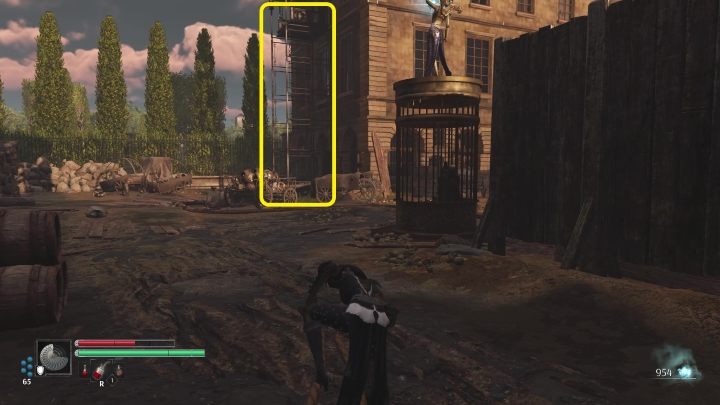
The stairs on the first floor of the building are collapsed - you have to repair the elevator. First, read the letter, which is located on the desktop at the exit of the studio. It will give you the key to the gate outside.
Exit the room and activate the Vestal. Now unlock the gate marked above with the key.
You will enter a sizable square. There are two Heavy Prototypes and a Musketeer, who will shoot at you from an elevated position.
Stick to the right side of the square and enter the buildings. Go through them and enter the next building. Then climb the stairs. Be careful, because on the floor you will encounter a Heavy Prototype, a Sinistral Prototype and a Stalker.
Now go out to the "balcony" and jump over the platforms to the next building, and from there to the next one. Get down to the ground floor. You will encounter two Heavy Prototypes there.
Exit the building. On the right is a gate that you should unlock - another shortcut. There are stairs on the left. Climb them.
On the floor of the building you will encounter two Persecutors. Now jump down through the hole in the wall. You will go down to the port.
Repairing the elevator and fighting the Unstable Forger
Turn to the left immediately. There is a gate to unlock there - another shortcut. In addition, in front of it is a chest with a part for upgrading the Burette. It's worth going back to a Vestal and upgrading it.
Now go through the bushes, behind them is the waterfront. Be careful, because there is a Heavy Prototype and a Stalker.
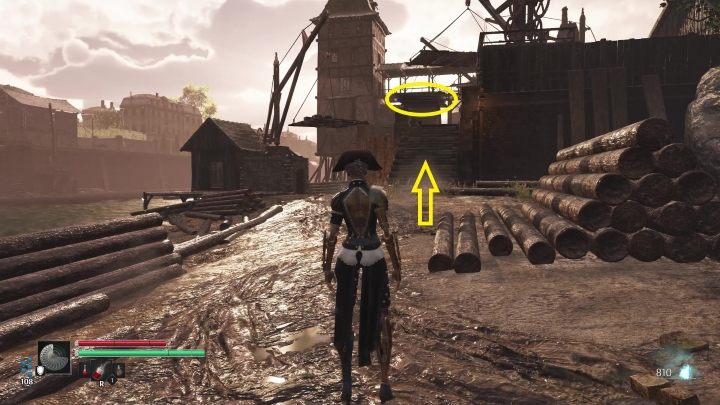
Go up the stairs, unlock the gate that is there (another shortcut), and then jump onto the platform marked above. Beware, however, as a Musketeer and a Heavy Prototype are lurking there.
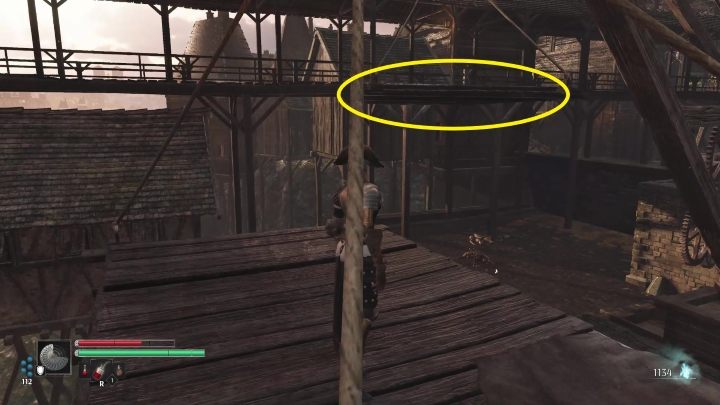
While on the platform, jump onto the next one. It is hard to spot. From it, enter the wooden walkway (one Heavy Prototype awaits you there) and turn right.
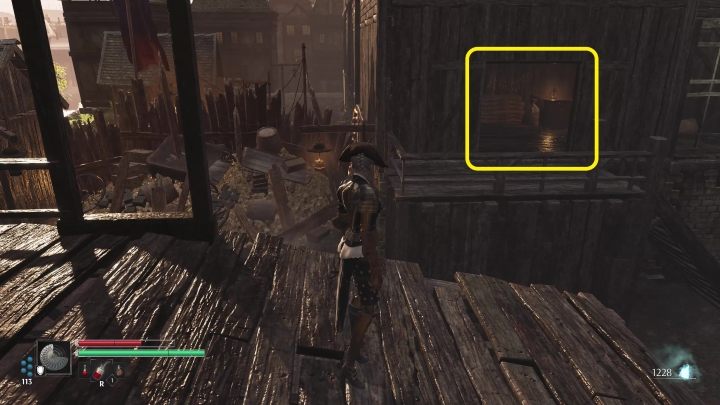
Now enter the building (marked above). Climb up the stairs. A passage to the Forge is on the upper floor. It is guarded by a mini-boss. You will learn more about him on a separate page of the guide - Unstable Forger. You should take a Flame Resistance Vial.

After defeating the opponent, activate the Vestal and open the door. Now exit the building and turn right. Along the way, you will encounter a Sinistral Prototype. Reach the stairs and climb them. On the top, you will see a machine that you have to repair and activate. Interact with it twice.
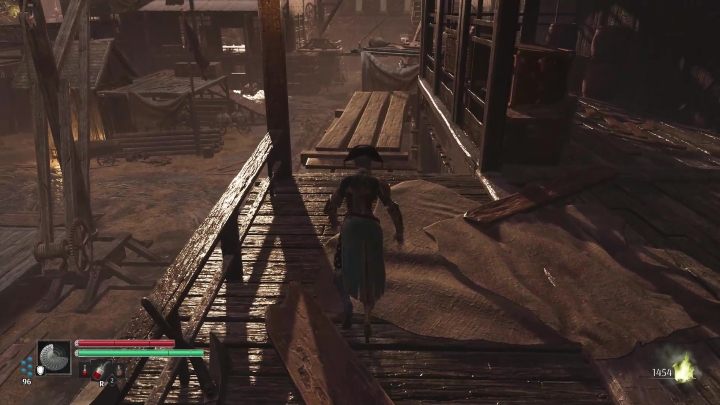
Then jump over to the next building and follow the footbridge. You will encounter a Musketeer. Now climb the stairs to the top and cross the wooden bridge. It is guarded by an Assault Acolyte. Go to the end of the room behind the footbridge and jump down. You will land in front of the studio.
Now approach the elevator and summon it with the mechanism nearby. Ride it to the top. There you will meet La Fayette. Talk to him about all topics. Also read the letter that is in the room regarding the death of the dolphin (it is irrelevant to this task, but will allow you to advance In Memory of the Dauphin side quest). Next, go down to the floor below and collect Echoes. You can read more about it on a separate page - Athenais de Vaucanson.
Now you can leave the building (use the elevator again). Head to the neighboring square to the Horseless Carriage. Head to the next location.