Theta | SOMA Game Walkthrough SOMA Guide and Walkthrough
Last update: 27 November 2018
On this page of SOMA Guide you'll find awalkthrough for third Theta Station location.
When the character is conscious again, climb up the ladder to get to the new location. There's nothing to look around for here, because all the passages are locked, so approach the doors on the left side of the elevator, open them and get inside. A monster from the previous chapter will attack you - don't worry, it's staged and you won't be able to do much against it.

When the cutscene ends, set Simon free by moving around and go to the other side of the room, straight ahead - the train on the right side has no value to you. Remember to move around quietly, as the enemy is still present in the area. Keep your head low, turn off your flashlight and everything should be fine. GO through the doors on the left side, at the end of the room, to get to the next one.
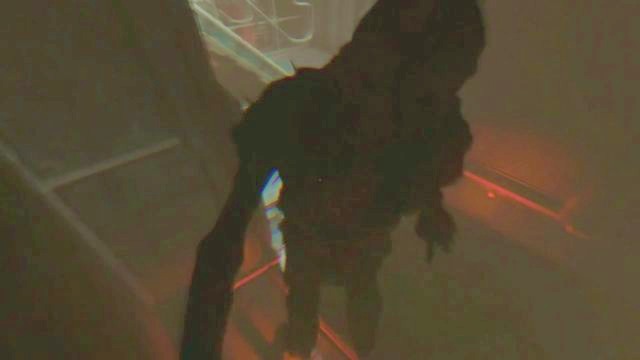
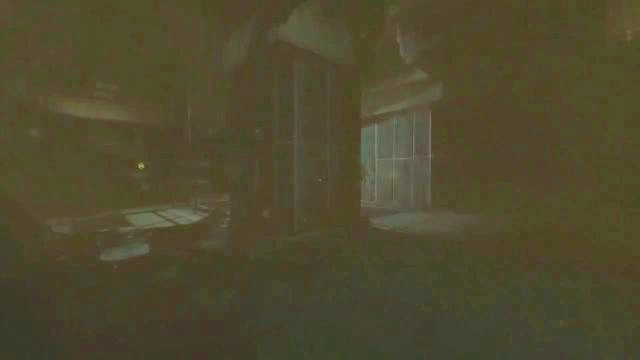
You will end up in a room with several doors, and a monster patrolling the area - it's pitch-black here, and given the fact that a monster is travelling around the area using the flashlight is a no-no. In order to get further, you must get to the doors on the opposite side of the room - open them, go through and then get past the other one.
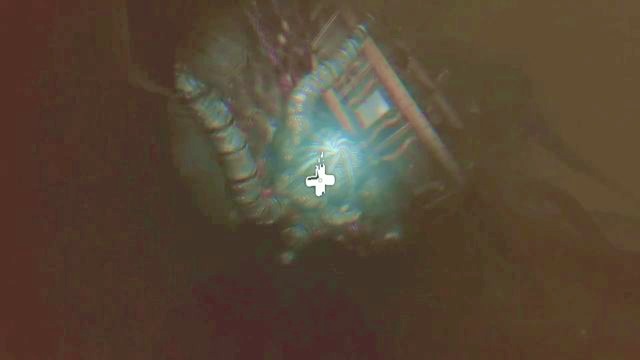
You will end up near a growth on a wall, which should be used to heal the character. Quickly restore your health and then go to the other side of the room, as the enemy is more than certainly following you. Press the button on the wall, which will open up a small passage on the wall, through which you must squeeze yourself.
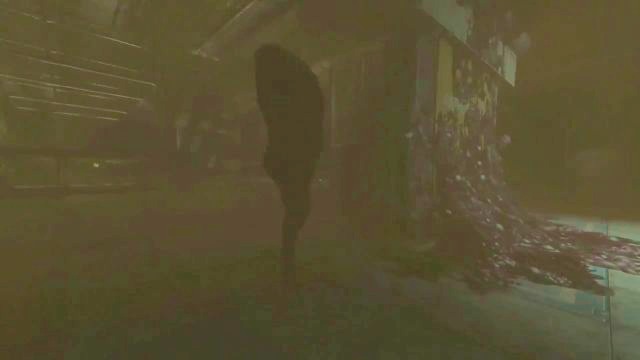
When you reach the new location, turn left and open the door directly in front of you. A little further and you will stumble upon another growth on the wall, in case you needed additional healing. In case the enemy won't let you move further, pick up one of the junk items lying on the ground and throw it somewhere to lure the monster away. Heal yourself and go through the next door to continue.

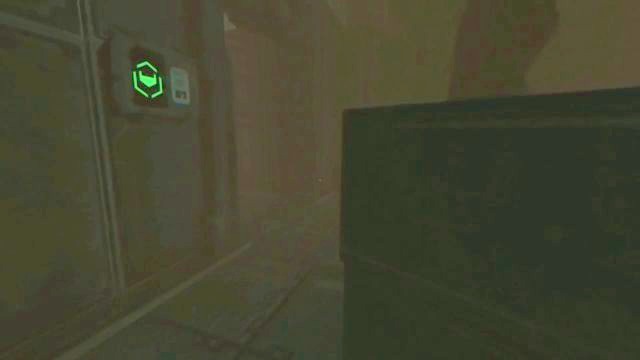
Hide in the darkness, because the enemy is surely following you. When it's gone, approach another switch on the right side, press it and get into the ventilation shaft. You now have to crawl a little bit, until you reach a new room.
Leave the room, and then continue straight ahead, until you reach the next pair of doors, through which, obviously, you need to go - watch out for the enemy lurking nearby. In the next room, on the left side, there are doors which are now locked - they need power to operate. Head towards the room straight ahead, where you can switch the power back on.

In the opposite corner of the room (looking from the entrance) you will see a small metal box. Take off the lid to uncover the mechanism inside - remember to put down the lid slowly and quietly, instead of throwing it in a random direction, or you will alert the enemy of your presence! Pull and push the lever a couple of times, until the bar on the right side is full, which will restore the power in the previous room. Go there, open the previously locked doors, enter the room and lock them behind you.
And you will end up in room that is not in total darkness. Jump down into the water, turn around by 180 degrees and climb up the ladder. Go along the ledges, ignoring the nearby ladders, as you won't be able to climb them. Jump on the next platform, until you reach a dead end.
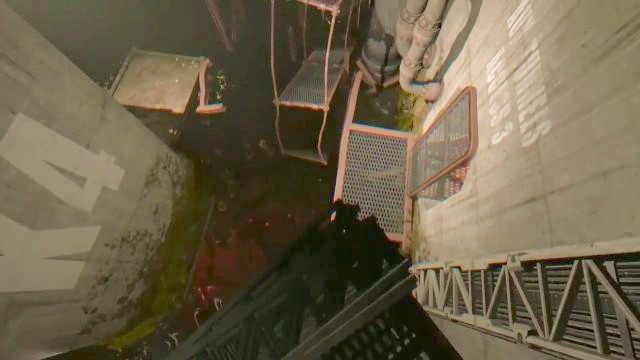
Jump down, onto the metal bars (while you have a small waterfall on your right), and from here jump down one more time, to land near metal "doors". Move them aside, get into the tunnel and then turn left, into a small room. Here you will find a growth, which can be used to regenerate health lost from fall damage.

When you are healed, pull the lever located in front of the entrance, which will flood the tunnel and the whole chapter will end.