Comm station | SOMA Game Walkthrough SOMA Guide and Walkthrough
Last update: 27 November 2018
On this page of SOMA Guide you'll find a walkthrough for second Upsilon interior location.
Restore power
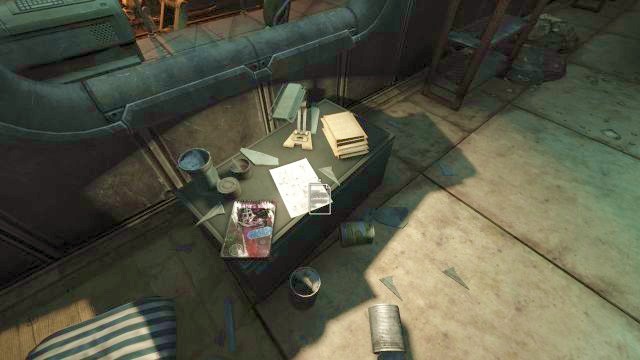
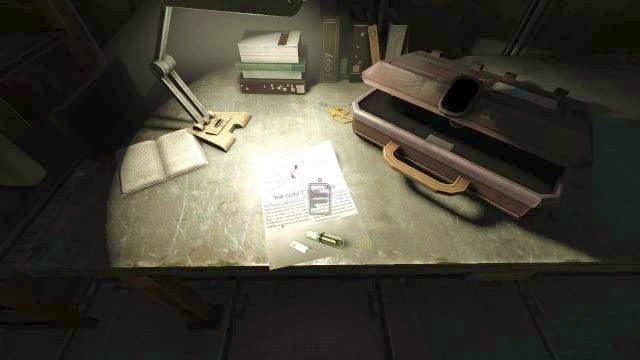
After running to the upper floor, look around the area - there's a couple of things to do here, and your main goal is to get to the upper floor. But before you do that, go left from the staircase, in the direction of a group of computers. All of them are blocked at the moment, as they require an ID so that you can log in on them. Ignore the doors on the right (Storage sign), as they are locked. Near the desks on which the computers can be found, slightly to the l left, there's a map of the station - unfortunately, it's only a drawing, as it has no real function in the game. Directly between your legs there are two photos to examine, and on the cupboard by the window another photo, as well as a notepad.
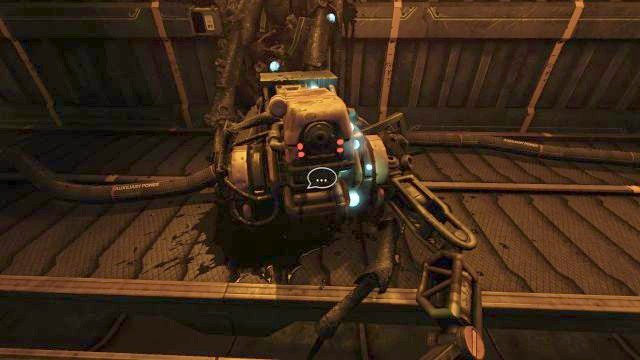
Directly in front of the stairway there's a room resembling a production hall (Assembly B sign) - there you will find a robot lying on the floor, with which you can interact to learn about a couple of things that happened here. To the left of the robot, at the end of the hall, there's a lever used to switch the power - you will not be able to use it at the moment, but remember its location.

After you've spoken with the robot, leave the room and go straight ahead, into another one - there's a "Workshop" sign above the door. Inside you will find a robot lying on the ground, which can be interacted with in order to perform a data buffer. Listen to the last seconds of the robot's life, and then leave the room - there's nothing else to do here.
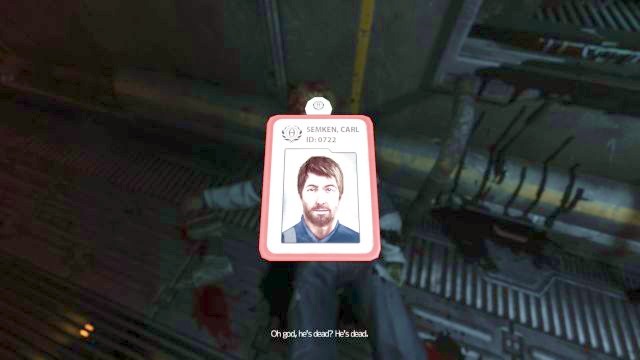
Head right, to the last passage, this time without a sign above the door. Open it up and approach the corpse lying in the corridor - after interacting with it, you will be able to read the access code from the worker's ID (0722), which must be used in order to unlock the previously mentioned terminals. Get back to them and input the code (by pressing the "change" button).
There's a couple of options available at the terminal - you can try sending a message, by going into the "Mail" section, but it will fail. Afterwards, enter the "Power Manager" and reactive the power in two nearby rooms (by pressing the buttons near their names) - Storage and Flow Control. Get inside one of the unlocked rooms, "Storage", where you will find a note to read (it's lying directly in front of the entrance).
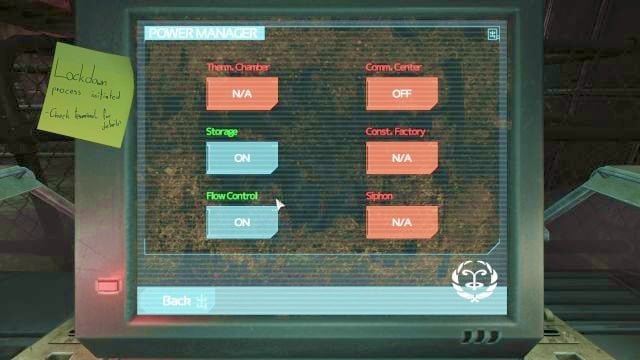
Get back to the terminal, to the Power card. The room you are mainly interested in is the "Comm. Center", but you won't be able to turn the power there (as well as in other rooms) because the generator doesn't have enough power. If you want to unlock them, you will have to turn off the power in one of the two nearby rooms - you can get into the Comm. Station by following either path, but the final result differs greatly.
The first place is the previously visited production hall. You have to get there and switch the lever on the other side of the room, which will disable power in the room, as well as inflict pain to the robot lying on the ground. However, it has an advantage - if you turn the power off in this room, you won't have to deal with the enemy, so getting to the upper floor should be a lot easier.

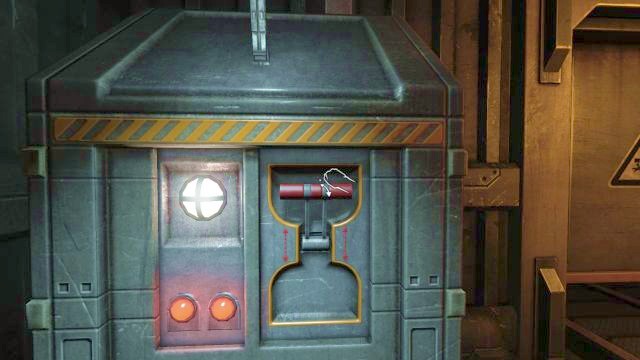
The second solution to this problem can be found in the tunnel, where the corpse from which you took the ID is lying. Get back to the said tunnel, run past the corpse and turn to the left, until you reach a room called "Flow Center". Directly in front of the entrance there's a switch, and right next to it a note warning you that using the switch may turn out bad. Flip the switch and prepare yourself, because as soon as the power is shut down, the enemy from the lower floor will enter the area (through the same staircase as you). Maneuvering through the area will be a lot more difficult now, as there will be a hostile robot on patrol - you should wait for it to get to the room called "Workshop", in which there was a robot with a Data Buffer. It will give you a few extra seconds to move around the area freely.

Regardless of your choice (and its outcome), after the power is shut down you must go to one of the terminals and turn back the power in the "Comm. Center". All you have to do now is to get to the staircase leading upwards, use the lever to open them, run to the upper floor and close the passageway.

When you reach the upper floor, approach the growth located on the wall on the right side and interact with it. Right next to it there will be a terminal - click on it in order to retrieve data and be able to listen to a number of recordings. As it was mentioned earlier In the guide, they are not mandatory, but are sure worth the effort, as recordings (and not only them) such as those tell their own story. Afterwards, approach the cork board, with a map of continents, which is located on the opposite side of the room - there will be four notes to read there.
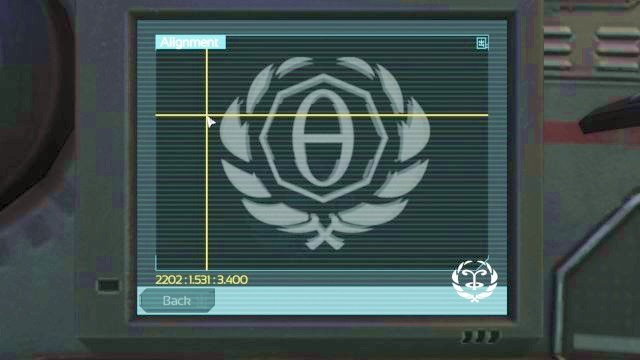
Afterwards, activate the terminal in the middle of the room. Wait for a couple of seconds and click on the small panel, to the right from the switch. From here, you can establish connections with various stations, all by typing the appropriate code. Typing in "2201" won't do much, as the main character is currently on the Upsilon station, so you should input the next one - "2202". A little puzzle awaits you now, in which you must position the cursor in the appropriate place, so that the screen stops "snowing", and the whole image becomes visible. The proper placement of the cursor can be checked on the screen above this paragraph. After a few seconds the transmission will be cut off again.
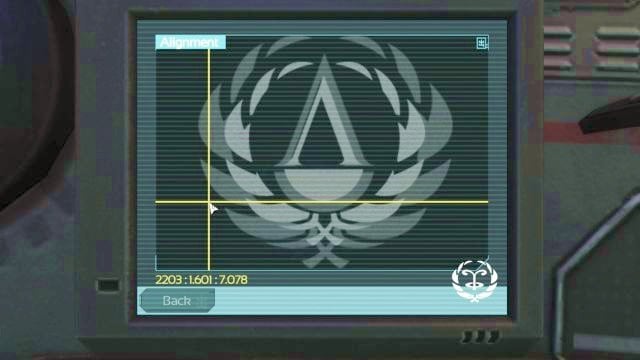
You won't be able to establish connection with the Theta station again, so just input the next code - "2203". You will have to position the cursor in the appropriate place again - the screen above shows the exact location. You will establish connection with the Lambda station, and will be able to hold a short conversation with a mysterious woman. After a few seconds the whole room will start fall apart and you will be moved to another location.