
Hirata Estate | Sekiro Shadows Die Twice Walkthrough Sekiro guide, walkthrough
Last update: 25 March 2019
In this section of the guide to Sekiro: Shadows Die Twice you can find a description of the passage of the Hirata Estate level. This location is initially inaccessible, and so our solution will tell you how to unlock it. The walkthrough also includes information about the available secrets and possible boss battles.
The description of the location is in progress. We will publish the full version soon.
- How to get to the Hirata Estate?
- The coast and the way to the Estate
- Who's the thief-looter in Hirata Estate?
- Mini-boss: Shinobi Hunter Enshin of Misen
- Crossing the bamboo slopes
- Secret location
- Getting through the burning Estate
- Boss: Juzou the Drunkard
- Exploring the Audience Chamber
- Boss: Lady Butterfly
How to get to the Hirata Estate?

The Hirata Estate is a very unusual place because, in order to visit it, the hero must travel back in time.
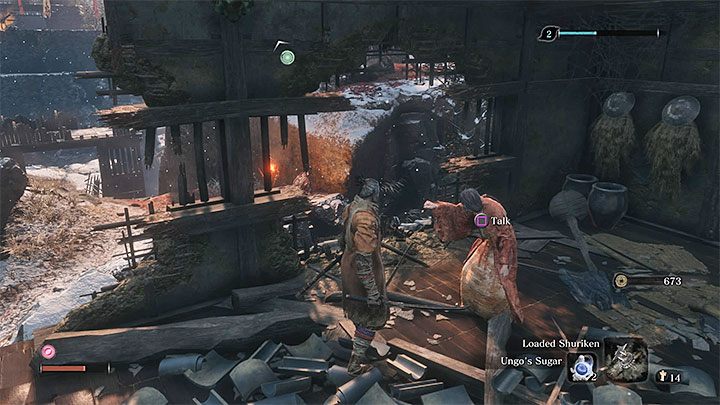
In order to open this location, you have to begin in the Ashina Castle Grounds, that is in the first full location after the prologue. Explorer the Castle Grounds until you reach the Outskirts Wall. Even before you arrive at the fortress with high walls, pass through the destroyed village. Find the ruined house shown in picture 1. You will meet an old lady there (picture 2). During the conversation with the old woman, you will receive the Young Lord's Bell Charm.
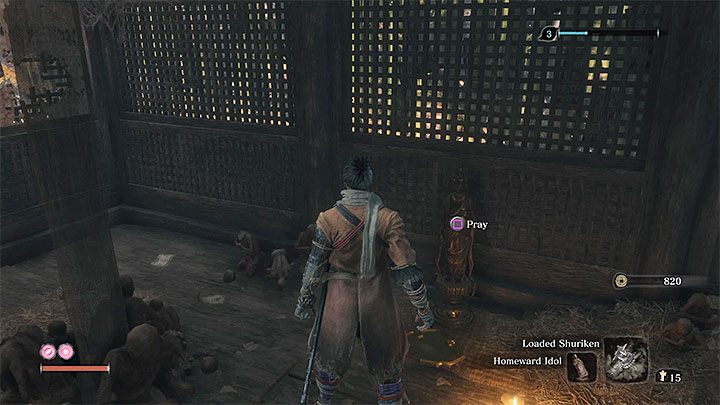
Go back to the Dilapidated Temple and talk to the Sculptor about the received bell. Stay in the same room and approach the Buddha statue (pictured above). Confirm you want to pray. The game will show you a cut-scene, and after watching it, you will get to the Hirata Estate
After completing a few steps in the new location, you will come across Sculptor's Idol (Dragonspring - Hirata Estate). You can freely use the fast travel to return to other idols. Fortunately, it isn't necessary to remain in the past until the investigation of the Hirata Estate is complete.
The coast and the way to the Estate

The only way leads towards the big bridge, and on the way, you will meet an NPC (picture above), whom you can ask a few questions. The bridge itself is patrolled by an enemy with a torch. Further enemies are on the opposite bank, and they are accompanied by a group of wolves.
If you don't want to fight anyone, you can jump into the water and swim under the bridge. If, in turn, the hero is set on fire during the fight, you should use the Dousing Powder, which will remove the fire debuff. This item can often be found as loot.
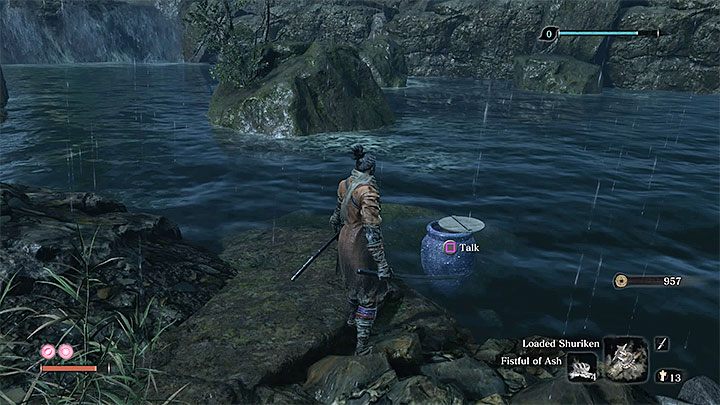
A good idea is to study a fragment of the bank to the right of the bridge. You will meet a merchant hidden in a barrel Pot Noble Harunaga. He trades unusual currency, namely Treasure Carp Scales.
The Scales can be found around the game world (one of them lies on the bank to the left of the bridge). You can also get them by killing the carps (they don't attack, but can plunge deeper if they're not killed quickly enough). From the merchant, you should purchase, in particular, the Floating Passage Text, which unlocks a new ability.
Use the grapple hook to bypass the closed main entrance to the estate. In the new location, you will find, first of all, another Sculptor's Idol (The Estate Path).
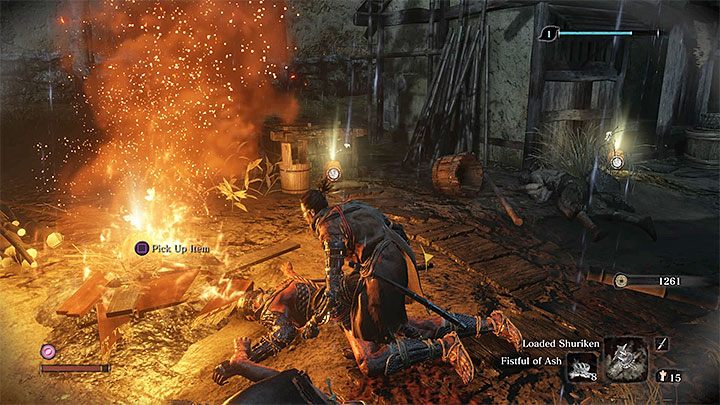
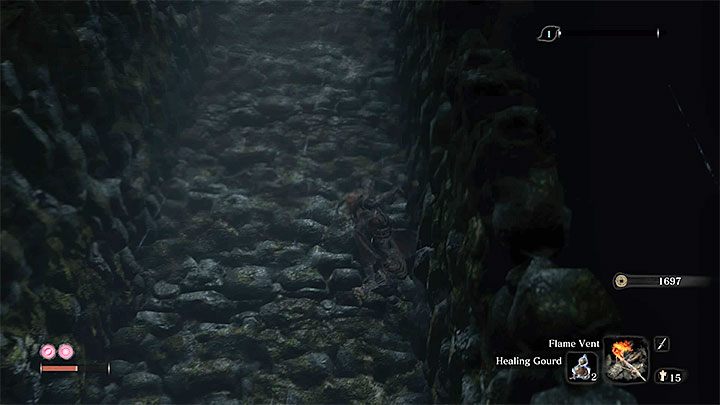
It is worth exploring a small village with several huts, which is guarded by enemies and wolves (watch the shooter standing on one of the roofs). After getting rid of all enemies, examine the bonfire shown above. You can take a Flame Barrel out of it. It is necessary for the production of a new and very useful prosthesis tool called the Flame Vent. More information about this gadget can be found in the section titled Flame Vent.

The stairs will take you to the next part of the map, and you will run into another NPC on the way there. You can also overhear two conversations of the guards located next door. The guards shown on the screen are more important. After getting rid of them, you can open a window to the hut and take the Shinobi Axe of the Monkey. This, in turn, is an ingredient needed to make prosthesis tool called the Loaded Axe. More info about this gadget you will find in the Loaded Axe section.
We recommend you go back to the Dilapidated Temple to craft both tools described above. The axe will be particularly useful for ridding the Estate of enemies.

In the area where you found the axe, you can unlock the gate on the other side to make it easier to get back to the Sculptor's Idol. It's also a good idea to explore other side areas and beware of new enemies and the formidable overgrown chickens.
Who's the thief-looter in Hirata Estate?

At one of the cottages you will meet a thief (the picture above) - do not attack this character, because he is a merchant Anayama The Peddler from Ashina Outskirts from the present. If you kill a robber, after returning to the present Anayama will disappear and you will not be able to buy from him, among other things, improvements to the prosthesis tool.
You can also talk to the residents of the two cottages. From one of them, you will get free Antidote Powder.
The large stairs lead to the location, where you meet opponents with shields for the first time. Attacking them with a katana isn't effective, but if you've unlocked the Loaded Axe, then you can use it to easily destroy each of the shields. Also, you can just run past enemies or find an opportunity until they expose their backs.
Mini-boss: Shinobi Hunter Enshin of Misen

Shinobi Hunter Enshin of Misen is the first boss in the Estate. A good idea is to start the fight is taking the boss by surprise. You can lurk atop the big tower, or reach tall grass and wait for the enemy to approach it.
When fighting ensues, watch out for the thrust attacks performed by the boss with the spear. If you have the Makiri Counter skill, then you can perform simple counterattacks. Otherwise, rely on evasion. Regular enemies may also join the fight. It is necessary to quickly deal with the archer. The boss leaves behind Prayer Beads.
A full description of the boss fight with Shinobi Hunter Enshin Misen can be found in the Bosses section of the guide.
Crossing the bamboo slopes
Start by activating the new Sculptor's Idol. In the main part of the forest, you may encounter some patrols. The area is also full of enemies with ranged weapons. If you're exposed, you will have to jump and dodge a lot, as well as to roll and try to deflect the arrows with the katana.
Fortunately, a safer way to get through this location is to turn left and get to the river. You can grab interactive hooks and use them to outmaneuver the enemies.
Secret location
Jump into the river to reach a secret location. Swim under the bridge to reach the opposite side of the river.
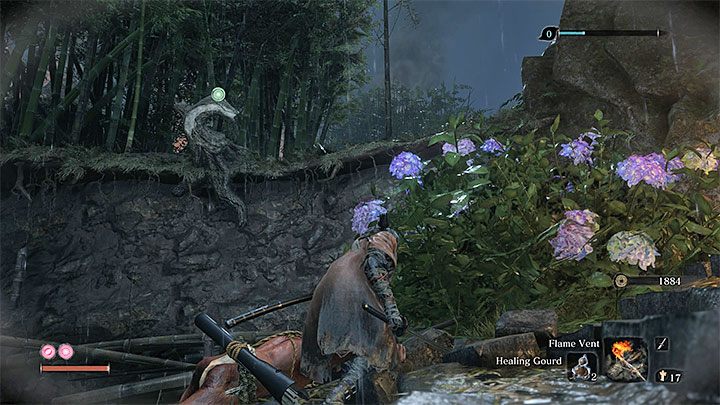
Use the grappling hook on the interactive point on the tree. Look for bamboos presented in the picture above. Go through them. You reach a well - jump from one wall to another to get out of it.
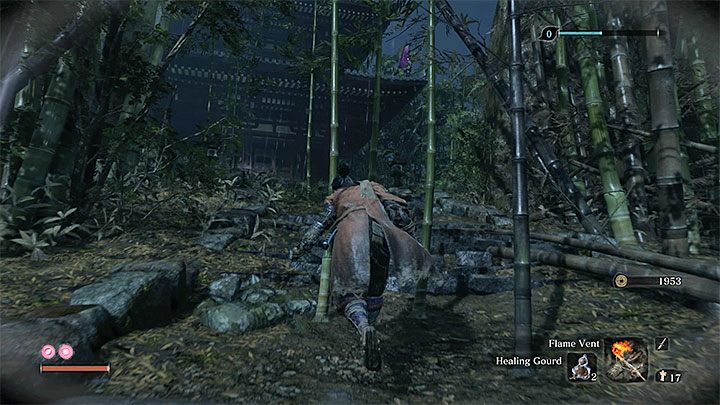
The house on the hill is the secret location. The masked enemy is standing on its rooftop. He will attack you when you get close to the building.
The description of the fight with the unnamed masked purple enemy is in the Bosses section. This enemy uses fast attacks and powerful unblockable kicks. Use, e.g. Shinobi Firecracker to make this fight easier. Mist Raven's Feathers is inside the house. You need this item to craft Mist Raven - the description of this prosthetic tool can be found in the Prosthetic Tools chapter.
It is possible that your character won't be strong enough to defeat the purple enemy during your first visit here. Go back here after you level up your vitality, posture, and attack strength.
The main path will lead you to the bridge, where you will meet, among others, a big enemy. Fighting him isn't mandatory. If you want to defeat him anyway, take advantage of his low mobility and attack after he delivers inefficient attacks. Eliminate or bypass new enemies with shields.
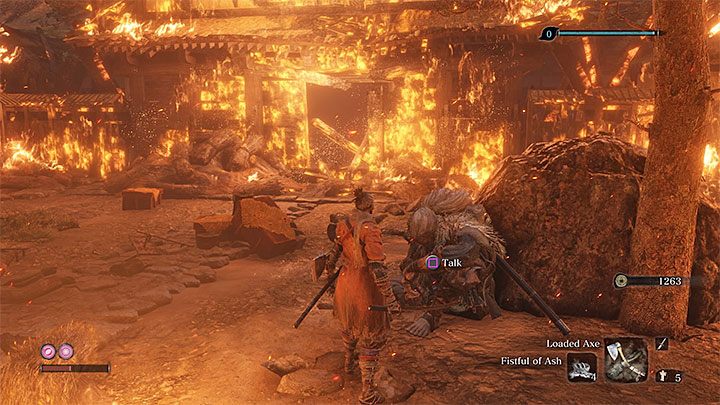
Get to the burning estate and talk to the NPC, from whom you will receive the Hidden Temple Key. You will need it at the end of your visit to the Hirata Estate.
Getting through the burning Estate
Climb to the roof of a small tower. Get to the next location by using the grapple hook to hold onto high latches. It is quite troublesome because they are rather far away. It is necessary to perform a takeoff jump and use the hook mid-air. You can also try the regular way - this won't change anything important.
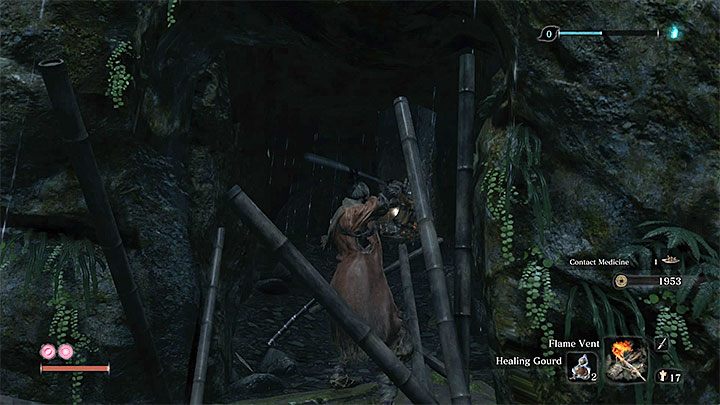
You will find yourself in a new part of the jungle. Avoid or kill local enemies. You will reach the cave. Go on it and start bouncing alternately from opposite walls (picture). You will come out of the well and get to the new Sculptor's Idol (the Main Hall). Start making your way through the burning part of the Estate. New enemies can be surprised from roofs, avoided or defeated in regular combat (attention - at least two archers are there!)
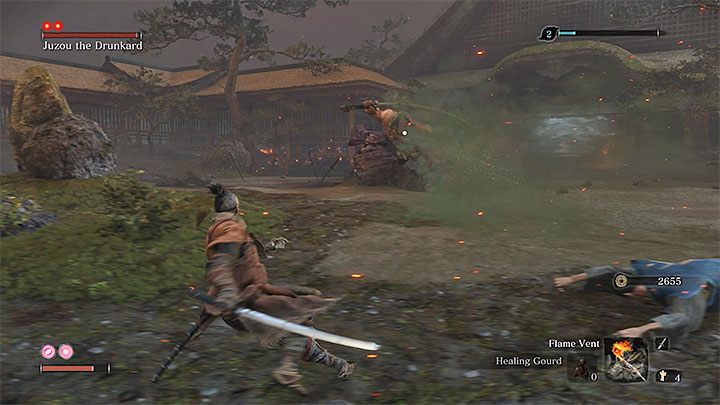
Boss: Juzou the Drunkard

Juzou the Drunkard is the stronger boss who guards the entrance to the audience hall of the Estate with some other opponents. You might want to start by attacking groups of these opponents, as they will make the boss fight itself harder otherwise. At least one enemy can be killed by surprise. Run away to another location after each murder, so as not to get hit by the boss.
Near the pond, you will find a friendly NPC. You can talk to the man (also after fighting the boss), which will allow you to recruit the NPC as a companion, who will aid you in combat. It would be nice if the entire boss guard had already been eliminated (or at least most of it), before the fight, so that the new ally will be able to focus solely on attacking Juzou.
Juzou uses a powerful blade, and, apart from standard strikes, can deliver stronger attacks, which are impossible to block/parry.
The boss can also deal poison damage, either by spraying it near him or by putting poison on his weapon. Avoid his attacks until the effects of the poison end, or keep the antidote ready to quickly remove the debuff. The boss leaves behind Unrefined Sake and Prayer Beads.
A full description of the boss fight with Juzou the Drunkard can be found in the Bosses section of the guide.
Exploring the Audience Chamber
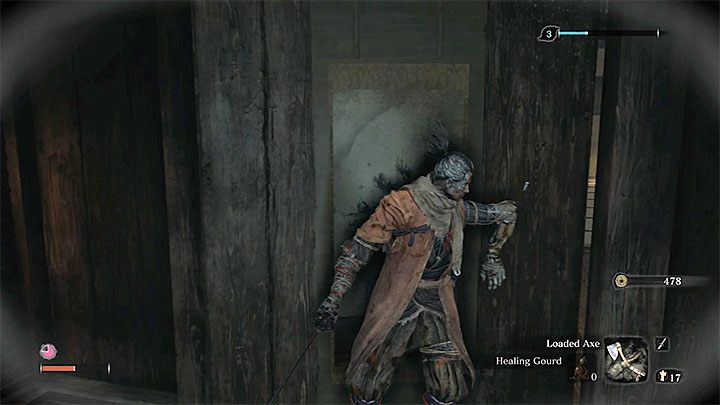
The entrance to Hirata Audience Chamber is located in the place where the boss was standing. Explore all the rooms and beware of new, lone opponents. Most importantly, examine the wall shown in the picture. Interact with it to turn it and discover a secret area. You will find, among other things, a large box with Prayer Beads.
Further in the Audience Chamber, you will find a Sculptor's Idol and you will meet an NPC who will warn the hero about illusions and give you Snap Seeds to dissolve the illusions.
Boss: Lady Butterfly
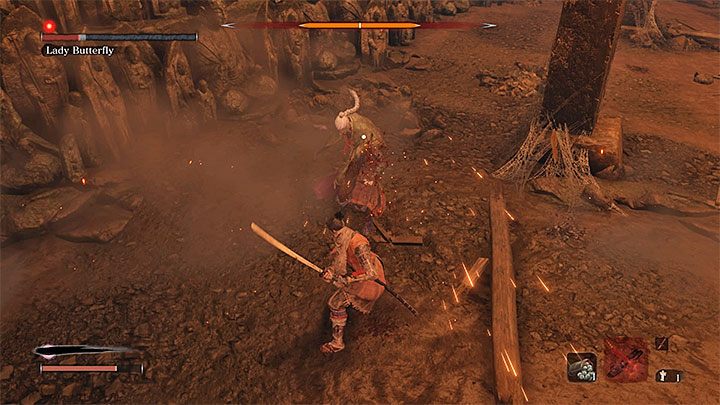
Go through the long corridor, kill an archer and move a fragment of the floor. Go down the stairs and use the Hidden Temple Key to unlock the Hidden Temple, where the duel with the main boss of this location - Lady Butterfly - takes place.
The main attack of this boss is throwing big spikes at you. In addition, she can seek to strike at close range, as well as perform two main types of attacks impossible to block - an attack from the air and a thrust. A universal way to avoid damage is to use of tactics suggested by the game itself - perform dodges immediately followed by a counterattack (plus possible subsequent attacks).

Performing a lethal strike on Lady Butterfly will not end the fight - you will, however, enter the next stage of the fight. The greatest obstacle are the illusions summoned by the boss. You can attack them normally, but the best way is to run between them and use the Snap Seeds to destroy them quickly.
Another new danger are the missiles fired by Lady Butterfly. They do not cause huge damage, but you should move a lot more anyway. Use the strategy from the first stage of the fight, and, in the end, you will be able to perform the Shinobi Execution. The boss leaves behind Memory: Lady Butterfly, as well as a Sakura Droplet. After the cut-scene, you will return to the Dilapidated Temple. You can still go to the Estate if you want to continue exploring, or easily get some XP and gold. In the place where Lady Butterfly was, you will find a new Sculptor's Idol.
A full description of the boss fight with Lady Butterfly can be found in the Bosses section of the guide.