

Outward Map Outward Guide and Walkthrough
Last update: 10 April 2019
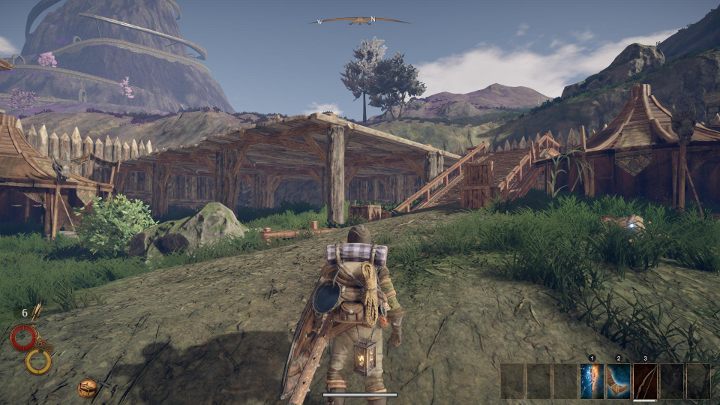
Cierzo. The first city - this is where you start the game. Thoroughly search the entire location. Here you will find some free weapons, as well as the necessary equipment such as the Fishing Harpoon (for fishing) or Waterskins (for water storage). Before going to the next point, get some fresh water (you'll get it from the thingy beach), some food, and a Bedroll that you'll find in your home. You should also buy a larger Nomad Backpack from the trader Doran, and Bitter Spicy Tea from an alchemist named Helmi - it removes infections you can catch when fighting hyenas.
Blister Burrow. You can easily reach the location by traveling along the road with wooden, semicircular structures. Here you will find the Simple Bow arch - it is in the corpse at the beginning of the underground. The bow will allow you to weaken your enemies from a distance. The location also contains the shield required to complete the task of Helen's Fungus.
Bandit Camp. A very important place to visit. In the outer part of the location, there are several basic bandits - you should easily deal with them with one of the weapons from Cierzo. Take a particular interest in the wooden platform, where you will find a Brutal Club weapon dealing 29 damage. Inside the camp, there's a weapon Brutal Greatmace, but it is guarded by a strong creature Wendigo - it is better not to fight him at the beginning of the game.
Montcalm Clan Fort. Before you go to this location, buy a Halfplate armor from the blacksmith in Cierzo - after you sell the loot from previous locations, you should have enough silver. There are a lot of enemies in the location. Most of them are ordinary bandits, but the fight against Ice Witch and the Bandit Captain can be challenging. You will find plenty of valuable items on site to prepare you for your trip to another region.
Ghost Pass. Last proposed location before moving to another land. Ghosts are stationed in the location - you won't deal much damage with a regular weapon, but you can find Spiritual Varnish at the beginning of the dungeon, which increases the amount of damage dealt with the ghosts when you apply it to the weapon. In the location, you will find a lot of Mana Stones, as well as a recipe for Cungent Paste, which is food that regenerates all of the hero's needs.
Road to Hallowed Marsh � Choose this road if you want to join Holy Mission of Elatt faction.
Road to Enmerkar Forest � If you want to join Blue Chamber Collective choose this road.
Vendavel Fortress � When you enter the location, you will not be attacked by anyone, but if you talk to the guards, you will be captured or will have to fight a very strong opponent. It's better not to go in there at the beginning of the game.
Cabal of Wind Tower � There are very strong opponents in the location. Already outside, you will meet several enemies attacking with spells from a distance - at the beginning of the game, you will probably not be able to reach them.
Vigil Pylon � With weak weapons, stay away from this location. There are a few very demanding enemies here, who deal massive damage.
Conflux Mountain � A location with a large number of enemies, but after completing points 1-5 from this map, you have a chance to clear the location out. If you want to go there, take a lot of potions and temporary weapon enhancements with you. In Conflux Mountain, you can unlock your character's mana to allow you to use spells. You will get to the location in the course of a mission from the chosen faction.
Outward is divided into several vast regions - each one of them has numerous challenges for you. Start preparing yourself right from the beginning of the game. You can do that by exploring the first region in a certain way. This page is our suggested way of exploring Chersonese. Here, you can also learn where you can find free equipment in Cierzo. The path and the order of visiting locations are all marked on the map above - explore the places by following our order and you will find items necessary during adventures in other regions. Visit the places marked on the map to prepare yourself for future adventures in regions where you can join one of the factions. Places that aren't advised for beginners are marked, too - these locations have powerful enemies. Go back to them after your character becomes stronger.
- 1. Cierzo
- 2. Blister Burrow
- 3. Bandit Camp
- 4. Montcalm Clan Fort
- 5. Ghost Pass
- 6. Traveling to another region
1. Cierzo

The game starts in Cierzo. Explore this place - you will find free equipment. Move around the town by following the order suggested above.
- Point [1] - you start here. Examine the yellow shrubs near the house before you go down to the town's center. You will find Quarterstaff, a weapon that deals 16 damage.
- Point [2] - head to the large building nearby. Felling Greataxe lies near the entrance. This weapon deals 18 damage. This Greataxe is probably the best free weapon in Cierzo. However, you should still test all of them.
- Point [3] - Pitchfork, a weapon dealing 16 damage, is near the inn.
- Point [4] - don't forget to visit the beach. Here, you will find Machete (deals 12 damage), Fishing Harpoon which allows you to fish, and Waterskin for storing water.
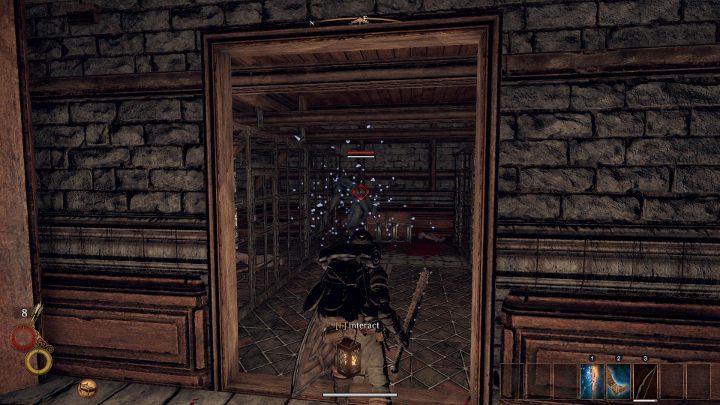
- Point [5] - Cierzo Storage is the last place you should visit. Check out only the parts with lights. The most important items are in these locations. If you go further, you will have to face enemies. Gaberry Jam recipe is in the illuminated part of the storage. Besides that, you will also find crafting materials, and Mining Pick which allows you to gather ores.
Choose the weapon that suits your playstyle the most, and look for the most basic items. You will need Clear Water (get in from the object on the beach), food, and a Bedroll (you will find it in your house). You should also get a bigger backpack called Nomad Backpack - sold by Doran, one of the merchants. Besides that, you should purchase Bitter Spicy Tea from Helmi, the alchemist - this tea removes an infection you can get by fighting hyenas.
If you want to prepare yourself for an adventure, check out the following pages:
2. Blister Burrow

You have searched the town thoroughly. Time for an expedition. The first important location in Chersonese is Blister Burrow. This crypt is located in the north-west part of the region - there, you will find Simple Bow. To get there, move towards Montcalm Clan Fort. When you reach the fork, choose the path with semicircular wooden construction. This path leads to Blister Burrow - the Simple Bow can be collected from the corpse lying near the entrance to the location. The shield required for Helen's Fungus quest can be found further in the location. However, to get there, you will have to defeat numerous enemies.
A bow is useful even when you want to specialize in melee weapons. Use this weapon to weaken enemies by attacking them from a distance. After that, you can proceed with attacking them with your melee weapon. You can purchase arrows in Cierzo or get them from defeated bandits.
3. Bandit Camp
Next step is to visit Bandit Camp located in the southern part of the map. The outer part of the camp is roamed by a few weak bandits. Use one of the weapons found in the town and don't forget to dodge. You shouldn't have problems defeating them. Search the camp carefully. Ammolite Helm recipe is in the docks. Loot the bandits to get arrows and equipment. Pay extra attention to the platform presented in the picture above - there, you will find Brutal Club which deals 29 damage. This is a great beginning weapon.
Bandit Camp also has an inner section. There, you will find Brutal Greatmace which deals 30 damage. However, it is guarded by Wendigo, a very strong monster. The creature deals frost damage - it will be difficult to beat with your current gear. If you still want to try to defeat it, get Life Potions from the alchemist in the town. Besides that, you should also get Fire Rag, a temporary weapon upgrade that applies fire damage to your weapon.
4. Montcalm Clan Fort

After visiting these locations, you will collect a lot of various items - sell all useless stuff. Collect 150 silver coins for your house and to get Halfplate armor. Before you go to Montcalm Clan Fort (this place is marked as Bandit Camp on the map), purchase Halfplate Armor, Halfplate Boots and Halfplate Helm from the blacksmith in the town. The full armor set will reduce the damage received from enemies.
If you still need money, check out "How to earn the 150 silver at the beginning of Outward?" chapter.
You are now ready to explore Montcalm Clan Fort - this place is in the northern part of the map. This place is a bandits' camp. There, you will encounter a few enemies. In the beginning, you will encounter only the regular bandits. Thanks to the Halfplate set and Brutal Club you shouldn't have problems defeating them. The Ice Witch, presented in the picture above, is much more challenging. This enemy doesn't have a lot of health, but she is using magic and is able to deal massive damage - run to her as fast as you can and overwhelm with attacks.

Bandit Captain is the second challenging enemy in this location. Here, you won't be able to defeat the enemy by attacking him constantly. Dodge to the sides and block - attack only when you find an opening in his defense. Bandit Captain is slow - use this to your advantage by moving around the battlefield. Once the enemy is dead, loot his body. The key you find on his body will give you access to the throne room nearby. There, you will find another Brutal Club and a few other valuable items. Remember to search the entire camp - you will find a lot of equipment, gems, potions, and food.
5. Ghost Pass

The last location you should visit before moving to another region is Ghost Pass. Here, you will find a lot of Mana Stones - dropped by enemies (inside the location) and from Ghost Plane (outside the location). Besides the stones, you will also find Cungent Paste recipe - this meal restores all needs of your character (hunger, thirst, even sleep). Enemies encountered here are resistant to regular attacks. Look for Spiritual Varnish located near the beginning of the location. Apply it to your weapon - your attacks will now deal a lot of damage to ghosts.
6. Traveling to another region

If you explored the locations listed above, your character should now have good gear and a lot of silver - you can now move to another region. You can go to any of the regions. Remember, each region is inhabited by a different faction:
- Holy Mission of Elatt is in Hallowed Marsh.
- Blue Chamber Collective is in Enmerkar Forest.
- To join the Heroic Kingdom of Levant, go to Enmerkar Forest and then head to Abrassar Desert.
If you want to join a specific faction right away, go to the region with the faction of your choosing. If not, you can explore any of the regions. Remember to take 3 units of Travel Ration with you - to craft it, you will need 2 units of any type of food and 1 unit of salt.
You need salt to make Travel Ration? Check "How to obtain salt?" chapter. You aren't sure about the profits provided by the factions? Check "Which faction is worth joining?" chapter.