Reaper's Coast enemies | Tough fights and bosses Divinity Original Sin 2 Guide, walkthrough
Last update: 16 October 2017
In this chapter you can find information about all key and challenging fights that take place on Reaper's Coast.
- Driftwood Arena
- Lamenting Abomination
- Mordus
- Possessed Dwarves in the destroyed fort
- Ghalann
- Desiccated Undead
Driftwood Arena
Driftwood Arena is located under the town's tavern. Here, you must participate in two fights. Everyone in your party starts the first one with Blinded status effect which greatly reduces their range of attacks and accuracy. You should use spells (Accuracy doesn't affect them) and summon creatures -Blinded status doesn't affect them. Equip your non-mages with scrolls that will allow them to summon monsters on a battlefield.
The second round can be activated after winning the first one. During this battle you must fight with Murga, the arena's champion. Soon, she is joined by a Captive Voidwoken. However, this fight is much easier than the previous one - your characters aren't Blinded anymore and you have to face only two enemies. You shouldn't trouble yourself with saving Murga - even if you manage to kill the monster before you kill her, you still have to eliminate the woman. This means that you can't spare her.
Lamenting Abomination

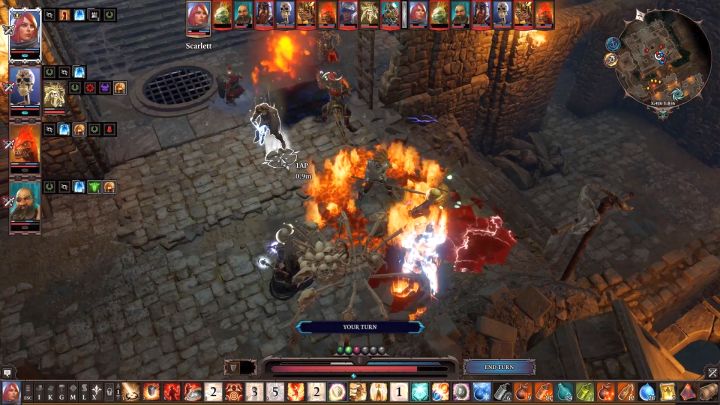
The fight with Lamenting Abomination is one of the most difficult ones in the entire game, especially when you don't have a strategy. The enemy itself isn't that dangerous but it is accompanied by wolves - each turn, they can use an ability that increases the main foe's damage. This effect can accumulate endlessly which means that, after one turn, the enemy can kill any of the characters with one hit.
This problem has two solutions:
- You can kill or neutralize (Stun, Freeze or Knock Down) all wolves before they get a chance to strengthen the main foe - if your team focuses on damage then you shouldn't have any problems because the wolves aren't very resistant and are easy to kill.
- You can also neutralize Lamenting Abomination by Stunning, Freezing or Knocking him Down - a buffed enemy won't be able to do anything to you when he can't move. Freeze surfaces work great against him (they have a chance to Knock him Down). The same can be said about abilities that inflict Enweb status. Spider Legs (Polymorph) ability is very useful here - it allows you to create spider webs on a surface that can stop anyone who steps on it (the ability ignores armor).
Choose one of the two solutions and kill the enemy.
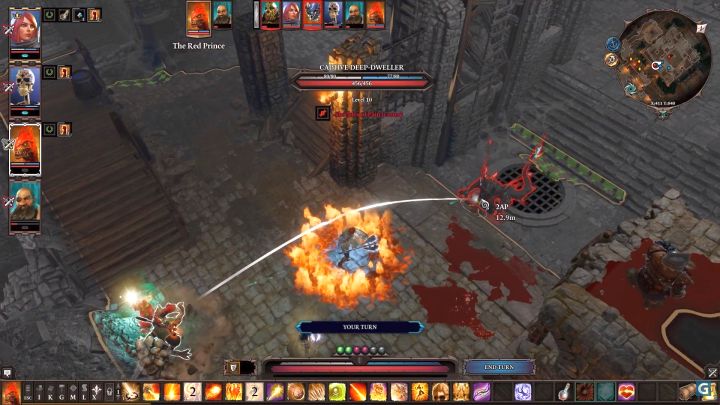
Mordus

The fight with Mordus is connected with one of the main quests which means that you can't avoid it. However, you can make it easier by focusing all your power on Mordus and ignoring the rest of the enemies. The reason is simple - when his health points drop to a low level (about 30%) he uses an ability that allows him to change into a Voidwoken. This increases his resistance and damage. You can't allow him to do that - keep knocking him down (Knocked Down effect) or immobilize him by using magic (Frozen, Petrified or Stunned status effects). After that the rest of the enemies will be just a formality.
Possessed Dwarves in the destroyed fort
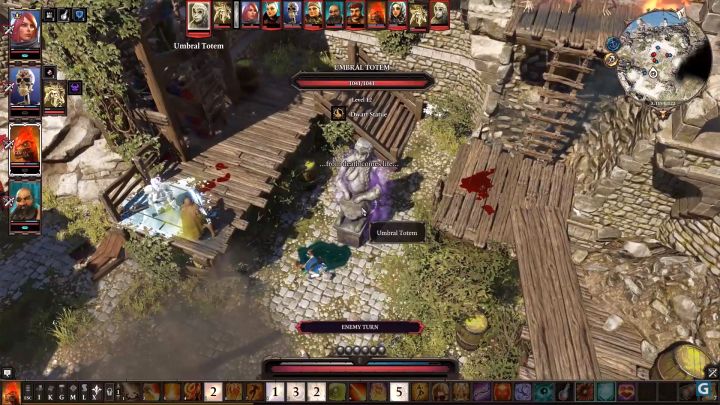
At a first glance, this fight may seem to be rather complicated because you have to defeat a lot of enemies that are scattered around the entire arena. The biggest convenience here is that the enemies are scattered - they won't be able to focus their attention on a single character which means that you can eliminate them one by one with ease. It is important to start the fight from the south (by going down from the tower) and not by going through the main entrance - your party will have a worse start because of a height difference. The fight features a special enemy that should be mentioned here - Umbral Totem. It won't deal you any damage, however, it can increase armor and heal all nearby enemies - destroy it first to make the fight easier.
Ghalann

Reaching that fight is more difficult than the fight itself. You must approach a distinctive flower and then use any of the Sourcery abilities on it (Bless or Spirit Vision). A character that used the spell is moved under the ground where the fight will take place - the rest of the party must join that character by clicking on the flower. The fight is very easy - all enemies are extremely vulnerable to fire which means that spells, grenades and fire arrows work great against them.
Desiccated Undead

The fight with this enemy (and its allies) happens two times in the game. The first fight that takes place in a wood is very simple - the enemy has a rather low level and is accompanied by a few Undead. All enemies are vulnerable to healing effects which are very dangerous to Undead - you can also use area spells because the enemies start the fight by standing close to each other.
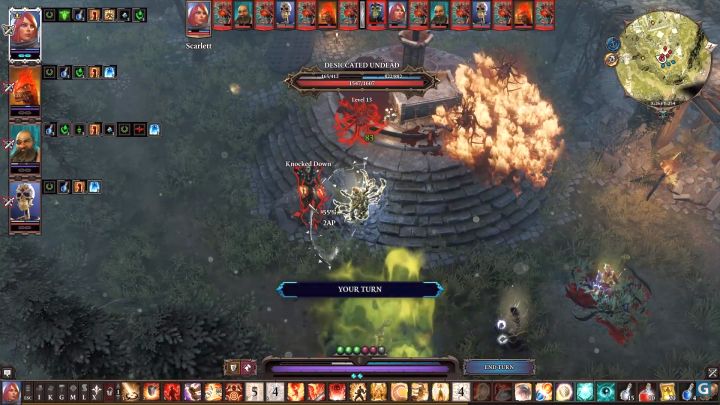
The second fight takes place much later, about halfway through your exploration of Reaper's Coast island. Here, the way in which you start the fight is crucial - the enemy uses an area spell that deals a lot of damage and depletes most of your characters' magic armor. After that he takes over one of them. You can increase your magic armor temporary (by using potions or spells) or simply scatter your party - the enemy can't use his area spell and can't control them without destroying their magic armor first. Kill the main enemy first and then deal with the rest of them, one by one - Parasitic Hearts can regenerate themselves which means that you should focus on single enemies.