Oddworld Soulstorm: Descend to the Fragon's Eye, The Sanctum - walkthrough Oddworld Soulstorm guide, walkthrough
Last update: 16 April 2021
This page of the guide to Oddworld Soulstorm contains the second part of the walkthrough of Mission 12 - The Sanctum. You will learn how to deal with Sleeches, how to avoid spiky traps, how to pass 3 Flame Trials, where to find the Fragon's Eye artifact, how to perform a Leap of Faith and how to escape from the catacombs.
Additional note: The green color in this walkthrough stands for secrets and unique locations/activities associated with the badges (challenges) in the game. Mission 12 badges were described on a separate page of the guide.
- Descend to The Trial Chamber
- First Flame Trial
- Second Flame Trial
- Third Flame Trial
- Descend to the Fragon's Eye
- Run!
Descend to The Trial Chamber

After meeting Keeper, you will start exploring the second, much more difficult part of the catacombs. Start by going left and jump down to the lower shelves.
From here, you need to watch out for pressure plates. These are traps - they stick out spikes and kill Abe instantly (see image). You need to look around a lot and light up the area. Pressure plates are small, but turn yellow when illuminated. Go around them at a safe distance or jump over them (at first pressure plate, it will allow you to reach the loot container).
When going down the shaft, you must skip two pressure plates. Another one is located next to the unlit elevator, which you need to use to go down. When you reach the lower level, you'll come across another, equally important problem in this mission - Sleeches hiding in the dark. Their unique quality is that they are afraid of light. You can deal with them in two main ways:
- Light them up them with a flashlight - this won't work very well, however, if Sleeches surround Abe from multiple directions at the same time.
- Use flares - they can be found in the containers. It's a better solution, because you can protect the whole area around you. However, remember to regularly change the flares when they run out.
You can't let Sleeches get close to Abe, because they could kill him pretty quickly. Try not to kill them, either. Focus on the current objective and on scaring away the nearest creatures

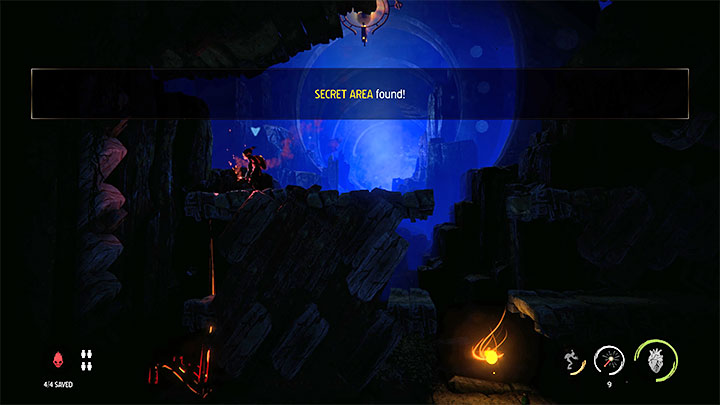
Go to the next elevator and use it to go down. To the left of the elevator and the Story Stone there is a Secret Area with a container. You can either search it quickly, or use a flare to get more time for looting.
Go right. Remember to loot the containers and watch out for the pressure plate at the very bottom - it's best to jump over it.
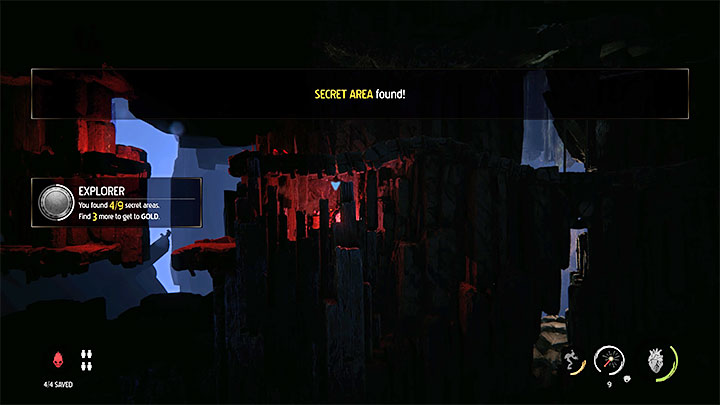
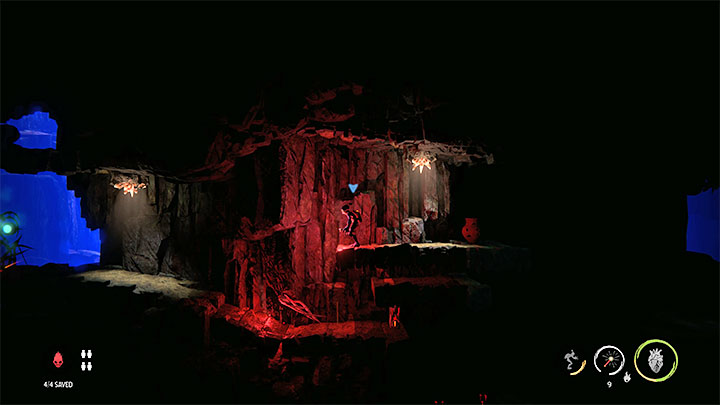
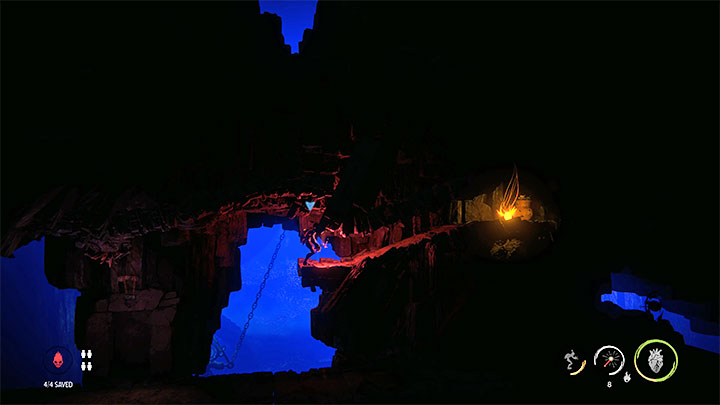
Use the new elevator and go down to the lower level. There are some new loot jugs near the checkpoint and the Story Stone. When climbing the surrounding shelves, you need to once again watch out for a pretty well-hidden pressure plate. A Secret Area can be discovered around here - see the attached picture.
Go to the next elevator and use it to go down - it's the only possible direction, anyway. Go right.
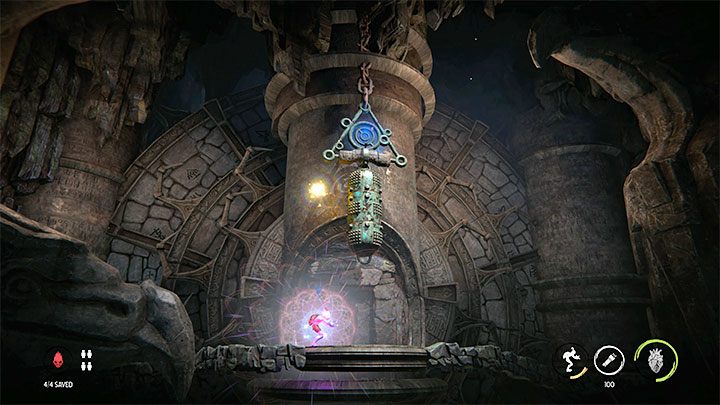
You will get to a large cavern. You can examine the Story stone here, as well as the jug to the right. Stand on the blue platform that will take you to the entrance visible in the background. Here you have to use Chanting to activate the upper bell. This unlocks the entrance to the Trial Chamber.
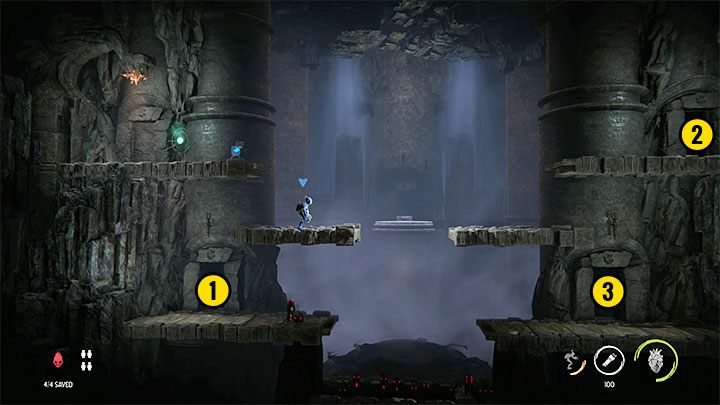
You will need to pass three Flame Trials. You can get to the trial areas through the passages available in the chamber in any order you want to. Watch out for the Sleeches lurking below.
First Flame Trial
Look inside the nearest jugs, light a flare and slide down the elevator. As you're exploring the dark locations, you will notice a Royal Jelly below, but you will get to it later.
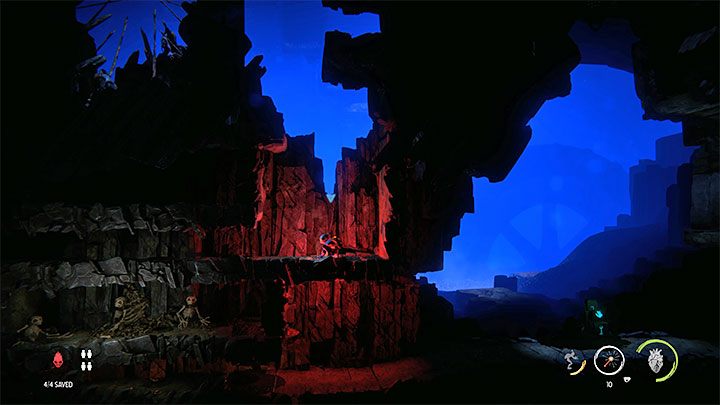
The location shown in the picture may be troublesome. Don't jump on the left shelf, because there is a pressure plate trap there. Instead, jump into the poorly visible top hole.
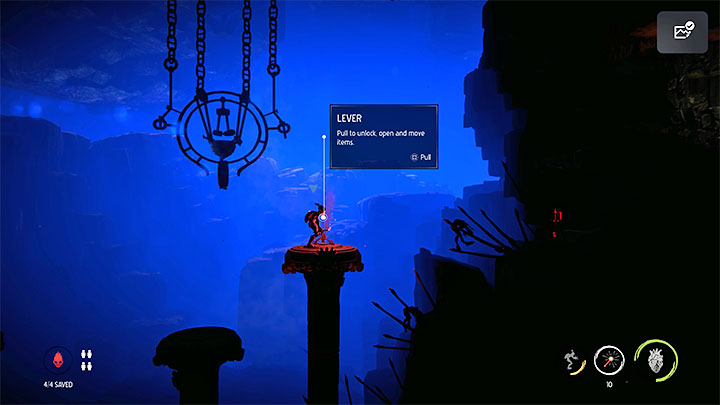
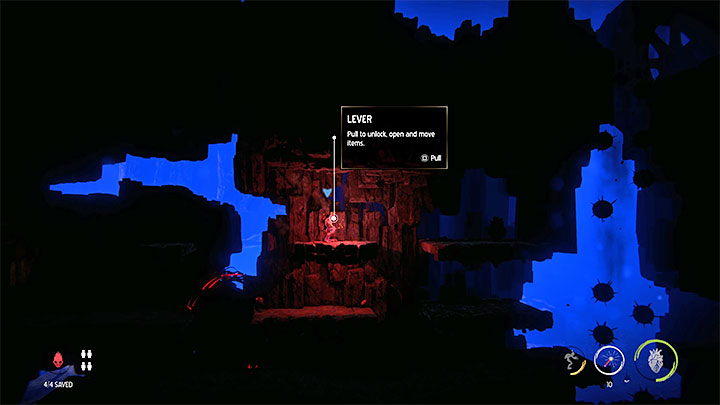
A little further, you will notice another pressure plate and you need to jump over it. You will now get to a lever. After unlocking the pathway, jump to the left corridor.
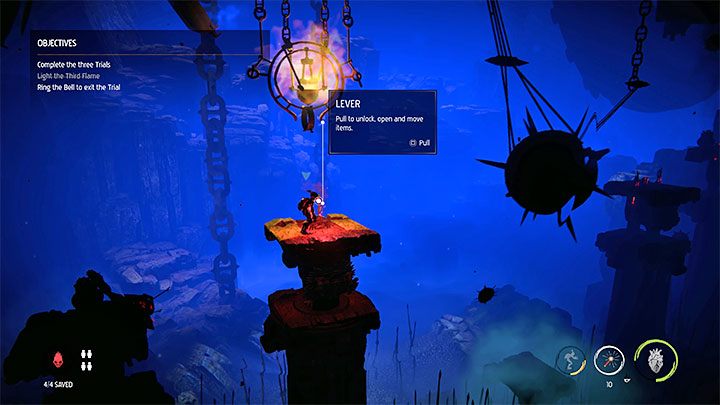
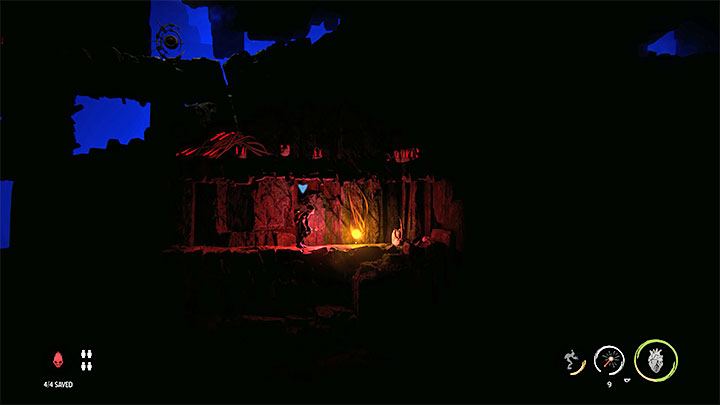
You will reach the hall with a large rotating mechanism. Don't jump into it. Instead, head down to reach the passage shown in the picture - there is another checkpoint there. Pull the lever to start the fire.
Start by lowering yourself to the shelf below, i.e. under the first flame. Here you will find the Secret Area shown in the picture along with a Royal Jelly. Additionally, next to the Royal Jelly there are Brew Bottles - they can be useful for you to get the Collector platinum badge (more information in the Challenges section).
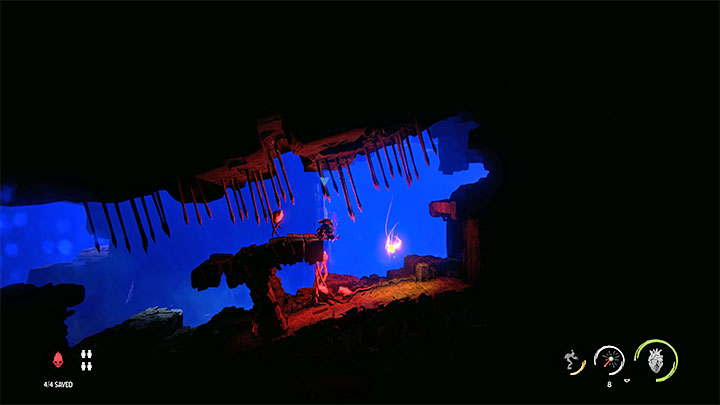
Go to the upper right passage, shown in a short cut-scene. In the location visible in the picture above, you can squeeze through a small hole. This will bring you to another Secret Area with a Royal Jelly.
Move further and watch out for more pressure plates - a flare will help you see and omit them.
After reaching the large room, climb to the top of the structure and use Chanting to activate the bell. The exit will open above you. To reach it, grab the left ladder shown in the picture and then perform a double jump to the upper opening.
Second Flame Trial

Watch out for a trap near the starting point and go to the right. You will get to the shaft and have to start climbing to its top. Large mines falling in twos will make it more difficult for you. Do all the "dangerous" actions as soon as the flying traps go past you, and keep your actions minimal to avoid crashing into more mines. Fortunately, there's nothing chasing you here.
In the further part of the trial watch out for Sleeches and another pressure plate trap. After getting to the spiky area, you need to reach a small platform and pull a lever to start a fire. From a short cut-scene you will learn where the bell will appear.
Go back left and use the previously inaccessible upper left passage. As you're exploring this area, use flares to help yourself and search the loot containers as you go for more objects of this type. You'll also come across a lever which you can pull.
At the location visible in the attached picture you must first roll left and then right. Watch out for flames in both cases - pass them one by one, stopping before each next one and waiting for the perfect moment to roll further.
When you reach the bell, use Chanting to activate it. The exit will unlock to the right.
Third Flame Trial
Soon after you start exploring this location, a large boulder will start to roll, and it can crush Abe. Sprint when you escape. Jump over the first spikes and roll to avoid the second ones.
Start exploring the lower area (flares are very helpful here) and reach the elevator. After riding to the lower level, you must move right and avoid the moving traps.
Quickly jump to the next platforms because they will lower. On the last one there is a lever that will start the fire.

Wait until new platforms extend from the floor. You can jump to them, but you still need to watch out for the moving traps. The path will lead you to another small elevator. When you're in the dark, use flares to find the next lever. Move along, finally reaching the next checkpoint.
Now you have to run from the large boulder again. This time you also have to first jump and then roll. The end of the escape is important - quickly run to the upper shelf so that the boulder doesn't crush Abe.
Climb up and use Chanting to activate the bell. The exit will unlock right next to it.
Descend to the Fragon's Eye
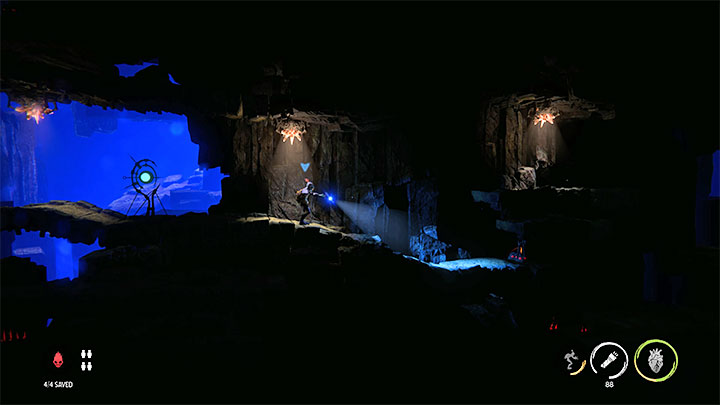
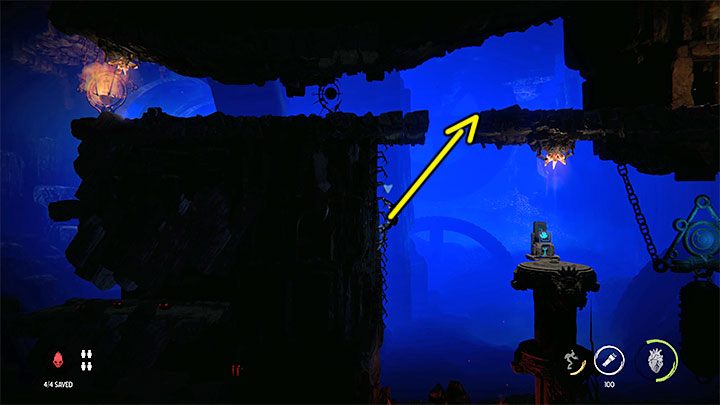
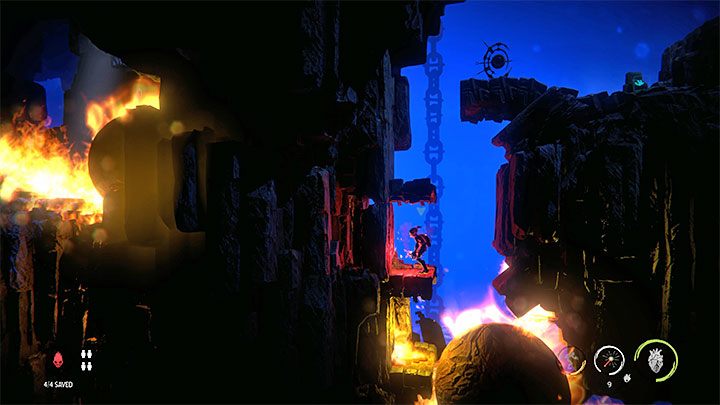
After completing all three tasks, return to the Trial Chamber. A blue platform will appear, which will allow you to reach a new location. You can use the passage shown in the picture.
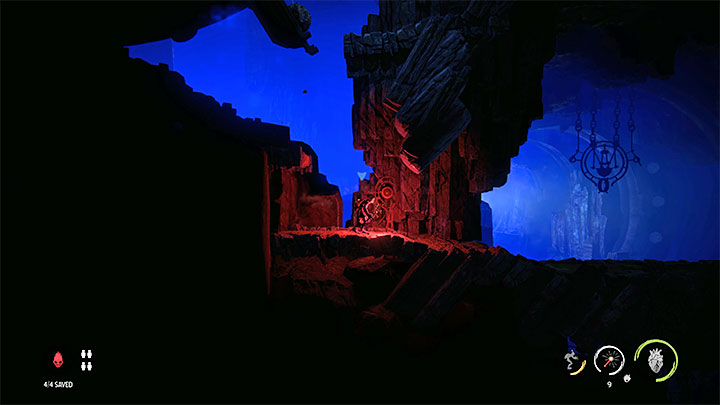
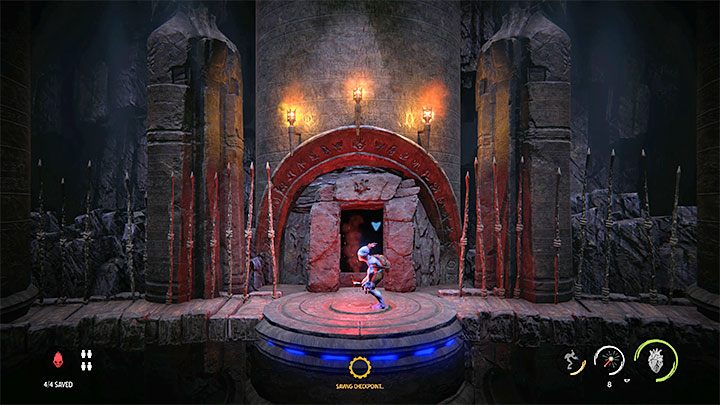
At the new location, start using the flares again. Jump to the next ladders and avoid falling down.
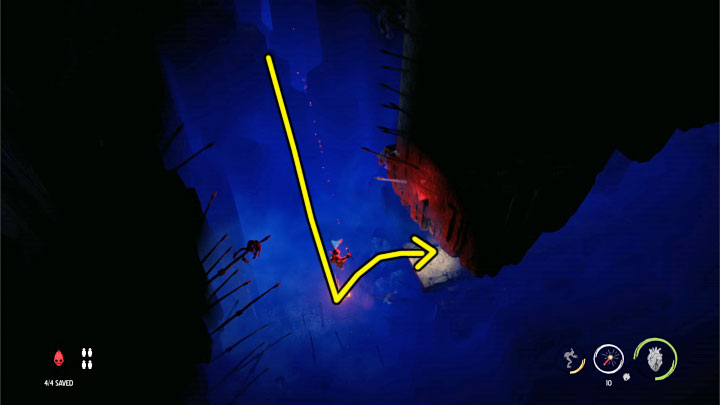
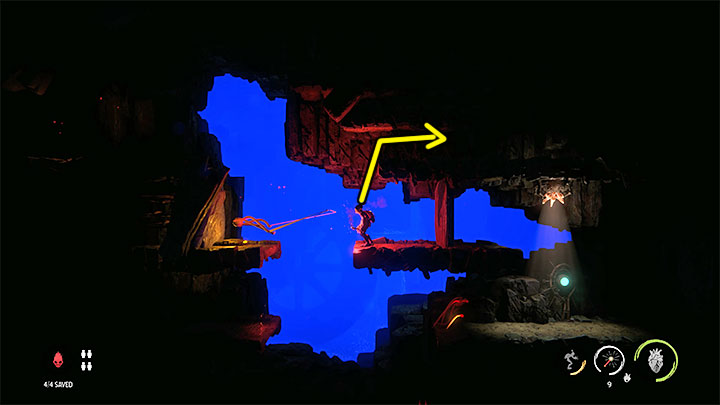
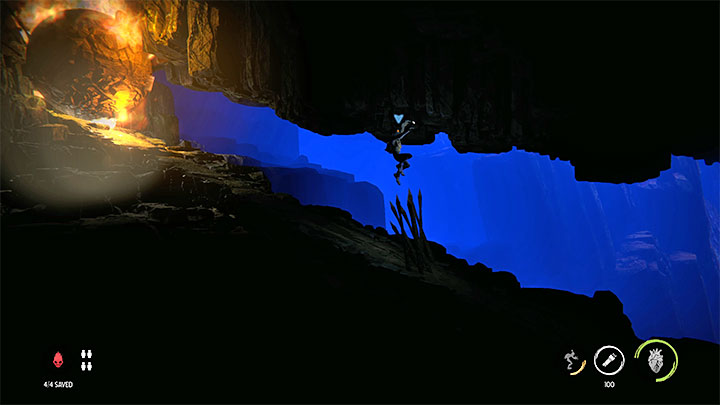
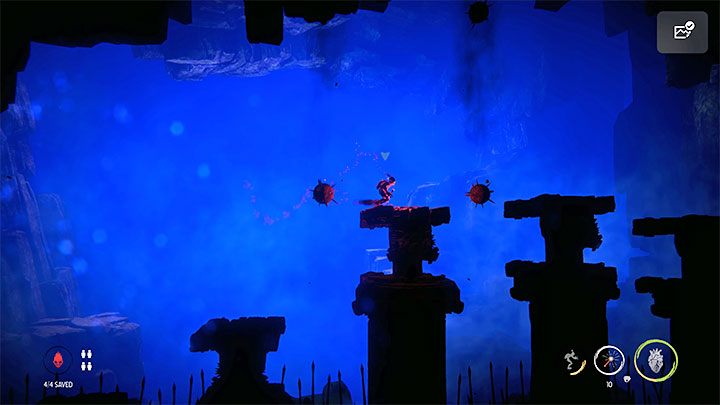
After reaching the larger left shelf, Abe must perform the so-called. Leap of Faith. Jump into the shaft, aiming at its middle. Don't press the jump key again. Press it only at the end of the fall, just before landing on the spikes. Abe should bounce back in mid-air and land safely on the right shelf.
Use the double jump again to catch the Royal Jelly in the air, but you may have already collected it when you were falling. Remember to press the jump key again after a short pause.
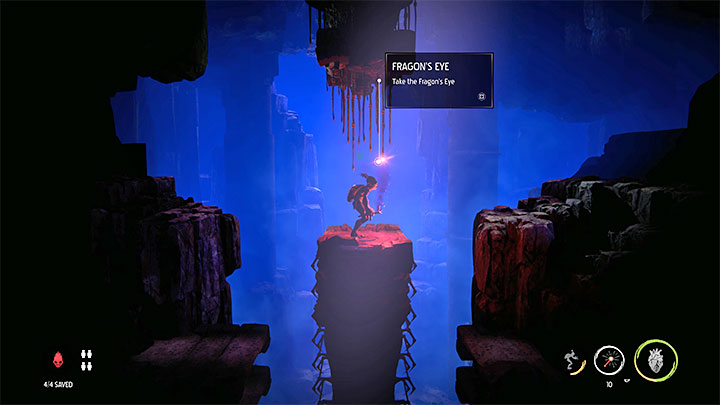
Go right. Use a ladder to reach the Fragon's Eye. Taking it will trigger the escape from the catacombs.
Run!
Go down the ladder and reach the new passage. Run right and after reaching the larger room, jump to the next platforms while dodging the mines.
During the escape, look for a place where you can get into a small side area and get the Royal Jelly.
Unlock a nearby checkpoint and continue your escape. In the next few rooms, jump to the Monkey Bars and run through the tunnel without stopping (spikes will appear behind you).
Avoid the swinging traps and keep running. Soon after unlocking one of the checkpoints, you will see the last Royal Jelly. Roll and resume the escape immediately after collecting the secret.
This mission will end with a long climb up the ladders to the hole at the top, which is the exit from the catacombs.