
Mortal Shell: Shells - list Mortal Shell guide, walkthrough
Last update: 02 September 2020
This page of the guide to Mortal Shells has information on where to find all available in-game Shells, and what each of them specializes in.
There are four Shells in Mortal Shell, their names being Harros, Tiel, Solomon and Eredrim. Each has unique abilities and gives a different feeling by playing them.
Harros, the Vassal
Harros, the Vassal is the first Shell you will find in the game. It is located at the very beginning of Fallgrim. When you reach Fallgrim after defeating Hadern, go ahead and turn left at the fork.
Shell of Harros is very well-balanced in terms of health, stamina and resolve. He doesn't stand out in any particular way, but he's not lacking in anything either. This Shell maintains the perfect balance between defense and attack. His notable abilities include a faster stamina recovery when using Harden, as well as faster use of Harden. This Shell gets more Glimpse, mainly after using Harden. He can also use them to heal.
Tiel, the Acolyte
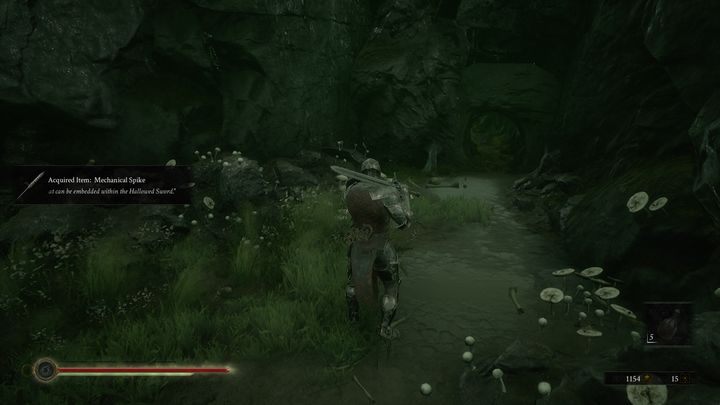
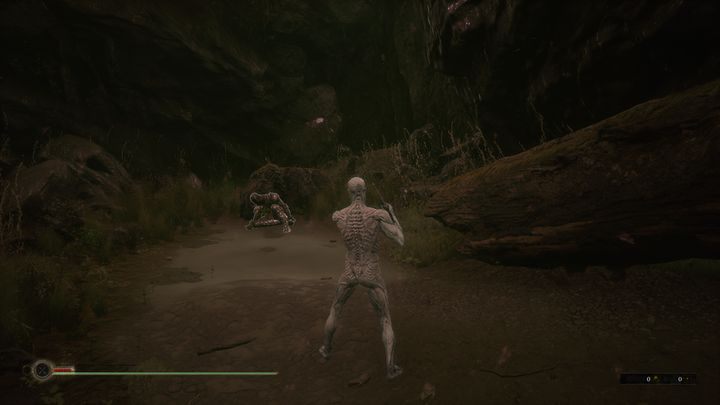
Shell of Tiel, the Acolyte can be obtained after the fight with Ven Noctivagu. When you defeat the boss, go to the same cave to find Tiel. The boss is located near a tree with bats.
Tiel, the Acolyte has a lot of stamina points. Unfortunately, this Shell is the weakest in terms of health. In addition, this Shell can only use a maximum of two Resolve points. This class is suggested for people who rely primarily on dodging and attacking with heavy weapons - this is due to the very high number of stamina points. Therefore, Martyr's Blade and Smoldering Mace will be the best weapons for Tiel. He also has a unique dodging animation that is much faster. Tiel's main skills are poison and stamina. When you perform a successful parry, you create a toxic cloud and heal yourself with the poison damage you dealt. Also, by attacking poisoned opponents, you have a chance to activate another passive skill. In addition, you have a 20% chance that a hit will cost you stamina instead of health. Better yet, you don't use stamina when running.
Solomon, the Scholar
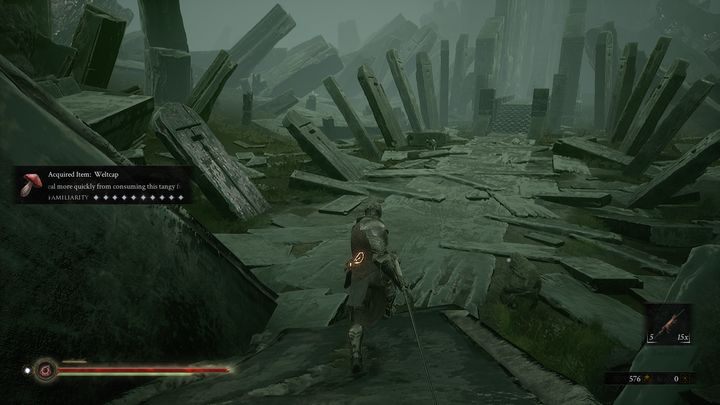
Solomon, The Scholar, is at the arena where you fought Grisha, near Fallgrim Tower. The passage to the lower floor and the tunnel is behind the chest. Go through the tunnel - Solomon will be on the other side.

Solomon is a Shell with a large amount of HP and the largest amount of Resolve. This is a class that is mainly based on the special skills you activate with Resolve. During a successful parry, this Shell can recover all 6 Resolve points. In addition, Solomon is great for learning what specific items do. Solomon can also heal when he uses the special ability of his weapon.
Eredrim, the Venerable
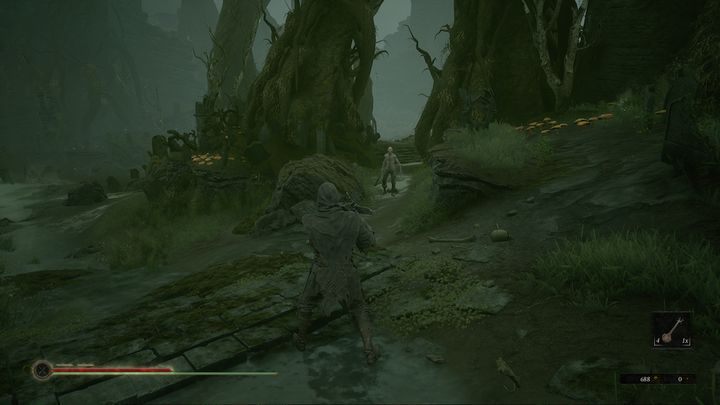
Eredrim, the Venerable is in Fallgrim, you can find this Shell while heading to the Seat of Infinity. The last Shell, Eredrim, is found by descending to the lower floor, near the bridge and the Corrupted Sester.
Eredrim is characterized by the biggest amount of health out of all Shells. The downside is that he has very low stamina and a maximum of 3 Resolution bars. All of Eredrim's abilities increase his chance of survival. One skill reduces the chance of getting your character out of balance. Another gives you a brief damage reduction buff when killing an opponent. He also possesses offensive skills. By killing opponents, he increases his base damage, and when he fights a lone enemy, he inflicts additional damage. This is the perfect class for fighting bosses.