Mortal Shell: Crypt of Martyrs walkthrough Mortal Shell guide, walkthrough
Last update: 02 September 2020
As you enter the crypt approach Sester Genessa. There is a book nearby that will take you back to the fight against Hadern. If you win the battle you will get Martyr's Blade.
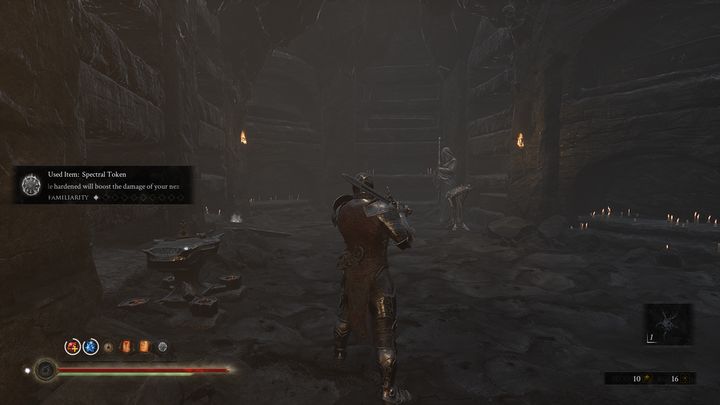
You can also upgrade your weapon here if you have the proper materials. The location will feature new opponents. We will describe each new enemy as you encounter them for the first time.
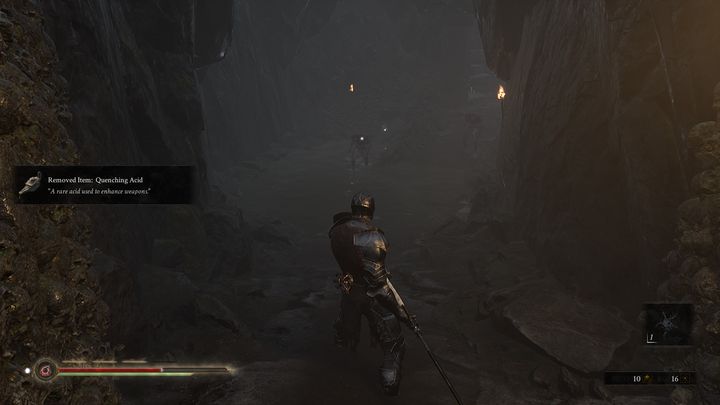
When you get everything done with your equipment, go straight ahead. You will come across two opponents that are the weaker version of Ven Noctivag. Defeat them in the same way as you have defeated the boss. It is better not to fight them in a group, because you can easily get confused, that is, you will often be caught by these opponents. Use Harden when they jump. Once you've defeated them, collect the 2x Spectral Token. Climb the stairs and keep walking.
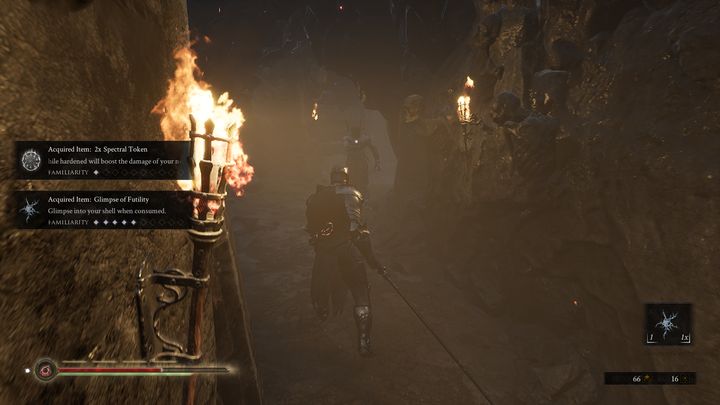
At one of the graves on the left you will find a Glimpse of Futility. A bit ahead you will encounter another new enemy - Slave of Scorn. This enemy uses ranged attacks but if you get too close he will use his swords to perform a melee attack. It is not that hard to defeat. Just remember that when his health level is very low, he will rip his head off and throw it in your direction. It leaves behind a toxic cloud for a short time. Don't step into it unless you have a large amount of mushrooms that provide poison immunity.
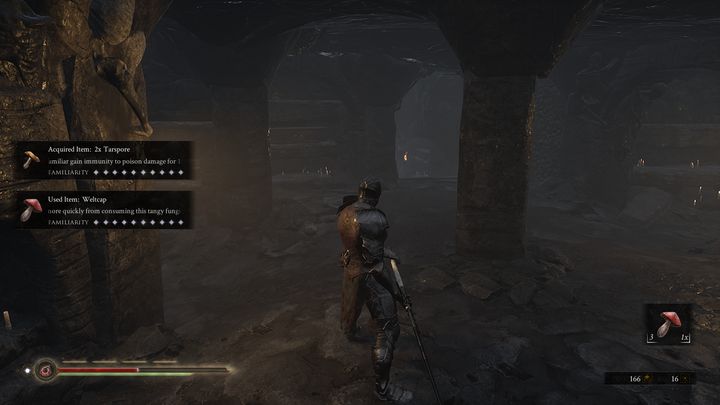
In the further room you will encounter two Noctivagu enemies and one Slave of Scorn opponent. One of the Noctivagu will be around the corner, just on the right side. Deal with them first, and then defeat the Slave of Scorn. After defeating them, you have three paths to choose from. First go right and then left. The road in the middle leads to the same final road as the road on the left.
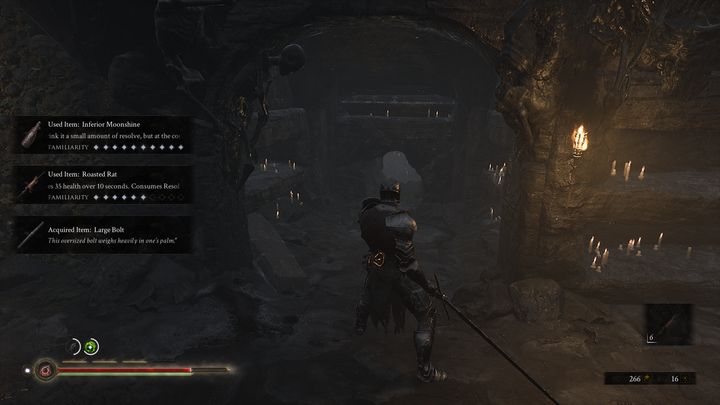
There is a hole on the right, walk through it and you will find a Petrified Winterglass and another inscription.
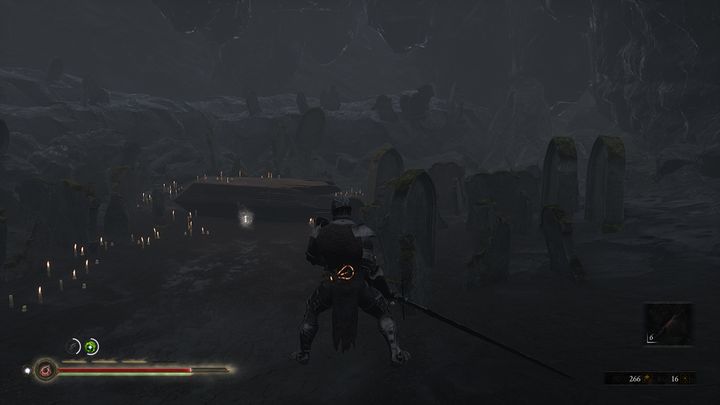
Once you have picked up the item and read the inscription, head back to the lobby you came from and walk to the left.
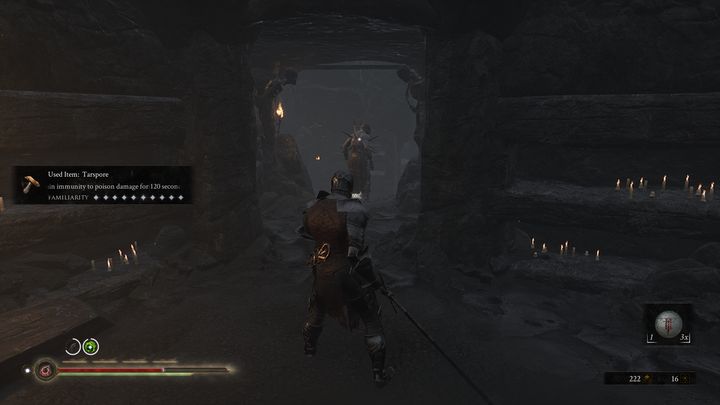
Once again you will encounter two Noctivagu enemies and one Slave of Scorn. Kill two Noctivagu. After that, defeat the Slave of Scorn. You can easily knock it off with a kick or by using Harden while you're near the enemy - it will bounce off your attack and fall.
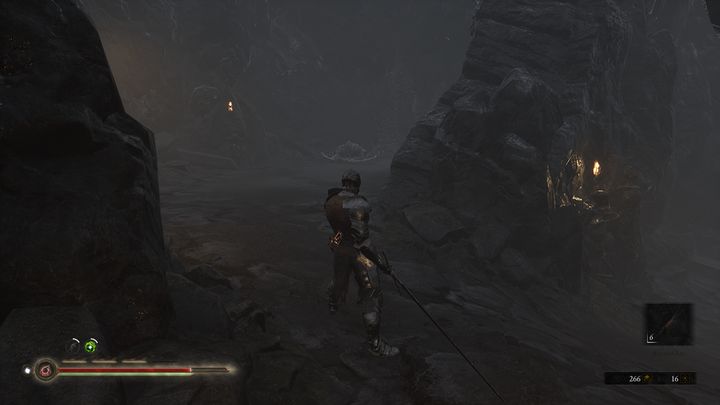
Go further. You will see a chest and a sleeping opponent, an Enslaved Disciple. This enemy is very slow, but his attacks are quick and inflict heavy damage. When you notice that he is attacking you, use Harden and attack him again. After he dies, pick up the Quenching Acid from the chest. Come down and keep going.
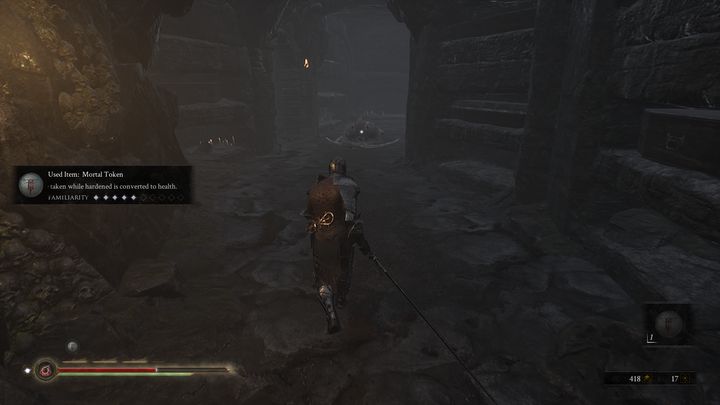
On the right you have a way that leads to the starting area of the location. There is no point going there, so turn left. You'll come across another Enslaved Disciple there. Defeat the opponent and go ahead. You'll find a Weltcap spawn.
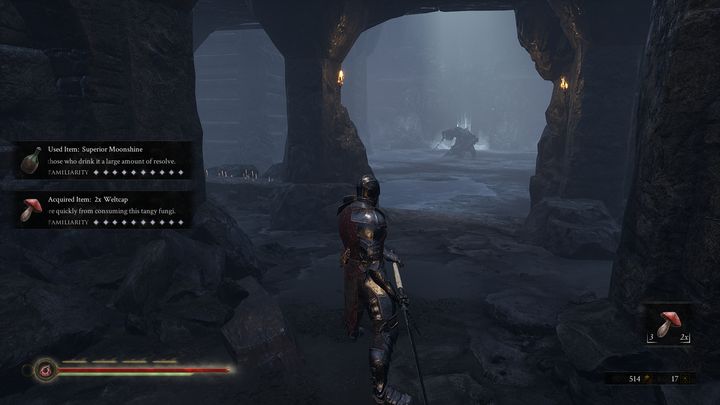
Continue on and you will come across Enslaved Grisha. A walkthrough of this battle can be found on another page of our guide. After defeating the Enslaved Grisha collect the Effigy of Tiel located on the left side, then head towards the icy door that were opened after defeating the boss. You'll find Sester Genessa there.
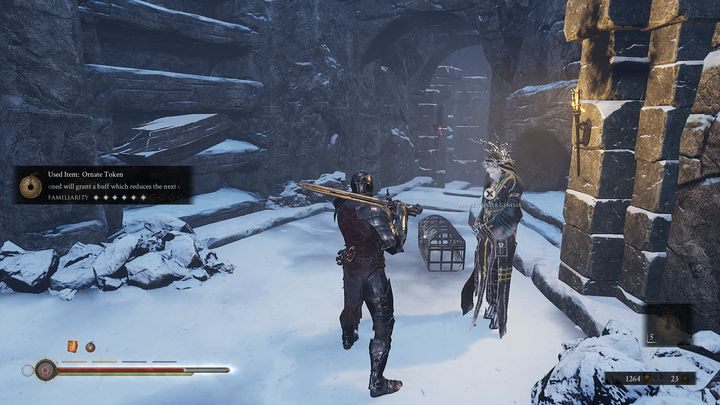
Talk to Genessa and open the chest. You will find Solemn Offering and Golden Bell in it. Then, continue down the stairs. You'll come across another Slave and a chest with Glimpse of Wisdom and Mortal Token. In addition, there is an inscription there. Read it and climb the stairs to return to the top.
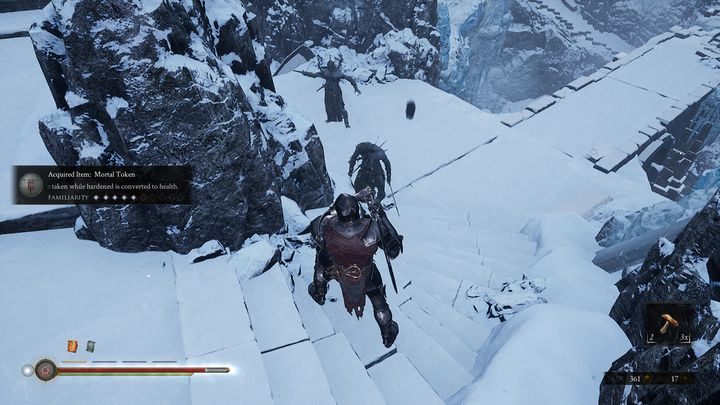
Go right and take the second stairs down. However, watch out for the two Slave enemies who are located below. Then walk across the collapsed bridge but be careful not to fall down. You will find a Glimpse of Futility on the bridge.
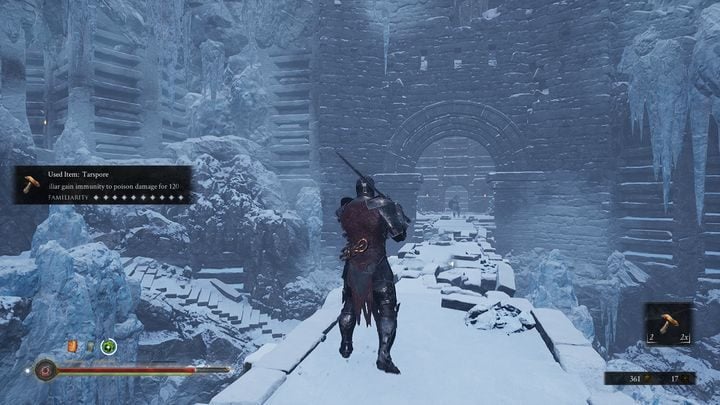
On the other side of the bridge you will encounter a new enemy that is equipped with a shield. It's a Gragu. The best tactics to defeat this enemy is to attack him from the back. They have a very small amount of HP and can be killed with just two or three strikes. They can seem difficult to defeat due to their shield, which can withstand a lot of attacks before it breaks apart. Therefore, when fighting them, try to get behind their backs and attack this type of opponent from behind.
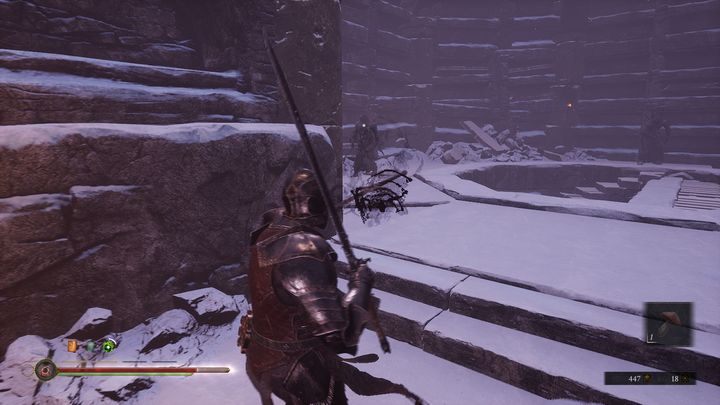
A little further away there is a room where you will come across as many as three Slave enemies. It's best to run up to one of them and provoke him to follow you. The Slave in the middle is the furthest away, so take care of those on the sides first. Once you've defeated them, go down the stairs.
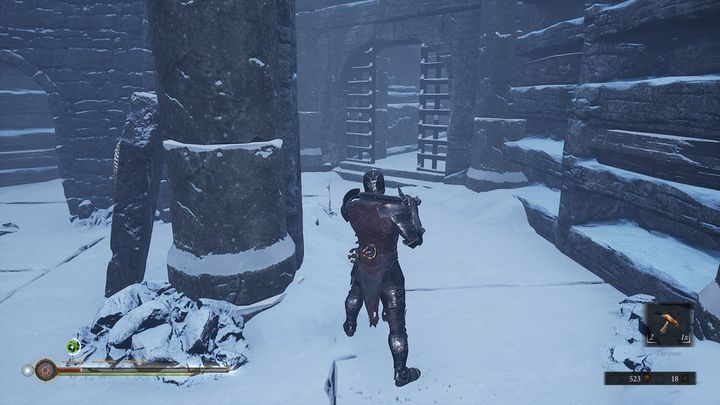
When you're downstairs, collect a Glimpse of Wisdom. On the left there is a room where two Slaves of Scorn and Gragu are waiting for you. It's worth provoking one of them into a fight instead of fighting many enemies at once, because it may be much more difficult. After defeating your enemies, loot the chest in which you will find a Radiant Winterglass. Step back and go the other way. Go down the stairs.
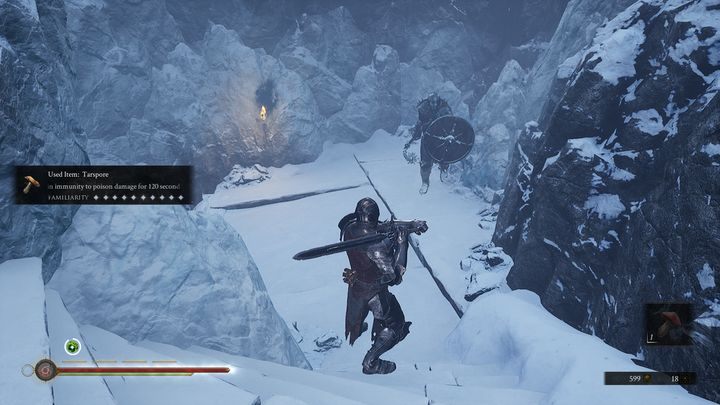
Next to the wall on the right there is another Slave, and slightly lower, a Gragu. Take care of them and keep going down.
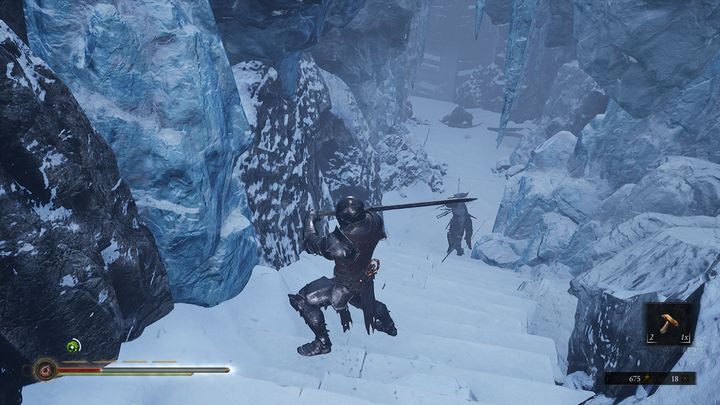
In the distance, you will see an Enslaved Disciple, while at the very end of the stairs, on the right, there is a hidden Slave. After defeating them, go down the stairs and defeat more individual Slave enemies.
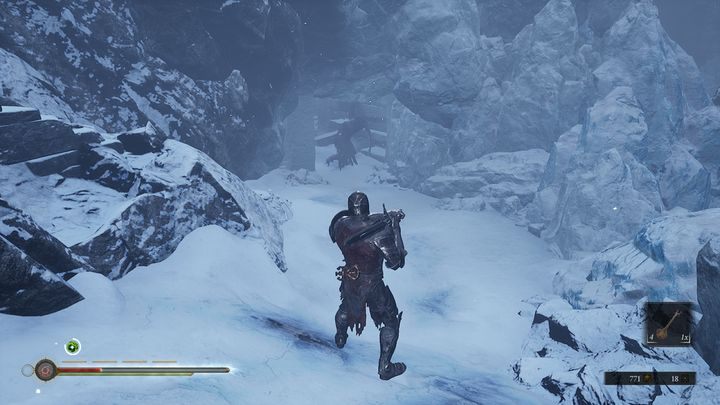
Once you get down, you'll notice another Enslaved Disciple. It guards the main passageway. But don't go there first. Instead, climb the stairs which are located on the left.
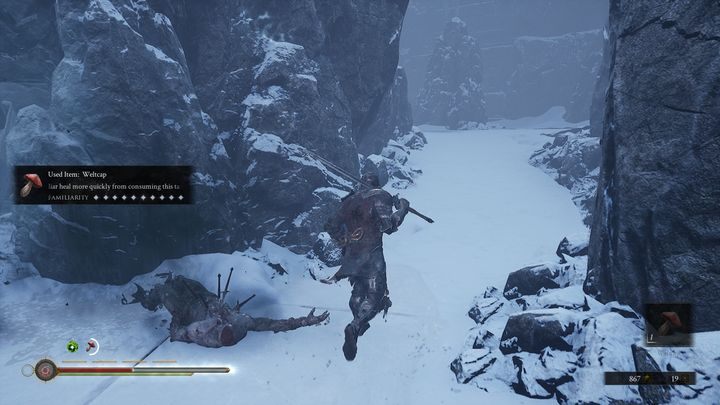
There is a Slave on the first floor. Defeat him and turn right. There is an Enslaved Disciple on the right. Defeat him first, then go left up the stairs, where you will encounter a Gragu.
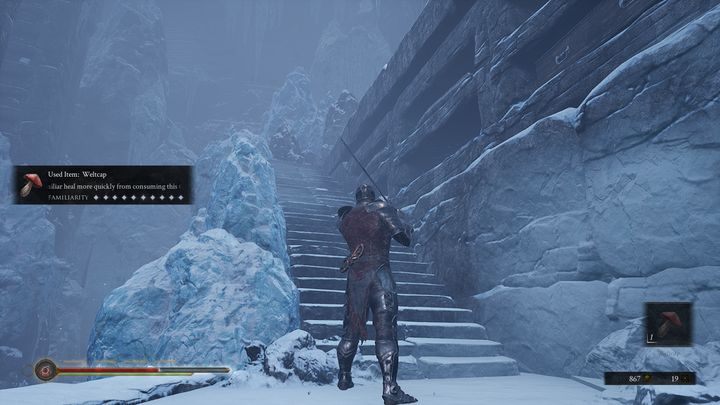
As you go up, you will encounter a Wraith, which is not much different from the earlier one, except that instead of incineration skill, it uses ice icicles that spawn from under the ground. After defeating the phantom, you can go upstairs and come across another Slave there.
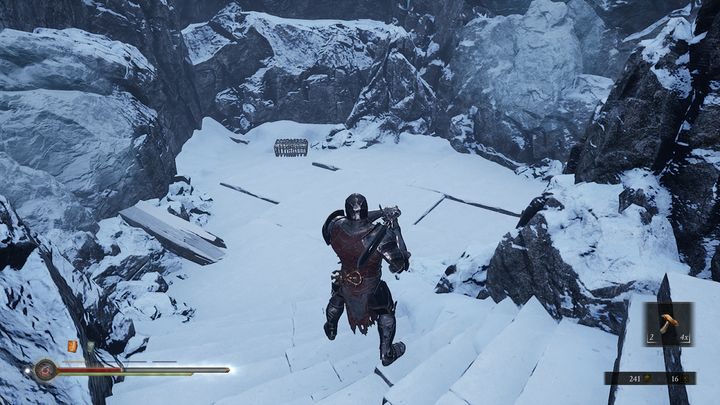
Instead of going to the top, on the left side there are stairs leading to the bottom. There is a chest there, but be careful, because on the right side there will be a Gragu. The chest contains Effigy of Eredrim, Spectral Token and Mortal Token. Once again go upstairs.
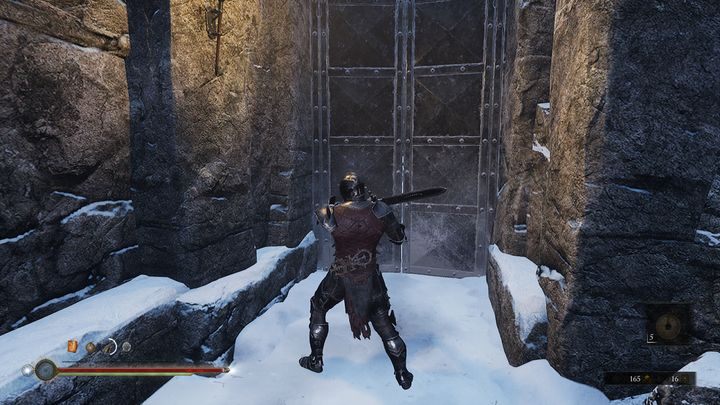
As you climb to the top, you'll notice the door. Open them and you'll unlock a shortcut. This door leads to Sester Genessa. After all of that, return to the spot where you fought the Wraith. On the right side there will be stairs leading to the bottom and a Gragu enemy. Now, move down to the very bottom and return to the main path where you fought the Enslaved Disciple.
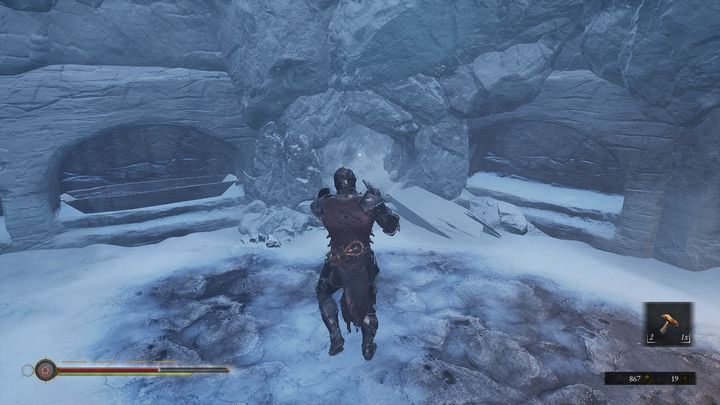
Go through the tunnel. You'll spot a Wraith on the other side and it's worth attacking the enemy while it's standing towards the opposite direction. On the right you can collect an item - the Scripture of Ardor.
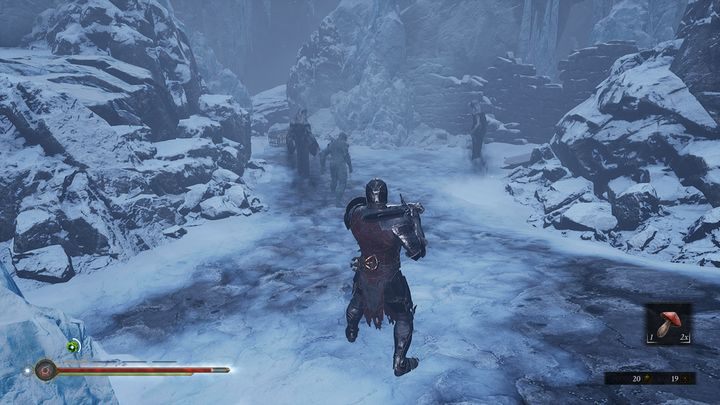
As you move on, you'll encounter more Wraiths. It's worth taking care of those enemies who are facing the opposite direction. Loot the chest in which you can find a Quenching Acid and a Spectral Token. Go through another tunnel, which is located to the left of the chest.
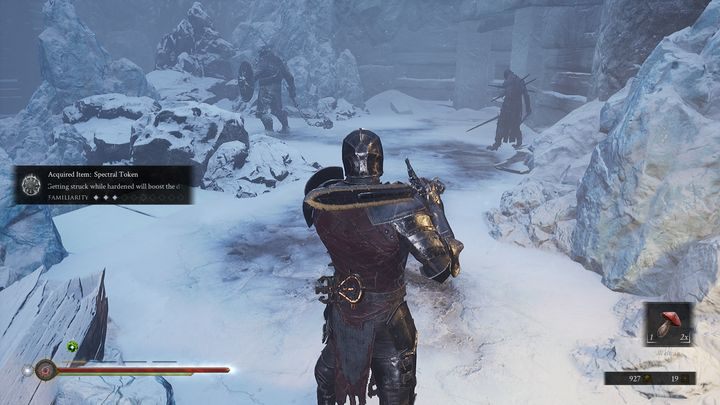
On the other side of the tunnel, there is one Gragu enemy and one Slave opponent. Wipe them out and turn left. Descend the stairs.
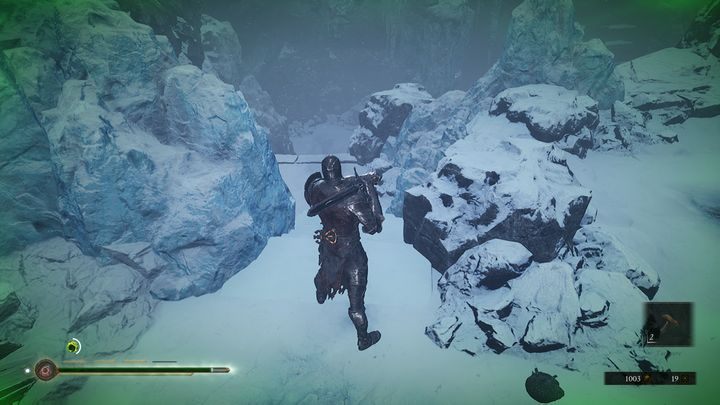
At the bottom there is another Slave and an Enslaved Disciple. Stay on that path, you'll encounter a Gragu at the bottom.
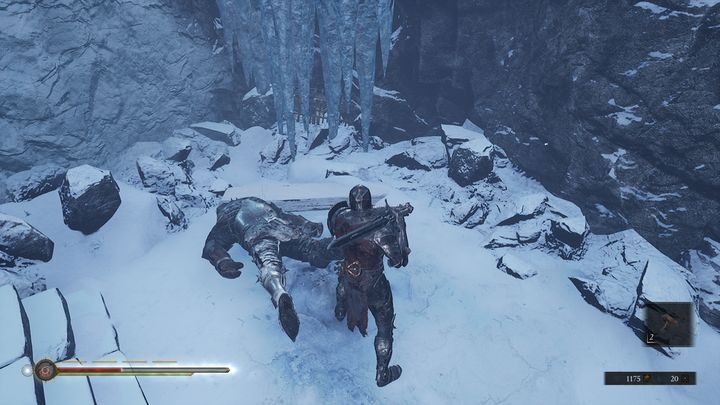
On the left side there are icicles of ice, attack them and open the chest in which you can find an Unguent Tar and Ethereal Diapason. Keep moving forward.
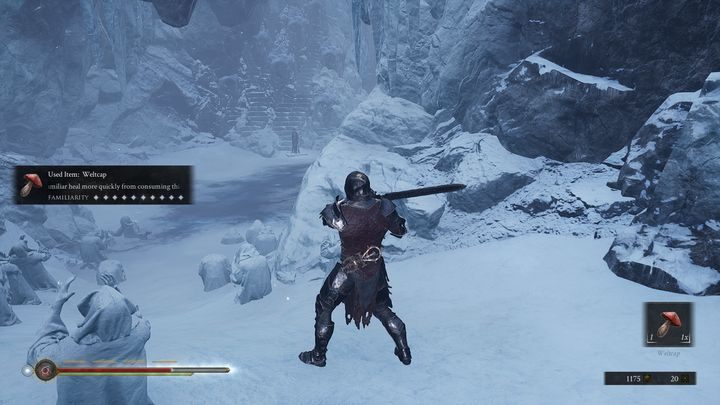
After a while you'll find the frozen sculptures. Next to them are some items to collect - 3x Glimpse of Futility and 2x Spectral Token. Then, you will come across Sester Genessa. Talk to her.
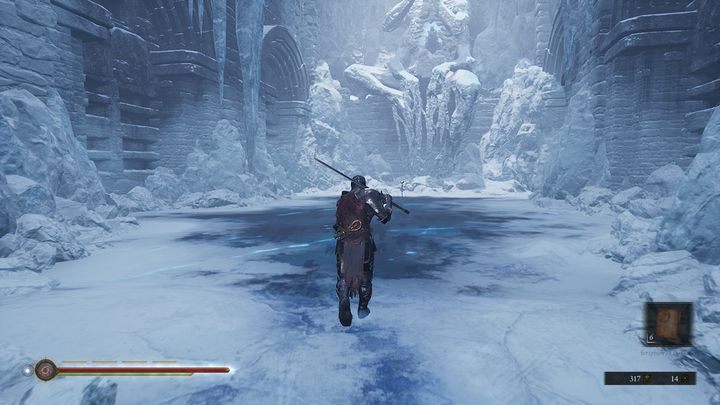
In the next area you can find a chalice. By drinking its contents you will start the boss fight, that is, the battle against Tarsus, the First Martyr. A walkthrough of this battle can be found on another page of our guide. However, before you start fighting the boss, there is a tunnel on the left. Use it. There is a chest there that contains a Glimpse of Truth, Effigy of Eredrim and an inscription. Now, you can start the boss fight.
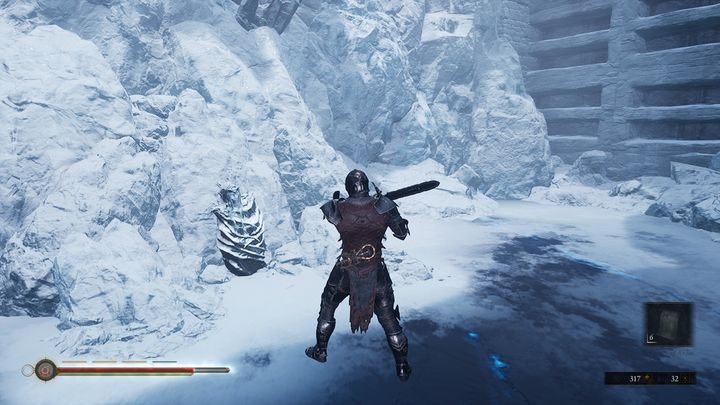
Defeat Tarsus and then loot his corpse. You will receive another key item.
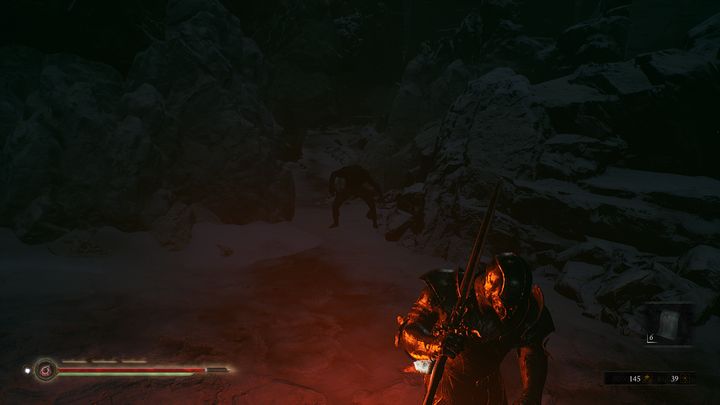
The whole location will be shrouded in darkness once again. Your job is to go back to the very beginning of the location. Also, you cannot teleport to the various Sester Genessa while carrying a key item of Tarsus.
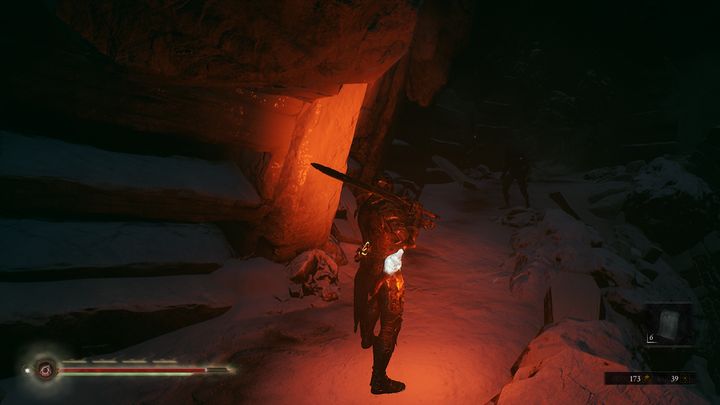
Head for the tunnel, but watch out for falling icicles. If you hear a distinctive sound, then you can be sure that an icicle will drop after a while. Defeat a Gragu and take the stairs up - they're located on the right side.
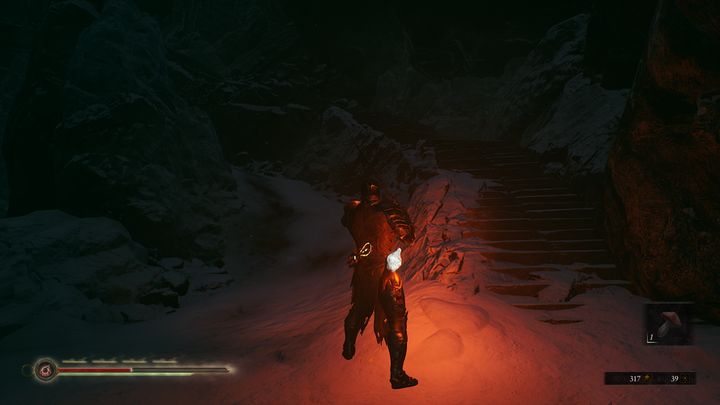
There are many opponents there - 3x Slave, a Wraith and a Gragu. It's better to run ahead instead of fighting them. Climb the stairs and head towards the exit of the previously open door. However, beware of the large amount of Noctivagu enemies. Talk to Sester Genessa to unlock the checkpoint.
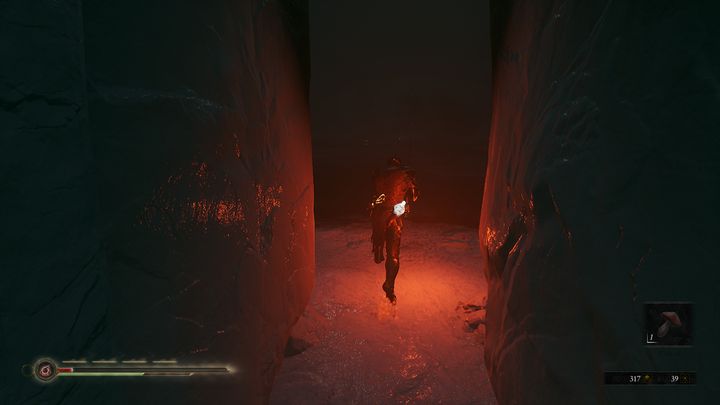
Go to the arena where you fought the Enslaved Grisha and walk ahead. However, watch out for four Wraiths and two Enslaved Disciples. After that, go up. Watch out for two Slave enemies and 2 Noctivagu enemies.
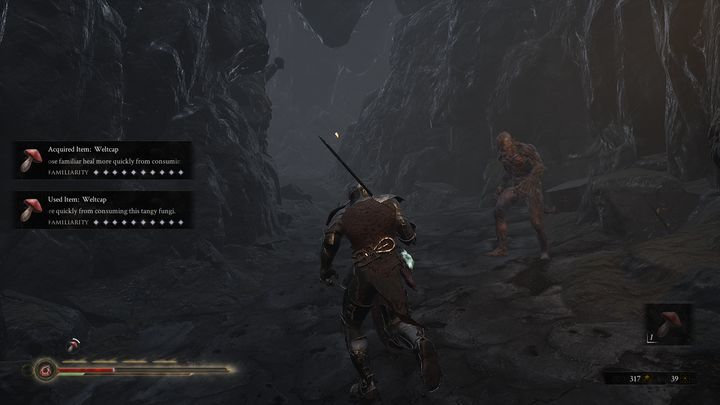
Enter the room, but be careful as there are more opponents inside the building, including more Noctivagu enemies. Then, continue forward towards the first Sester Genessa, but beware of a Wraith that will appear near her.
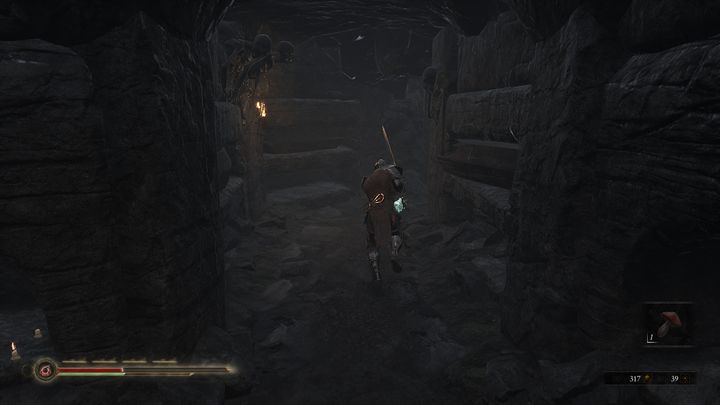
Talk to Sester Genessa and leave the location, heading to Fallgrim. Now your objective is to bring the key item to the Old Prisoner in Fallgrim Tower.
