
Guardians of the Galaxy: Chapter 3 - walkthrough Guardians of the Galaxy guide, walkthrough
This page of the game guide for Marvel's Guardians of the Galaxy contains the walkthrough for Chapter 3 (The Price of Freedom) and the choice to sell Groot or Rocket.
Last update: 08 December 2021
This page of the guide to Marvel's Guardians of the Galaxy contains a walkthrough for Mission 3 (The Cost of Freedom). The walkthrough explains how to solve the puzzles on Seknarf Nine, how to properly use elemental attacks and what to do when deciding whether to sell Rocket or Groot.
For more information about the location of the secrets in Chapter 3, check the Secrets and collectibles chapter. We've marked all collectibles with green.
- Search your quarters for units
- Important choice - choosing to sell Rocket or Groot
- Reach Lady Hellbender's fortress
- Cross the jungle
- Important choice - throw Rocket or find a different path
- Get to higher ground
- Reach Lady Hellbender's fortress
- Climb the wreckage
- Cross the ravine
- Important choice - throw Rocket again or find a different path
- Get over the cliffs
- Reach Lady Hellbender's fortress
- Second flashback
Search your quarters for units

At the start of the chapter the game may display information about new available conversations. It happens after you find Guardian collectibles - one of the secrets available on the game - in the previous chapters. Each Guardian collectible unlocks a different conversation, and once it ends, a new Galactic Compendium entry. You can postpone the conversations until later, your last opportunity to have them is in Chapter 14. The conversations are included with the mission descriptions in the Secrets and collectibles chapter.
To progress you must visit Star-Lord's cabin (you'll know which one it is thanks to the door). Find Galactic Units on the counter in front of the mirror - this is what the in-game credits are called.
Important choice - choosing to sell Rocket or Groot
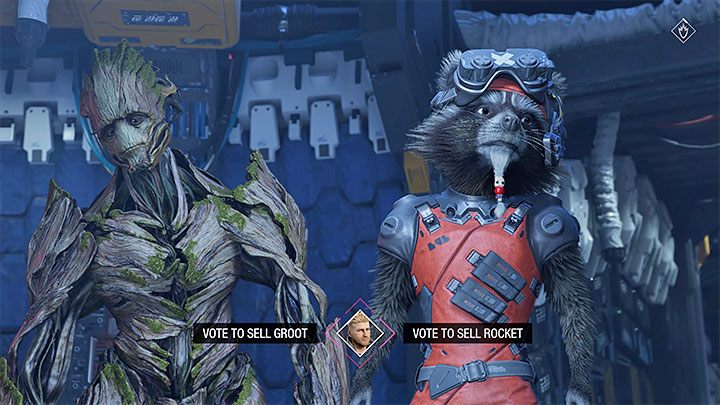
A meeting between the Guardians will trigger where they come up with a plan of tricking the Monster Queen by selling her one of the party members as a rare specimen. The picture shows the decision you must make - you can decide to sell either Rocket or Groot.
This decision is described in more detail in the Important choices chapter, on the page regarding Chapters 3 and 4. This is one of the most influencial choices in the game. This decision affects a large part of Chapter 4 - your characters will do different things and visit different areas in Lady Hellbender's fortress. The subsequent parts of the campaign (the end of chapter 4 and all subsequent chapters) are identical in both scenarios.
After making your choice you'll automatically fly to Seknarf Nine. Go to the back of the ship and interact with the door to leave.
Reach Lady Hellbender's fortress
When starting the exploration of Seknarf Nine you'll have to go through some platforming challenges - remember to use your double jump to avoid falling. Don't worry about getting lost, some ledges are clearly far away in the distance, signalling they can't be reached.
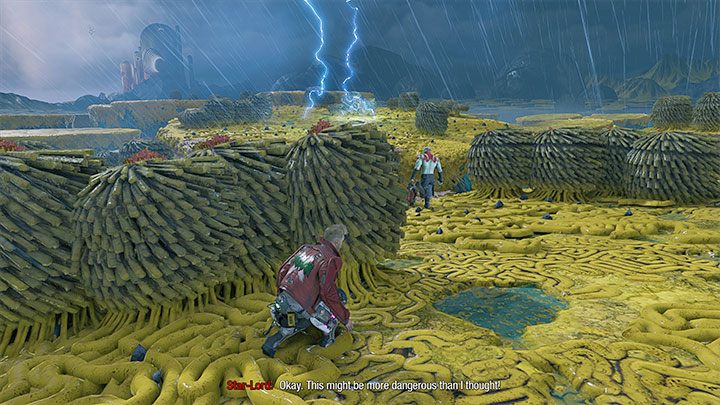
At some point the game will make your journey more difficult. Lightning will strike, causing shockwaves. Hide behind bushes and only leave them after the wave passes you. Don't stay out in the open for too long, as otherwise you might get pushed off the platform.
After a (scripted) fall and a cutscene you'll have to fight some monsters. You should focus your attacks on a single monster at once, each one of them has an extra shield you must destroy first.
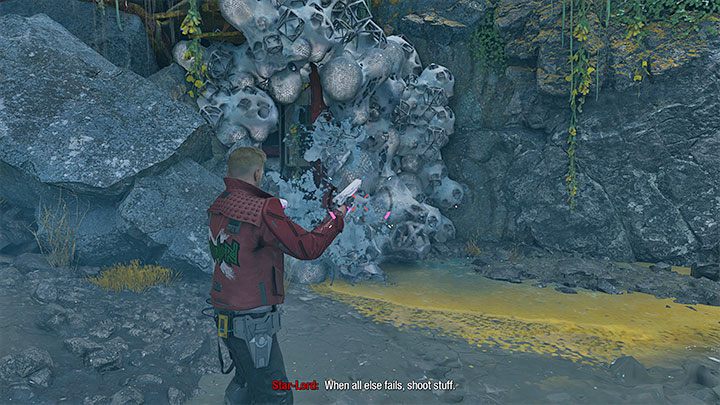
After the battle locate the parasites on the picture and destroy them with your blasters. You'll uncover a stone block - order Drax to pull it out. Now you can reach a higher platform Gamora got onto before.

In the new area scan the wing and eliminate the parasites once again. This time they'll uncover a control panel shown on the picture above - ask Rocket to hack it.
You'll lower the wing, letting you climb it. Look around in this area to find a collectible - Archives: Collateral Damage.
Cross the jungle

There are paw prints in the jungle, but you don't need to follow them exactly. When exploring you should find a narrow blue path, leading to a secret area. It contains an Outfit: Guardians of the Galaxy 2014 - Gamora. We;ve described how to obtain it in more detail in the Secrets and collectibles chapter.
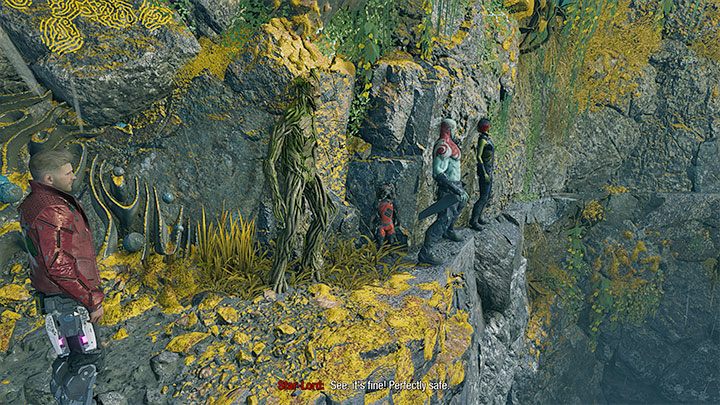
To leave the first part of the jungle you must ask Gamora to cut the vines in the area shown on the picture.
Important choice - throw Rocket or find a different path
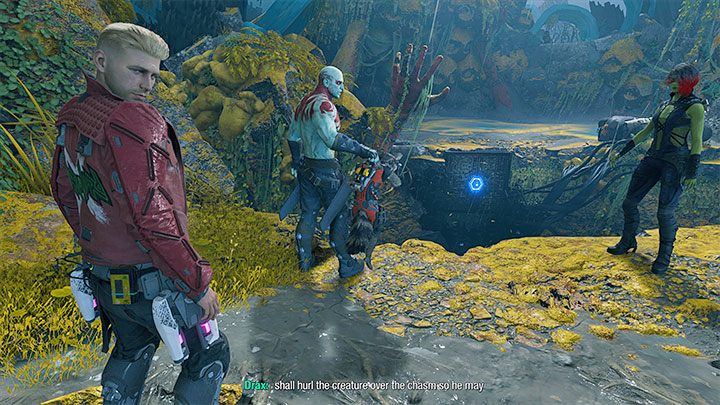
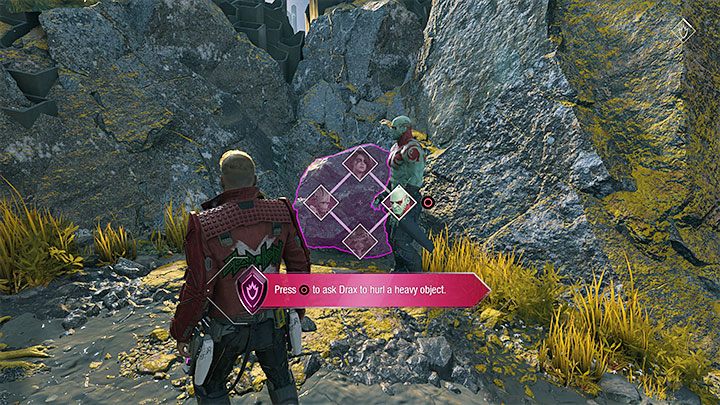
The linear path will lead you to the area shown on the picture, where a chasm is preventing you from progressing. Drax wants to throw Rocket to the other side, giving you two options:
The first option allows Drax to go through with his plan (the option on the left). You'll anger Rocket, but there won't be any actual negative consequences. Wait for Rocket to hack the panel and create a bridge.


The second option involves stopping Drax (the option on the right). You'll need to look for an alternate path to the other side. Look at the area to the left - in the place shown on Picture 1 you can shoot some parasites, then jump down and squeeze in between the rocks.
Travel the linear path while jumping from time to time. Once you reach the stone obelisk shown on picture 2 ask Drax to push it over.
Get to higher ground
Regardless of the option you chose you'll have to get into some more fights. Remember you can stun the monsters with Drax's ability and finish them off with Gamora's.
After the battle ask Gamora twice to cut the vines, unlocking the way forward. You'll be able to see a bomber in the distance. Go through the narrow passage near the cliff wall - simply keep moving sideways.

Be ready to start sprinting when the rock underneath you is about to fall. Finish the sprint by making a long jump and press the indicated button to safely get onto the new platform.
In this new area you'll be attacked by a stronger blue beast. It's the first monster in the game with more than a single health bar - red markers inform you of such enemies. You have to drain all of its health bars to win, making the battle longer. At the end of the fight you'll test a Call to Action - press the buttons as instructed to initiate a special attack which deals more damage and has a chance of paralysing or eliminating weakened enemies.


After dealing with the blue beast you must solve an environmental puzzle. Scan the climbable wall on picture 1 and point it out to Gamora. You must also choose where should Gamora attach herself to the wall - you should choose the center.
After Gamora gets on the wall double-jump twice - first towards Gamora so she catches Star-Lord, then towards the elevated platform above her.


Notice a stone block attached to the ceiling. Shoot the parasites from picture 1 to make it fall.
Order Drax to move the block. He can take it to two different places. If you move it to the ledge on the side, you'll be able to climb it and find a secret area with a Guardian Collectible: Chitauri Sear-Cuffs. In order to solve the puzzle, prder Drax to place the block under the wires shown in Picture 2. You can order Gamora to cut them, which she will do by climbing onto the block.
Reach Lady Hellbender's fortress

Completing this puzzle will lower the bomber's wing. Start climbing it while finding a new secret on the way - Archives: Off the Grid.
You'll reach a new area with platforms you must jump between. Keep doing this until you reach a slide and land in slime.
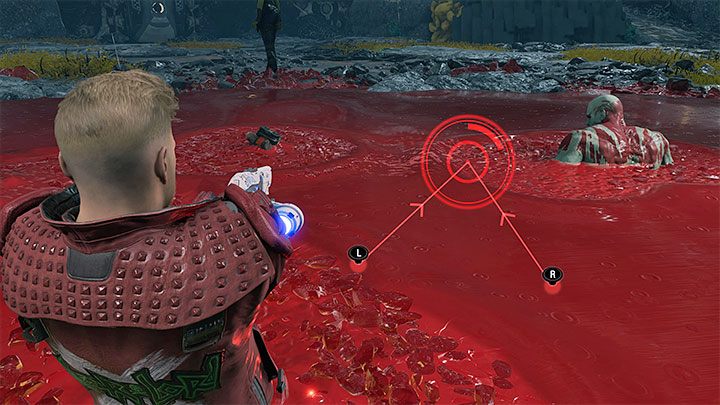
Slime works like quicksand, you must react accordingly to keep your characters from dying. You must finish an unusual QTE:
- Use both analog sticks to move both cursors towards the circle at the same time.
- Once the cursors reach the circle, press R1/RB.
Star-Lord will escape the trap with his newly unlocked ice element.

The game will immediately allow you to test your ice attacks on some new monsters:
- Certain enemies are weak to a specific element - in case of the monsters encountered here the snowflake icon means they're weak to ice. By using the correct element you can very quickly fill the enemy's stagger bar or deprive them of additional protection (armor in this case).
- You switch between elements with the D-Pad, but you only know ice at first. You automatically unlock new elements in later chapters.
- Elemental attacks consume energy which can be regained by collecting loot the enemies drop or by waiting for it to regenerate.
Climb the wreckage


After killing the monsters you'll have to solve a more complex environmental puzzle which requires you to use the ice element out of combat:
- Ask Drax to pull out a large cartridge from picture 1.
- Stand to the side and use an ice attack on the mechanism from picture 2. This will keep the cartridge in place. Send Rocket there, ordering him to crawl into the hole.

Rocket will pull out the second cartridge. Just like before, you must quickly shoot the mechanism with ice to lock it in place.
Use the extended cartridges to climb up. After reaching the top, ask Gamora to cut the cables blocking your way. After doing so you'll find a collectible on the ground - Archives: Stupid Job.
Cross the ravine

When crossing the ravine be ready to perform a double jump during a short slide, otherwise you'll fall.
Soon you'll have to use your ice attacks on a waterfall for the first time. This creates an ice platform - you can jump onto it and take another jump to progress.
Important choice - throw Rocket again or find a different path

You'll reach an area where Drax will once again want to throw Rocket. This choice also has different variants:
- If you already threw Rocket before, he won't agree to do it again. If you previously looked for an alternate path, you can throw Rocket this time to make life easier.
- Once again, there's an alternate path available - hidden behind the parasites shown on the picture. Destroy them and squeeze through between the rocks.
If you choose an alternate path you'll reach a wall with a crack in it - scan it, then scan a large boulder to the right (pictured above). Command Drax to throw the boulder, opening the way forward.
Get over the cliffs

Regardless of the option you chose, you'll reach an area with a huge cage. Two blue monsters will appear, triggering a fight.
During the battle we recommend focusing on one monster at a time, as each one has two health bars (1 marker). Remember to use the abilities which fill the Stagger meter (such as Drax's first ability). If you manage to stun the monster, command the entire party to attack it, weakening it as much as you can before it recovers. The game can also allow you to perform a stylish attack on a weakened monster (example shown on the picture), getting the entire team to finish it off - stylish attacks are activated by pressing two buttons at once.

After the battle keep going until you reach a place where Groot can create a bridge. Soon after crossing the bridge you'll find more parasites. Destroying them unlocks a secret area with a collectible - Outfit: Five Horsemen of the Apocalypse - Groot.
To progress further in the level order Gamora to cut the vines shown on the picture above, then use ice attacks on a waterfall to create new platforms.
Reach Lady Hellbender's fortress
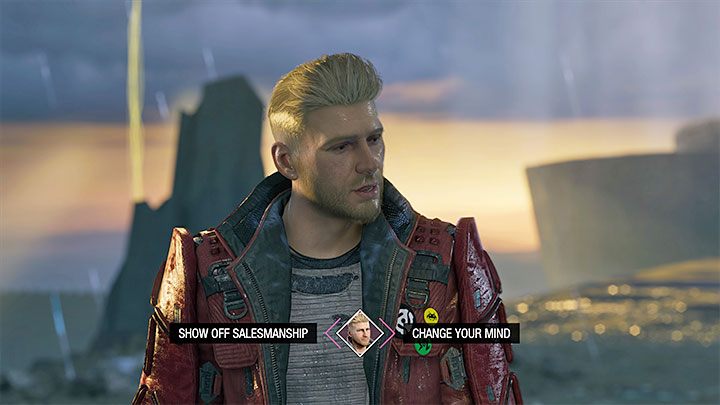
You'll notice a fortress in the distance - you must travel along the edge of the cliff. After squeezing through between the rocks, the game will let you change your plans regarding who should stay in a cage.
After Rocket or Groot enters the cage start a long march towards the fortress. The dialogue choices here are irrelevant.
Second flashback
Before advancing to Chapter 4 you must play through a second flashback as young Peter Quill. It's an extended version of the previous one. To progress, you must:
- get out of bed and open the door to Peter's room,
- go up the stairs and head to the kitchen,
- interact with the cake and blow out the candles,
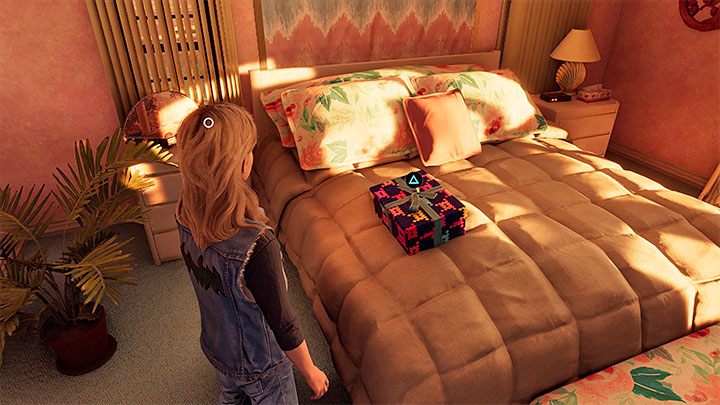
- go upstairs and find the bedroom with a gift on the bed.
Look into the gift box to end the flashback - you'll learn what was inside in the next one.