Chapter 14 - part 4 K&L: DM Guide
Last update: 11 May 2016
Try moving a little bit to your right, so you will be able to prevent enemy soldiers from getting too close to your current position (screen). It shouldn't be difficult to get rid of them, however you must be careful, so one actually surprises you. Thankfully, your teammates should kill anyone who gets closer to the exit. Watch out for some of the upper balconies. They're being guarded by a few soldiers.
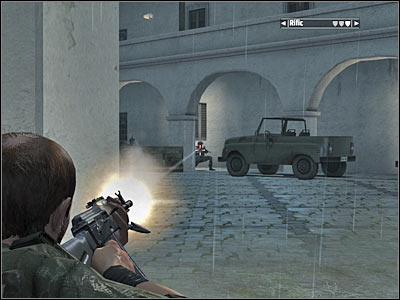
Kill everyone else before you decide to take on enemy jeeps. You will have plenty of options here. The easiest way to neutralize each vehicle would be to lean out for a second or two and eliminate the gunner with several shots. You could also try using the platform near the crates. Grenades can be quite helpful, but you'll have to be precise while throwing them. Make sure you've disable both cars and proceed to that area before someone else decides to use one of the mounted weapons.

You will have to secure this entire area. Make sure to collect ammunition while you're there. Once you're ready, proceed towards a small tunnel (screen).
New objective: Confront The Brothers In The Hacienda
It's very important that your squad stays here, because you will have to take out several opponents on your own.

The most important thing for you to know about is that you don't have to be in a lot of hurry. Eliminate soldiers one by one and position yourself carefully, so you won't end up getting shot at from different angles. I would recommend moving forward, so you'll end up somewhere near the other end of this tunnel. Eliminate several enemy units from here (screen).

Most of the enemy soldiers are stationed near the entrance leading to the hacienda, so they'll be to your right (screen). I would recommend choosing more precise single shots, because there's a large distance separating from you each other. Don't exit the tunnel and move back to your colleagues each time it gets too dangerous for you to stay here.

A large group is also stationed in front of the exit. You will have to eliminate from a larger distance. Remember that you can destroy some of the nearby vases in order to leave them without a good cover. It may also help you to flush them out into the open.
