
Halo Infinite: Warship Gbraakon - walkthrough Halo Infinite guide, walkthrough
This page of the Halo Infinite guide contains a walkthrough of the Warship Gbraakon quest - this is the main mission 1 playthrough after starting a new game.
Last update: 09 December 2021
This page of the guide to Halo Infinite has a walkthrough for main mission 1 - Warship Gbraakon. The following walkthrough informs, e.g. how to reach the captain's bridge, how to defeat an elite Exile officer, how to sabotage the warship, and how to escape to the Pelican.
Prologue
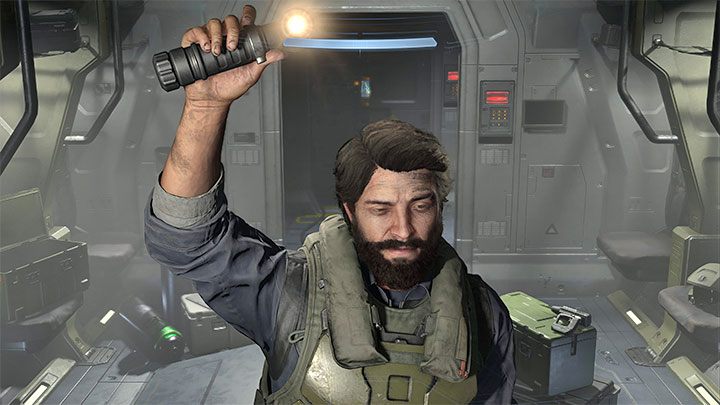
During the scene with Echo 216, you need to look vertically and horizontally by following the flashlight. You can also reverse the Y-axis.
Locate the bridge
Follow the linear path leading through the Exile warship - you will encounter the first (easy) opponents. Use the Grappleshot to get closer to enemies or to move away from them.
While you are moving, remember to examine the bodies of enemies and racks with weapons. You can replace weapons at will, but it is worth having two with different types of ammunition. You can also scan the area for loot and secrets (we described the collectibles in a separate chapter).
During the first encounter with the Exile, attack him from a distance to avoid his charge. You can move away quickly with the Grappleshot. Fortunately, most of the Exiles don't charge, they rely on firearms.
Along the way, you will learn the importance of ammo crates (you must match the ammo from the crate to your weapon) and how to use grenades. When facing opponents with shields, aim at the exposed body parts to force them to temporarily drop or change the position of the shield.
Deactivate the stasis beam
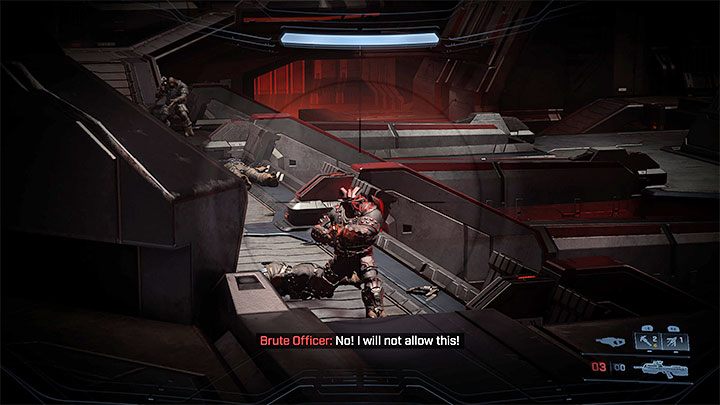
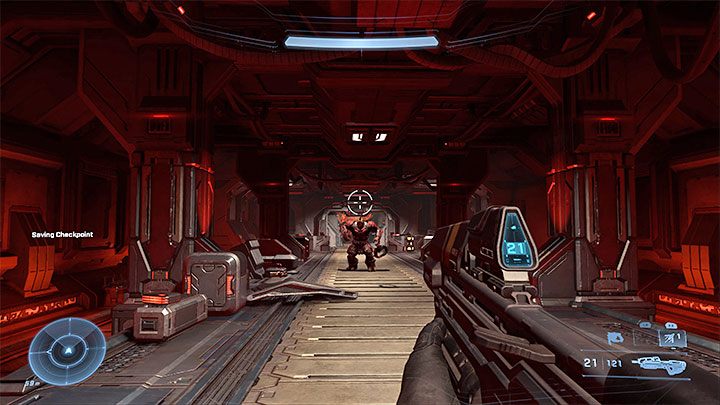
You will reach the captain's bridge. Among the enemies, you will encounter an elite officer bombarding the area with red missiles (image above). It can easily kill you even if you stand behind a cover. Stay on the move by sprinting a lot and using the Grappleshot to move away from the places where the missiles will land. Concentrate your attacks on this opponent to defeat him as soon as possible. Then you can deal with the rest of the enemies.
Pick up the Ravager launcher used by the dead officer. It is an excellent weapon especially for attacking groups of opponents.
After winning the battle, reach the console controlling the stasis beam.
Scuttle the ship
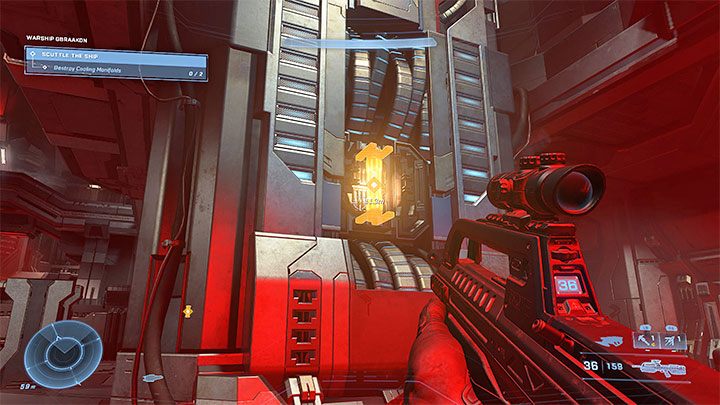
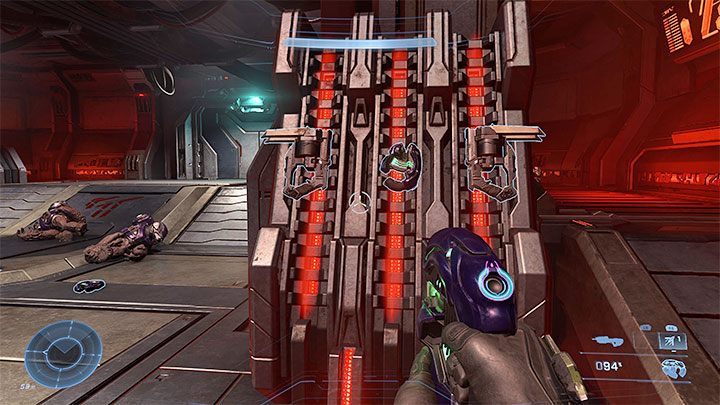
The first objective of the mission is to destroy two collectors. They are exposed - an example is shown in the picture. You can use any weapon you want to destroy them. In the meantime, you will be attacked by regular enemies.
The second objective of the mission is to overload the engines - all you have to do is to pull the lever.
Escape to the Pelican
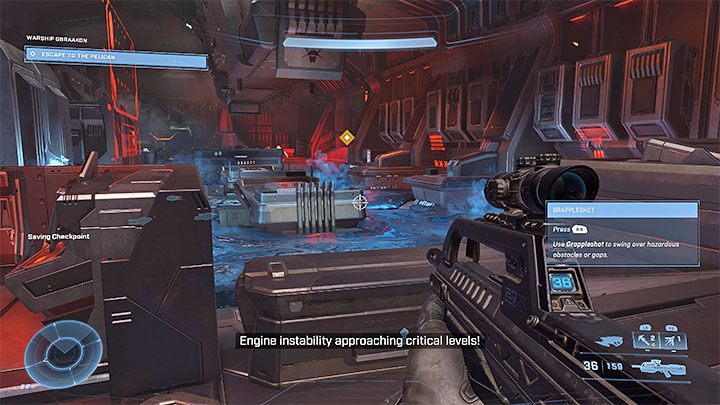
The escape route is very linear. You do not have to hurry - there is no time limit to reach the mission objective. In the room from the picture above, you must avoid contact with the toxic ground - use the Grappleshot to get to the next safe shelves.
Jump into the shaft (Master Chief can land safely even when jumping from greater heights). In the next location, use the Grappleshot to reach the next shelves. You need to avoid falling into the "abyss" - this will kill the hero. The escape will end with a cut-scene.