Days Gone: Race against time - walkthrough Days Gone guide, walkthrough
Last update: 02 April 2021
In our guide you can find walkthrough for Days Gone and quests Ascending From The Underground, Keep Them Safe, Clearing the militia camps, I'll save some for you and You can't do this alone / For an Outlaw Biker
- Ascending From The Underground
- Keep Them Safe
- Clearing the militia camps
- I'll save some for you
- You can't do this alone / For an Outlaw Biker
Ascending From The Underground
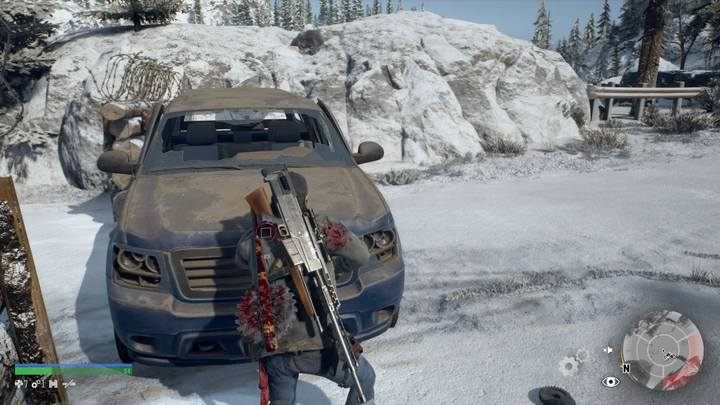
After saying goodbye to Kourim in the Shadow of death ride your motorcycle in the indicated direction. If you run into snow on the road, be on the lookout - a little further is the point captured by the enemies, which must be cleared before you can go further. There are three snipers, most of the enemies have bulletproof vests and use grenades.
On your way to the Lost Lake, you still need to clear two camps: before the tunnel and behind it. Both are equally well guarded. You do not have to spare anything, as soon after you will reach Mike's camp, where you will be able to replenish the resources. After this mission, the world map will show all the locations of the Horde.
Keep Them Safe
In the next mission, you will go West. Again, you need to eliminate the Horde. This, fortunately, is not as great as Chemult Horde, besides you can deal tremendous damage to the enemies using the green tanks.

Now you unlock another side mission: The Copeland camp was attacked. (Protecting the Weak) and the main one involving, the elimination of the three militia camps - read below.
Clearing the militia camps
When you get fertilizer during the Keep Them Safe mission, Ricky will contact you on the radio. It is necessary to clear the three militia camps in the region, marked on the map. These are missions called:
- Another Militia Attack
- This is the end
- Kill every one of the bastards
In the camps, you will find after 9 enemies, including one heavily armored.
I'll save some for you
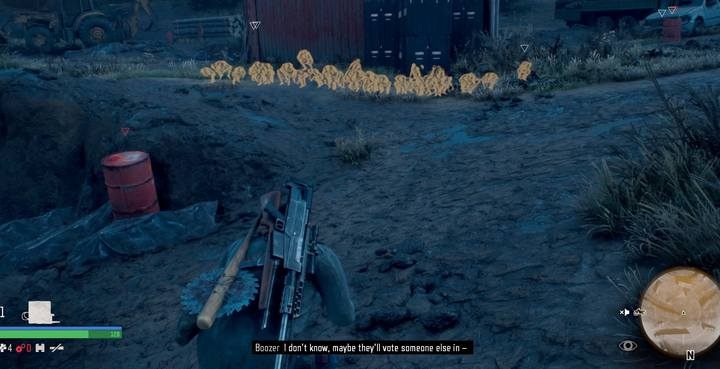
Eventually, you will have the opportunity to eliminate a huge Horde at the sawmill East of the camp in the lost lake. Be sure to prepare for this battle and use traps and surrounding elements: especially boards that effectively slow down opponents.
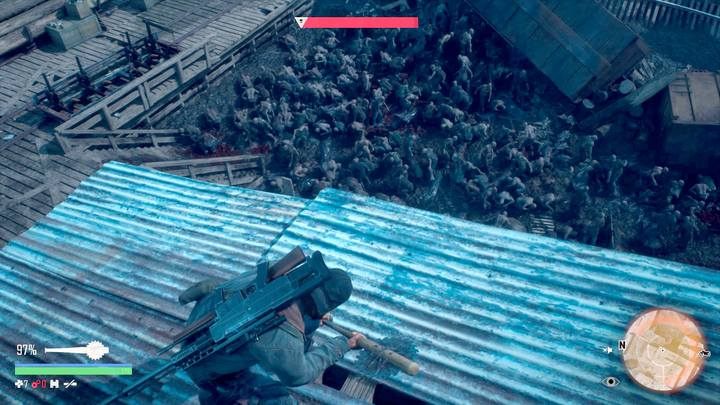
It's a good idea to make Napalm bombs and drop them in focus mode on enemies from the roof of the sawmill. Finish the job using grenades, and thus you have a chance to eliminate even half of the enemies. When it comes to the choice of weapons in this mission, choose especially those that are just good for you to play with - do not worry much about the ammunition: leave the bike with bags in such a place that you can freely get to it and refill your ammunition. In addition, stock up on restorative cocktails and medical supplies.

At the sawmill, there is another very good place to eliminate a large number of enemies using explosives or piercing weapons. At the side of the sawmill extended to the North is the isthmus between the two parts of the building. Here the zombies are squeezed in the free passage and are an easy target.
You can't do this alone / For an Outlaw Biker
After defeating the Horde, return to camp. After the cutscene, you will find yourself in the middle of the battle. Immediately hide behind cover and fight from a distance, but this is not a big battle.
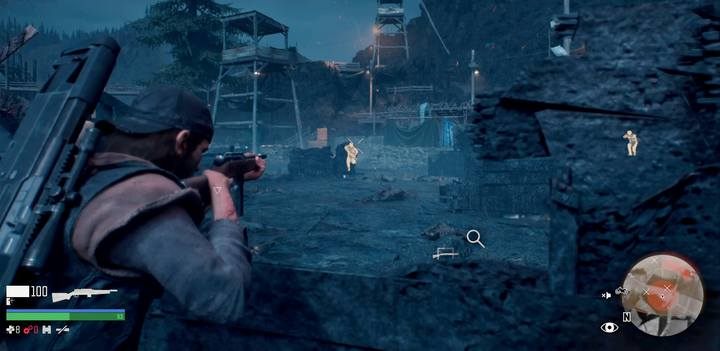
In the course of making your way to the top just use cover, watch out for explosive barrels and canisters (the enemy also sometimes uses them), and grenades. Keep an eye out for ammunition supplies and first aid kits. Do not save grenades and other gadgets. When you reach the top of the mountain, you will have to clear the entire Ark, that is, a network of tunnels inside the mountain.
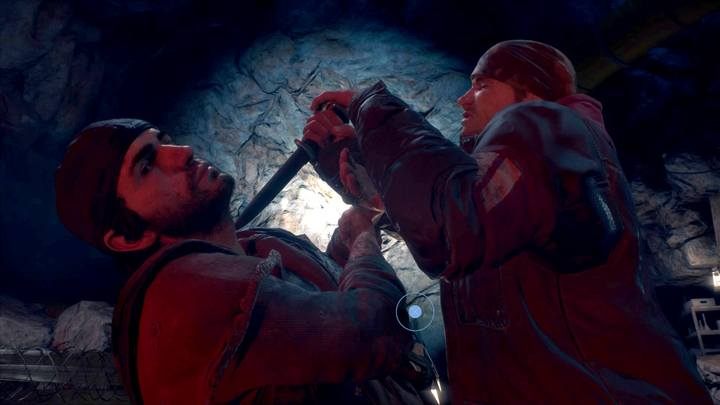
The last fight will take place after Weaver's release. Then you need to get to Skizz, performing evasion (rolls) before firing. At the last moment, it is easy to miss the need to press the specified key during the cutscene to defeat Skizza in a knife fight.
After this part of the game the main story ends. It is still possible, however, to carry out activities and some side quests; during further trips around the world map finally waited for a call from O'brien, and you will see a secret ending.