
The Scar | Darksiders 3 Walkthrough Darksiders 3 Guide and Walkthrough
Last update: 06 September 2019
This page of our Darksiders 3 guide contains a walkthrough for The Scar. This is the last major location in the game. While crossing these desert lands you will encounter new enemies like illusionists and also you will be forced to solve some new puzzles. When solving puzzles you will have to use almost all Hollows.
- Gnarled Cliffs
- Riddle 1 - rotary wheel with a trapezoid and stone crusher
- Riddle 2 - second swivel wheel and door opening
- Riddle 2 - Alternative solution.
- Additional fight - Berserker
- Drilling Annex Vulgrim Point
- Collectible 1 - Additional Artefact
- Riddle 3 - Activating the lift and saving the first human
- Collectible 2 - Invigoration Core
- Riddle 4 - Passage over the precipice and opening of the lock
Gnarled Cliffs
Gnarled Cliffs is the first checkpoint in The Scar. From the very beginning you will meet new opponents and you will be forced to solve a few puzzles.

The first thing you need to do when you reach a new location is to unlock the first checkpoint - Gnarled Cliffs. It's also the best time to distribute attribute points and improve equipment.
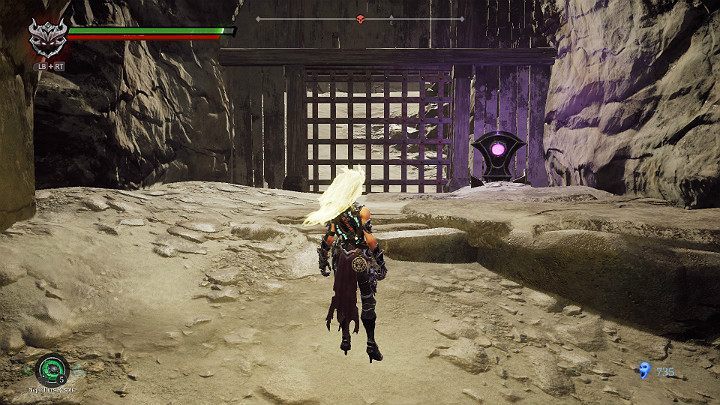
There is a lever on the right side of the door. You can only activate it while using the Force Hollow. The levers must be struck with a weapon such as Salvation.
Riddle 1 - rotary wheel with a trapezoid and stone crusher
When you enter The Scar, you will have to solve the first puzzle to move on to the next part of the location. The following is a detailed instruction on how to solve this.
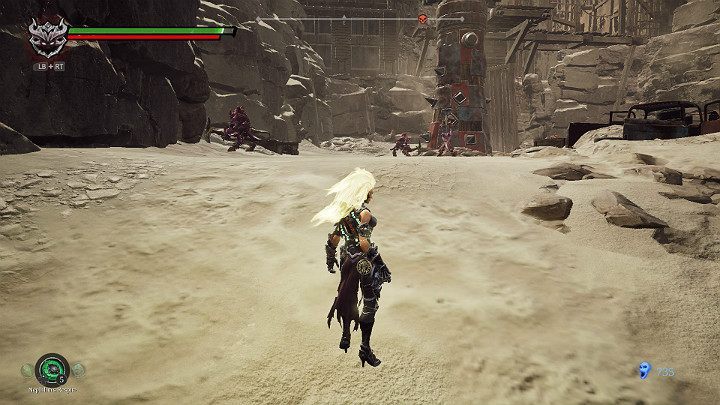
First of all, eliminate all enemies so that they don't interfere with your task. Watch out for a new type of opponent - an illusionist. An illusionist can summon his clone who fights along him.
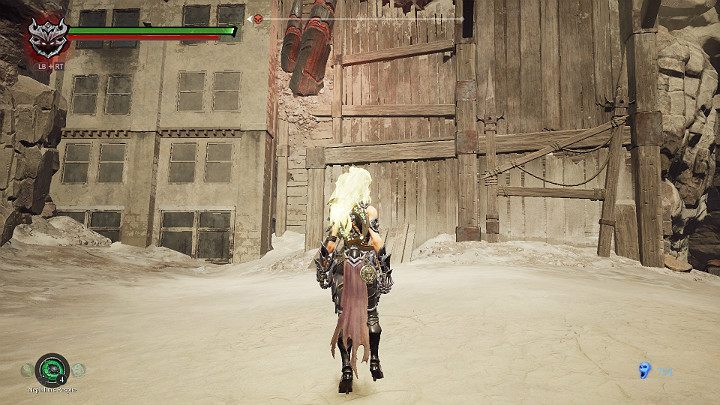
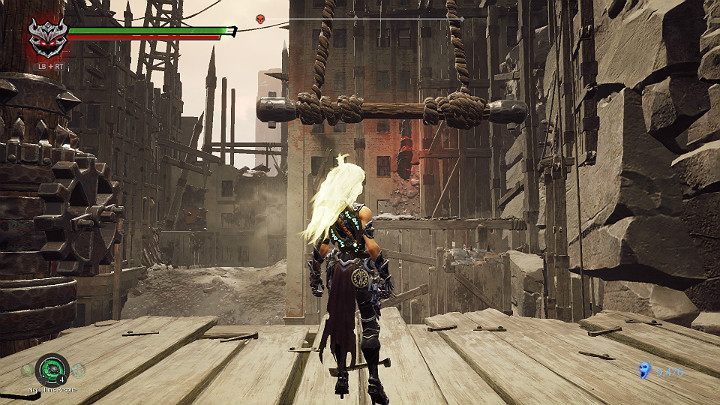
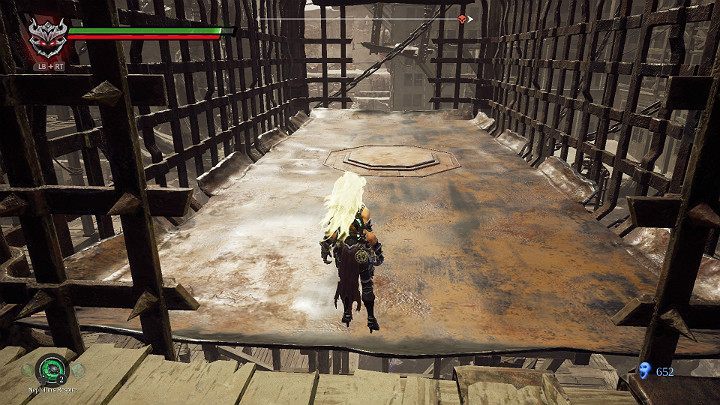
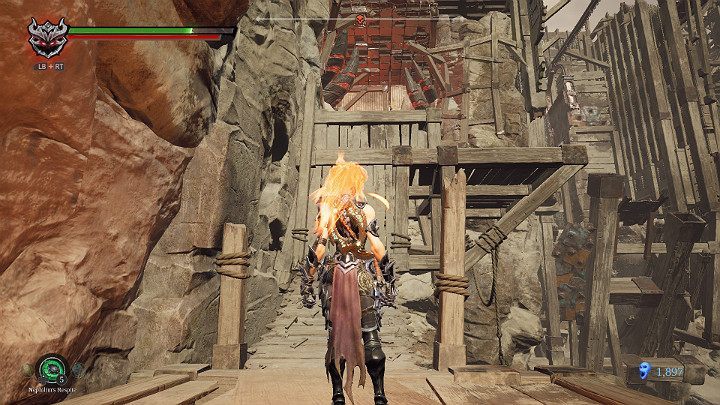
Turn towards the wooden balcony and jump up to the top.
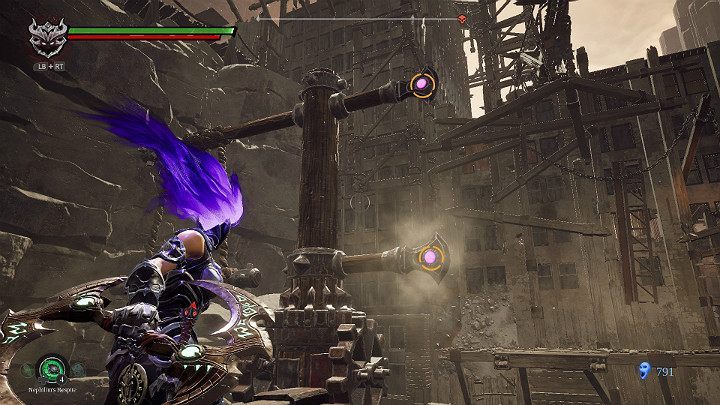
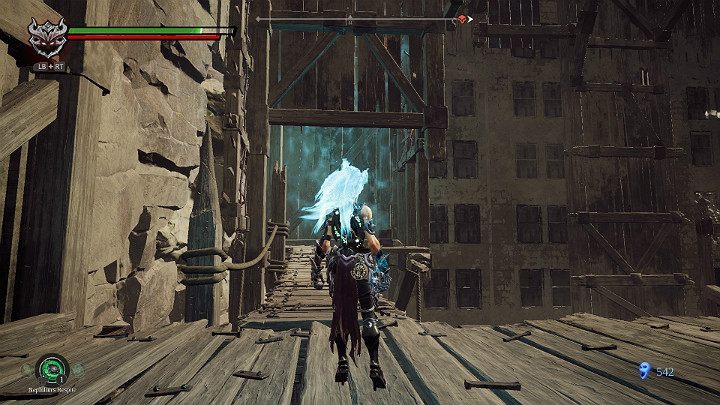
A swivel wheel with trapezoid in front of you. To move it, you must throw Salvation (necessarily while using the Force Hollow) at one of the two points marked in the picture above.
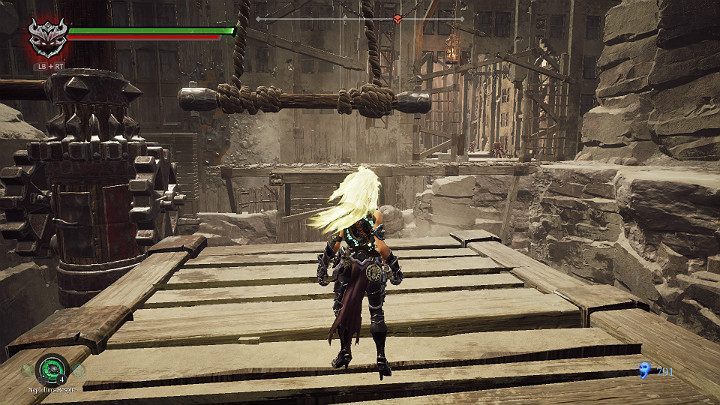
The wheel will start to rotate until the trapeze stops in the right position and you can jump to the other side.
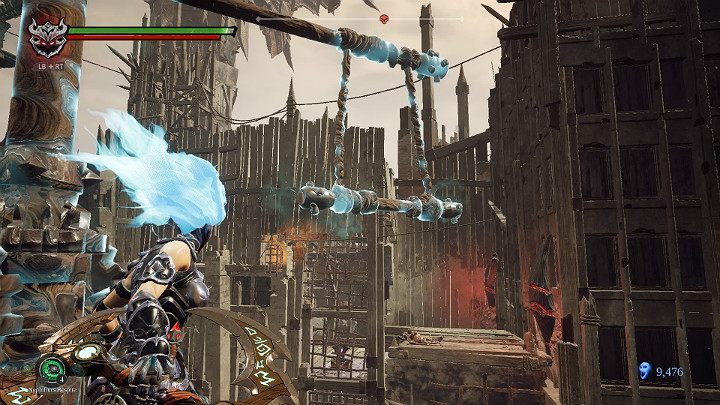
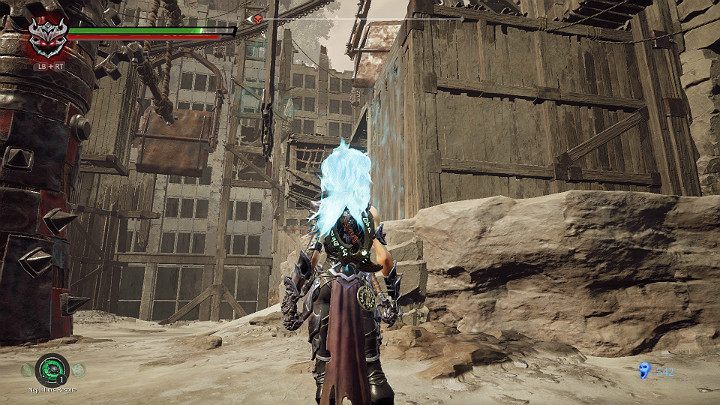
Before you go through the crusher to the stones, you must first freeze it. Use the Ice Hollow for this purpose and use the Salvation weapon. After freezing the rock crushing machine, you have a few seconds to go to the other side.
Riddle 2 - second swivel wheel and door opening
The second puzzle requires the Player to use a few hollows to get to the mechanism that opens the gate to the rest of the location. The following is a detailed instruction on how to solve this.
First, eliminate all enemies to focus on solving the puzzle.
Jump on the top of a wooden tower.
Impact on the swivel wheel mechanism to position the trapezoid in the correct position. Jump to the other side.
Now you have to hit the swivel wheel again. As soon as the wheel starts to rotate, switch to the freezing hollow and hit it again when the trapeze finds me more in the central point between the balcony on the other side. When the mechanism is frozen, you have a few seconds to jump to the other side.
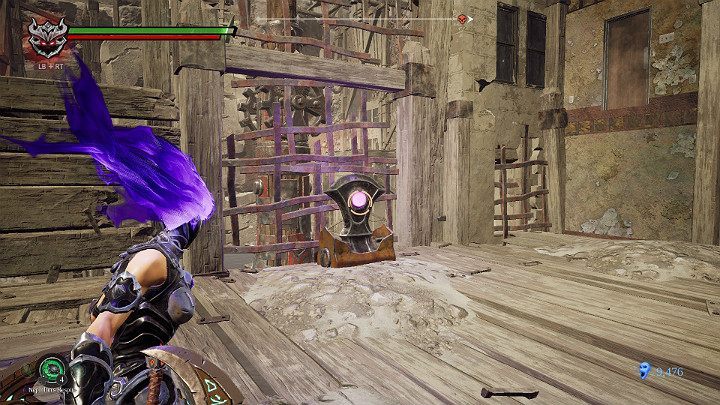
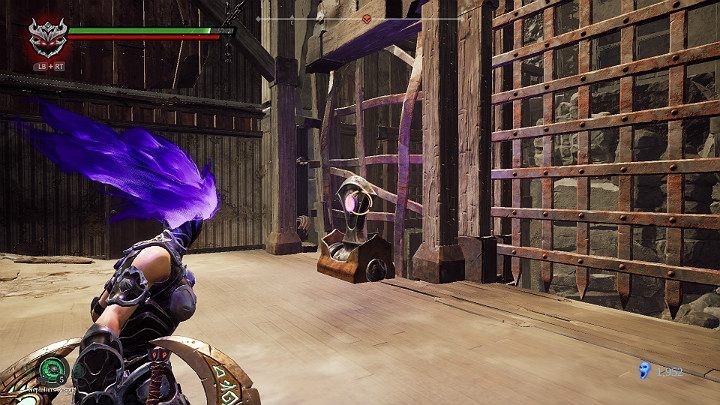
When you are on the other side, using the Force Hollow hit the lever.
The gate to the further part of the location was opened.
Riddle 2 - Alternative solution.
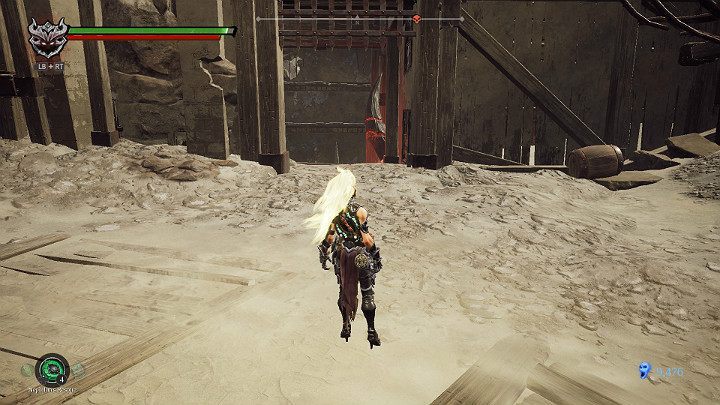
If you don't want to bother with the gear, you can easily bypass this stage and go straight to the lever that opens the door.
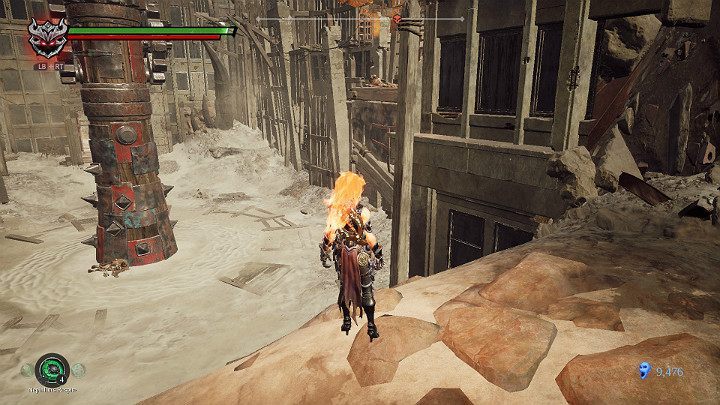
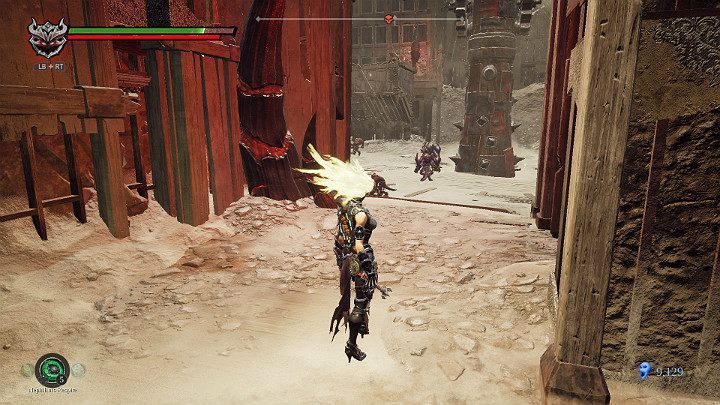
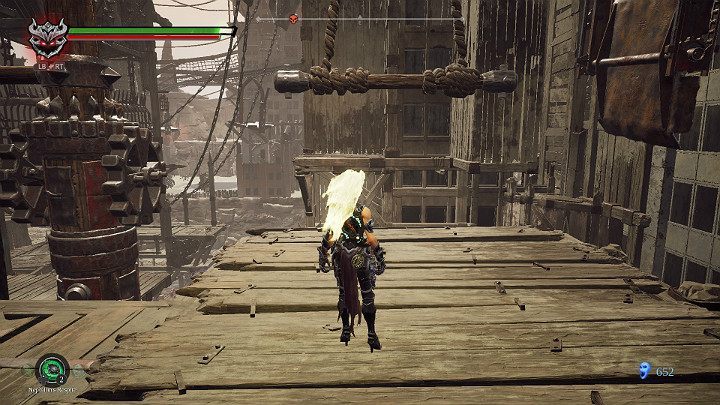
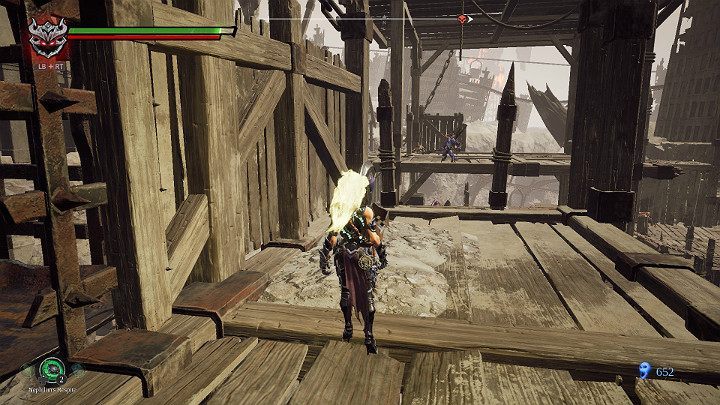
Stand more or less at the place shown in the picture above. Switch to the Flame Hollow, then run down a slope, blow out into the air and make a fiery jump. If you do it correctly, you will jump on the balcony leading to the lever.
Additional fight - Berserker
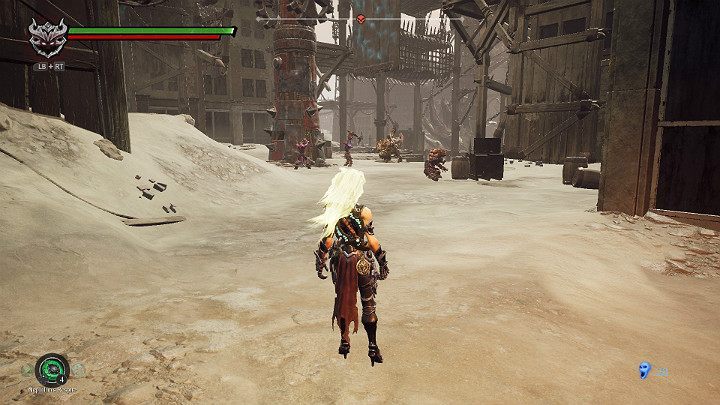
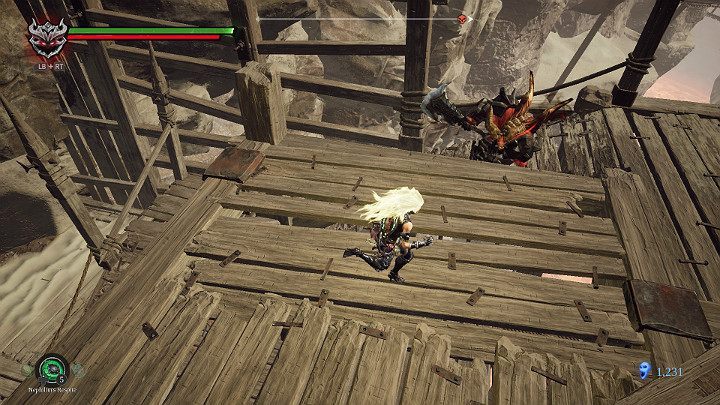
After passing through the gate you will have to face a new type of opponent - the Berserker. The opponent uses claws to carry out very fast attacks. What's more, he can jump very far, which shortens the distance quickly.
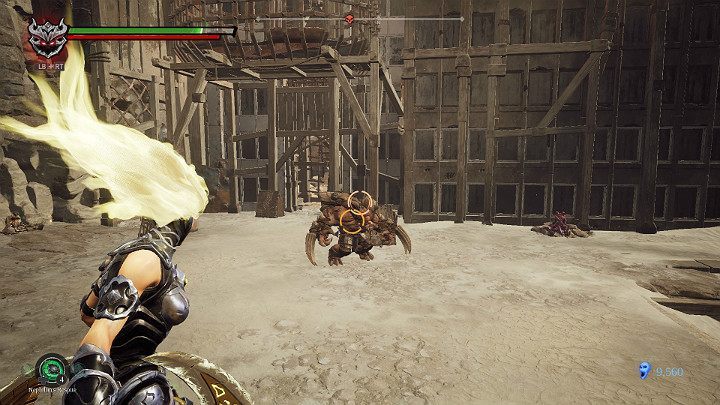
The easiest way to defeat this opponent is to stand on a short and low balcony and throw Salvation at him. Your opponent will sometimes go out of range, but after a short while he will return to his position. Using the flame hollow, you can also set fire to your opponent so that you can eliminate them much faster.
Drilling Annex Vulgrim Point
Drilling Annex Vulgrim Point is another checkpoint in The Scar. From this point you can get many additional items such as Invigoration Core. What's more, get ready to solve a few puzzles.
Before you start exploring, activate the checkpoint and perform routine operations.
Collectible 1 - Additional Artefact
Before you go to the first riddle it's worth to deviate a little bit from the path and collect an additional Artefact.
Follow the path behind the big drill. Use the Force Hollow to descend down the wall.
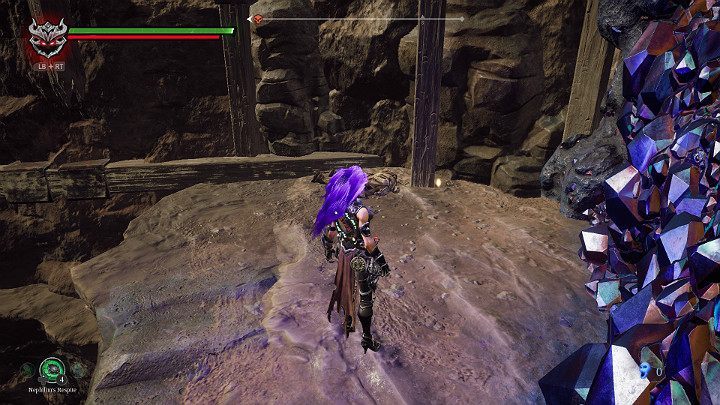
Collect the item and return to the top.
Riddle 3 - Activating the lift and saving the first human
There is another riddle ahead of you. This time you will have to activate the lift to get to the next level of this location.
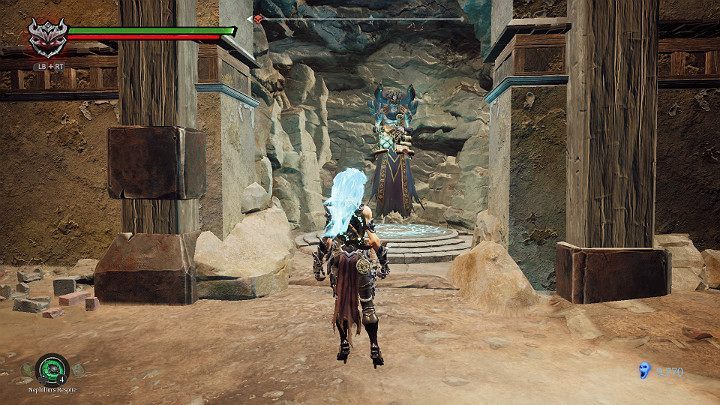
Eliminate all enemies first. You will find one commander among the workers. The commander has a shield and a one-handed weapon. What's more, he is able to accustom additional units. Avoid blows and perform counterattacks.
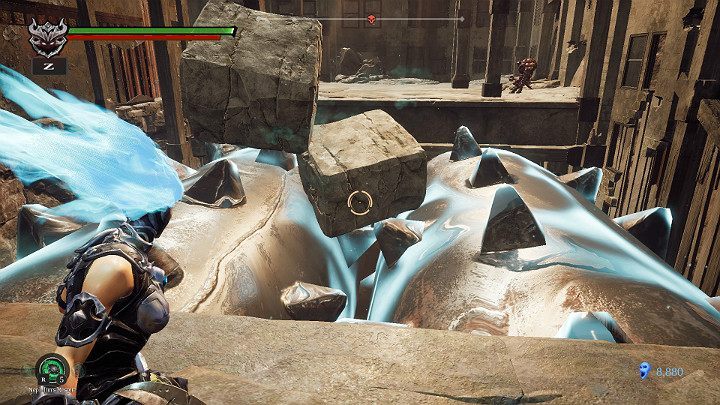
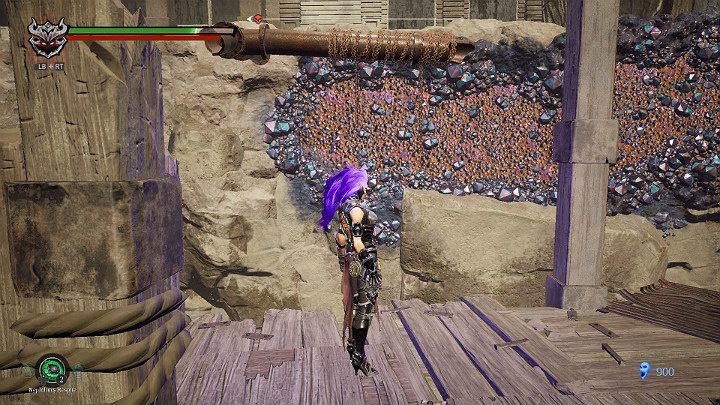
Using the Force Hollow to hit the gear wheel.
When the walls are aligned as shown above, activate the freezing essence and jump up.
Turn towards the wooden balcony and jump up to the top.
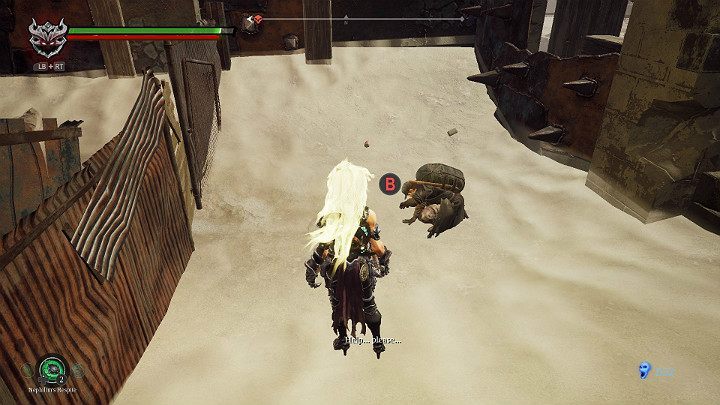
Behind a small barricade, you will meet the first man to be rescued.
Hit the gearwheel in such a way that the trapeze moves to the position shown in the image above. Jump to the other side.
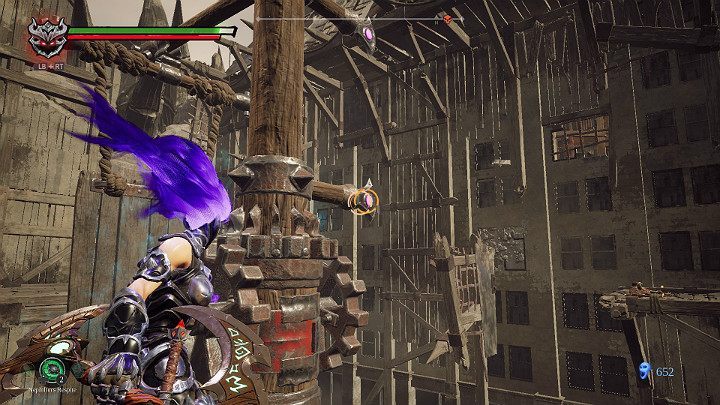
Now you have to hit the toothed wheel to set the trapeze in motion. When it is in the right position to jump to the other side, you have to freeze the whole mechanism.
Go to the button to activate the lift.
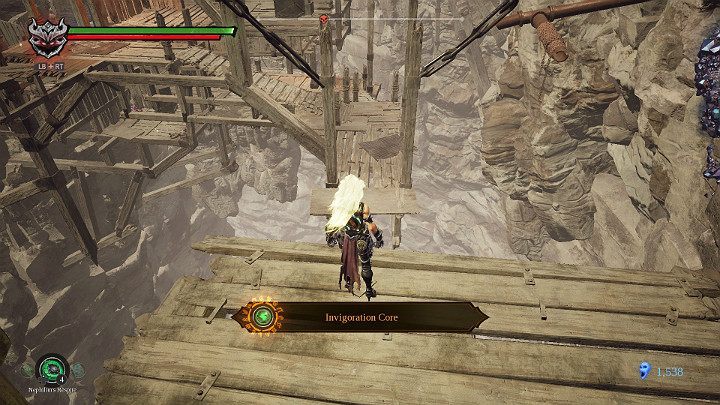
Collectible 2 - Invigoration Core
After leaving the lift you have the opportunity to collect the last Invigoration Core. To do this, follow the instructions below.
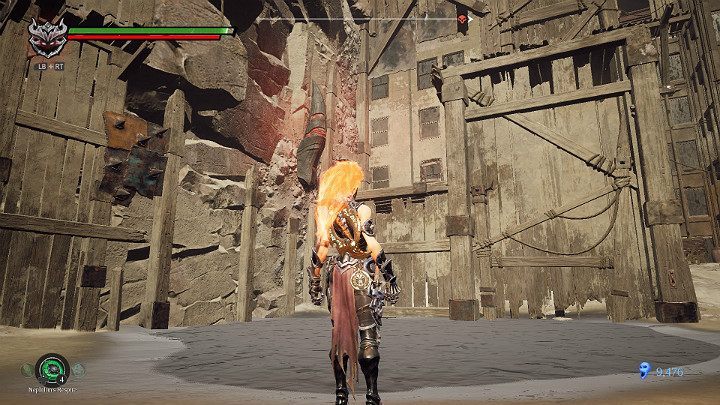
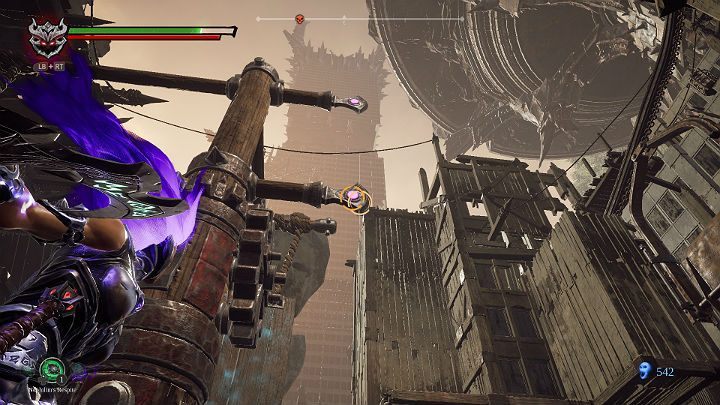
When you get out of the lift, turn left. Watch out for a few enemies who will start to hurl you with spears.
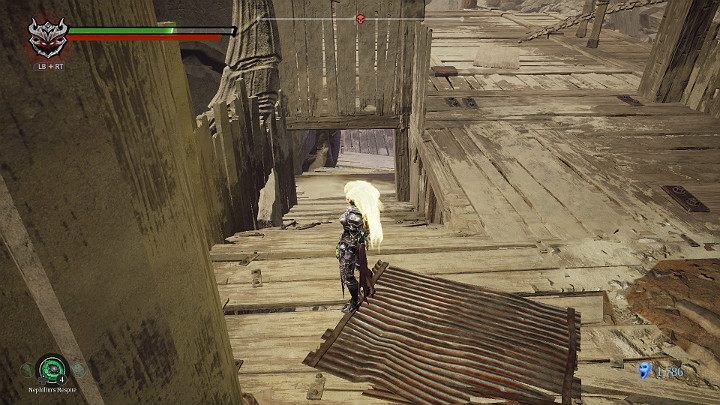
Activate the Force Hollow and then jump towards the wall using your main weapon. Activate the power of the Force Hollow to attach to the wall. Roll to the right.
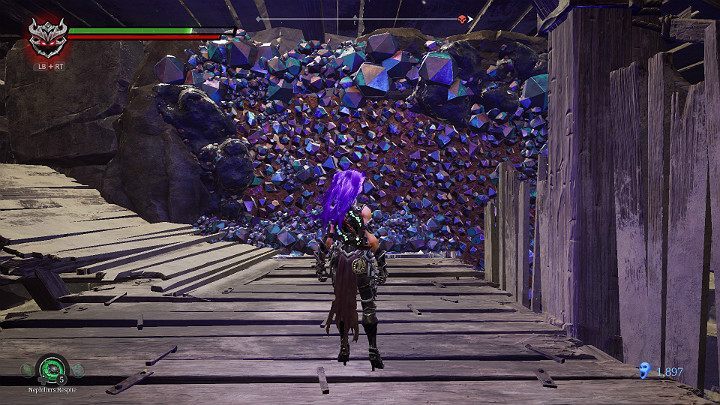
On a small wooden platform, you will have to fight against 3 enemies. One of them is much stronger. However, you can make it easier for yourself to fight and attack him from the place shown above.
When you collect the Invigoration Core you can jump to the previous platform.
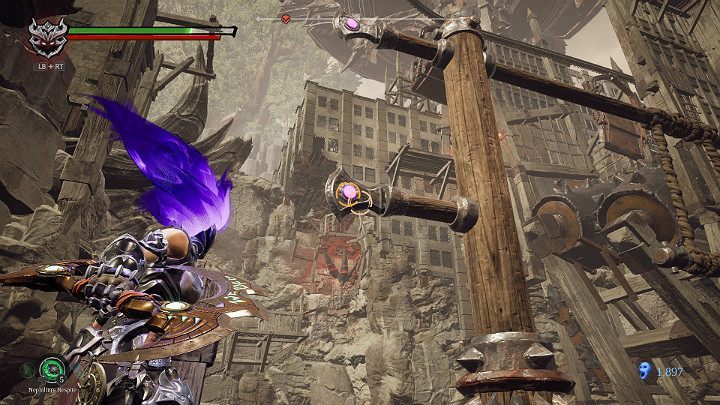
Riddle 4 - Passage over the precipice and opening of the lock
To get to the next stage you have to jump over a vast abyss. But before you can do this, you need to put a gear in motion. Below you will find instructions on how to do this.
Go down from here.
Then use the Force Hollow to attach yourself to the wall and move along the path.

Using the Force Hollow, break the wall blocking the gear mechanism.
Go up to the top level of the platform and hit the gear wheel.

When the trapeze is in the right position you will be able to jump to the other side of the canyon.
Jump on the elevation on the right.
Hit the lever to open the door and sluice at the same time.
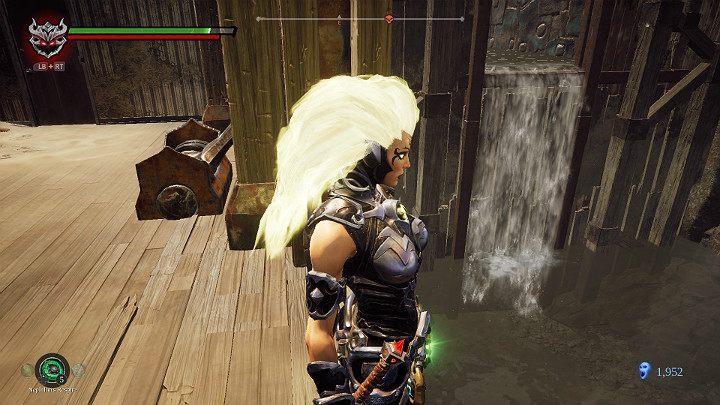
Water will start to flow out of the open sluice.

Activate the freezing essence and then use the Flame Hollow to jump higher.