
Nether part 2 | Darksiders 3 Walkthrough Darksiders 3 Guide and Walkthrough
Last update: 06 September 2019
This page of our Darksiders 3 guide contains a walkthrough for the second visit to Nether. Fury needs to explore several new extensive areas, which include, among other things, Cistern and Tangled Grotto.
A second visit to Nether

Walkthrough for Darksiders 3 Nether level part 2 continues:
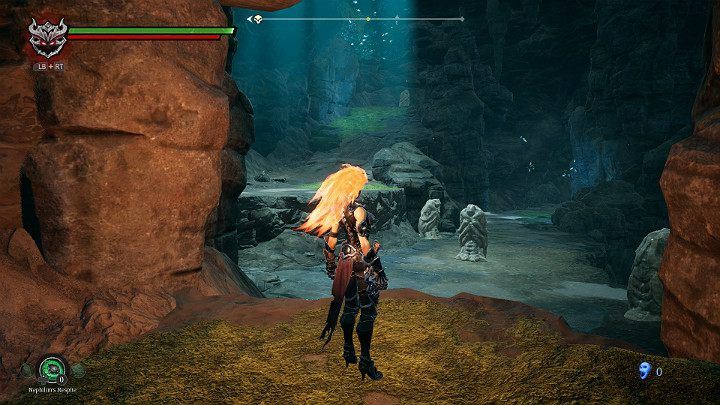
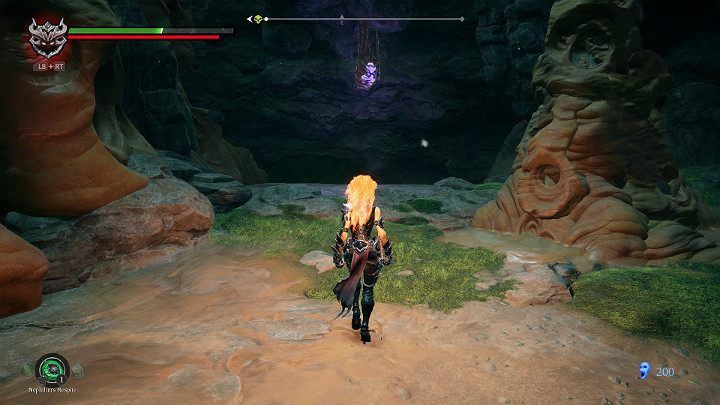
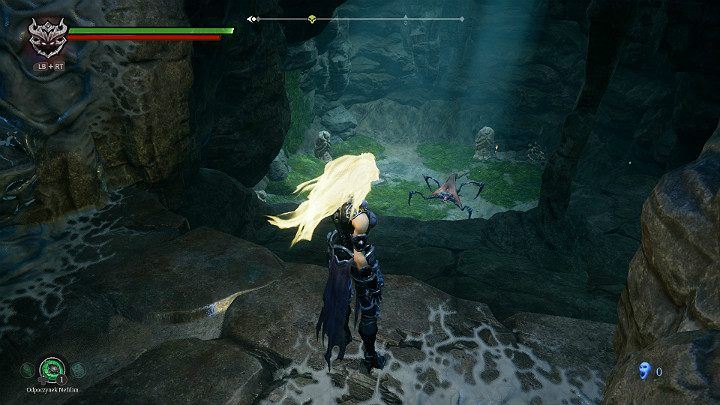
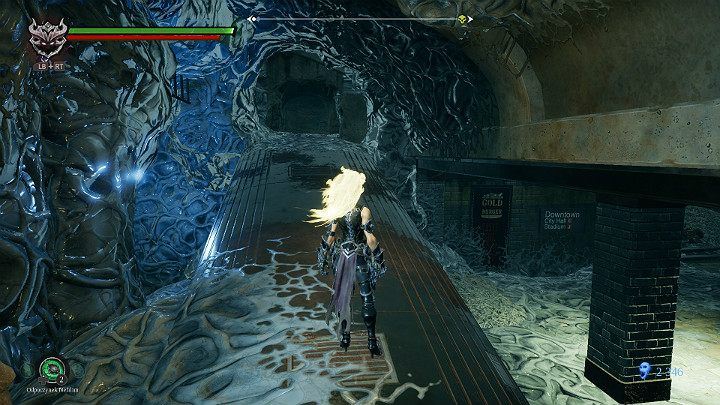
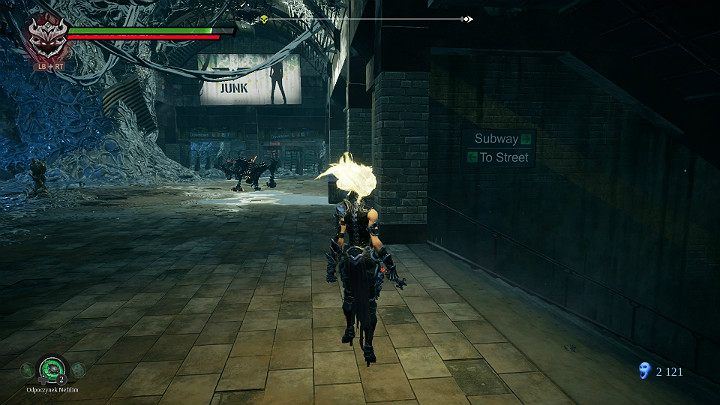
Do you remember a location with a subway from the previous chapter? You have just reached the top level and you can collect the missing items. Watch out for a fast and powerful opponent who is a little further to the right.
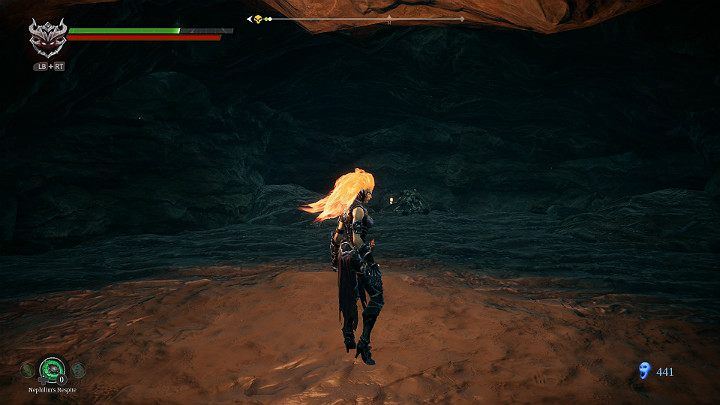
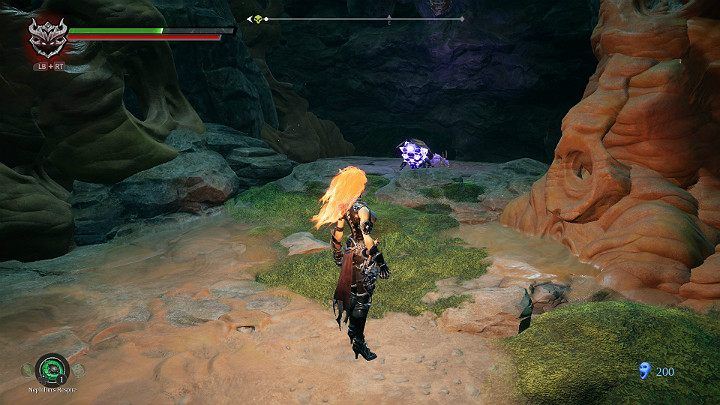
After defeating the enemy, enter the cave he defended and collect the Demonic Artefact. It's time to leave the cave and jump to platform level.
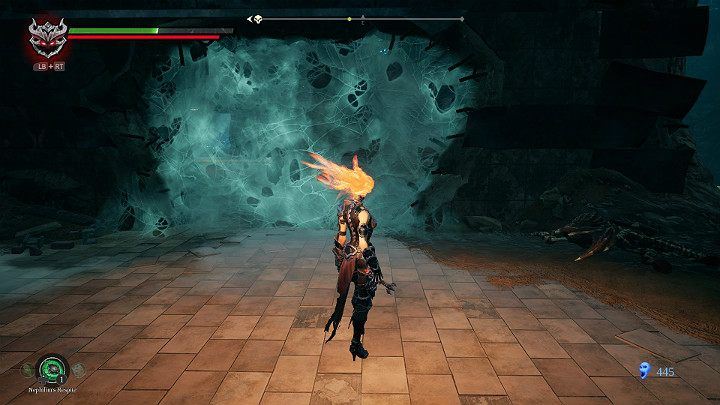
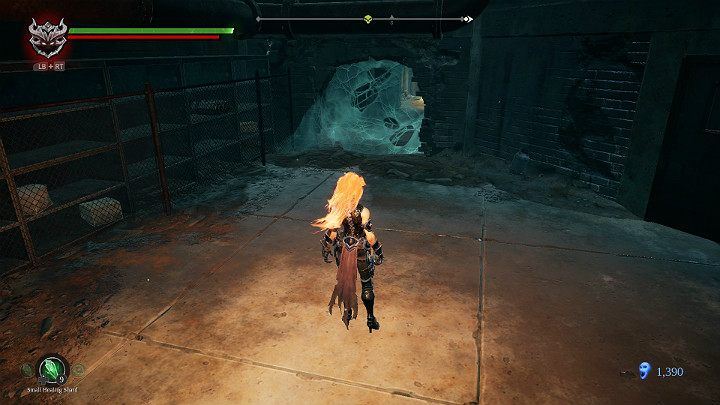
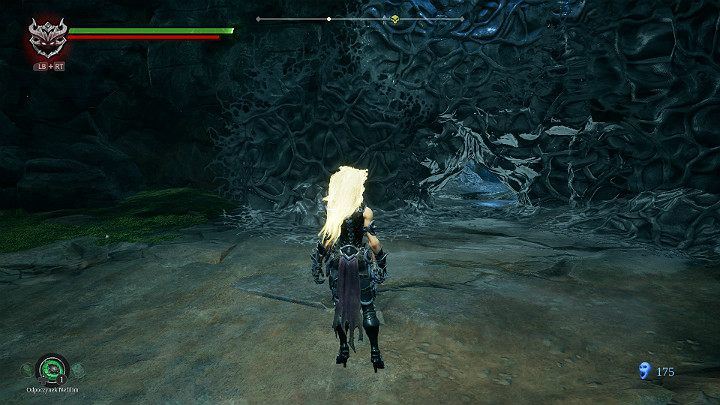
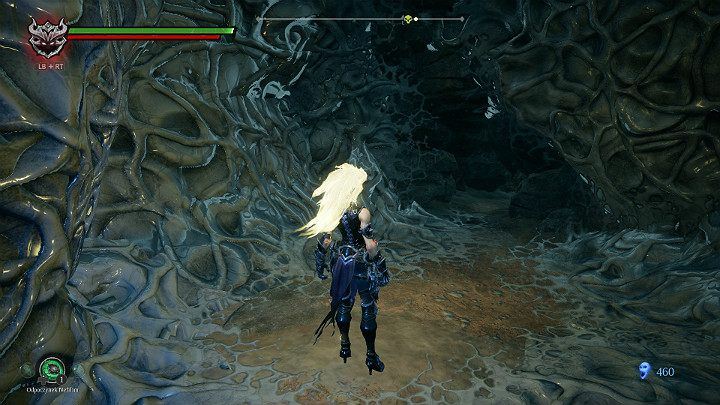
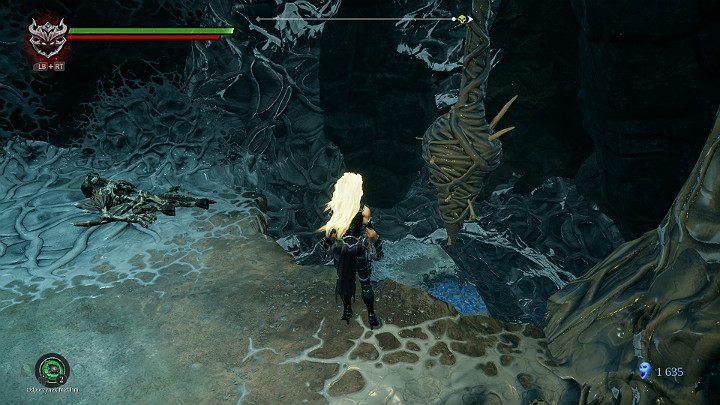
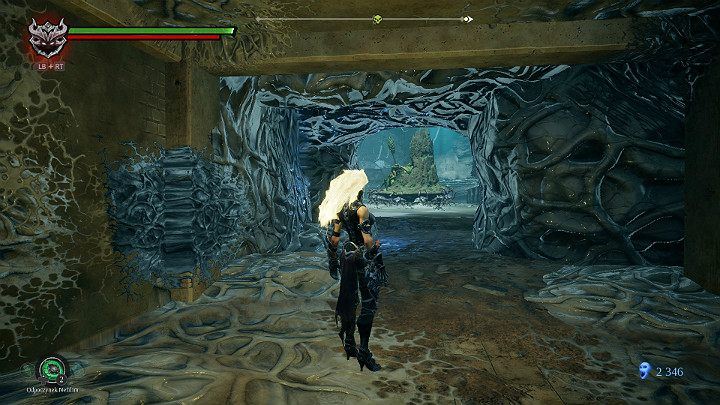
Go to a cobweb that you couldn't destroy before and burn it.
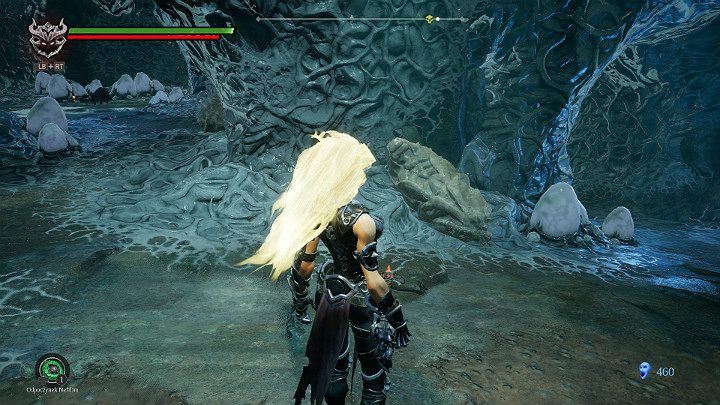
You will enter a small cave. The upper corridor leads to the further part of the location, and with the left exit, you will reach a well-known place. Do you remember a small cave in which you saved one of the people? You will get to it through an exit visible in the distance. It's time to return there for a moment.

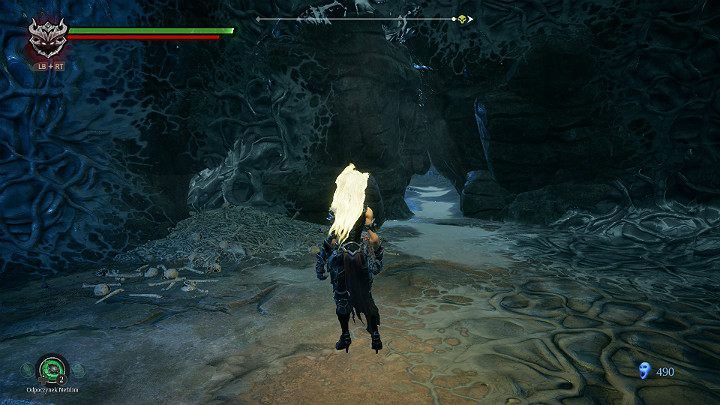
Burn another cobweb and go forward.
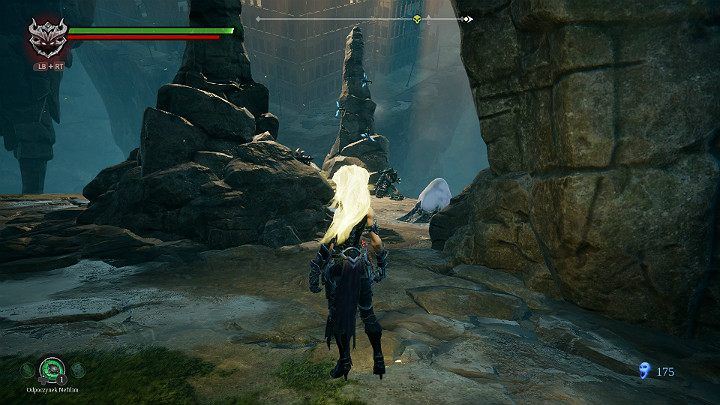
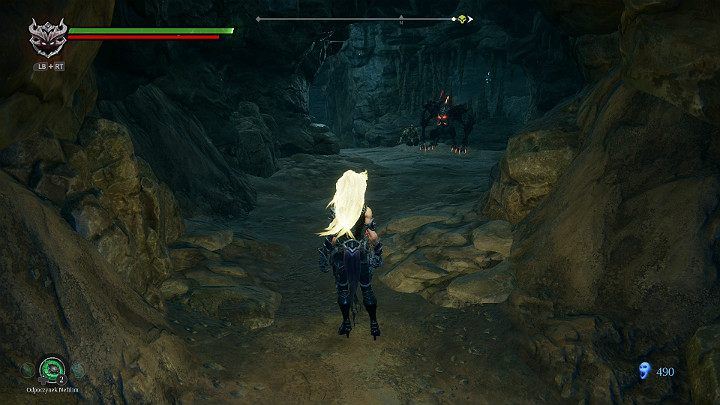
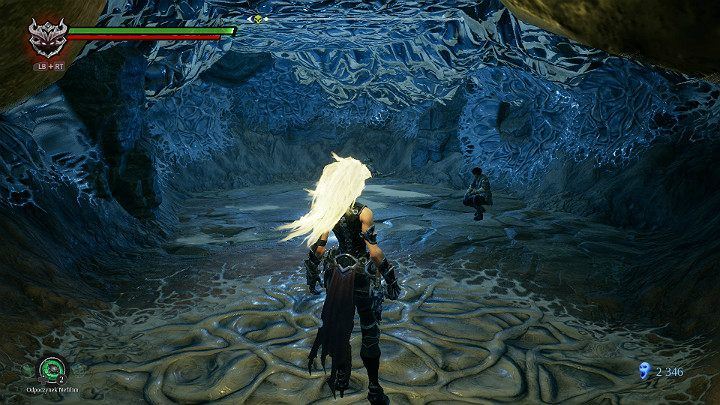
You will find yourself in a small cave with a lowering of the terrain. Before you jump down, you need to know that a stronger opponent is waiting for you by the wall. You can descend and engage in regular battles, or throw lightning at them from a safe place (launch an attack from a jump).
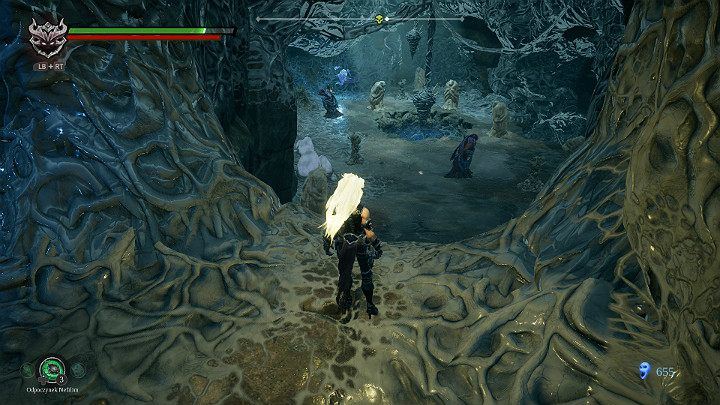
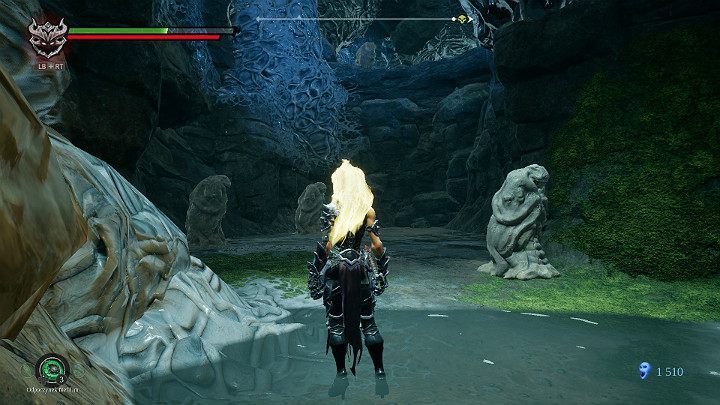
Return to the fork in a small cave and move up the corridor. You will reach a large cave with two paths. Both branches are patrolled by enemies so you have to be on your guard. The right leg will lead you to Artefact so it's worth going there in the first place.
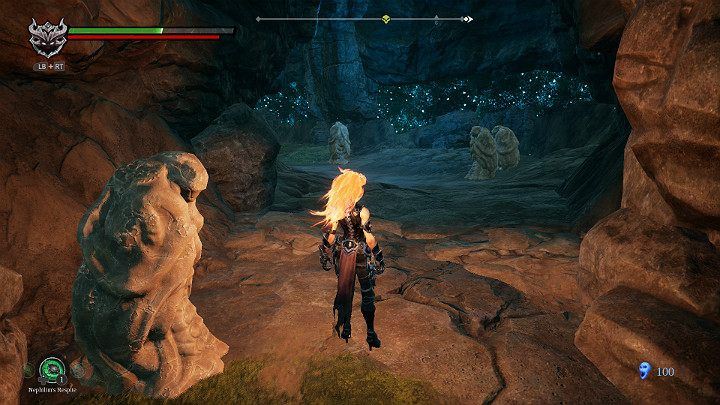
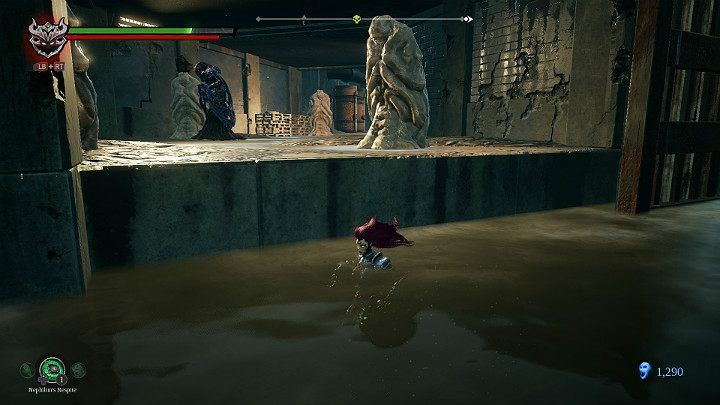
Walking along the left corridor, pay attention to the statues in which souls are trapped. Be careful, however, when breaking them, as it may happen that your opponent jumps out of them.
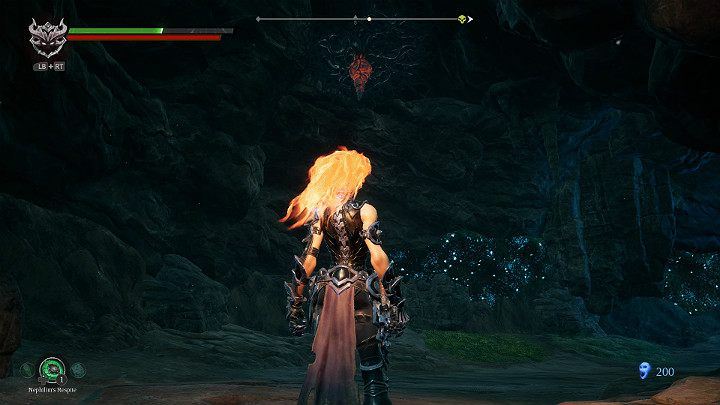
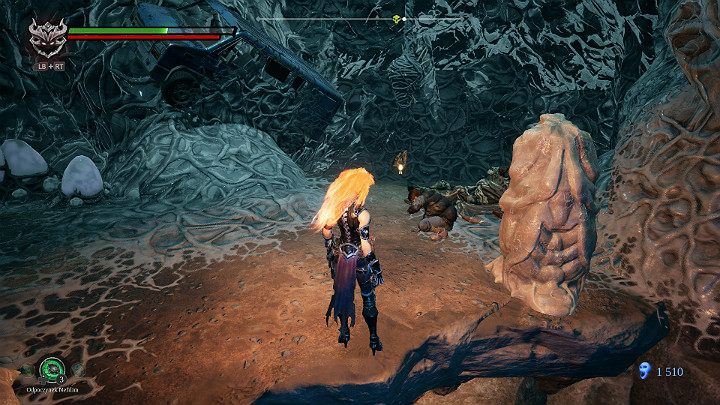
When you reach the central point of the cave, look upwards. Under the vault, there is a suspended cocoon with souls. Make a fiery jump to get it.
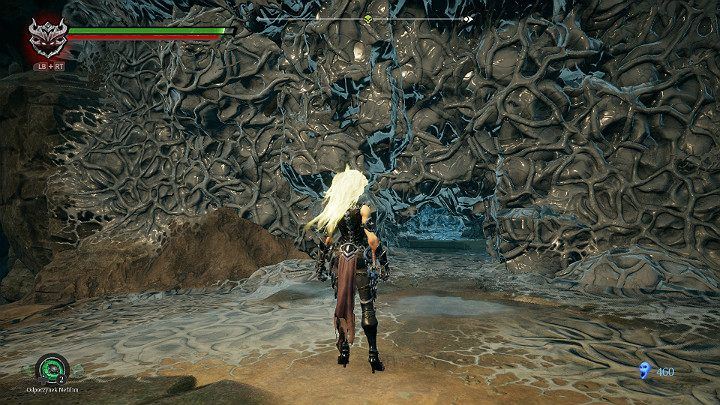
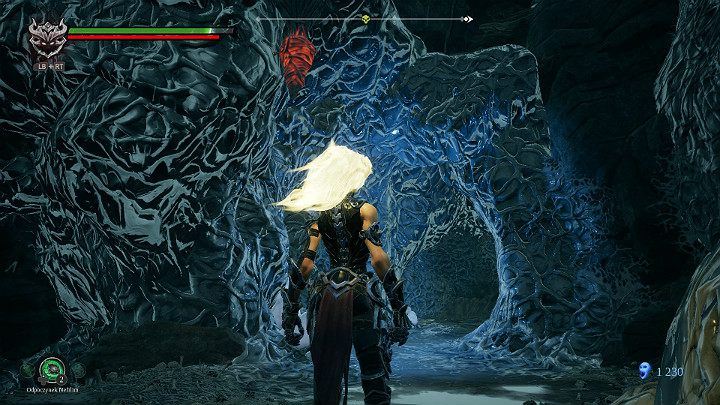
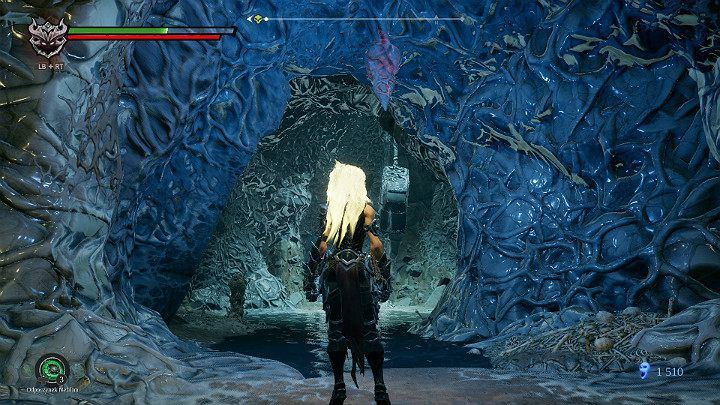
Another closed door in front of you. They look a bit different than the previously met cobwebs, but you can break them in the same way.
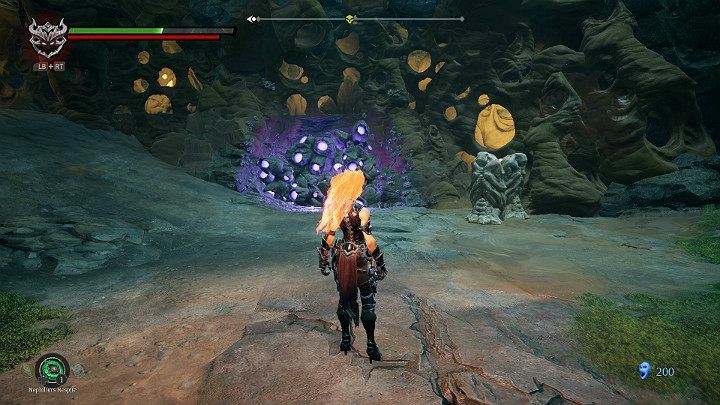
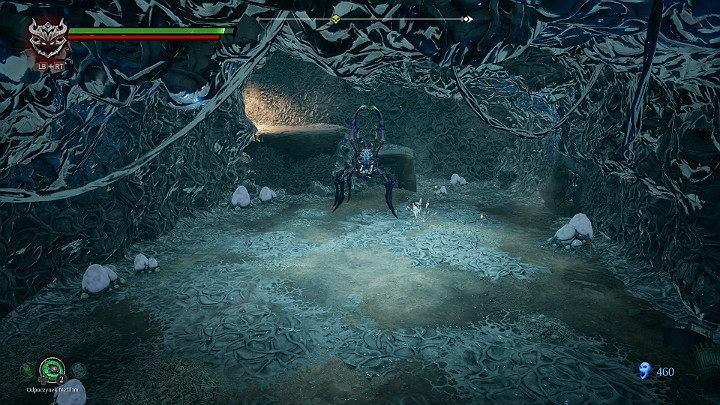
On the right side there is a cocoon with a purple substance and on the left side, you will find a beetle.
Throw the substances on the ground and wait for the beetle to absorb them. Then lift it up and throw it at the door to open the passage.
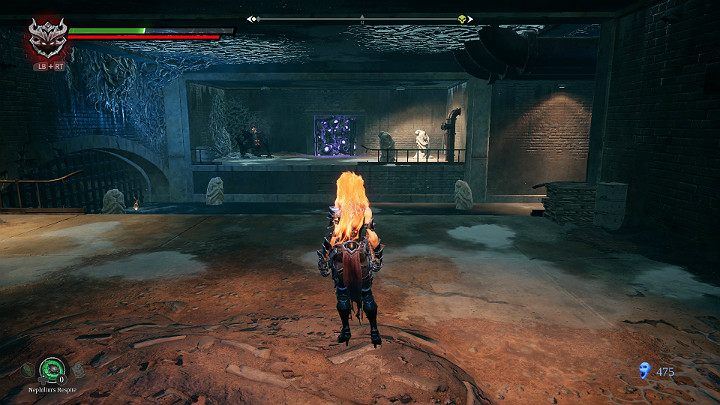
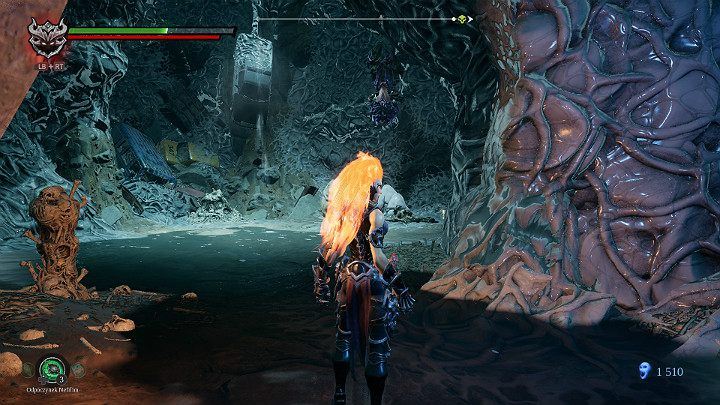
You will be in the channels. There are fewer opponents in the water, and on the other side, you can see a more difficult rival. When breaking statues, you can expect an attack from your opponent.
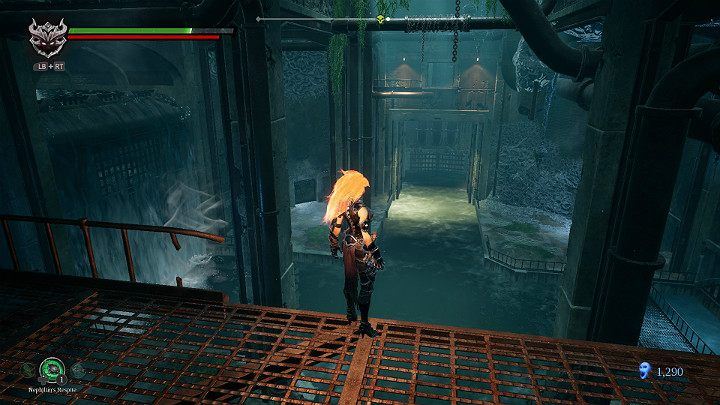
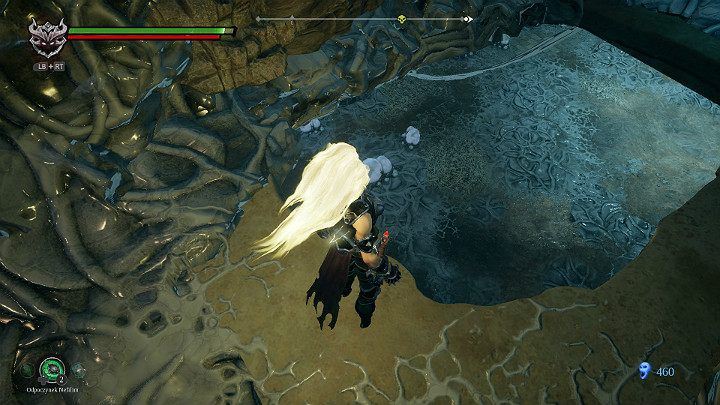
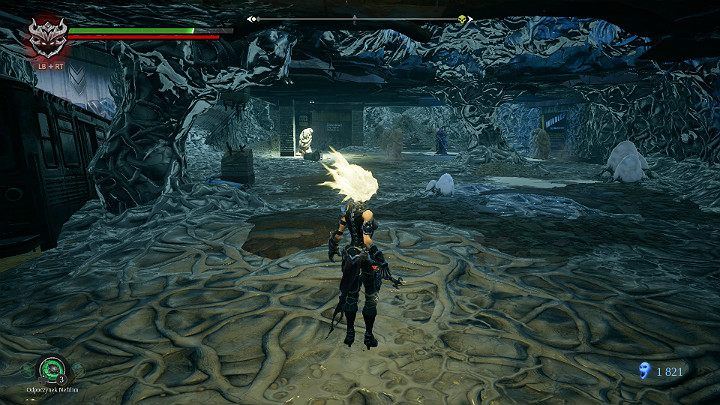
If you walk through the water, you will reach an extensive sewage system. Going down you will have to kill several enemies and you have a chance to collect Lurcher Clusters and debris.
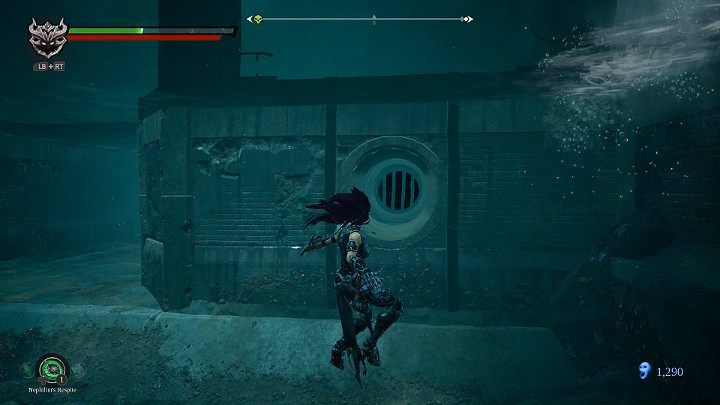
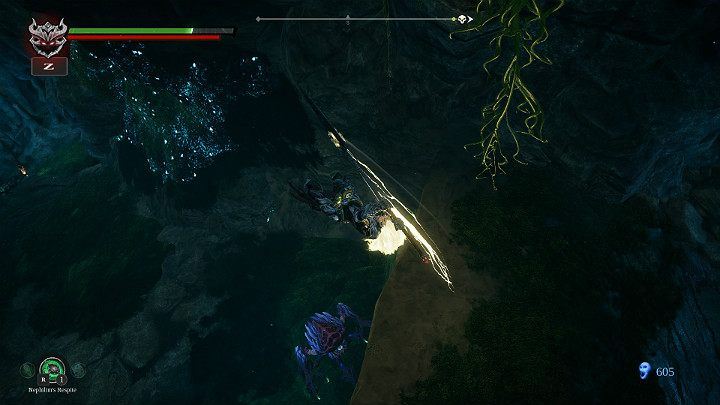
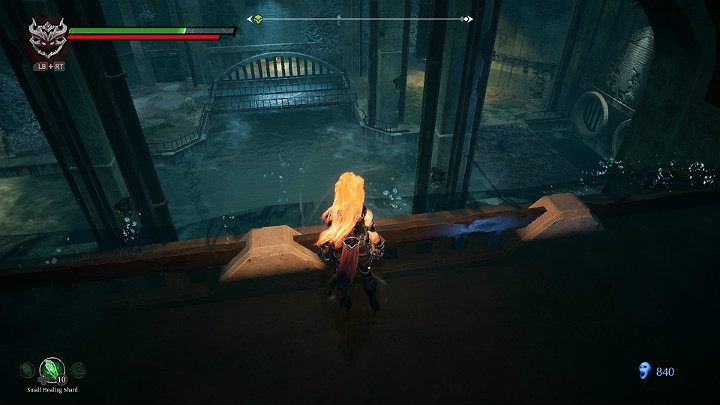
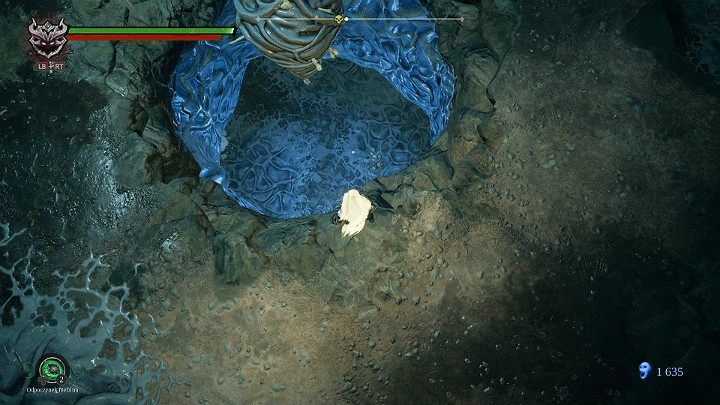
Jump into the water and locate the passage shown in the picture above. Inside you will find an item that allows you to get an additional attribute point.
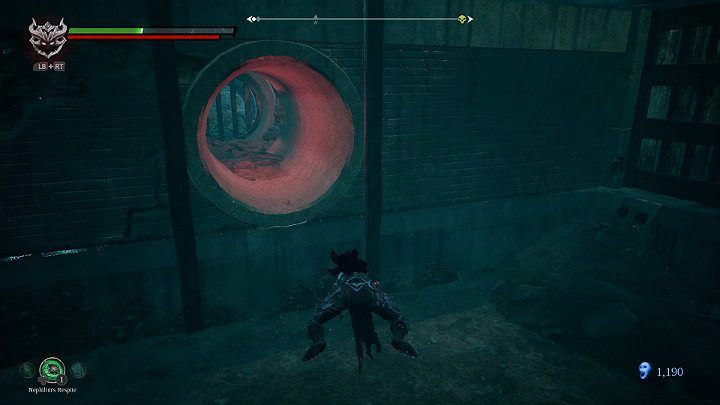
Then flow through a red lighted pipe.
You will leave in a small room. Look up and locate a hole in the ceiling. Go up to the wall and make a double jump to get to the upper floor.
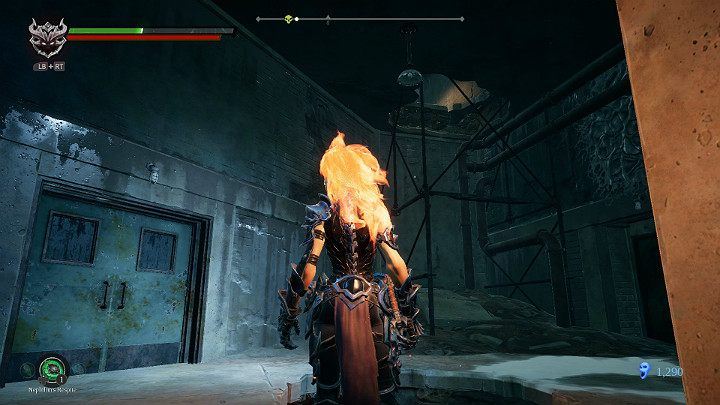
Here you will find the Angelic Artefact. Return to the previous room and walk up the stairs.
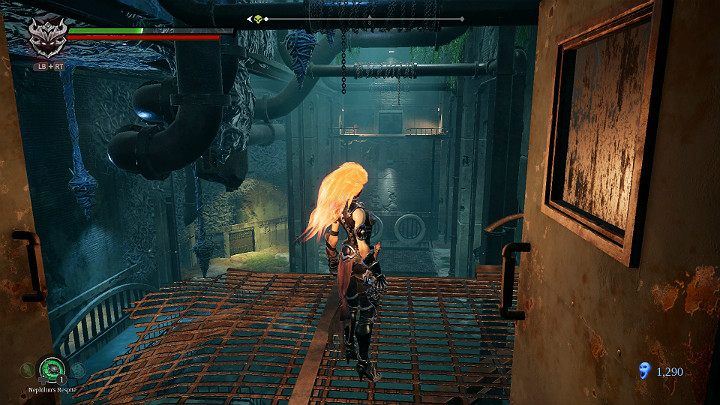
You will reach the upper level of the sewerage system. Use your main weapon to jump to the other side.
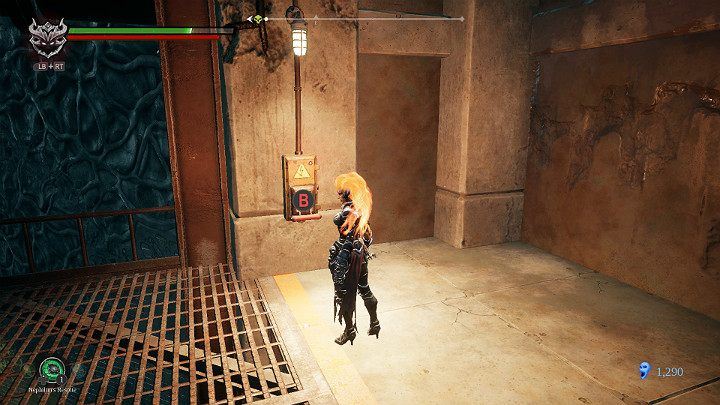
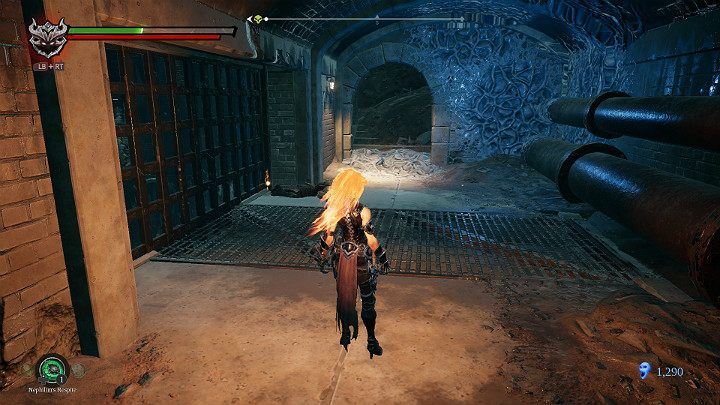
Move the lever at the power switch.
This will open a huge gate on the other side.
Before you go out to the surface, dive to get Lurcher Cluster. When out of the water, watch out for venom spitting enemies.
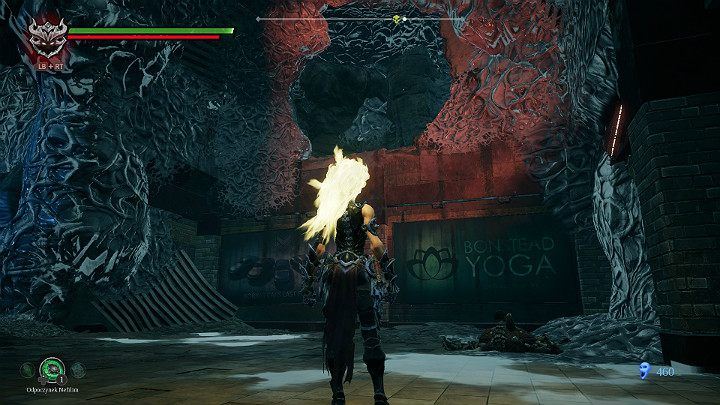
Burn out a passage in a cobweb and go further as the path leads.
Cistern
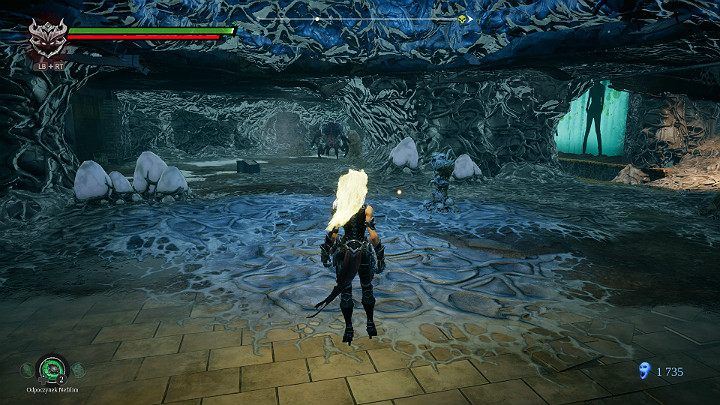
You will reach the next checkpoint. This is the best time to replenish supplies, deposit souls and visit the Maker's Forge to enhance weapons.
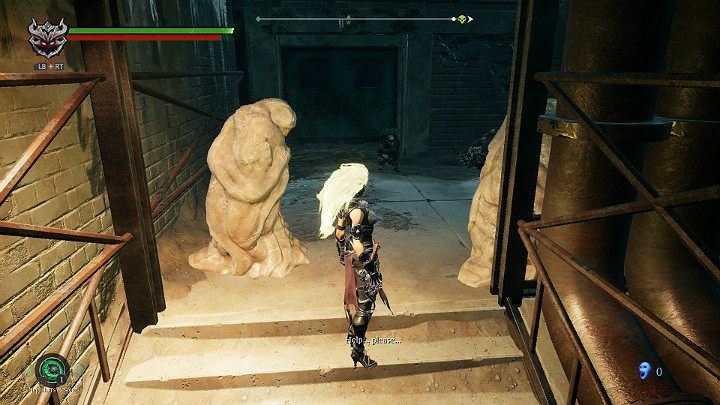
Once you've done all the work, climb up the stairs to save another man.
In the Vulgrim room, there is a power switch that will open the passage to the sewerage system. Walk through a small corridor in the wall
Downstairs, you'll have a fight against your opponent. Don't forget to smash the statues.
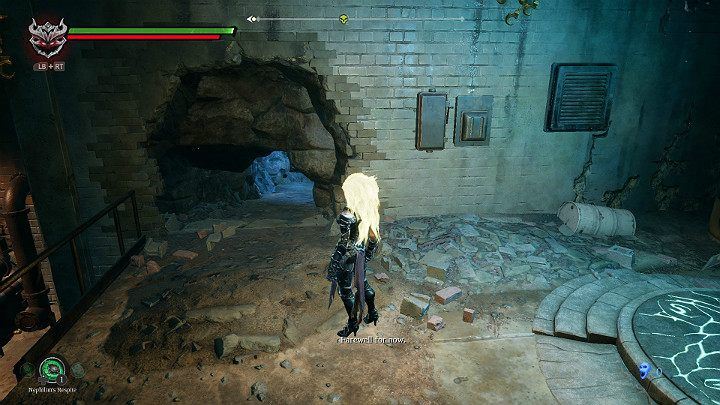
Go through a small hole in the wall.
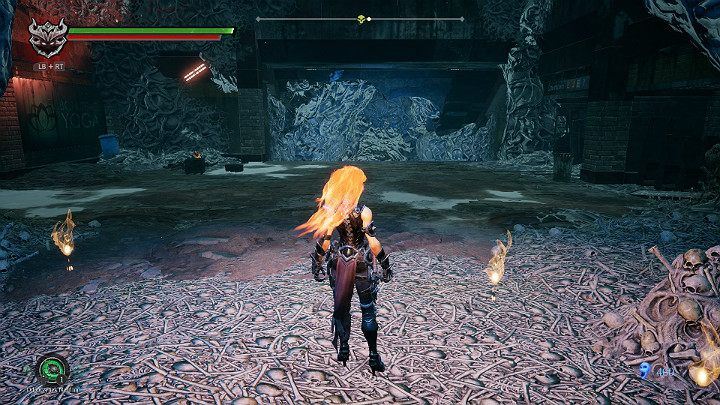
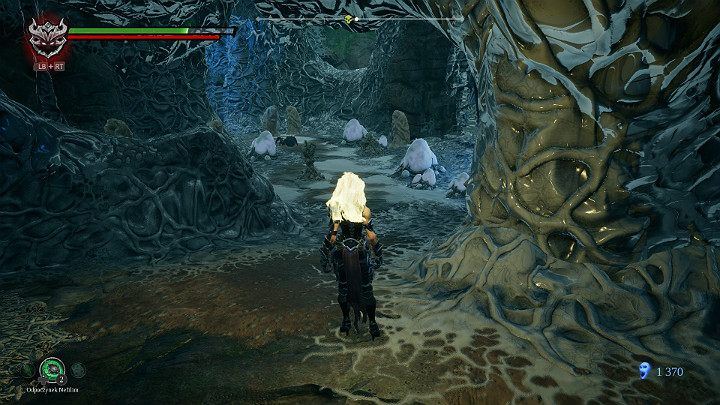
The corridor leads to a rock shelf with several enemies and eggs from which smaller enemies can hatch.
After the fight is over, press on to the next corridor.
Go down through a hole in the floor.
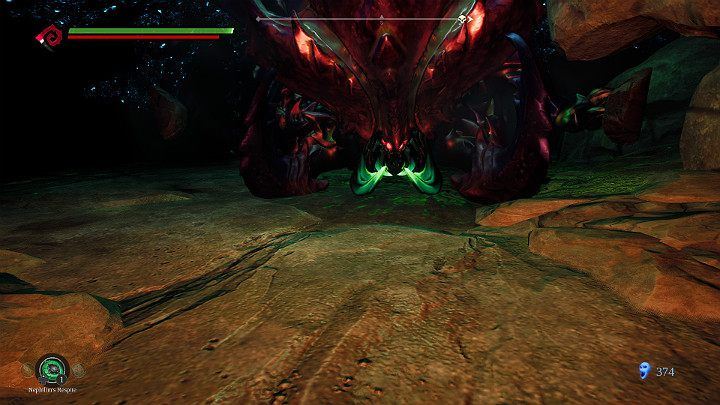
In front of you is a fight against a powerful opponent in which you can confidently surrender. You won't be killed, but wrapped in a cocoon to get to the next location.
When you get out of the cocoon, collect items from the ground.
Look up and jump to the top level.
Go through the next corridor.
You will get to a crossroads. First, select the upper path.
Squeeze through another narrow corridor.
You will get to a place you did not have access to before. Defeat your opponent and collect the artifact.
Go back to the crossroads and choose the second path. You'll reach a large chamber where you'll find 2 opponents capable of spitting venom.
When you deal with them, drop the cocoon hanging under the ceiling. When you walk along the upper corridor to the left, you will be able to collect more items. Then take the path to the right.
You will reach the next hole with eggs and dowries.
Look up and jump up a little bit higher.
When breaking statues, watch out for enemies who may be hiding inside. Then walk up to the wall and jump up to the top with a fiery jump.
Free another man and gather a Lurcher Cluster.
When you turn left and look up, you will find a cocoon suspended from the ceiling.
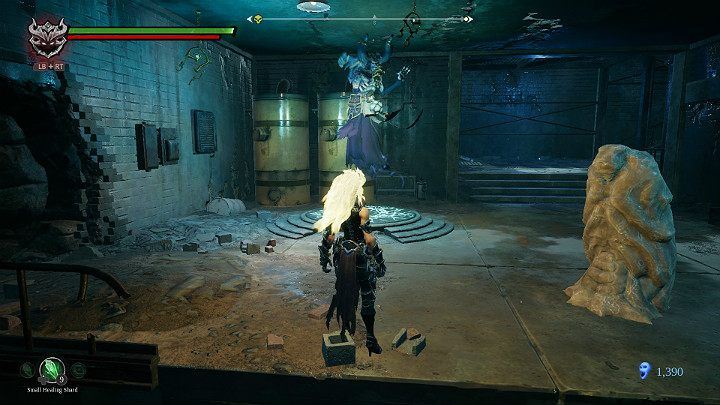
As you enter the next room, be on your guard, because another enemy hangs under the ceiling.
After the fight, look to the right and jump down.
Go up to a large hole in the floor and jump down the floor below.
Tangled Grotto
You will be at the next metro station. There are a lot of opponents and items to collect around, as well as one cocoon under the ceiling slightly to the right.
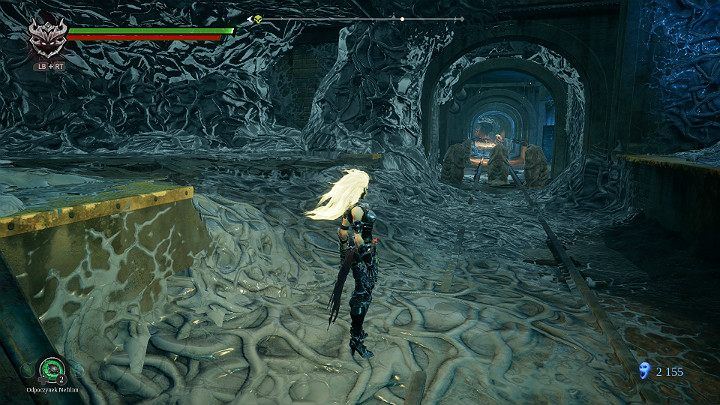
Jump off the platform and walk along the tunnel with 3 statues at the end. There you will find Vulgrim and the rebirth point if you accidentally catch up with the next Boss.
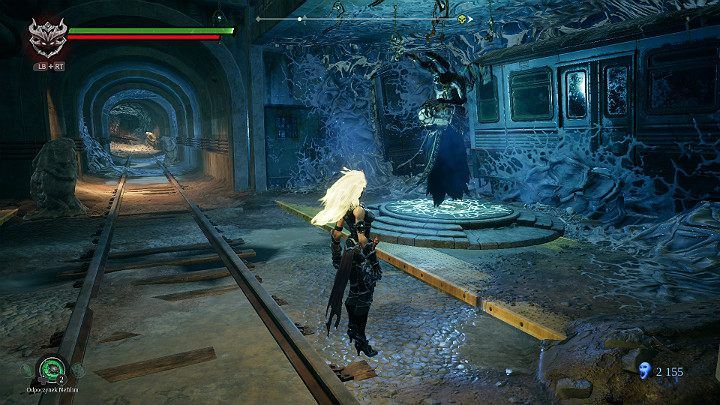
You have reached the next checkpoint where you have the opportunity to do business with Vulgrim. It's a good idea to use this option before you continue your journey. Go deep into the tunnel and be careful when breaking statues.
There is another platform in front of you. In the distance you can see your opponent who you will have to fight in the dark, so get ready well.
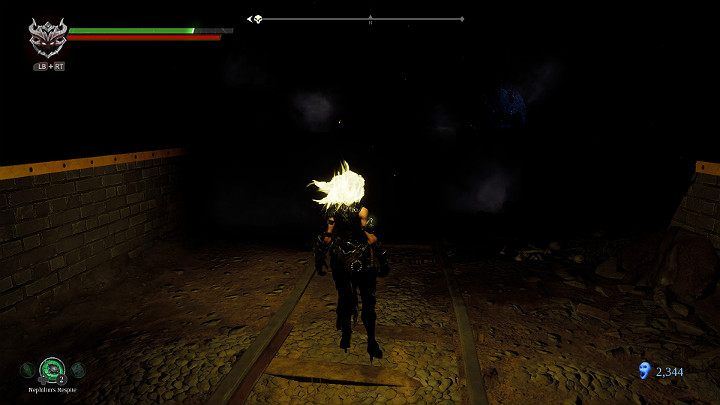
As soon as you reach the platforms, the room will be filled with impenetrable darkness. On both sides, smaller opponents lurk, so beware.
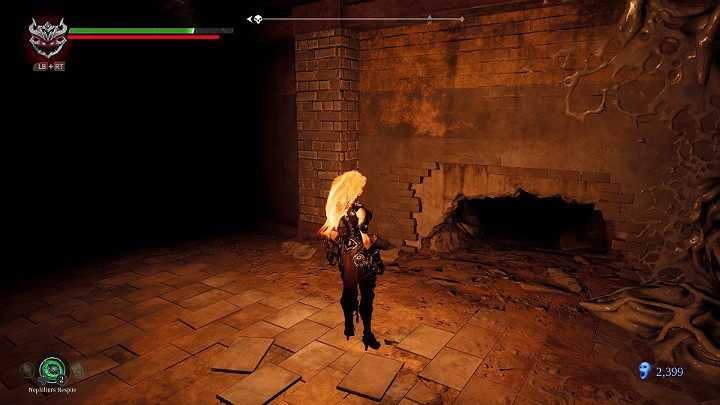
When visiting the metro station, pay attention to the two holes in the walls on the left, where you can find additional items. In addition, climb the stairs to the top of the small room to get an extra fragment.
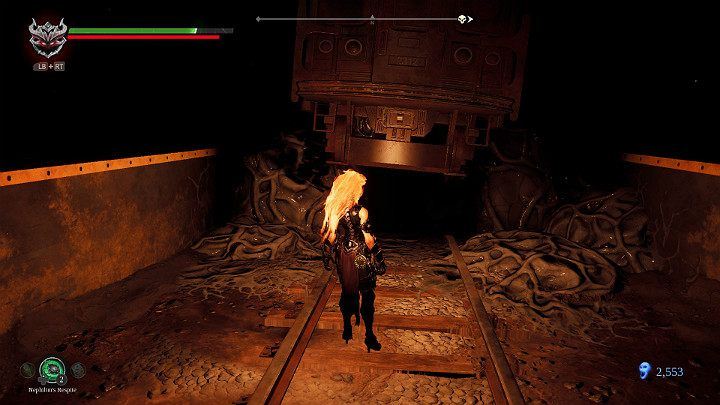
Then approach the wagon and crawl into a narrow passage just above the tracks. It's invisible, but you'll get there for sure.
Jump down and gather a Lurcher Cluster. When breaking statues, watch out for potential enemies.
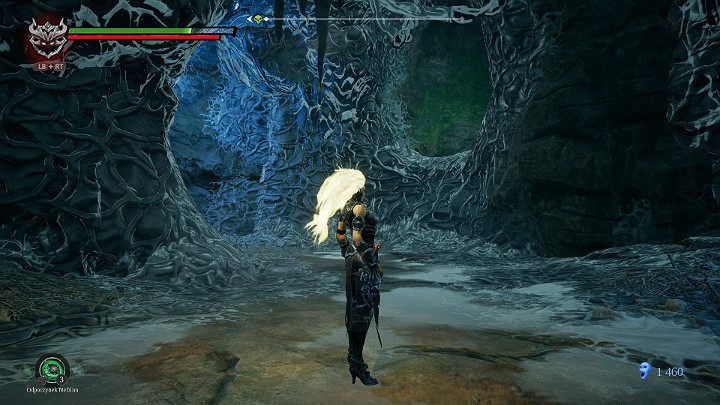
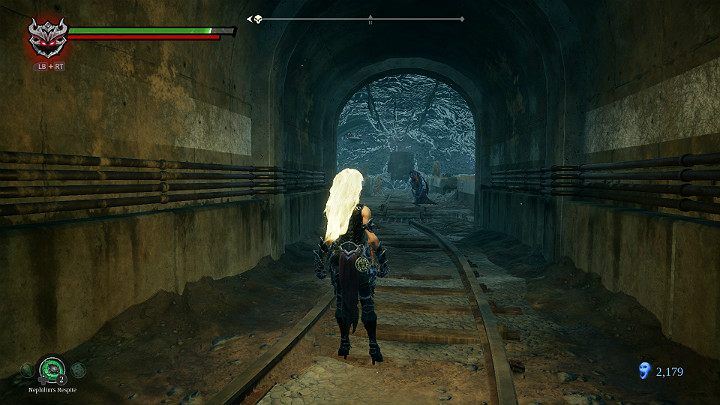
Go to the next narrow tunnel and go forward.
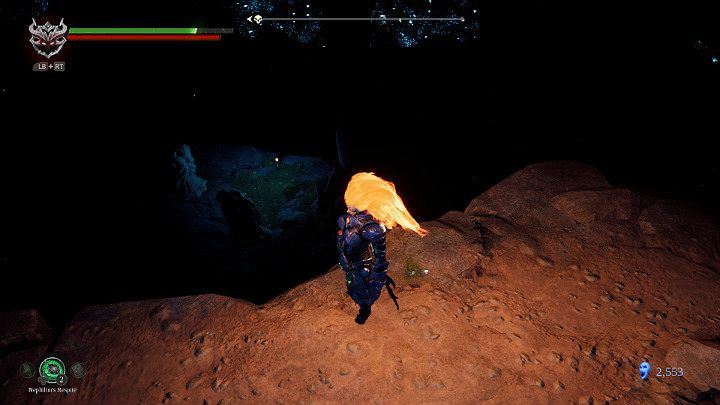
You'll reach a large cave where you'll find two strong enemies. The frontal attack will not bring the expected result, so it is better to act strategically.
Exit the tunnel and lure your opponents, but don't get too far away from the wall opening. As soon as your opponent starts charging towards you, retreat into the tunnel and wait for the impact. Then go out quickly, make a few blows and hide again. This way you will quickly deal with the enemy. In the grotto, you'll find Lurcher Clusters and a powerful weapon upgrade. Then return to the last checkpoint with Vulgrim.
When you walk around a ruined tram car, you'll see your opponent in the distance, who will start spitting venom balls as soon as you approach him. Watch out for the statues because more enemies are hiding in them. After killing them all, collect the artifact.
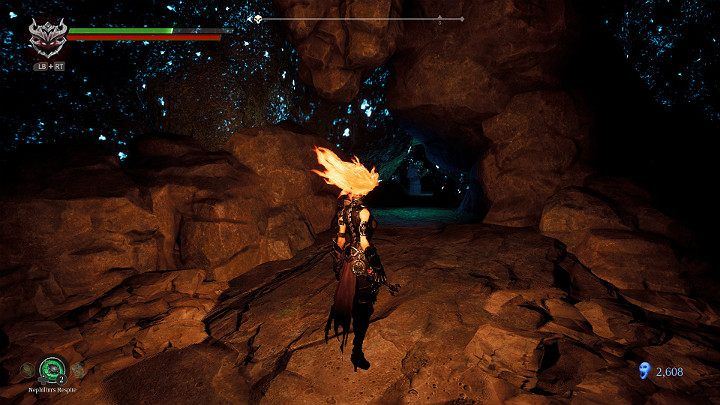
Jump on the wagon on the left and walk on its roof.
In a small cave, you will find another man to save and one additional object.
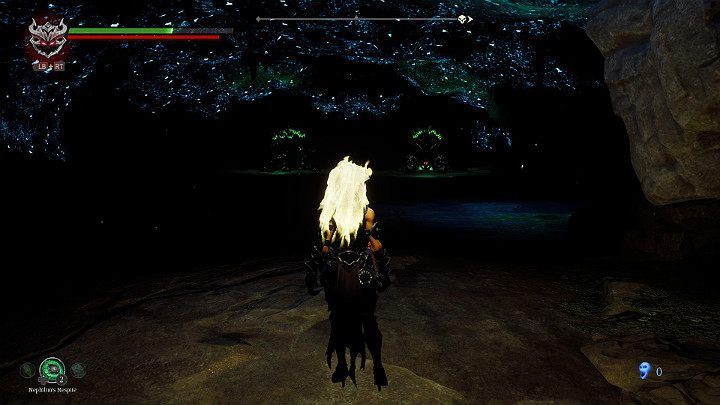
After leaving the cave to go straight ahead and stairs up. Immediately after the bend, an opponent awaits you, who will try to summon meals before the fight begins. If you don't deal with him quickly, 3 more opponents will come.
Walking along the corridor on the left, you will reach the next Boss - Sloth.