
Hollows - Catacombs | Darksiders 3 Walkthrough Darksiders 3 Guide and Walkthrough
Last update: 06 September 2019
This page of our Darksiders 3 guide contains a walkthrough for Catacombs. This happens soon after visiting Lord of Hollows for the first time and receiving the Flame Hollow. Fury will take part in a lot of exploration, riddle-solving and battles with standard opponents.
Catacombs
Catacombs are the next part of the Hollows level in Darksiders 3. Here you can find our walkthrough:
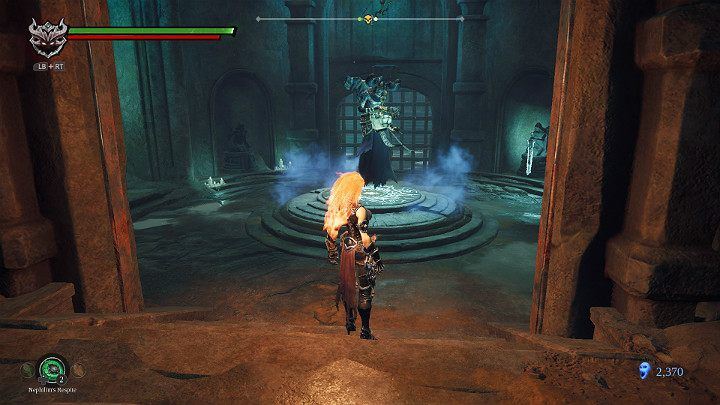
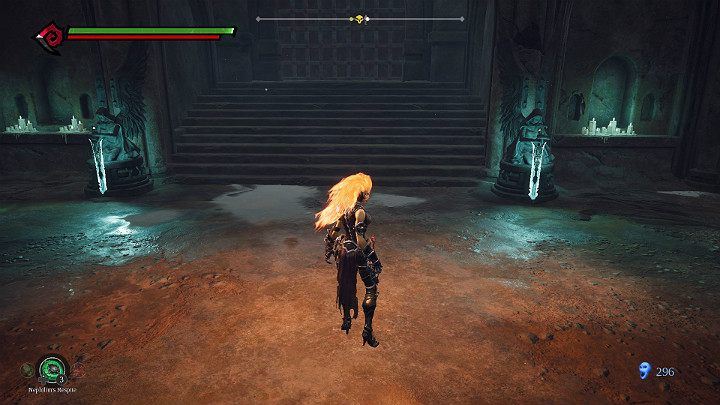
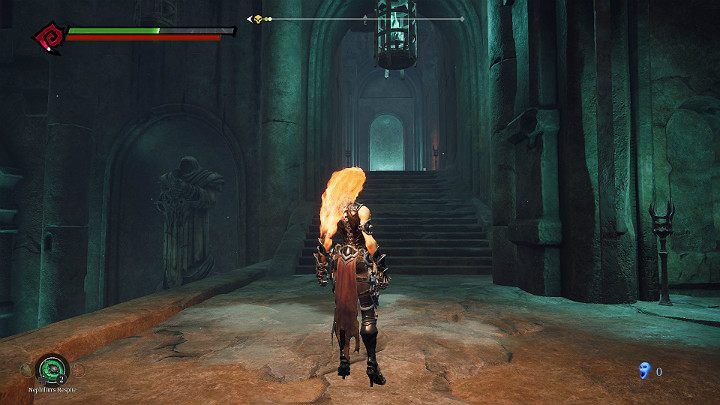
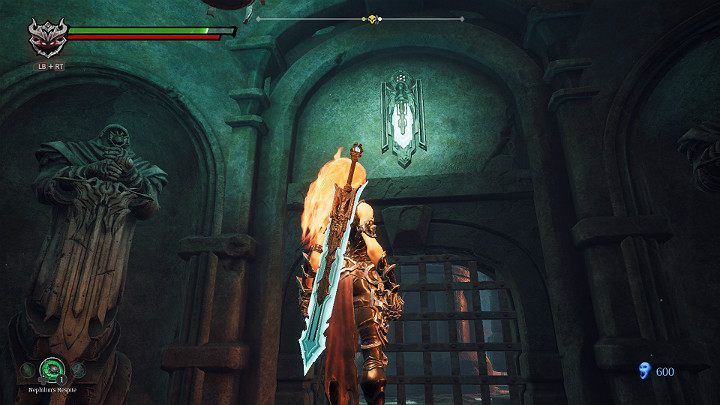
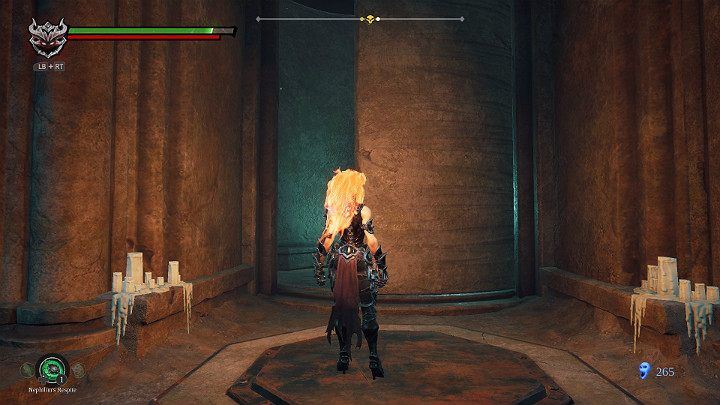
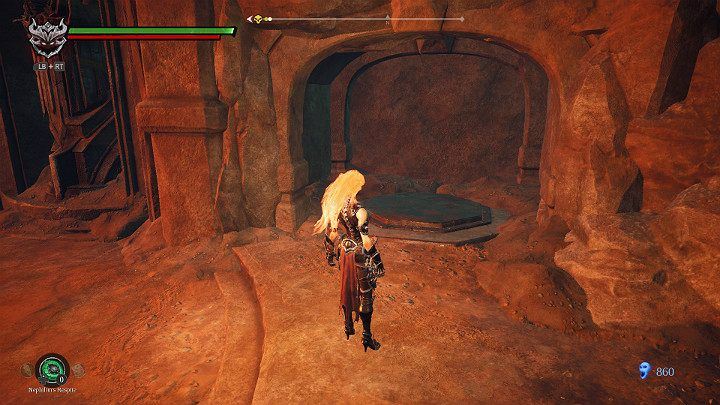
You will finally reach Vulgrim and you will be able to deposit souls or do shopping. To get out of this room you have to hit the guardian's statue with a sword.
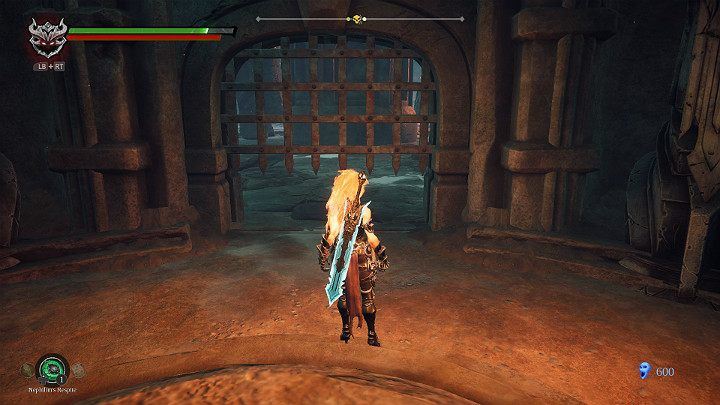
When the gates open you will be able to continue your adventure. But before you leave, you need to do one more thing.
Lift the sword that you have previously thrown out of the hands of the statue. To lift the sword, just press the interact button.
Exit the chamber and approach the statue without a sword, and then press the interaction button.
In this way, you have completed the scheme and both statues have a sword. Now, having learned the experience from the previous puzzle with the bridge, you have to hit one and then the other sword in the shortest possible time.

When you manage to complete the task correctly, both swords will light up red and the gates will start to open.
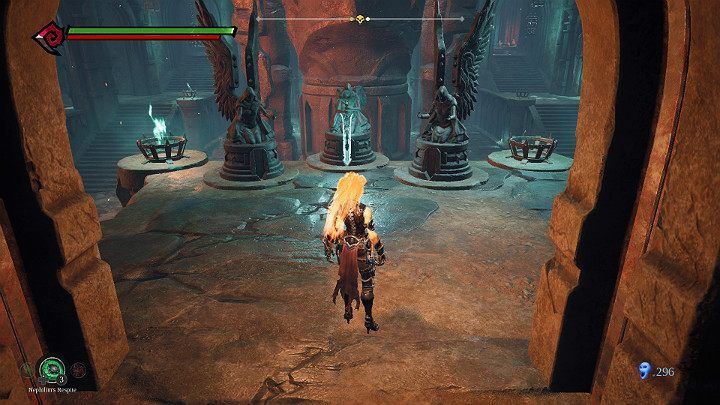
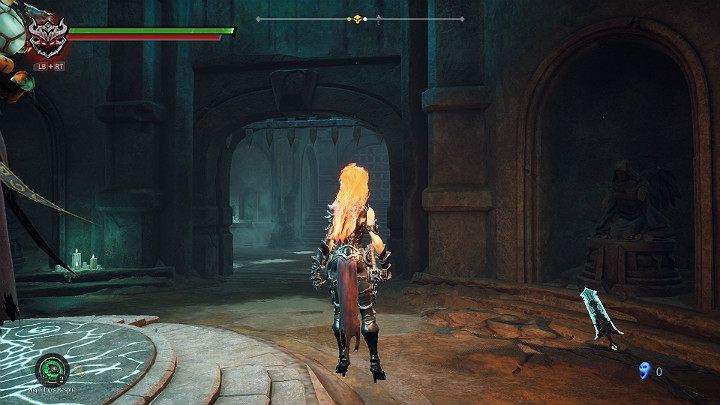
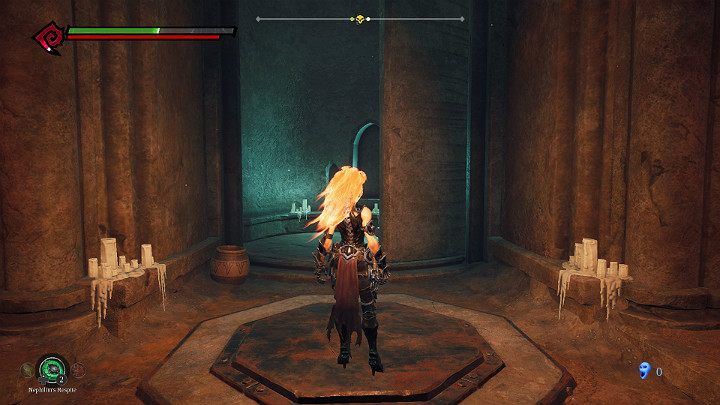
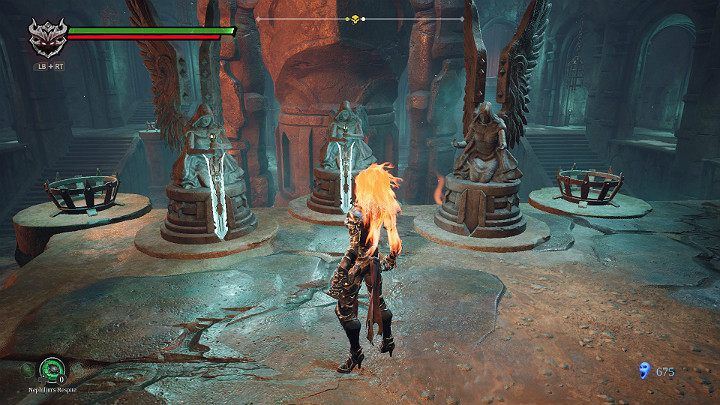
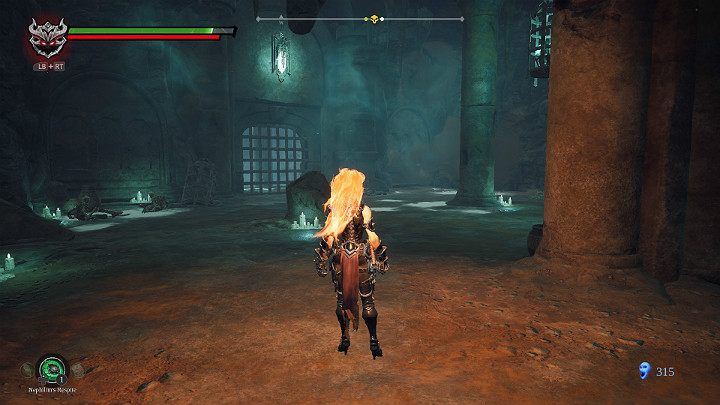
There is another riddle ahead of you - swords again. This time there is one small statue with a sword and two larger statues to complete.
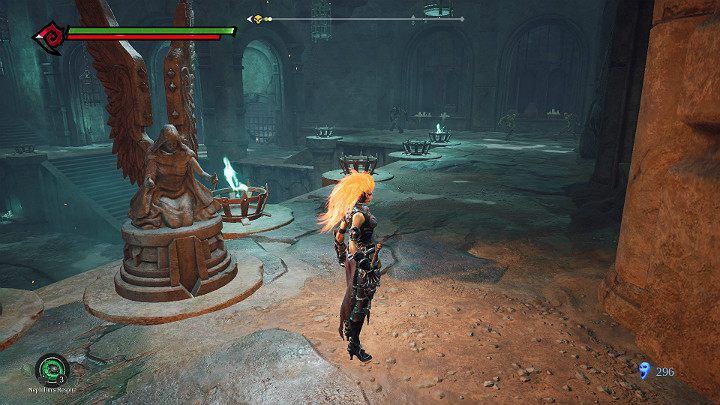
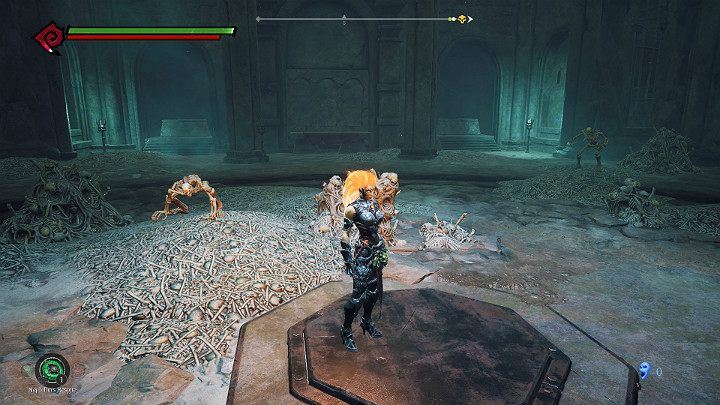
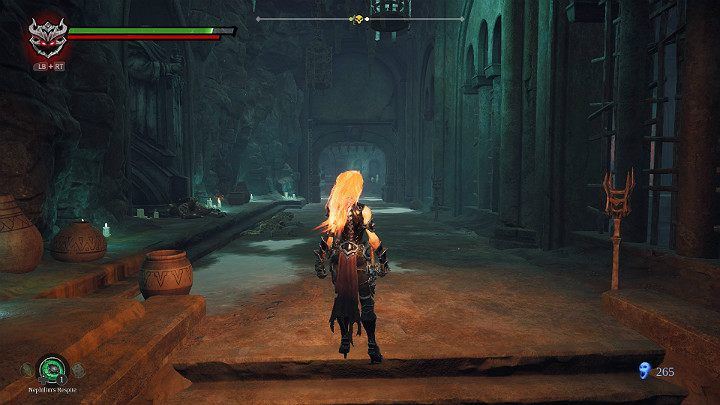
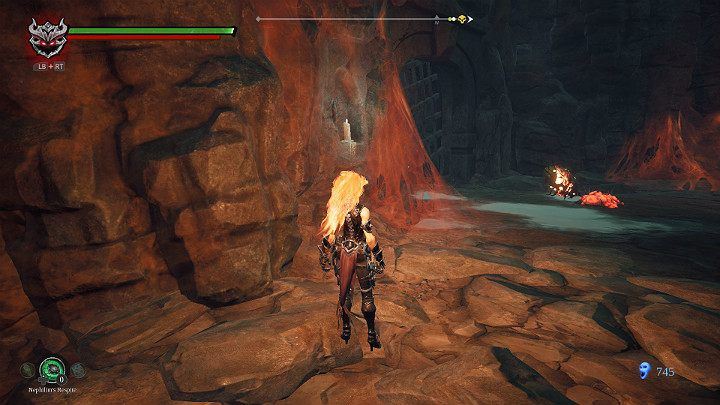
Turn right. The chamber is patrolled by skeletons that you should deal with quickly. On the lower level, you will find more enemies and one large fire guard. In addition, you'll find many sarcophagi to break, including Lurcher Clusters, fragments and one item for which you'll earn an additional Attributes point. You can collect everything now or later if you prefer.
The easiest way to kill this guard is to lure him to the stairs. Let him see you, then position yourself in the right place and wait until he comes to you. From here you can pummel him freely and your opponent will hit the wall. Piece of cake.
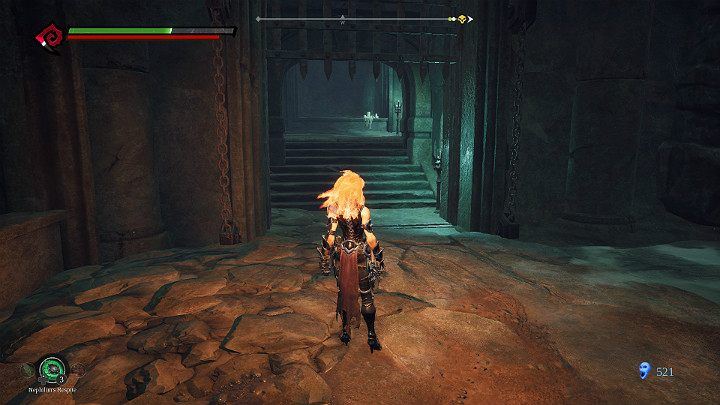
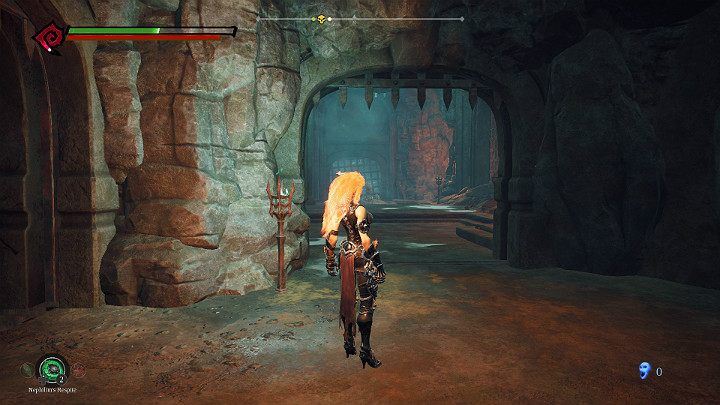
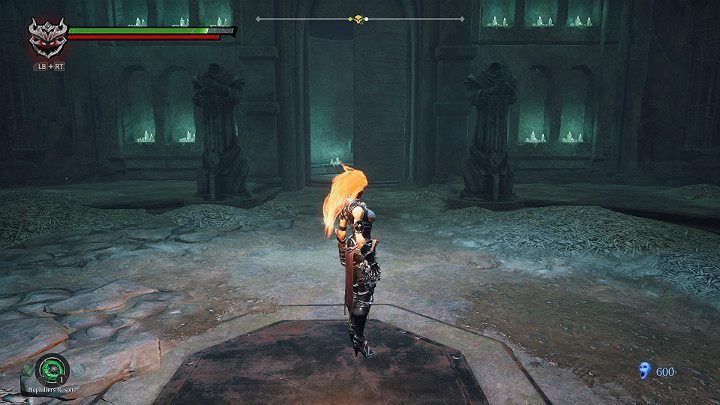
Enter the corridor, which is located to the right of the entrance to the chamber.
A skeleton with a mace awaits you at the bottom. In a cramped room you don't have enough space to fight, so try not to let your eyes off your opponent. Watch out for powerful blows.
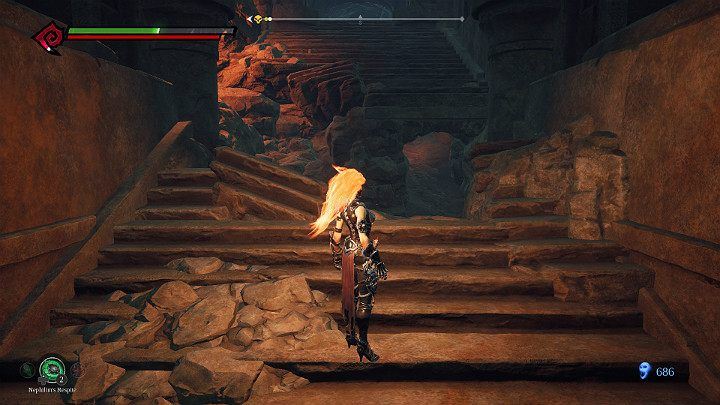
After defeating the enemy, turn towards the stairs and enter the low tunnel.
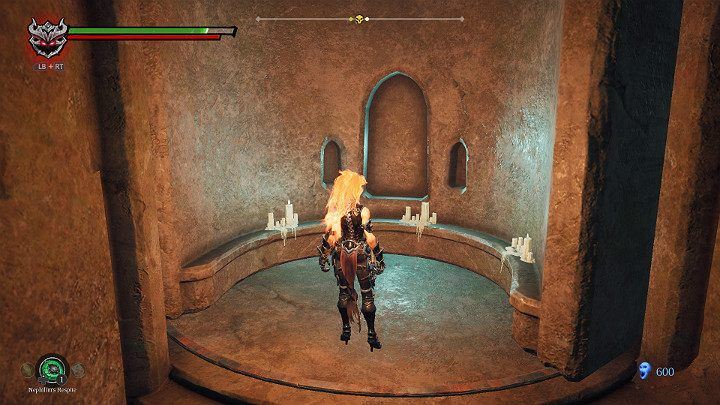
Collect the fragment and jump down. You will be in a room with two statues. Go back into the big chamber.
This time select the passage at the end of a large chamber, on the right.
Stand on the button to start the rotating wall and then enter the centre.
Go forward as the road leads.
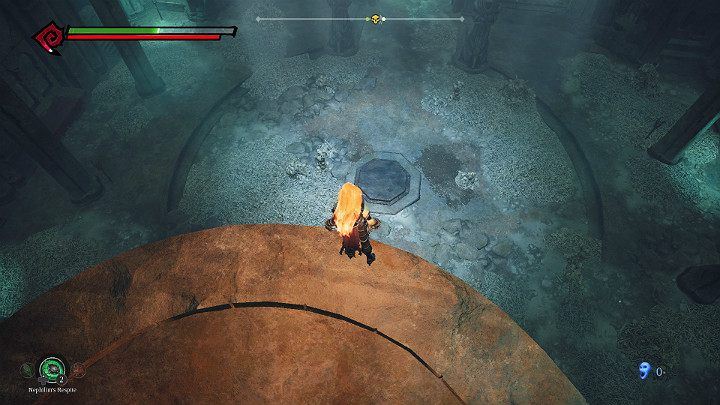
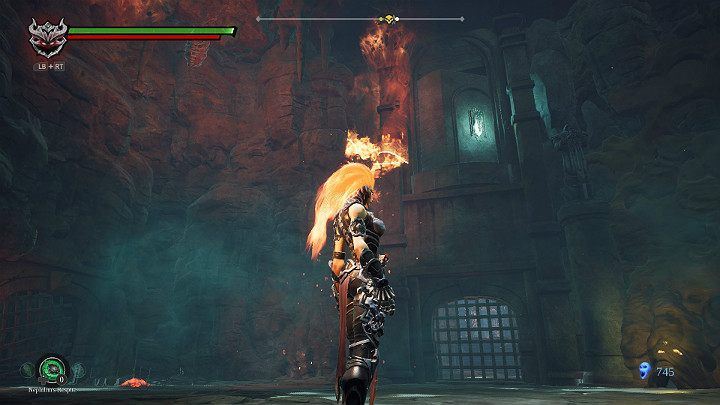
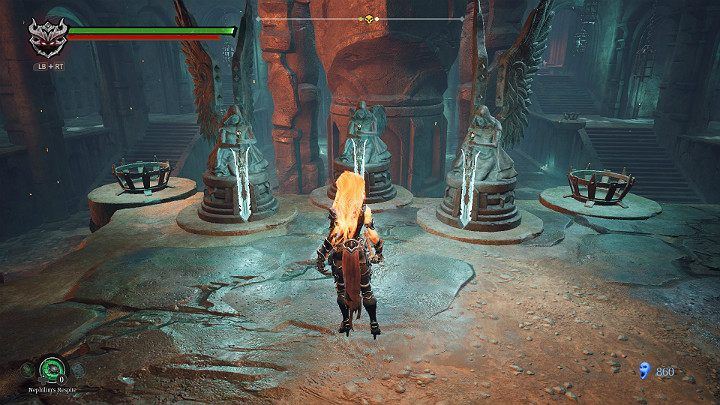
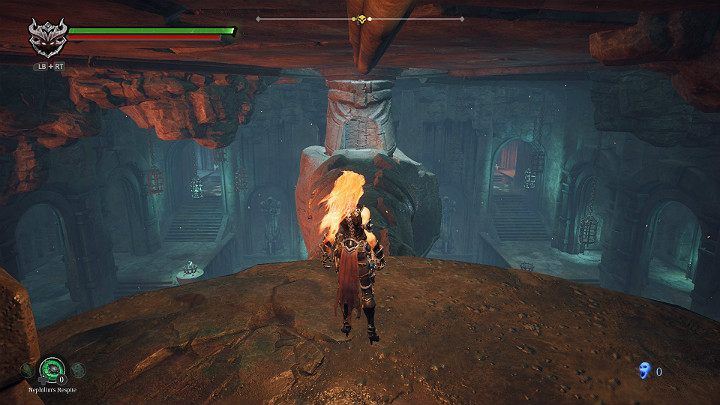
You will finally stand on the balcony. The round room at the bottom looks sinister and heralds nothing good. Your task will be to stand on the button in the center of the room. But before you do this, fill in your missing health and prepare for the fight.
As soon as you stand on the button, the skeletons will start to emerge. There will be at least a dozen of them. Among a group of weaker opponents there will be two stronger ones with a sword and one archer in the corner of the room. During the fight, you must keep your eyes around your head and move quickly to avoid injury.
After the fight is over, stand on the button and wait for the wall to rotate completely and open the recess for you.
Now you have to run into the recess before the passage closes again.
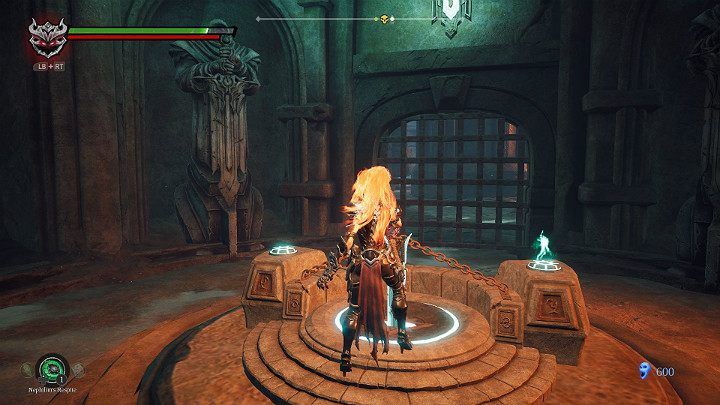
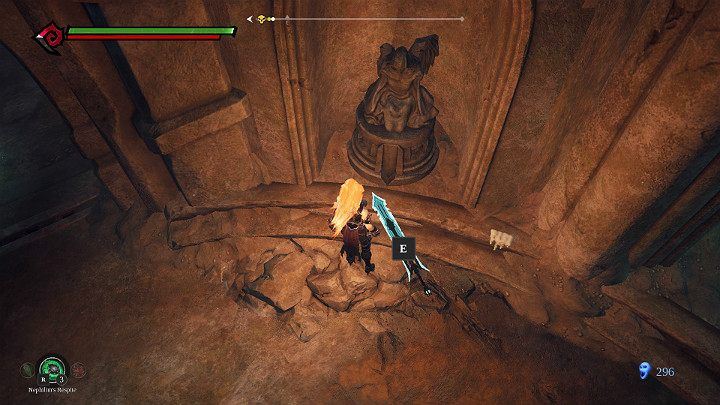
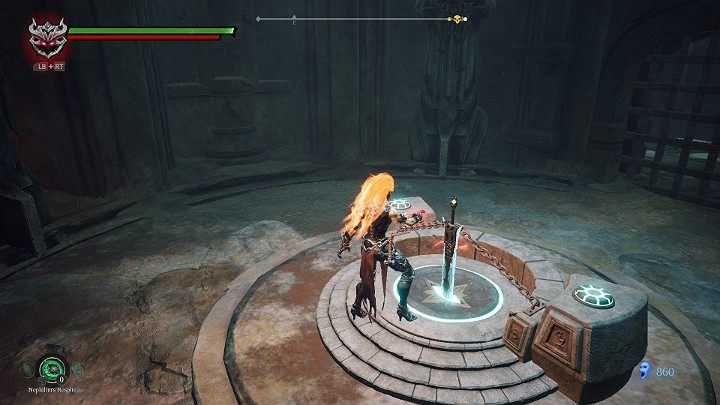
In a small room you will find the first of two swords. Take it using the button responsible for the action.
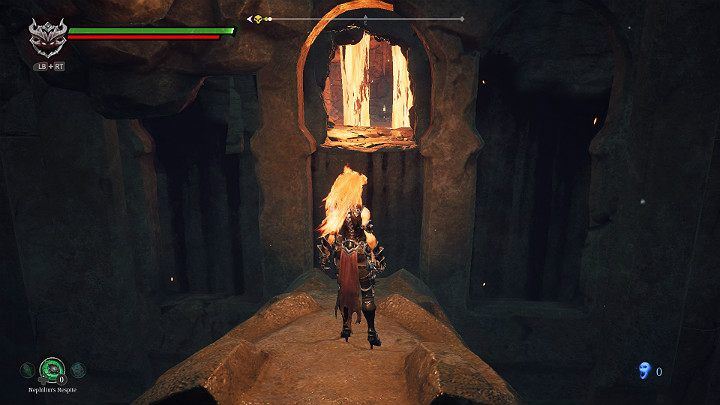
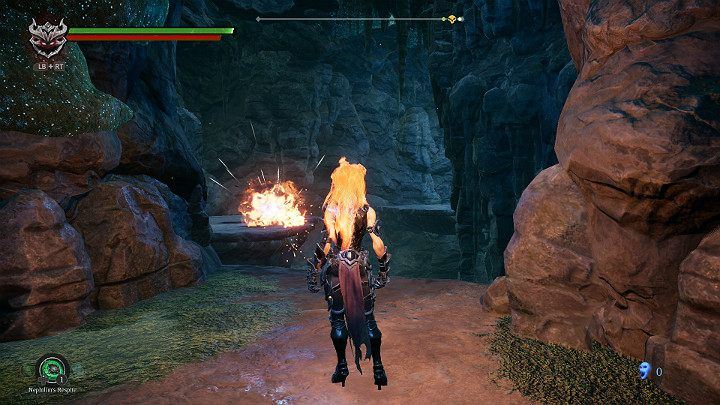
It is time to get out of this room. Look up and locate the crystal. Now you have to hit it or just make a double fire jump.
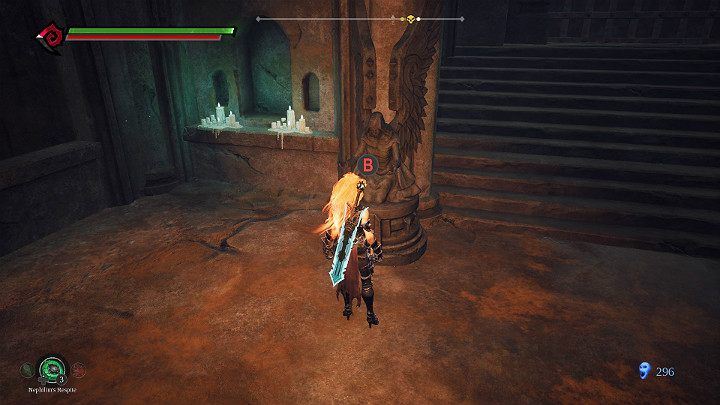
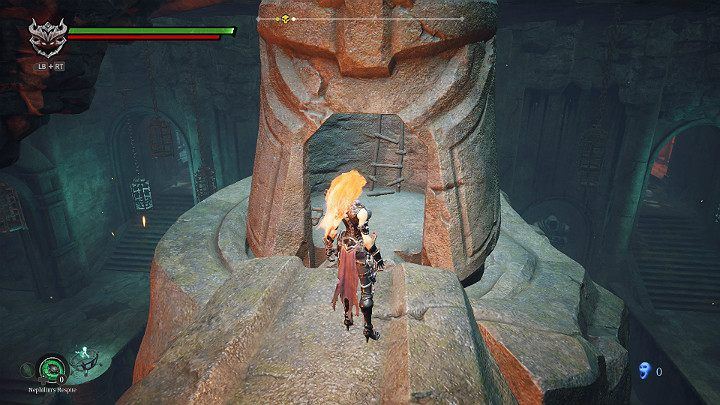
As soon as you hit the crystal, the gate will start to rise. Go to 3 statues to place the first sword in its place.
Place the sword on the right spot. It is time to find the last element of the puzzle.
Select a passage from the left side of the big hall.
Once again, go to the button and wait for the passage to open.
There are only 2 enemies in the place where you are and an additional fragment to collect.

Before you go to the main room, look left. Bring the vases together and open the passageway.
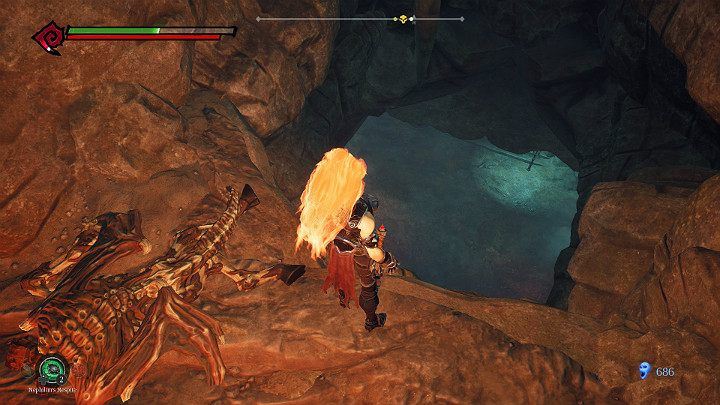
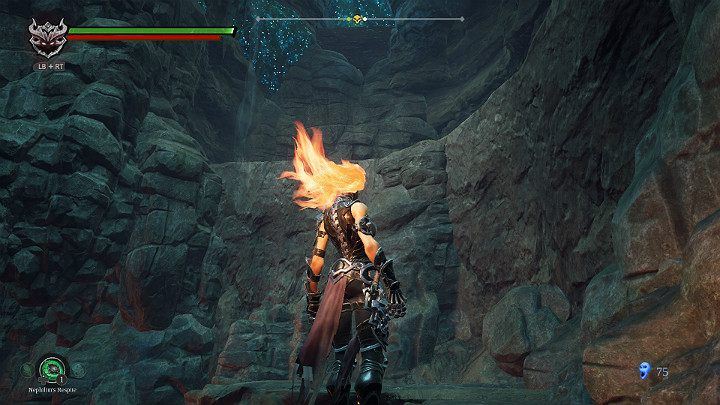
Jump up to the top of the cave with a double jump.
Collect Lurcher Cluster and go down.
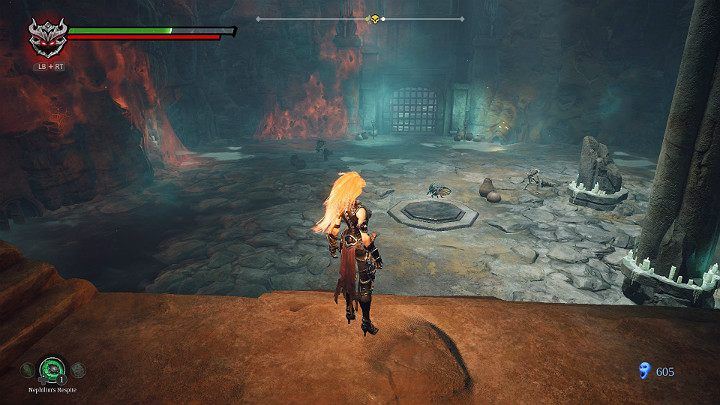
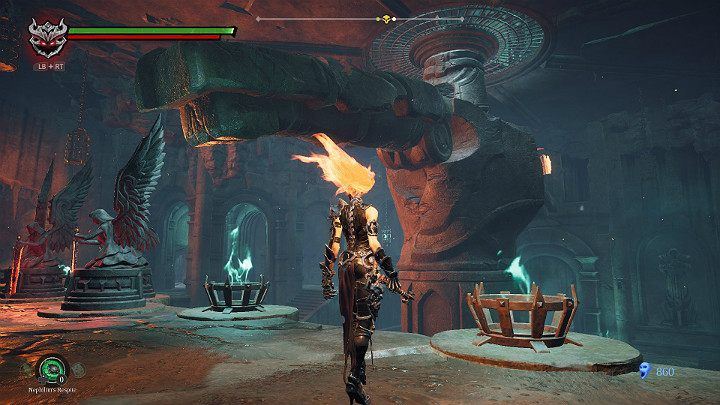
You will find yourself in a spacious room. There will be a few opponents to defeat. You'll also find Lurcher Clusters, fragments and one weapon upgrade. After the exploration is complete, hit the crystal over the gate to open the passage.
When you return to the main room, first get rid of two opponents.
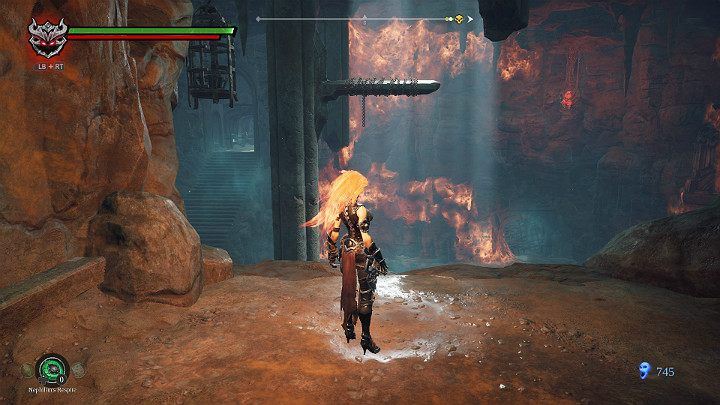
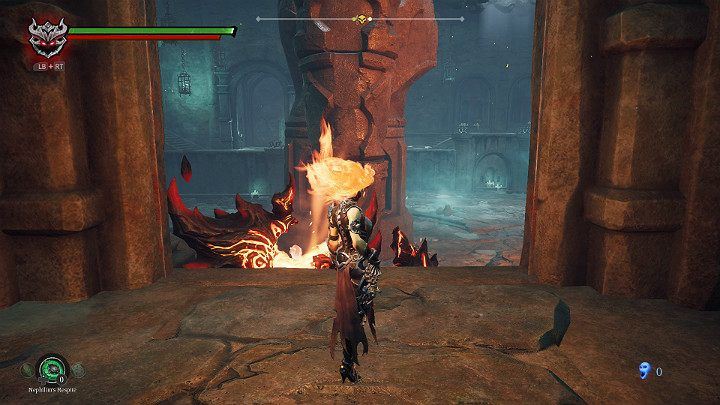
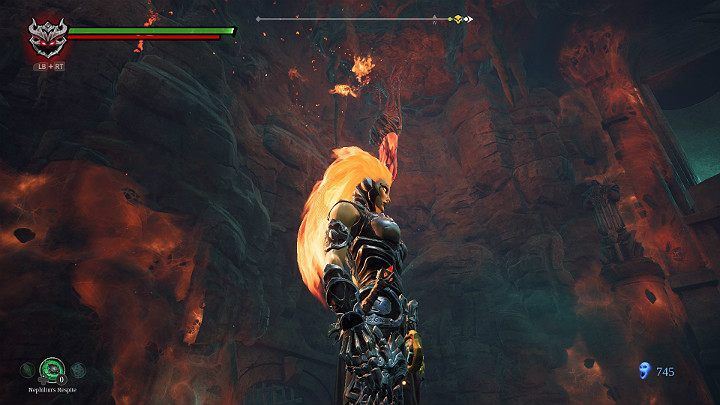
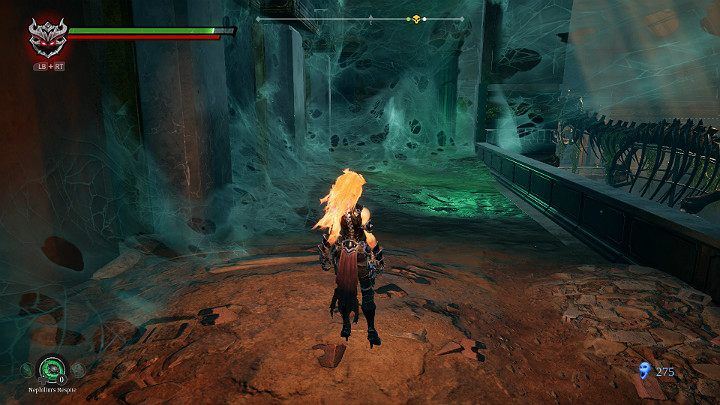
Next, go to the top level. Your task will be to break into the air using the pillar in such a way as to make a fiery jump in the air and set the red cobweb on the ceiling on fire.
This way you will drop the burning substance on the ground, which will be necessary to solve the puzzle.
Bring the beetle to the substance and wait until it eats it. Then stand next to the cobweb and set it on fire. As soon as the spider web takes care of the fire, run to the button in the center of the chamber.
Stand on the button and do not perform any actions. The wall will start to rotate and will highlight the crystal that will be hit by the fire.
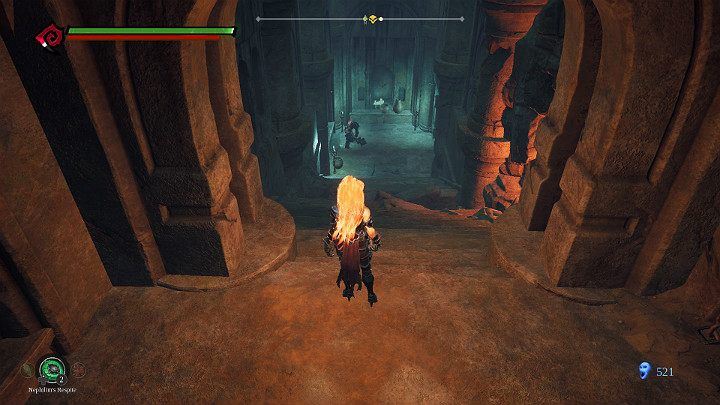
The door to the rest of the location is open to you. In the distance you can see two opponents that you will have to deal with.
In the spider web room, you can burn all of them in order to get Lurcher Cluster.
In the niche on the right you will find a button.

When you stand on the button, the wall opposite will start to rotate and open the passage. You have to get in there before it closes again.
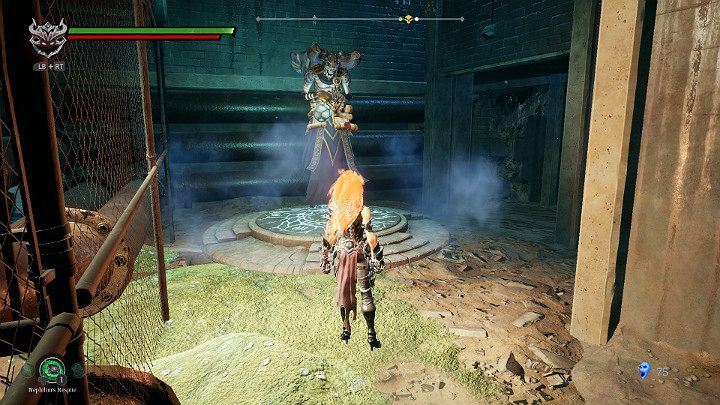
Take your sword and return to the room with statues.
When all three swords are in their place you have to hit them both at the same time to solve the puzzle
A large statue will set up its arms and create a bridge over which you will be able to walk.
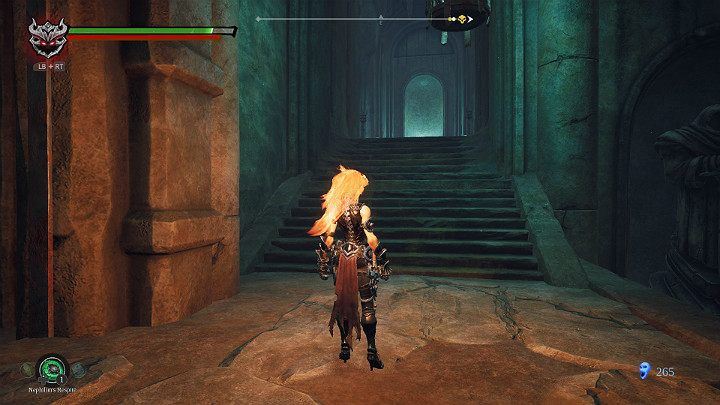
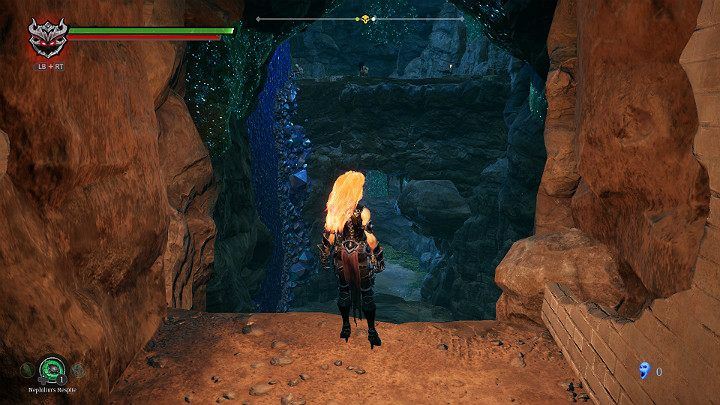
Go up to the top of the room and walk along the bridge to its other end.
In a small cave you will find a hidden Demonic Artefact.
Return to the middle of the bridge and take advantage of the double jump to reach a higher level.

After a short cut-scene you will be attacked by small creatures that are able to throw missiles. They are not too sturdy enemies, but they like to run away.
After the fight, look upwards and jump on the rock shelf with a double jump.
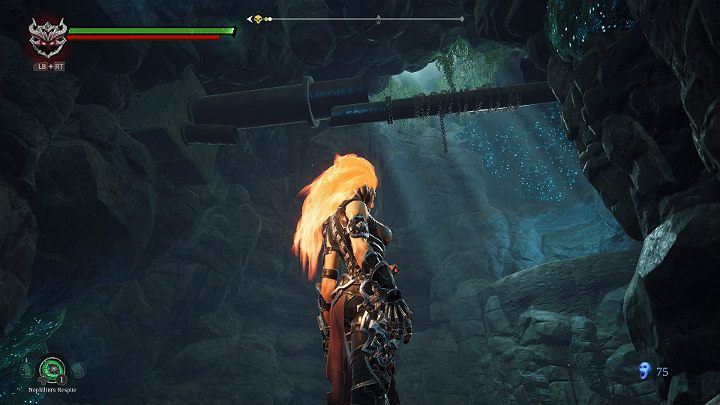
Break out into the air and jump to the second part of the cavern with your weapon.
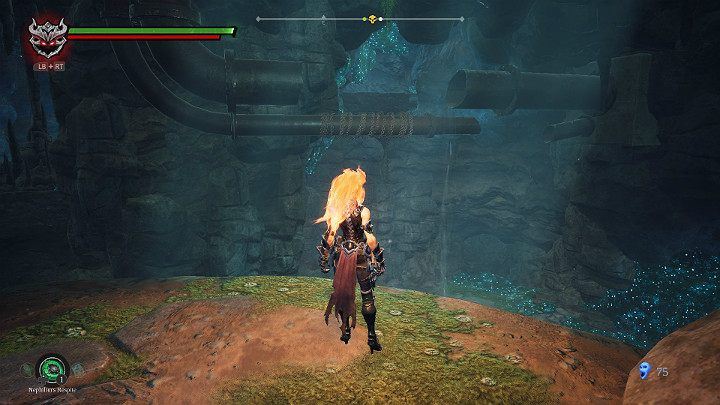
Turn back and use the pipe to jump to the other side of the cavern. Note that after bouncing back from the pipe, you will have to make another jump in the air to reach your destination.
Accessway
Follow the path until you reach Vulgrim. Now you have the opportunity to deposit souls, replenish stocks or choose the right Attributes.
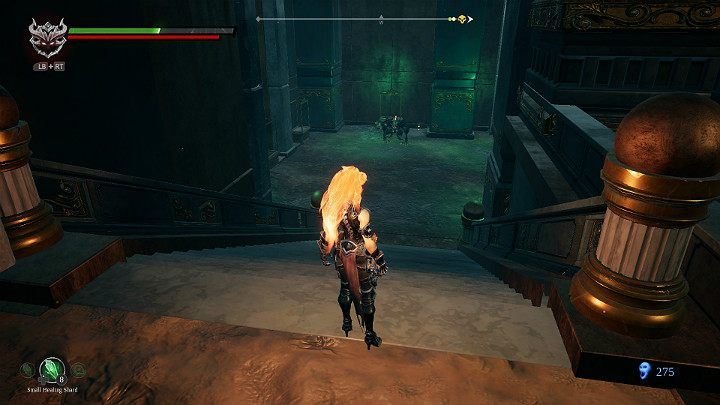
Going further, you will reach the cave complex. At the top, you can see your opponents, who you will not be able to do anything so far.
Your task will be to jump between rocky regiments. You also have to watch out for enemies who will drop bombs from above.
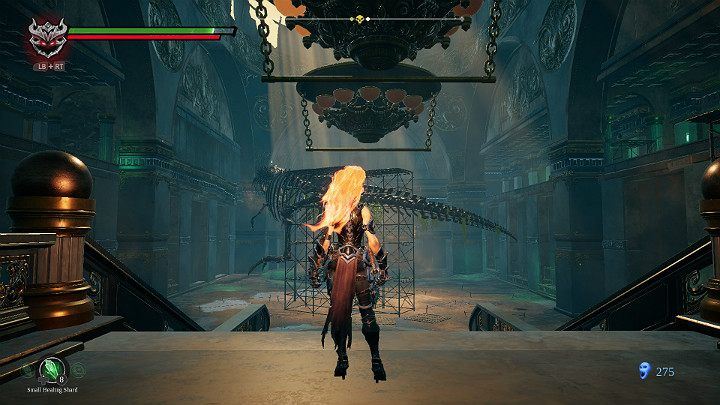
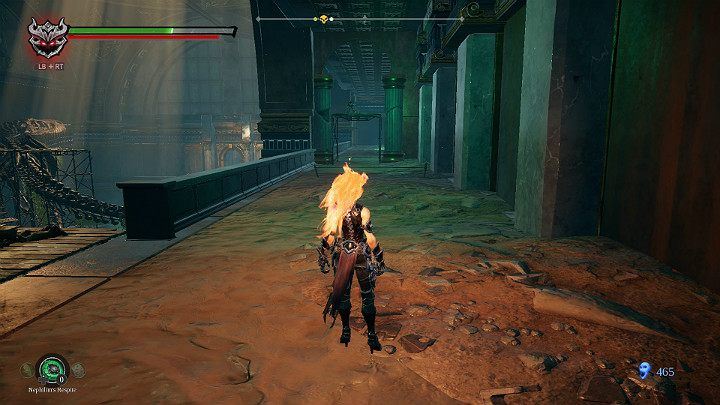
When you manage to jump between all the rock regiments, you will find yourself in a spacious museum room. Here you'll find many opponents and simplistic but painful traps. Enemies will lure you into traps and run away in different directions, so you'll have to maneuver very carefully between the cords.
When you've cleared the room of enemies, approach the stairs and go upstairs.
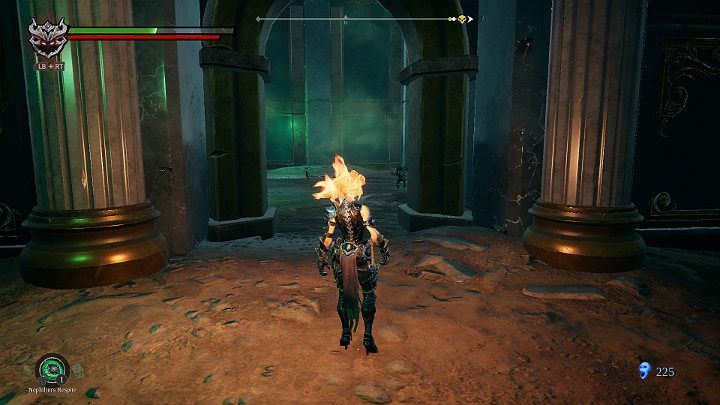
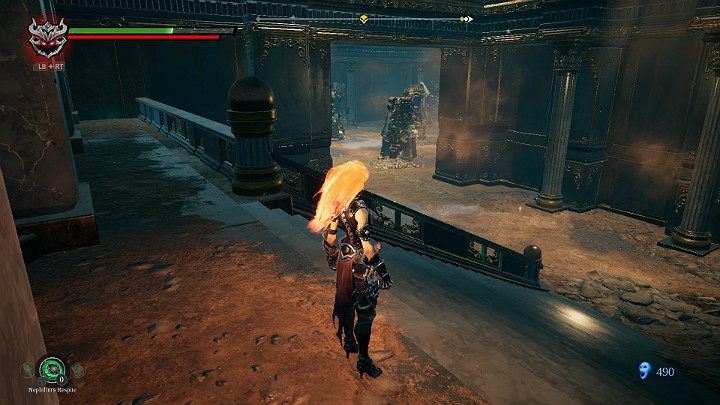
Another unbearable opponent in front of you. Be careful, however, because behind the door lurks one more dangerous enemy.
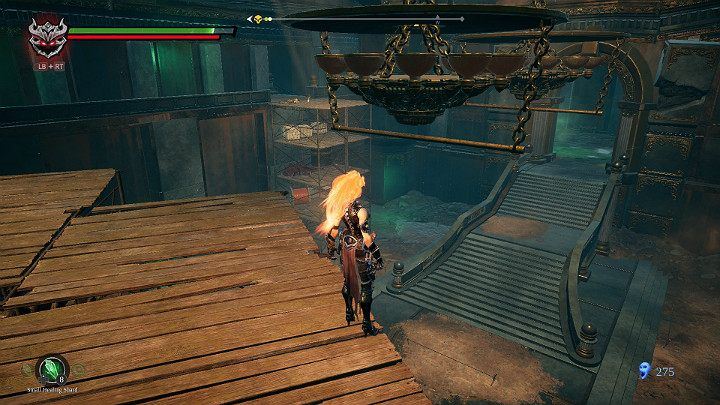
Climb up the stairs to the top and use fire to burn the spider web.
This way you will release a great chandelier, which you will immediately use for your own purposes.
Stand in front of the first chandelier, then break out into the air and with your weapon jump to the second chandelier and then to the scaffolding.
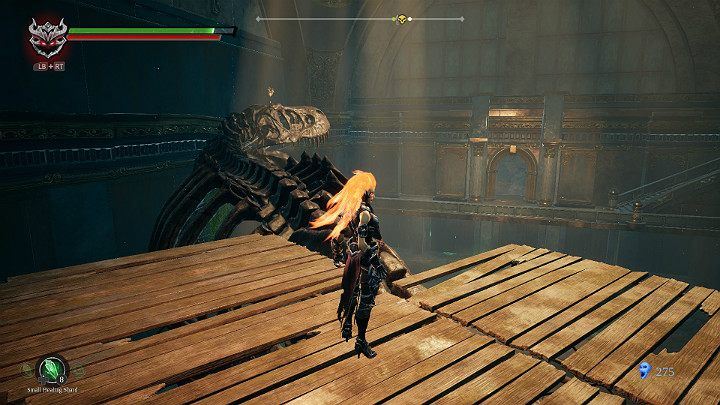
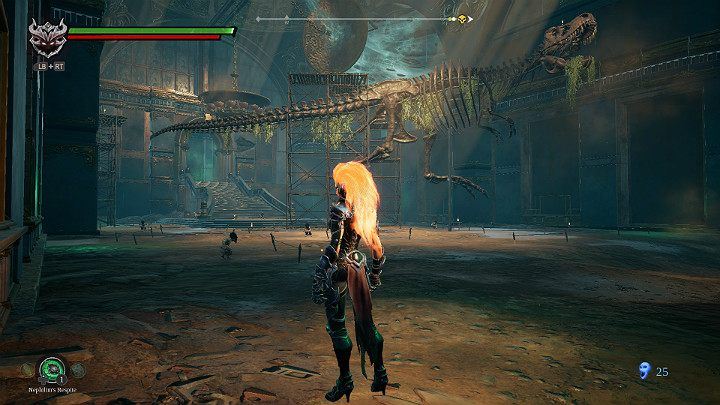
When you land on the scaffolding, go over the head of the dinosaur skeleton and collect Lurcher Cluster.
Turn towards the chandelier. Your task will be to jump to the scaffolding visible from afar. Use your own weapon to reach your destination.
As you go downhill, you have to watch out for an agile and strong opponent. Note that a trap is installed at the bottom of the stairs, so be careful where you are walking. After killing your opponent, collect the loot and return to the top.
Now you have to go through a long corridor. There is a scaffolding in front of you and an unbearable opponent on it, who will start throwing bombs as soon as you approach the right distance. Beware of the trap as well.
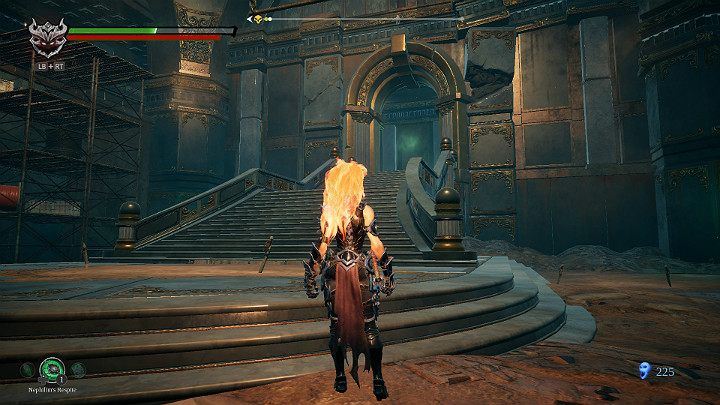
Atrium of Greed
You will get to the room from which there are two exits. The passage from the left leads to a boss - Greed. At the bottom of the stairs, on the left, you will find Vulgrim. When you have done all the work with him, prepare for the fight with Greed.