
Hollows | Darksiders 3 Walkthrough Darksiders 3 Guide and Walkthrough
Last update: 06 September 2019
This page of our Darksiders 3 guide contains a walkthrough for the first meeting with the Lord of Hollows. Fury gets access to the Flame Hollow, a new power that will be useful to her during battles as well as when exploring the world.
Meeting with the Lord of Hollows

Hollows is the next level in Darksiders 3. Here you can find our walkthrough:
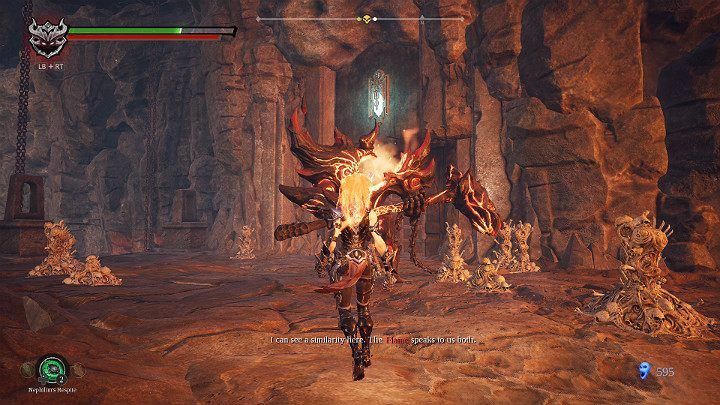
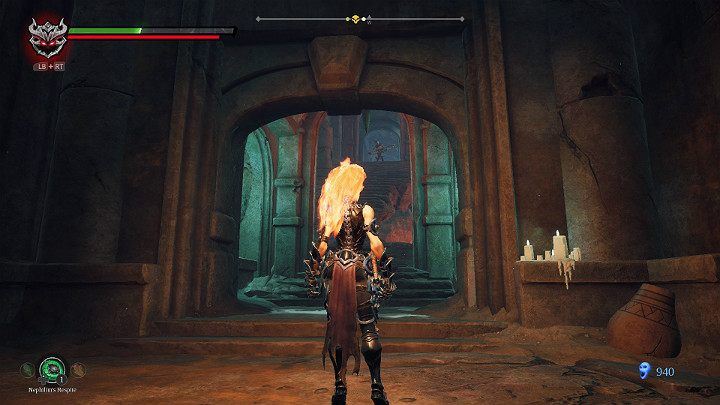
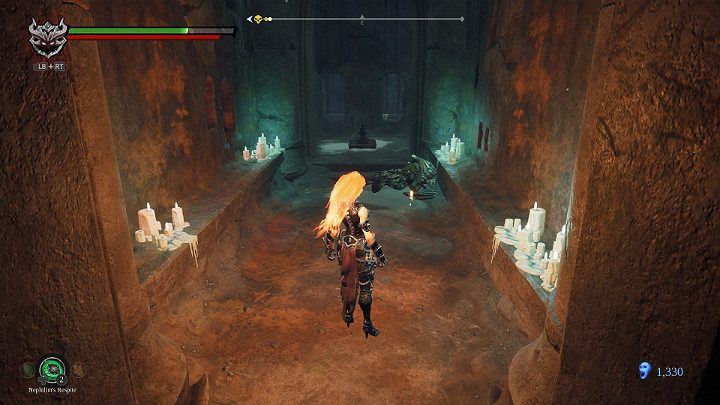
Immediately after defeating Wrath and watching a short cut-scene, you will land in the The Lord of Hollow Chamber, where you will be tested immediately. In return for your efforts, you will receive a new power - the hollow of flame.
How to use the Flame Hollow
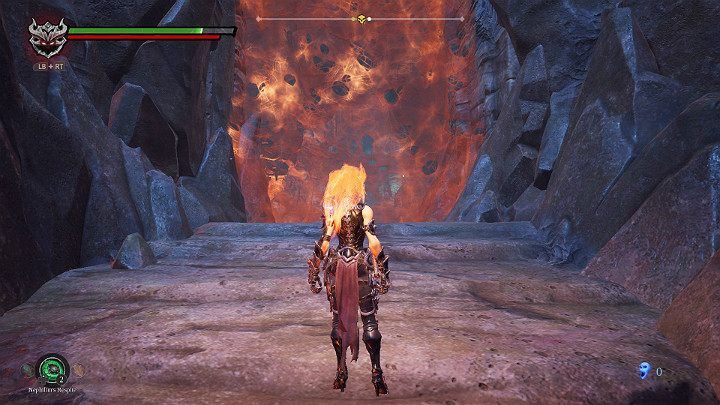
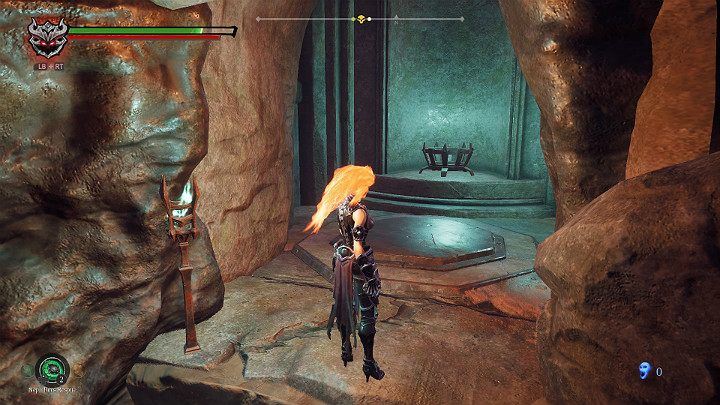
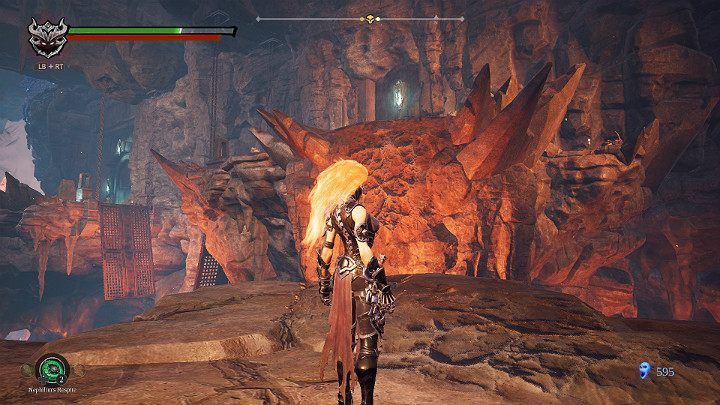
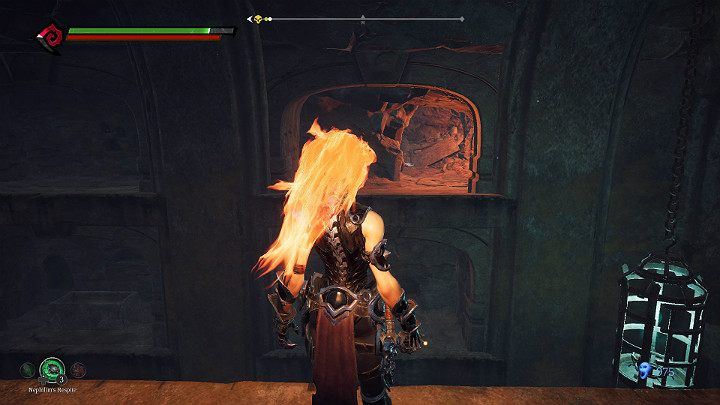
Go to the obstacle and use the power of the hollows of the flame to burn out your passage. You have to hold the secondary weapon button to get rid of the web.
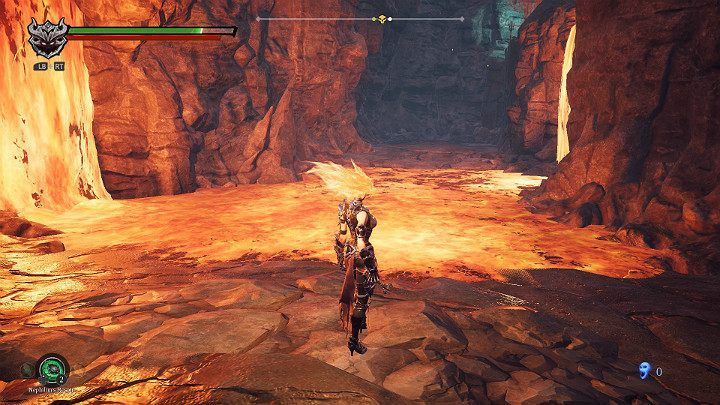
Thanks to the new power you don't have to worry about the flames so you can go through the lava pond.
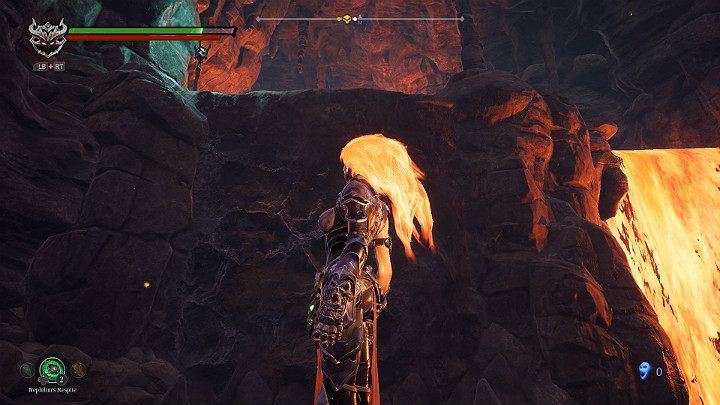
Another new ability of Fury is the skill to jump higher. Go up to the wall and make a double jump. Unlike a normal double jump, this time you have to hold down the appropriate button when you're in the air.
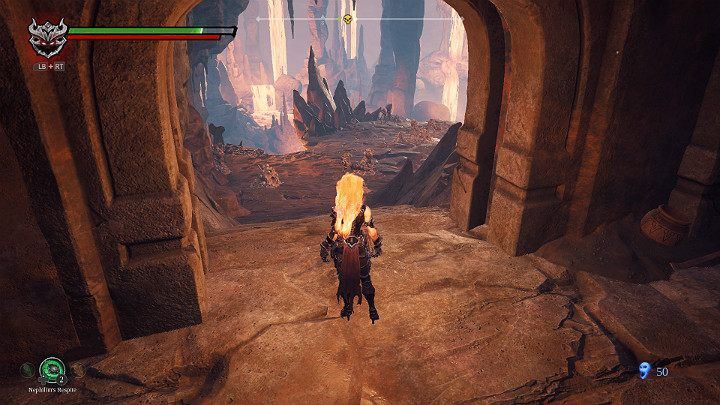
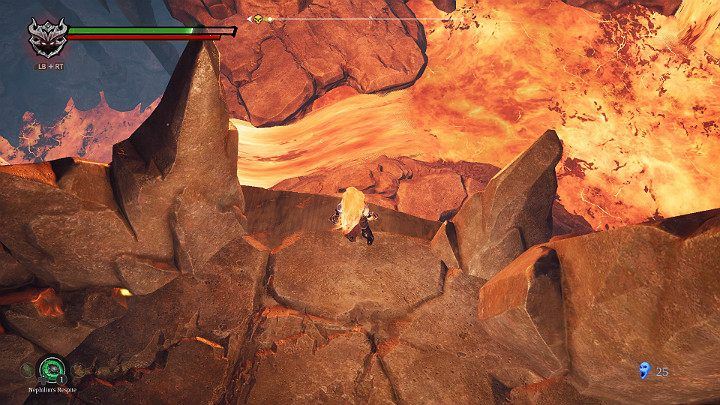
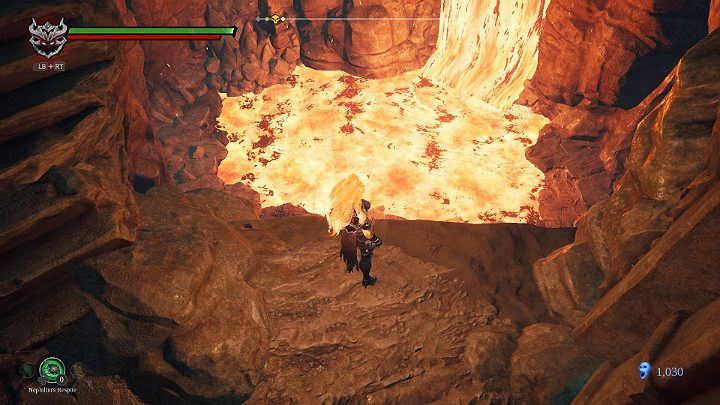
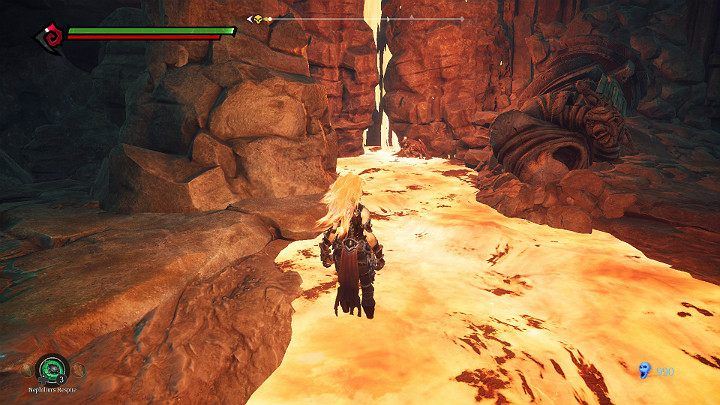
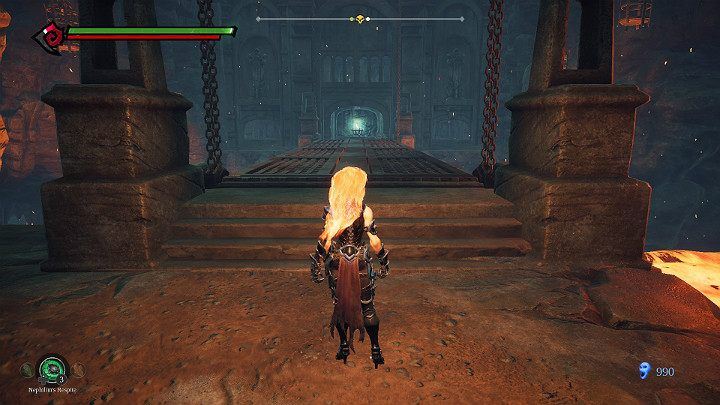
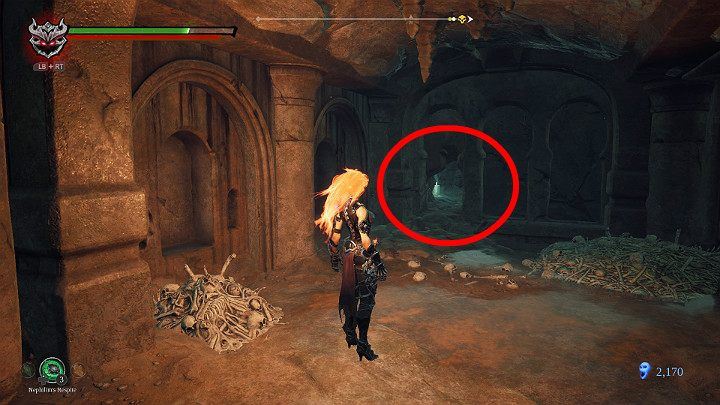
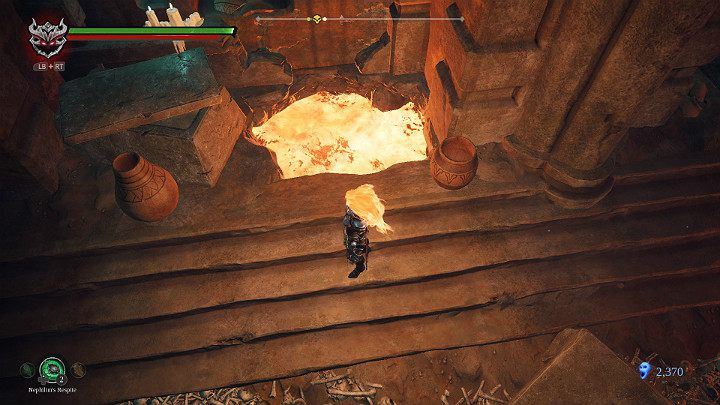
When you find yourself in the cave shown in the picture above, stop in front of the lava river. Before jumping into the passage visible in the distance, first, walk in lava to both corridors on the left and right. Collect Lurcher Clusters and fragments, then jump higher.
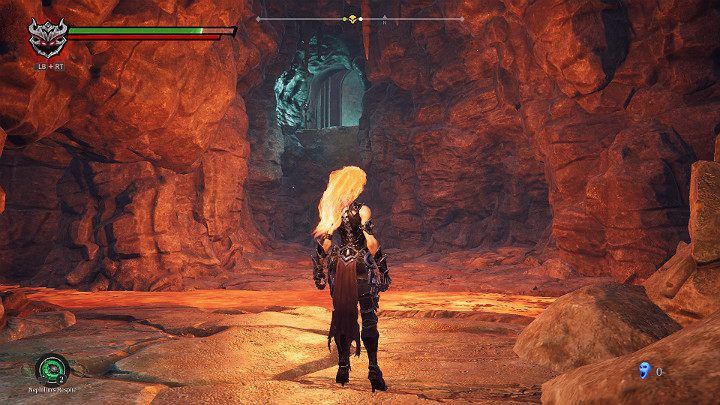
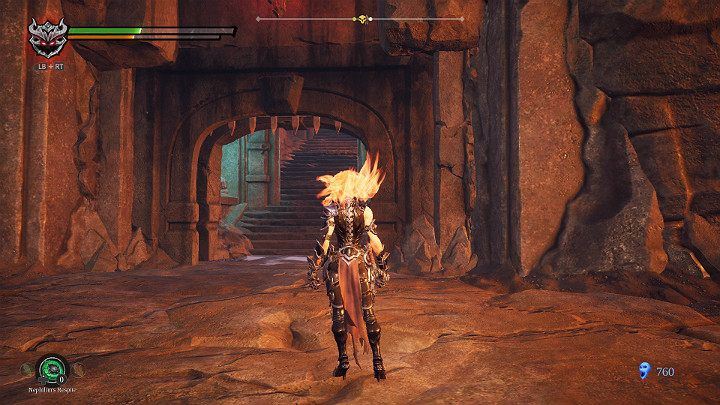
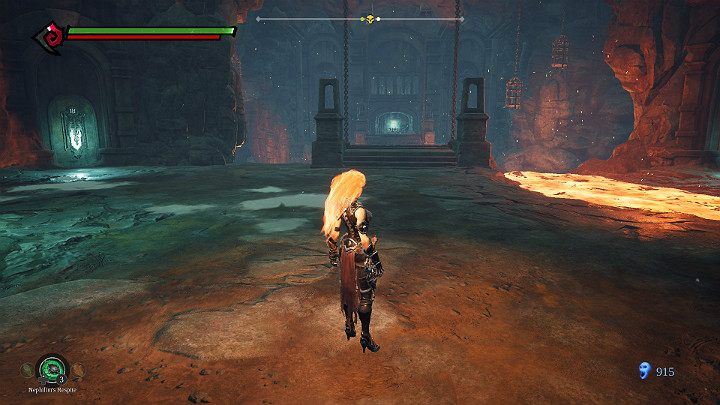
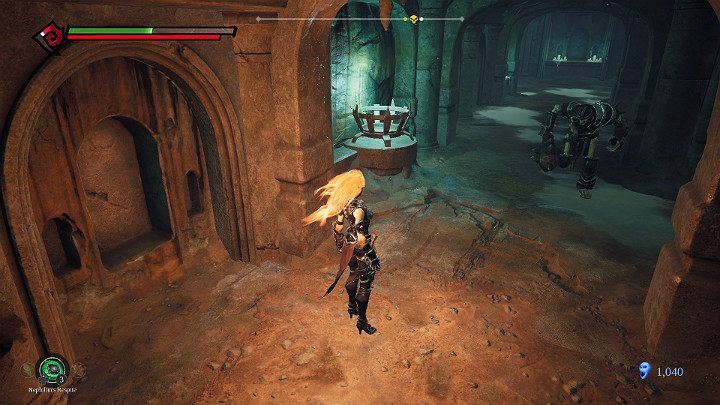
Stand on the button shown in the picture above and wait for the wall to open for you.
Blistering Bridge
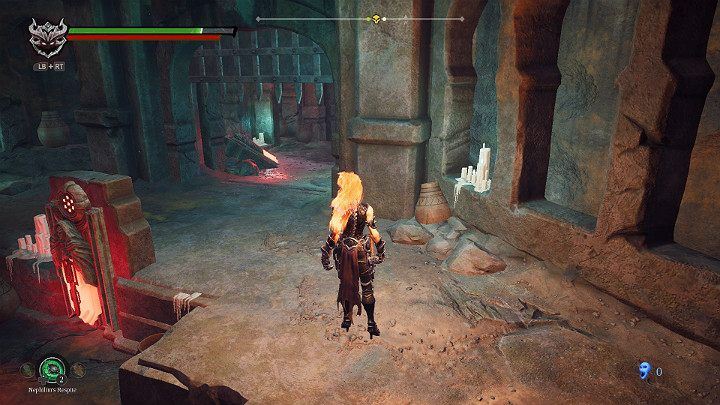
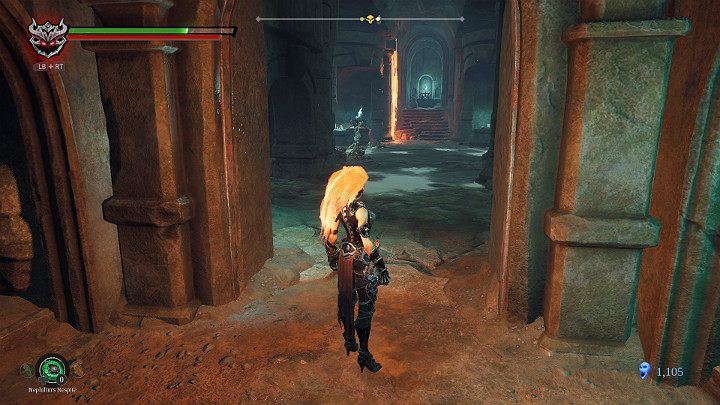
When you find yourself in a small room with a gate, hit the mechanism visible on the left to open it. In the room there are many objects to break down from which you can get a Lurcher Cluster.
It's time for another type of opponent - Skeletons. They are not very demanding rivals so you should easily deal with two of them.
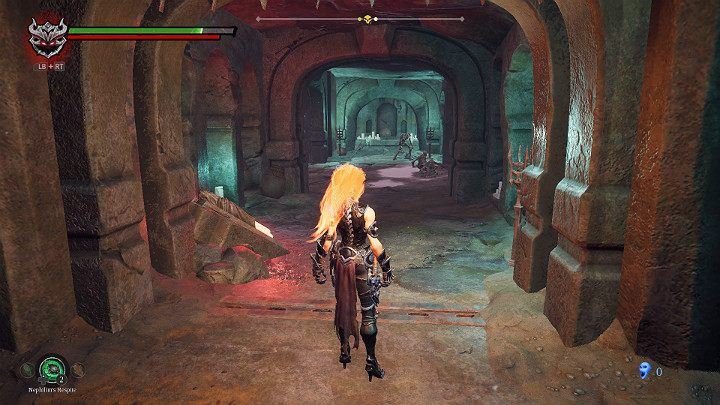
Look around well before you leave the room. There are quite a lot of opponents in front of you. Try to lure them up so that you don't fight on several fronts.
When you get over with a minor threat, it's time for a slightly heavier opponent. The larger and armored skeleton has a large weapon that can cause severe damage. Interestingly, the enemy can block blows, so you must first knock it out of balance in order to deal specific damage. After defeating your opponent, continue along the bridge.
The road straight ahead leads to the next part of the location, but first you can jump on the right side of the bridge.
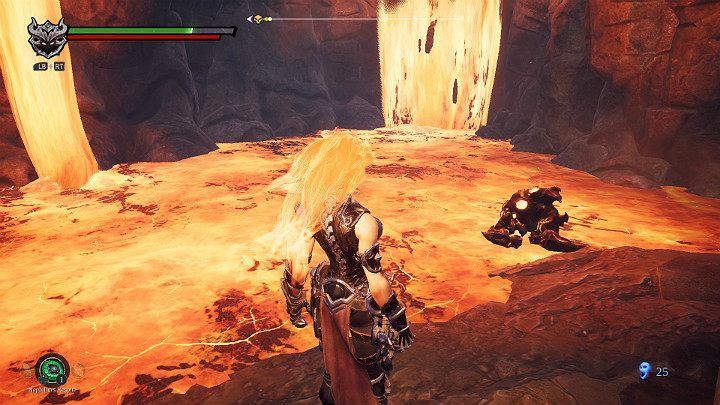
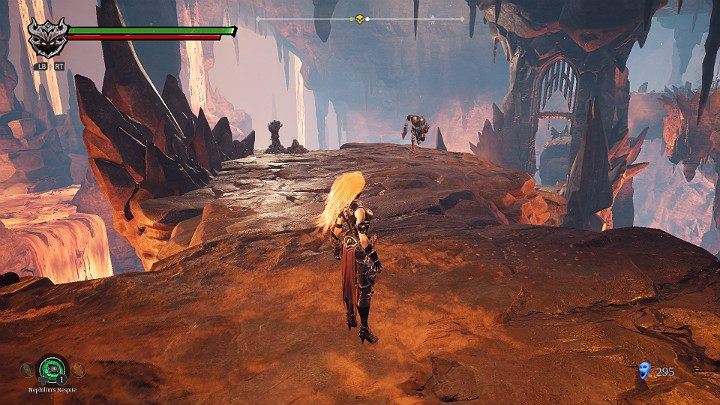
As soon as you land, get ready to meet a new type of opponent - the fiery golem. One will appear before you and the other will follow you. Golem is very hard and you will have to hit it a few or even several times before it dies. What's more, golems can attack with lava bolts. After killing enemies collect Demonic Artefact.
Return to the bridge. Now you have to jump to the other side of the precipice with weapons. Get ready to fight, because as soon as you land you will be attacked by two skeletons.
Now you have to gain some speed and jump out, and then hold down the jump button to make a higher jump. Get ready for the fight.
As soon as you get upstairs, you will be greeted by a mighty fireman. The opponent is very tough and inflicts blows that can push you into the abyss, so try to fight your back to the wall.
After you kill your opponent, the gates to the top level of the location will get opened for you. However, before you pass through them, make sure you have collected the Adamantine debris and Lurcher Cluster, which are nearby.
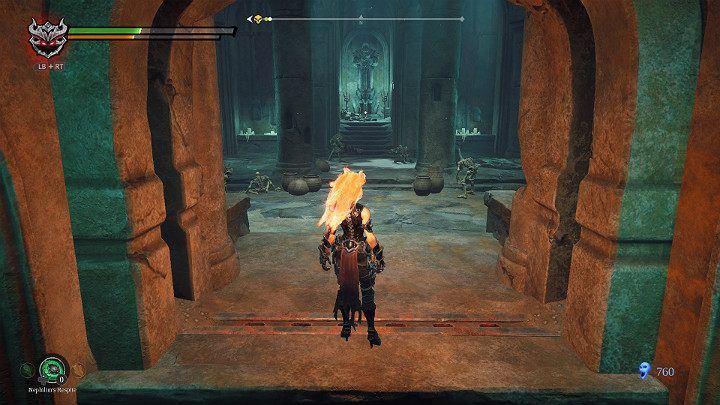
In this small chamber you will find about 6 skeletons. The skeletons are not very durable, so you will be able to deal with them quickly. Remember to collect the Calling Core, which rises right next to the guard's statue.
In the distance you will see a skeleton with a bow. As soon as you put your foot behind the exit from the chamber, the opponent will shoot immediately. Instead of carrying out a frontal attack, enter a niche and stand by the wall. This way you will lure the left skeleton with a sword. The best way to defeat the opponent with a bow is to run up the stairs and dodge at the right time.
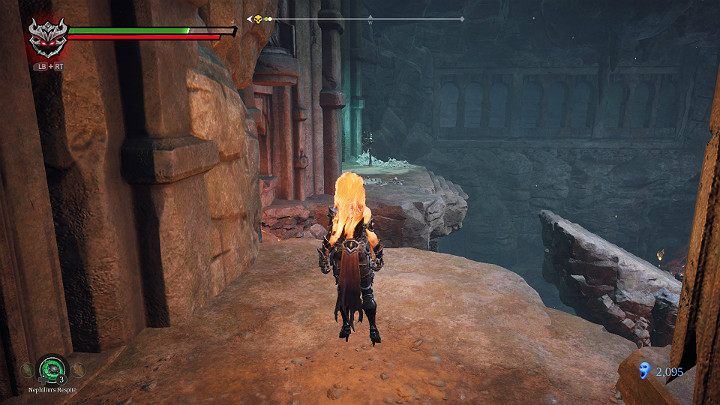
After you have dealt with the archer, jump down and go through the waterfall shown in the above picture. Inside you will find the Demonic Artefact. When you leave the masked cave, you will be attacked by a fiery golem. Return to the stairs leading to the remaining part of the location.
As you enter the next room, you have to watch out for the numerous welcome committee. What's more, behind the wall on the right, right after entering the chamber, there is an archer. Once your opponents have been eliminated, move forward.
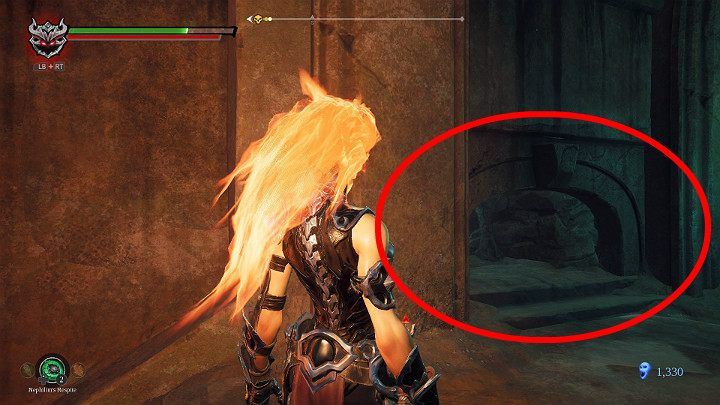
When you break the vases on the left side of the wall you will discover a narrow tunnel.
The passage will lead you to a lever that will open the secret passage. Before you leave the corridor, collect a Lurcher Cluster.

Return to the main room and turn right into a corridor that was previously a dead end. Go up the stairs.

In a small cave a really powerful opponent is waiting for you, so you'll have to sweat well to defeat him. The opponent has very strong attacks and the ability to teleport. What's more, it's a really tough enemy, so it's a good idea to leave the fight for later. After killing your opponent, you will receive a powerful artifact to upgrade your weapons.
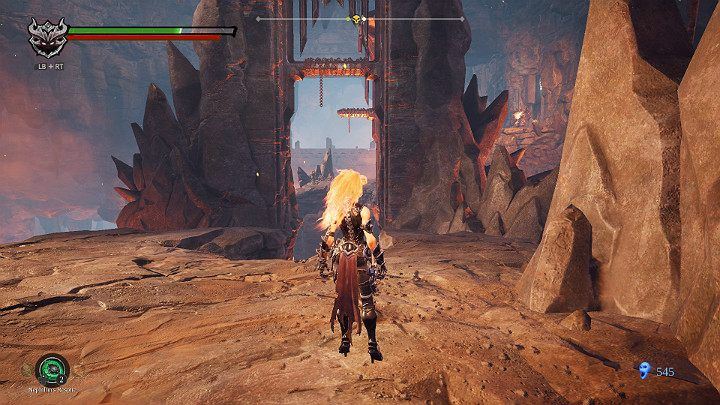
After defeating your opponent, continue on until you reach the drawbridge. Your task will be to place up to the level of two bridge wings to go further. Note that there are white crystals on both sides. These are related to the puzzle.
But before you start solving the puzzle, collect the debris from the recess.

Go to the statue shown in the picture above and make a double jump in such a way as to set the cobweb on fire.
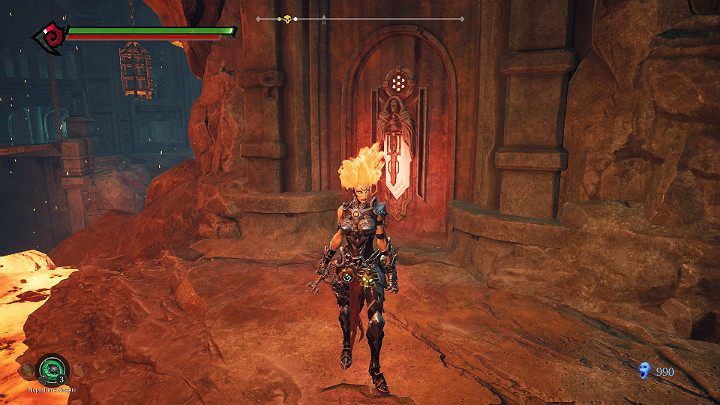
Then turn right and run to the crystal. When you hear the sound of the crystal on the left (the burning spider web activates it), immediately hit the other crystal. When both crystals light up red, it's a sign that you've solved the puzzle.
Now you can go further using the bridge.
On the other side of the bridge you will meet a new type of skeleton - an armored warrior with a mace. You can't ignore it because one accurate blow can take even half of your health. The opponent can block and is also able to attack as soon as he receives the blows himself, so it's very difficult to get him out of balance.
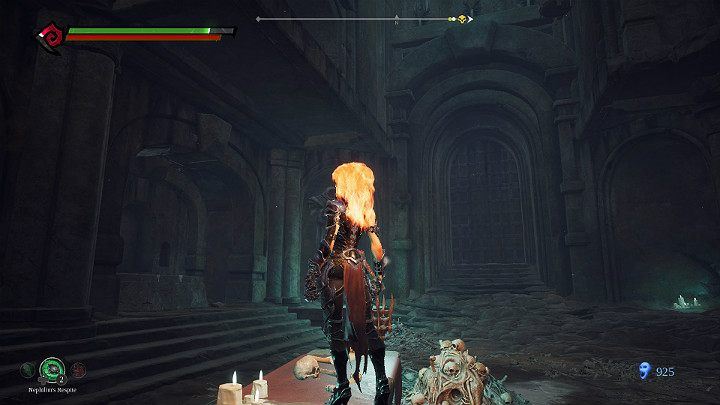
In the next chamber you will notice the gate on the right and the barred passage on the left. Vulgrim is in the middle, but you are not able to open the gate from this side. Exit through the hole visible in the distance.
Now you have to jump to the other side with a double jump. On the right side, on a small rock shelf, you will find a fragment.
When you enter the crypt and eliminate your opponent, you will see a small passage in the lower left corner of the wall.
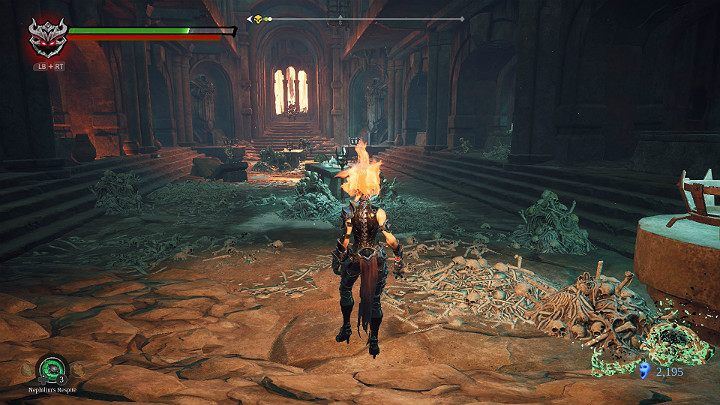
A narrow tunnel will lead you to a spacious Room with several enemies. Apart from the weaker skeletons you will find here 3 archers (one straight ahead and the other two on the balconies at the top) and one bigger warrior with a sword.
Stand on one of the altars and look up. You will notice many balconies (niches) with tombs and/or enemies. Gather some speed and jump out; then jump in the air again using the hollows of the flame. Finally, you'll be able to aim at one of the niches.
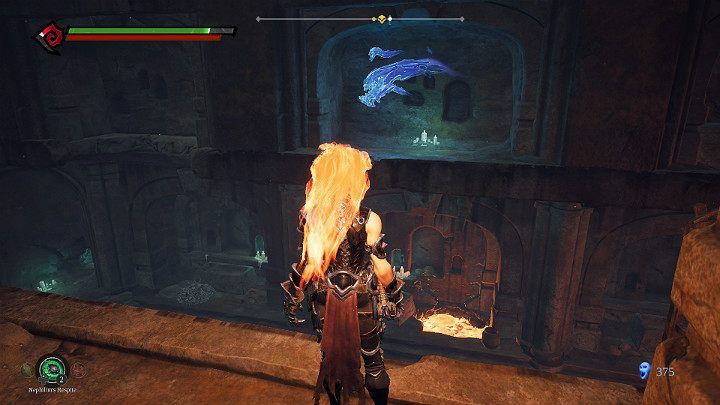
You can freely jump between the balconies at both ends of the room with a double jump. If you want to jump to the next niche, which is on your left or right (on the same plane) you will have to gain some speed and jump over a curve and then make a second jump. In each sarcophagus, you can find a Mar tufts or a fragment.
At the very top, there is a small cave with the Demonic Artefact in it.
When you deal with enemies and collect all valuable items, you can go to the hole in the floor, which is on the left side, looking from the perspective of the previous picture.