
Darkest Dungeon The Color of Madness: How to beat Thing from the Stars? Darkest Dungeon Guide
Last update: 20 April 2023
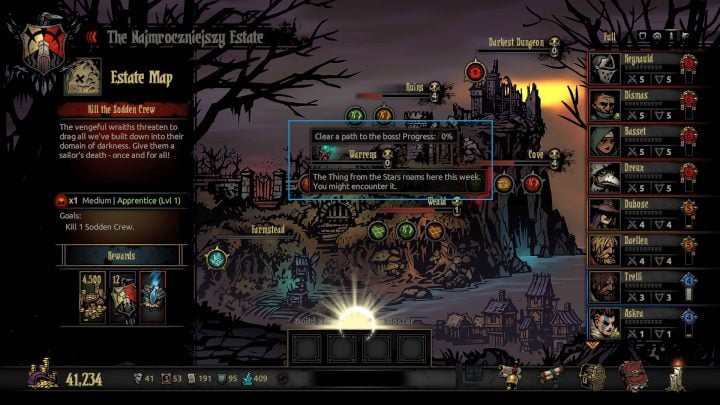
The Thing From The Stars is a new travelling boss, introduced by The Color of Madness expansion. This means that you cannot be sure of meeting it in one particular spot. The principle is similar as in the case of the Shrieker - a boss introduced in one of the past updates to Darkest Dungeon - a special monster icon will appear on the map, next to the name of one of the districts. This means that the creature is already roaming the location - you have to go and look for it.
Attention - after the fight, each hero has a Chance of getting a unique Quirk. The details regarding these are available in the chapter "Unique Quirks."
The stats and resistance of the boss
Attribute | The Thing From the Stars | ||
Health | 106 | 148 | 191 |
Dodge | 5% | 13,75% | 25% |
Protection | 0% | 0% | 0% |
Speed | 2 | 3 | 4 |
Stun | 85% | 105% | 130% |
Blight | 40% | 65% | 85% |
Bleeding | 33% | 55% | 78% |
Debuff | 40% | 60% | 85% |
Move | 25% | 45% | 70% |
Additionally, when the boss' health level drops below 50%, he'll receive a buff that offers a powerful bonus to speed, damage, critical strike and, most importantly, protection. From now on, it's better to focus on dealing damage through bleeding and blight.
Note - the boss makes two moves in one turn plus one free move that he can perform at the beginning of a turn (3 actions in total).
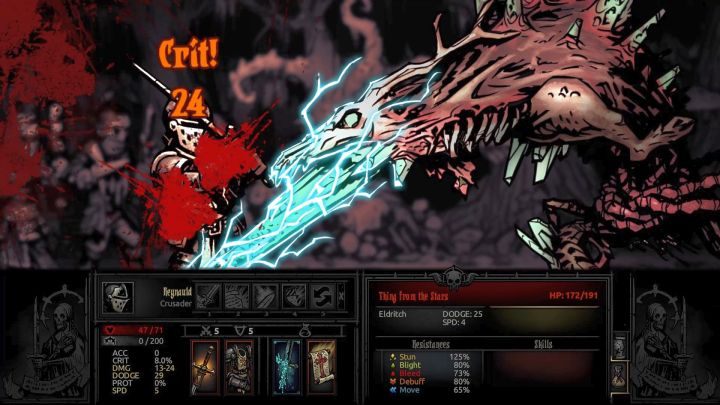
How to defeat this boss?

The fight with the boss is divided into two phases. During the first one, the boss will use an attack every turn (except for the first one), which will inflict stress on the whole team and create a crystal - it will be identical to the one that appears during the fight against The Sleeper, for example. The crystal itself does not pose any direct threat, but it will explode after a few rounds, dealing considerable damage to the team. It is therefore a good idea to destroy it as soon as it appears, using a single hero capable of dealing as high damage as possible.
Apart from that, the boss is also able to perform two actions during a single round, performing one of a few attacks - the good news is that each of these can reach only a single character. Most attacks don't deal particularly high damage - the stress is the real problem. Each attack of the Thing From the Stars debuffs your party with stress, which accumulates rather fast. Most of the boss' attacks can also apply other debuffs - you should activate the Holy Water on each character every few turns in order to bring those resistances back up.
Remember to destroy the crystals during the fight - this is best done with a single character. Choose the one that can deal the most damage, as to be able to destroy the crystal with one attack, damaging the boss in the meantime. When his HP drops below 50%, he will receive a powerful buff that will increase his damage and make him virtually invulnerable to your attacks (his protection is raised to 80%). This is where the second stage of the fight begins.
Here, you need to focus on applying bleeding and blight on the creature. Even on the highest difficulty, the boss has poor resistance to these, so you should make sure they're constantly applied. Additionally, the boss is able to make two moves in one turn (the attacks that summons the crystal does not count as a move), which will only make receive more damage from the negative statuses. Remember about destroying the crystals before they explode, continue applying the negative effects of blight and bleeding, and the boss should soon yield.
Recommended team
Considering the fact that the fight with this boss can be "scheduled" (you can see if the boss is active on the map), it's easy to prepare the best part possible. You should consider the following line up:
- Crusader or Leper on the first line. They're perfect for quickly destroying the crystals; they're both able to attack the first and the second rows simultaneously, damaging both the crystal and the boss. Equip the Crusader with items increasing resistance and damage; the Leper can use something to improve accuracy.
- Highwayman, Hellion or Flagellant (if you have The Crimson Curse expansion). Each of them can deal considerable damage to the boss and the crystals, but their main task will be applying the debuffs in the second stage. If you have The Crimson Curse expansion, you can choose the Flagellant - it's a perfect class for this; they have the strongest bleeding and they're hard to kill.
- Vestal or Occultist on the third spot. Their main job is healing. If you want more serious healing, choose the Vestal. If you prefer a slightly more offensive variant, take the Occultist -this class can also be used to debuff the boss - his Curse of Weakness is able to significantly lower the boss' damage.
- Plague Doctor or Houndmaster on the fourth spot. The Doctor's main task is to apply blight on the enemy. The Houndmaster is more useful if you prefer bleeding. The choice is totally up to you.
These characters can of course be freely switched. Nothing's stopping you from using the more offensive variant by placing the Flagellant or the Hellion on the first spot. A more defensive approach would include the Man-at-Arms, who improves the part's dodge abilities.
During the second stage you can also utilize a totally different strategy - instead of avoiding damage, you can just choose characters that can bypass the enemy's protection. This would include the Grave Robber or the Shieldbreaker - they both are able to perform attacks that ignore the protection, dealing 100% damage.