Darkest Dungeon: Lighting the Way Darkest Dungeon Guide
Last update: 20 April 2023

Quest 2, where your task is to find and activate 3 altars. Before you set out into the dungeon, take interest in the Talisman of The Flame, which you have received for completing the previous quest. Its statistics may seem unintelligible for now, but it is imperative that you have them on you. The problem is, however, that there are 3 torches and 4 characters. Therefore, you can either risk not having the item on one of your characters, or take Man-At-Arms along, equip him with the item and use Defender on the unprotected target. The second way is much better. Also, it is a good idea to take along lots of bandages, healing herbs and holy water, before the quest - enemy deal quite high DoT.

What do you need all of these for anyway? While exploring corridors, or more exactly, in the rooms where you need to activate altars, there are two new enemies that can easily be dubbed mini-bosses. These are Templar Impaler and Templar Warlord. These hellspawns deal high damage, are resistant, quick, move twice per turn and have the Revelation ability. It deals massive damage and imposes sky-high levels of stress on the target - to prevent this, you need to equip your characters with trinkets that you received earlier.

There are 3 altars that you are to activate, and they are located to the left, to the right and upwards, relative to the starting point. Along your path, you will encounter some regular opponents, but in comparison with the abovementioned two, they are completely harmless. After the battle with the first and with the second mini-boss, it is a good idea to use camping (preferably right before the next battle), to heal the accumulated levels of stress, regenerate health or buff your characters. Remember not to backtrack to the altar in the center of the map - there is no point in exploring the entire map, because there is nothing here and also, this will expose you to unnecessary damage.

A good party for this quest consists of:
Man-At-Arms - selecting this class is a perfect solution to the problem with only 3 Talismans of the Flame, because you can simply use Defender to protect one of the characters.
Abomination - he is perfect for this mission, because enemies are not that resistant to Blight (which he can impose on 2 targets simultaneously). He is self-sufficient - if necessary, he can heal his own wounds and stress, thanks to which you do not need to employ anybody in the party to do that. An advantage of Abomination is his speed and damage dealt and, due to the lack of necessity to have a religious character (Crusader, Vestal, Leper) it is a perfect opportunity to use him.
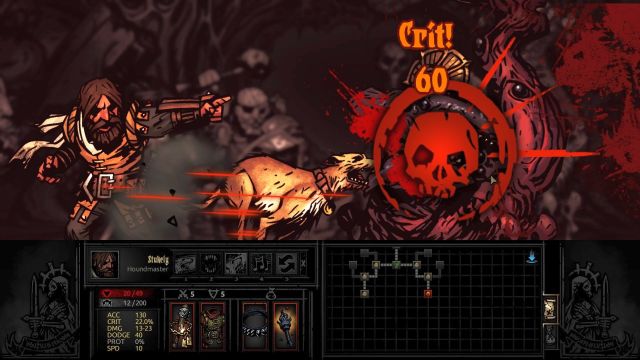
Hound Master - thanks to the ability to cause bleeding, he is excellent against "Templars", and his ability to mark targets harmonizes well with the last character suggested here. Just like Abomination, Hound Master can take care of himself - he has ability that replenishes his whole health and also heals stress in the entire party.
Arbalest - Arbalest, together with Hound Master, is ideal against bosses and the enemies that you encounter here can easily be counted as ones. Her shots can decrease their health by as much as a half, on condition that the target is marked beforehand. The Battlefield Bandage can be used to heal Man-At-Arms, when he starts taking too much damage.
While fighting against Templar Impaler and Templar Warlord, focus mainly on defending, as Man-At-Arms, the character that does not have the trinket equipped, and combat-wisely, focus on dealing with defenders of the larger creatures - they should fall within one round. During the last battle (in the chamber on the right), you will have to fight two monsters - focus on attacking one of them and attack the other one after you have dealt with the first one.
