
Destroy the weapon turrets on the second airship | Main story Batman: AK Guide
Last update: 24 October 2019
On this page of our game guide to Batman: Arkham Knight you can find a description which explains how to destroy the weapon turrets on the second airship. You need to explore the area and solve a new puzzle related with security monitoring.

After listening to a conversation with Alfred, use the Remote Hacking Device to hack the terminal that controls the stabilizers once again. Look for a hatch in the floor and use it. You will reach a room with a lot of crates. Now, you will have to solve a series of puzzles that consist in moving and blocking the crates. Perform the steps described below.
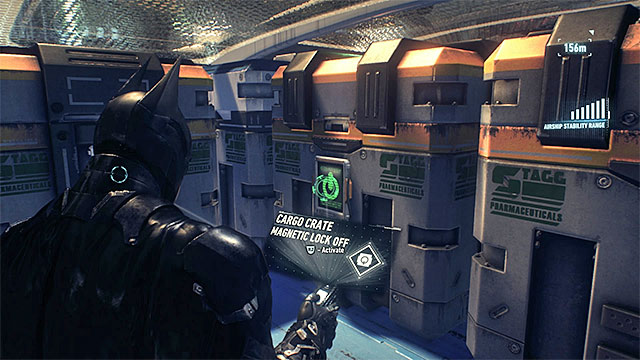
First, go a few steps forward and block the crate shown in the picture above (on the right). Tilt the airship to the left (you must do that from a safe distance, for example standing at the beginning of the corridor or in a place where there are no crates that would move). Use the passage.

Open the magnetic lock on the crate that is blocking your passage and tilt the airship to the left. Notice the wall on the right - you have to spread some Explosive Gel and detonate it.
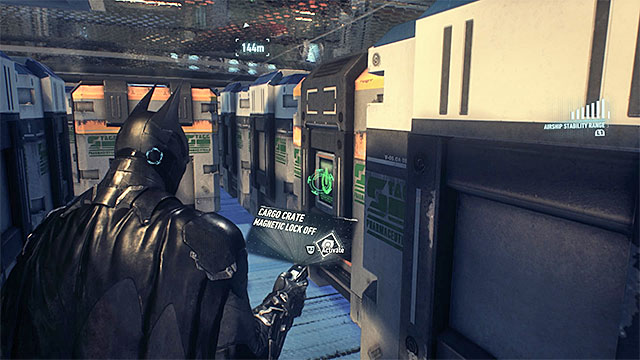
To the left of the wall that you've just blown, locate a the crate that you can see in the picture above and block its position. Now step back a bit and tilt the airship to the right. Two crates should move to the newly opened section. Also, the crate to the right of the blocked one will reveal a passage.
Go a few steps forward and block the crate on the right (in the picture). Tilt the airship to the left. One of the crates will move. This will reveal the exit from this area. Go to the end of the corridor and use the grapnel on the hatch.
Reach the newly discovered control panel and hack into it using the Remote Hacking Device (the password is CARBOHYDRATE). Use the Grappling Hook on the newly discovered vent on the ceiling and follow the path leading to the laboratory. You cannot use the main door, so use the Grappling Hook on top ledges. This will take you to a vent shaft.
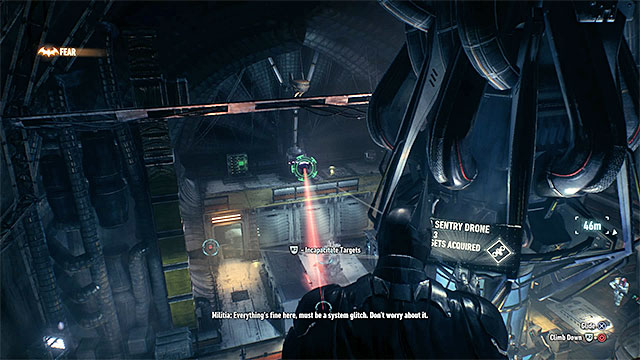
When you get to the laboratory scan the area to find out that there are 8 armed opponents here. First, use the narrow ledges by the ceiling so to get close to the drone operator standing on the right balcony. Pull out the Remote Hacking Device from the inventory and download the security codes the way you did before. Then take control over the drone and have it take down the nearby enemies (do it promptly, because if you wait too long, the drone will be destroyed).
In the next phase of clearing off the location do your best to quickly neutralize the opponent with a Detective Mode detector and the medic wearing white, so he did not revive his allies. As usually, avoid detection helping yourself with gadgets, vent shafts and other interactive objects.
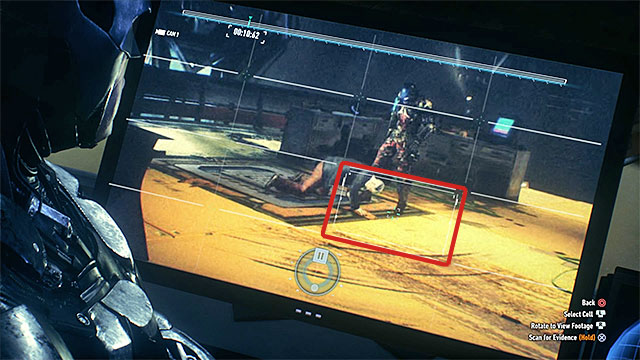
After the fight approach the central computer to find out you need Stagg's fingerprints. To get them, you have to analyze the new material from video cameras mounted in the airship. First, switch to the view from the top left camera and fast-forward the recording to about 10 s. Select the rectangle marked in the above picture (the one where you can see Stagg touching the floor with his hand) and do a scanning.
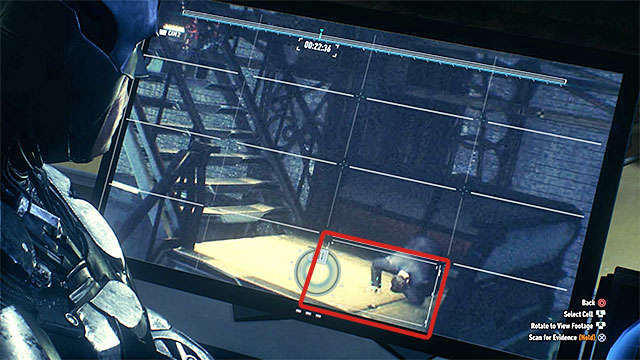
Now switch to the view from the top right camera and fast-forward the recording to about 22 s. Select the rectangle marked in the above picture, i.e. the moment when Stagg again touches the floor with his hand. Scan it.

Now switch to the view from bottom left camera. Fast-forward the recording to about 37 s. Select the rectangle marked in the above picture. This is the moment when Stagg touches a barrier with his hand. Do a scanning again.
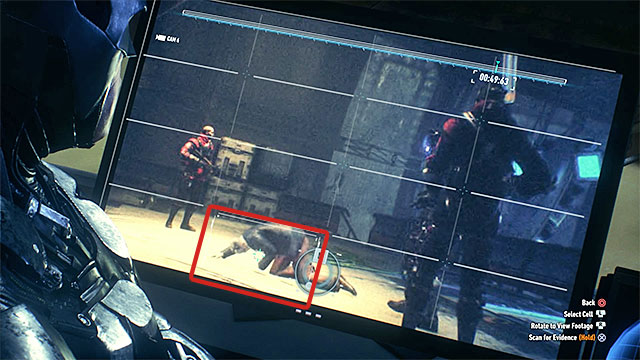
The last two fingerprints can be gained in the view from bottom right camera. Fast forward the recording to about 49 s. and select the rectangle shown in the above picture, where you can see Stagg touching the floor with his hand.
Make sure the Evidence Scanner is selected and reach all the four locations identified while analyzing the video material. After reaching each of them you should be able to see Stagg's hologram, which you have to scan in order to get a print of one or several of his fingers. Once you "collect" the entire hand use the central computer once more.