Races - no class limits - part 3 | Races Test Drive TDU Guide
Last update: 11 May 2016
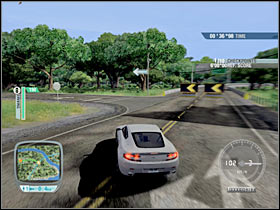
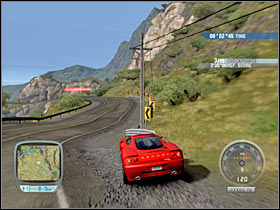
The Road to Victory
Level: Amateur
Reward: 25000 dollars
Cars only!
Time limit: 6 minutes

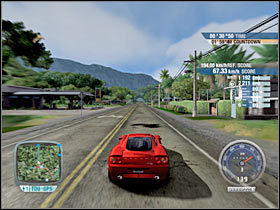
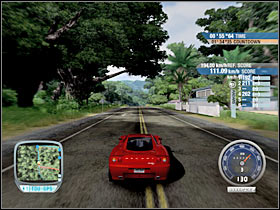
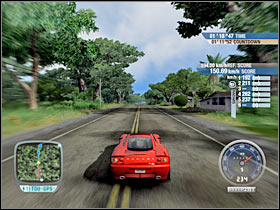
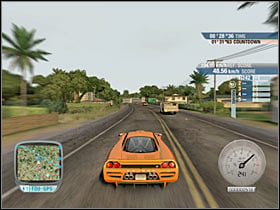
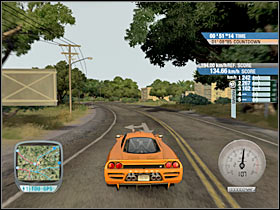
You shouldn't have any major problems winning this time trial challenge, however you will have to remember about a few important things. You will have to master driving at high speeds and taking fast corners without slowing down too much. I would recommend choosing a car from D+ class. You should be able to reach your first sharp turn in about 30 seconds (#1). Don't forget that you will have to stay on the track, because there's a damage bar on your screen. Thankfully, there's no traffic here, so you will be allowed to switch to the left lane. You will have to deal with several mild curves along the way. Make sure that you've used the brakes before reaching the right turn (#2). You will be dealing mostly with fast corners, however you will also encounter more challenging turns from time to time. You will come across a very difficult jump at about half way through (#3). Once you've reached the freeway area, you'll have to deal with more jumps (#4). You won't be allowed to make any mistakes here. Otherwise you would have crashed into a concrete wall. There are a few more turns waiting for you here, however winning the gold medal is going to be quite simple.
 |  |
 |  |
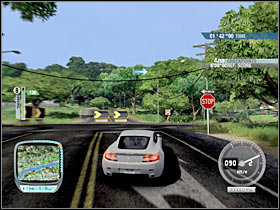
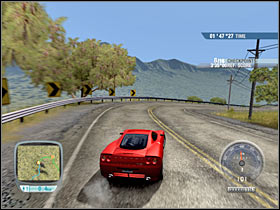
Lucky Day
Level: Expert
Prize: 40000 dollars
Gather: 194 km/h

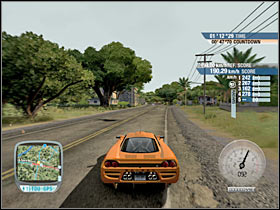
This is a VERY easy speed challenge. As a result, you shouldn't have any problems finishing it in the first place. I was able to exceed the limit by more than 50 km/h and I was only using a B class car, not one of the fastest vehicles of the game. Once you've gone past the first checkpoint, you will have to turn left (#1). Start accelerating, so you'll be able to reach the second radar. Now you will have to turn around. Start moving towards the third radar (#2). You should be able to gather a large number of speed points here. Turn right in order to reach the fourth checkpoint area (#3). Don't worry if you end up outside the track. You'll have plenty of time to respawn to the track. There are only two more radars to go (#4) and they're located nearby, so you shouldn't have any problems reaching them at higher speeds.
 |  |
 |  |
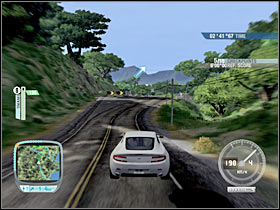
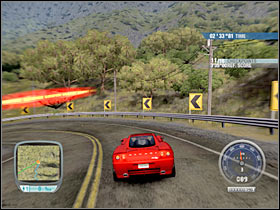
Tackling the giant hairpins
Level: Expert
Prize: 50000 dollars
Time limit: 3 minutes 35 seconds

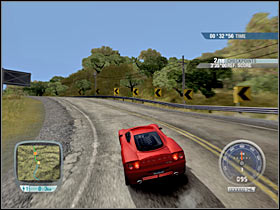
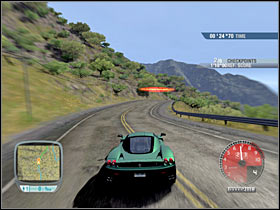
This is a very similar task to one of the Head to Head B class challenges. The only difference is that you'll be driving in an opposite direction. Additionally, you will be racing against time, however this is a good thing, because you won't have to worry about any traffic. As a result, you will be able to speed up here and there. I have to warn you, though. You won't have much time to reach your final destination, so you won't be allowed to crash too often. The first part of the race will require to go through several fast corners (#1). I wouldn't recommend slowing down here, because you'll be using your brakes later during the race. You will also have an opportunity to cut through some of these corners, however you will have to watch out for the surrounding barriers (#2). Crashing into them will take a lot of your precious time. You shouldn't have any major problems going through two hairpins. Just make sure that you don't end up hitting the opposite barrier. Once you've reached the top of this mountain, you will have to deal with a large group of fast corners (#3). It would be wise to risk driving faster here. You will come across more challenging turns and hairpins very soon (#4). As a result, you will lose a lot of seconds here. Thankfully, the final part of the race is going to be very simple. There are only a few straight pieces of road here.
 |  |
 |  |
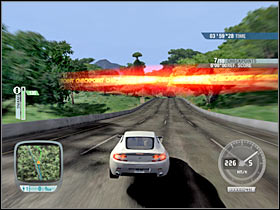
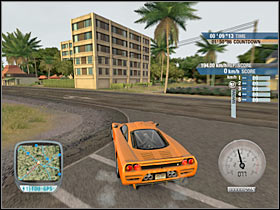
120 mph downtown
Level: Champion
Prize: 50000 dollars
Cars only!
Gather: 194 km/h

I would recommend choosing Saleen S7 Twin-Turbo for this particular challenge, mostly because it'll be very important to have a car with an excellent acceleration and top speed values. You will also have plenty of time to reach all checkpoint areas. Start off by turning left (#1). This will allow you to reach the first radar. Now you will have to turn right. Proceed to the next one. Make sure that you don't hit any of the civilian cars along the way (#2), so you'll be able to earn a lot of speed points here. Now you will have to turn around. Turn right (instead of going left). Just as before, you will have to start accelerating. Turn left (#3). This will allow you to reach your next checkpoint. Head on to your right (#4) and start moving towards the final radar.
 |  |
 |  |
Descent of the Marchetti
Level: Champion
Prize: 50000 dollars
Time limit: 1 minute 10 seconds

I'd strongly recommend choosing one of the faster A class vehicles for this particular task. Ferrari Enzo seems like a good idea and you probably have this car by now. As for the route itself, you were probably finishing up with one of the bike challenges here, however this time we'll be moving in an opposite direction. Start off by going through the first set of fast corners (#1). Thankfully, you won't have to worry about any traffic. You will come across two difficult hairpins very soon (#2). I wouldn't recommend cutting through these corners, however remember that you won't have much time to reach the finish line. Thankfully, you'll be able to speed up very soon, so it's good to have a fast car at your disposal.
 |  |