Races - A class - part 2 | Races Test Drive TDU Guide
Last update: 11 May 2016
The Never-ending Loop
Level: Champion
Prize: 100000 dollars

100000 reward would suggest that it should be a very difficult race. Thankfully, you shouldn't have any major problems winning it. The only problem is that you will have to complete ten full laps of the track. I would recommend choosing a car that's easy to drive, because there are a lot of tight turns here. Enzo seems like a good idea, but I'm sure that you've already figured that out on your own. ;-) The track consists of two circles, however you will have more problems with the smaller circle, mostly because some of the corners are very tight (#1). You will also have to deal with several other corners (#2). They provide a necessary link between the circles. Remember to stay on the asphalt road, so you won't hit any of the surrounding objects (especially poles). You shouldn't have any problems extending your lead, especially while going through mild curves.
 |  |
The Millionaire's Challenge
Level: Expert
Prize: 1000000 dollars
Time limit: 60 minutes (!!!)

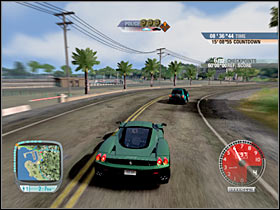
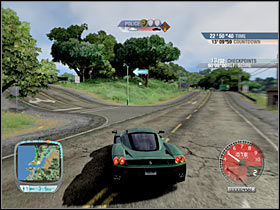
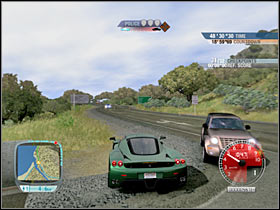
This is by far the most challenging time trial event of the entire game, but I'm sure that you've already came to the same conclusion. It would seem that racing against other drivers ("Tour of the Island" challenge) should be more difficult, however I'm sure that you didn't have any problems leaving them behind. You will have to be very careful throughout this entire race, especially since you'll also be dealing with heavy traffic. Sadly, this means trouble. You will be dealing with a lot of police vehicles, because sooner or later you'll start making mistakes. I would recommend letting the pursuit to achieve the third level. Once this happens, slow down so the police will catch you. I'd strongly recommend having at least 100000 dollars on your bank account, so you'll be able to pay for all tickets. Escaping the police is not a good thing to do, mostly because you would have to spend a lot of time trying to avoid police vehicles and roadblocks. As a result, it's best to lose a few seconds and a few thousand dollars, rather than crash into something every 15-30 seconds. The race is going to be VERY long, but I'm sure that's no surprise to you. I've decided to display only the most difficult sections of the time trial, including the jumps, tight corners and hairpins. You should also know that one hour is a lot of time to finish this race. If you don't make too many mistakes, you should be able to reach the finish line within 45-50 minutes. I would recommend choosing Ferrari Enzo for this challenge, instead of faster cars, mostly because you will need a car with tons of grip, especially at higher speeds. Additionally, don't worry about the first part of the race (20 minutes). You will be moving quite slow here, but you'll be able to speed up very soon. The second part will require you to deal with very long straight roads, so you will be travelling at maximum speeds there.
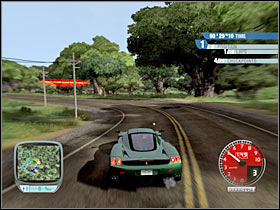
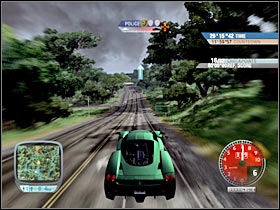
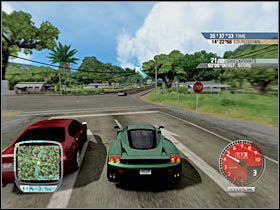
3/32 - 1.3 km (#1) - You should be getting closer to the lighthouse area. There are some challenging, fast corners here, as well as some jumps. You must be very careful. Avoid hitting civilian cars and other objects, especially some of the nearby poles.
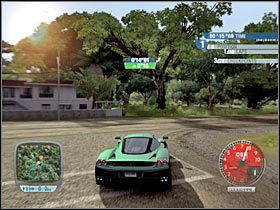
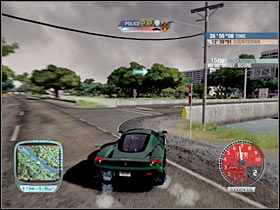
5/32 - 2.7 km (#2) - You will have to make a sudden left turn here. You've probably been travelling at high speeds, so you will have to use the brakes earlier than usual. Otherwise you would only lose precious time trying to get back to the main road.
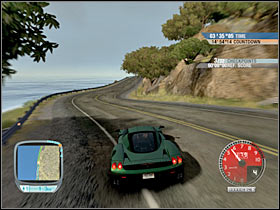 |  |
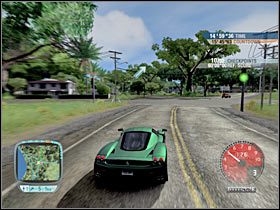
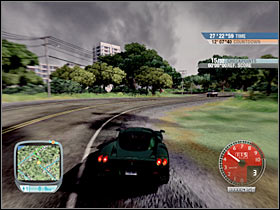
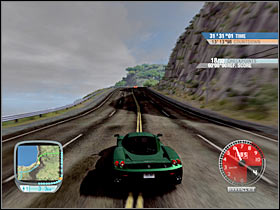
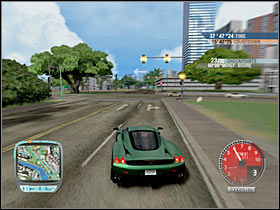
6/32 - 2.7 km (#1) - There's a series of fast and challenging corners here. Sadly, this means that you will have to slow down. Otherwise you would have crashed into one of the surrounding barriers.
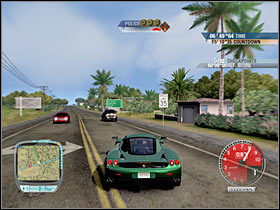
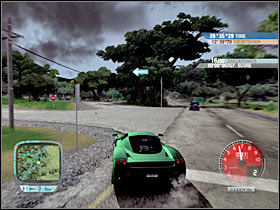
10/32 - 5.1 km (#2) - You will come across a sudden right turn here. Just as before, you won't be allowed to miss it. After that, you will have to deal with a very sharp turn. Using your handbrake here seems like a wise thing to do.
 |  |
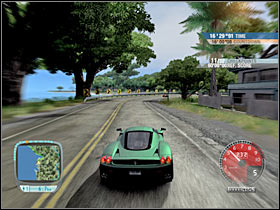
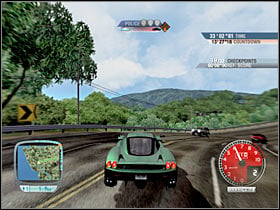
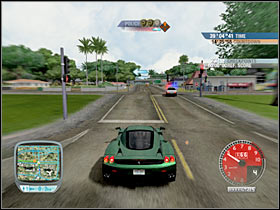
11/32 - 6.7 km (#1) - You will be encountering fast corners from time to time. You will have to go through all of them without hitting anything along the way. Additionally, watch out for the civilian vehicles. It's best to leave the road for a second in order to avoid them.
12/32 - 7.7km (#2) - You will have to be very careful here. There are some very challenging turns ahead. You will also be dealing with a single hairpin. Slow down, so you won't hit the opposite barrier.
 | 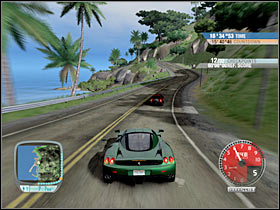 |
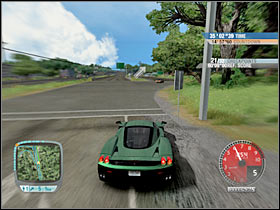
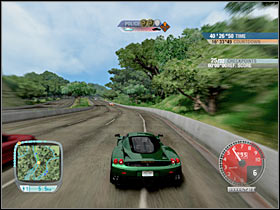
13/32 - 3.5 km (#1) - There's a very challenging left turn here. Remember to use the brakes earlier than usual, so you'll be able to get past this segment without any other problems. You will also be dealing with a large number of hills, so watch out for the civilian vehicles.
14/32 - 2 km (#2) - You will have to switch to the left lane. Sadly, this means you'll be driving the wrong way. Focus all of your efforts on avoiding civilian cars. You could also try moving near the side of the road. Thankfully, you won't have to spend too much time here, however you will be dealing with similar actions later during this race.
 |  |
15/32 - 1.9 km (#1) - There's a very tight turn here. You will have to be very precise. You can't make any mistakes. Otherwise you would have probably crashed into a concrete wall and that would probably stop you.
15/32 - 0.8 km (#2) - You will be dealing with a larger number of tight corners in the urban area, however only some of them will provide a challenge. Nevertheless, you will be moving much slower here. Don't worry, you'll be able to regain some of the lost time very soon.
 |  |
16/32 - 2.6 km (#1) - You will have to make a correct turn here. I'm sure that you won't know where to go right away, so it would be wise to slow down a little. Also, take a closer look at the minimap. Sadly, you will be driving the wrong way.
16/32 - 0.4 km (#2) - You should be able to reach a lot of hills here. As a result, you must be very careful. Watch out for the heavy traffic. Make sure that you're in a correct lane before allowing the vehicle to perform a jump.
 |  |
18/32 - 3.3 km (#1) - You will have to be very careful here, mostly because there are a lot of fast and challenging turns in the area. Make sure that you're not driving too fast. Otherwise you would have probably left the track.
19/32 - 1.9 km (#2) - There are some new challenging turns here. You will also be dealing with smaller jumps. Nevertheless, you should consider slowing down a little.
 |  |
21/32 - 5.1 km (#1) - You should be able to locate an exit from the freeway here. Make sure that you didn't miss it. Slow down if you were travelling a little bit faster, mostly because you won't have much time to make the turn.
21/32 - 3.1 km (#2) - You will come across a very tight left turn. Just as before, you won't be allowed to make any major mistakes. You will also have to watch out for other cars. There's going to be more of them here.
 |  |
23/32 - 4.4 km (#1) - You will have to be careful in the entire bridge area. First of all, you can't make any mistakes while entering the bridge. Otherwise you would have probably crashed into a concrete wall. Once you've left the bridge, you will also have to make a sudden left turn. This also means that once again you'll be driving the wrong way.
23/32 - 0.2km (#2) - You will have to deal with a pair of very difficult turns here. The first one will require you to turn left.
 |  |
25/32 - 5.5 km (#1) - You should be more careful here, mostly because there are a lot of fast bends in this area. You can't be driving too fast, because the freeway is surrounded by concrete walls. As a result, consider slowing down A LITTLE.
29/32 - 6 km (#2) - This is a very challenging section of this race. Make sure that you've used the brakes, so you won't hit anything. You will also have to avoid heavier traffic.
 | 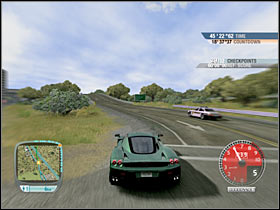 |
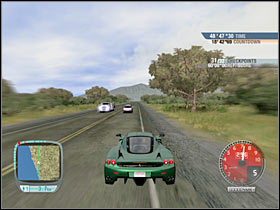
31/32 - 4.6 km (#1) - I'm sure that you remember this turn from one of the previous races, so I wont' have to go into details. Watch out for heavy traffic. I wouldn't recommend hitting other cars, because that would probably stop you.
31/32 - 3.7 km (#2) - You will encounter several small jumps along the way. You won't have to slow down here, however make sure that there aren't any civilians cars in the vicinity.
 |  |