Chapter VIII - McPherson - part 2 Still Life 2 Guide
Last update: 11 May 2016
 | 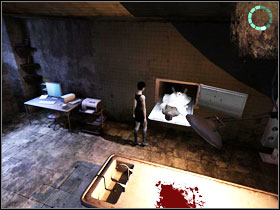 |
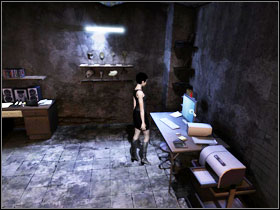
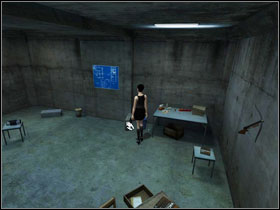
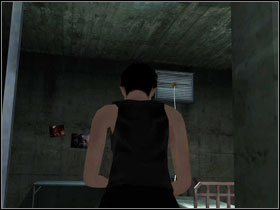
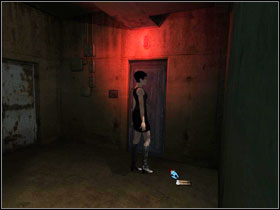
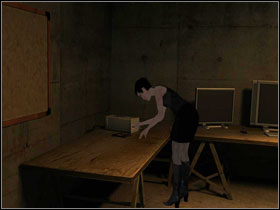
Use the computer #1 only to learn that the password has been changed. The generous killer will call us and warn us about his near arrival. Hide in the chamber with the cold corpse of a woman #2. Soon, we will take revenge on the killer for everything he has done. Once you regain control over the character again, leave the basement.
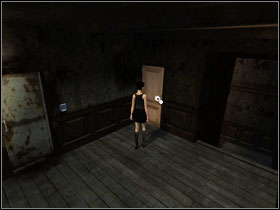 | 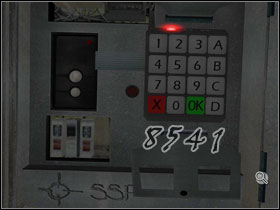 |
Go upstairs to the wooden door #1 and higher, to the balcony. Pick up the remote control, check out the room with the wardrobe from which we take the keypad box and go back downstairs to the mined back of the house. Take another look at the box near the gate, from which you have taken the keypad box. Place the pilot (on the right) and the keypad (on the left) #2 inside. Associate the mark below with the one placed on the pillar which our character took a picture of in chapter IV and input the code visible on that photo. Accept it with the green button. Afterwards, take the programmed pilot and phone to the murderer.
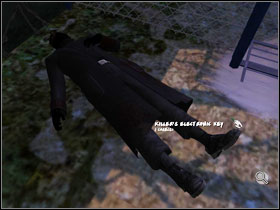 |  |
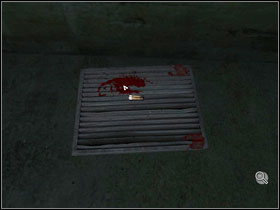
Search the corpse's pocket and you will find a piece of paper with "Namlekco" written on it. Don't forget to take the electric key #1 and head to the hatch you used to get to the surface. It's closed, so we have to once more return to the basement #2 and the computer. After using "Namlekco" as the password, take a look at the file named "Karson File". Go to the "access control" and open the hatch (the same code as before - H103123D55). Go underground.
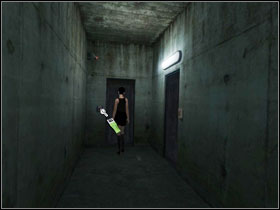 |  |
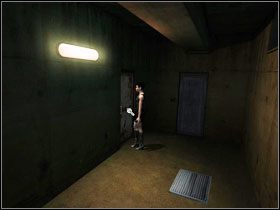
At the end of the corridor, use the electronic key to open the door #1. Take a mine and a pistol clip from the box in the corner #2. If you will follow the instructions contained in this guide, you won't need the first-aid-kit. Take the feeding cable that is linking the radio to the socket. Walk to the table on the right.
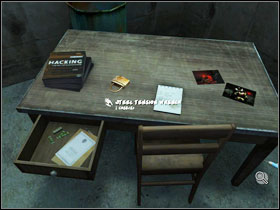 | 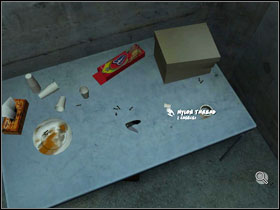 |
Take a look at the drawer's content #1, including the chewing gums. Read the notes lying on the desk and take the steel tension wrench. Next to the desk, on the floor, you will find out trusty old friend - the pick gun. By the second desk #2 in the room, we will find some more interesting stuff. We will acquire a nylon line, tape and if we want, we can take another knife.
 |  |
On the left, next to the blue trashcan #1, there is our CSIA kit. The Fingerprint powder and the 3D scanner will be great for analysing the magazines next to the bed #2 (database analysis). Go back to the corridor.
 |  |
Use a swab to take a sample of the blood from the air grille #1 (chemical and database), afterwards go to the cell opposite to Paloma's and use the fingerprint powder and the scanner to collect fingerprints behind the bars #2 (database). The last thing you must do here is to collect fingerprints from the magazines lying under the bed. The method is the same as before, so just don't forget to do a database analysis in the end.
 |  |
In the inventory, combine the tape with the mine #1 and after that, take a closer look at the air vent in this room. Stick the charge to it and use the nylon line #2. Using the blown air vent, go to the next corridor of the bunker.
 | 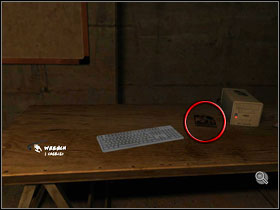 |
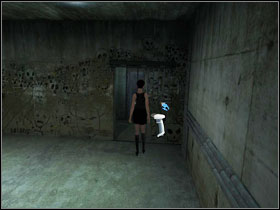
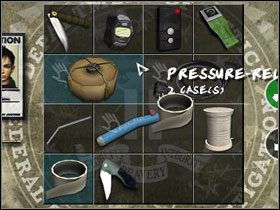
There's a closed door in front of you #1. Go to the inventory. Combine the knife and the watch and the received batteries - combine with the pick gun. Now just attach the iron key and we have a working picklock. By using it, open the doo. From the table, take another key and a keyboard. Take a look at the computer. It will do us no good without a suitable fingerprint. On the left we have a little Easter egg - Still Life box #2. Use the button behind the ladder and the ladder itself to get to the surface.
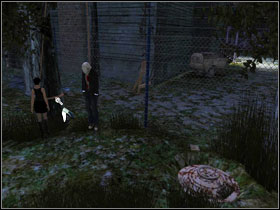 |  |
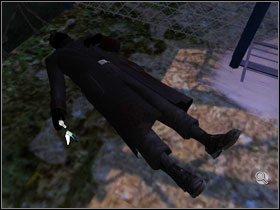
Use one of your knives and cut off the hanged man #1 and afterwards take the memory card #2 that felt out of his pocket. Transfer its content from the phone to the CSIA and run a computer analysis. Go back through the hatch and exit the computer room to the corridor.
 |  |
On the opposite side, by the door #1 you will find some fresh blood marks (a swab, then a chemical and database analysis). Go through the door and on the other side you will find some more marks #2. Repeat the whole analysis procedure. Use the stairs, go to the end of the corridor and take a look at the door to learn that is no lock and we won't be able to open it.
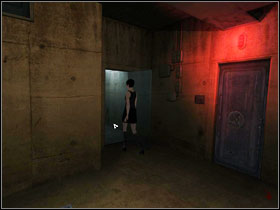 |  |
We will have to go back to the murderer's body. Fortunately, we can use a door that was inaccessible before #1, which will speed up the whole process. Once there, use the knife to borrow the culprit's finger #2. Go back to the computer room, where a proper fingerprint was needed.
 | 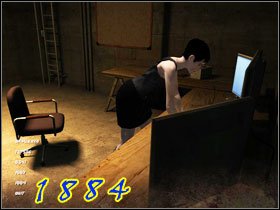 |
Use the finger on the computer #1 and return the machine to life. When you look at the screens, you'll see that a password is needed. Is you remember the date when the chewing gums found in the murderer's drawer entered the market, enter it. If you don't, take a look at the screen #2. After going to the cameras section, you will see that the access to one of them has been blocked. Step away from the monitor, use our magical pendrive, go back to the cameras section and take a closer look at it. A small talk with the murderer and the chapter will end.