Chapter X - McPherson - part 2 Still Life 2 Guide
Last update: 11 May 2016
 | 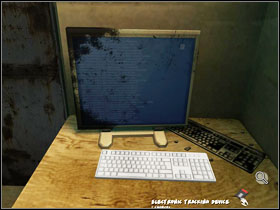 |
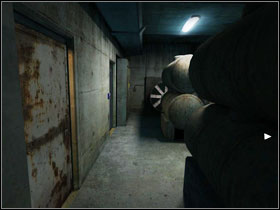
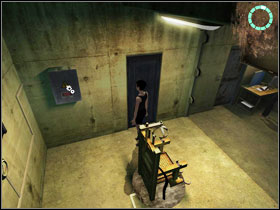
We get to a room where Hernandez is placed behind thick, soundproof glass #1. Approach the computer in the corner of the room. Unfortunately its keyboard has been destroyed by the small detonation caused. Luckily, as a good detective, McPherson has an additional keyboard in her pocket. Use the computer and take a look at the cameras in the "E" group. Vic then realises that she had a tracking device with her all the time #2. We can't let such a gadget go to waste. Go through the locked door.
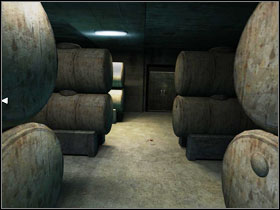 | 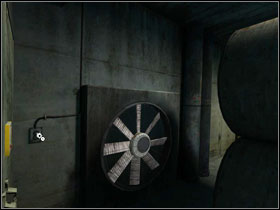 |
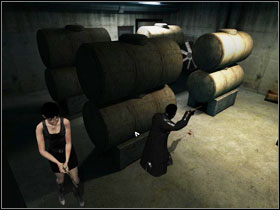
Tell our character to approach the fan on the left. However, she will stop after a while #1. Point the left side of the screen and once again, the correct direction leading to the fan. Once you finally get to the corner of the room, use the switch #2 to speed up the device and thereby - the noise level.
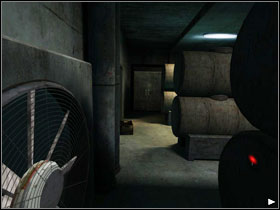 |  |
Stick the tracking device on the side of the tank standing in front of the fan. Afterwards, tell McPherson to retreat to the right side of the room #1. Follow your own steps. Eventually we reach the corner of the room #2. Tell Vic to turn right again. Now just a few more steps and...
 | 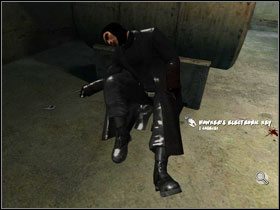 |
Sneak up to Hawker from the behind #1. Afterwards, take his electronic key #2, PDA and the pistol.
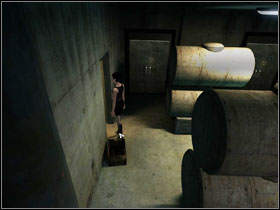 | 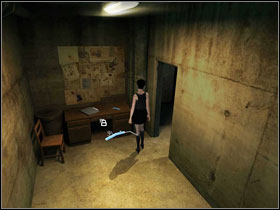 |
Go to the room in the back #1. Take some cables from the table and combine them with the PDA. Use the pick gun on the drawer #2 and take the metal cutter from inside. Take a look at the board hanging above the desk and Hawker's list attached to it. On it you will find the password to the PDA - "nemesis". The last thing that will come are handy is the isolated cutting pliers - you will find it in the black box below the bed, across the desk. Go back to the finger-activated computer.
 |  |
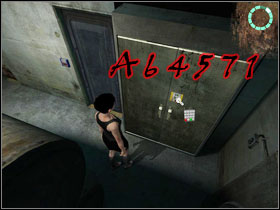
Plug in the PDA to the computer #1. Take a look at the monitor, activate the PDA and use the password mention above. Have a look at the nemesis file and you will find the code - A64571. It's time to go back to the hall and use the electronic key (blue) on the door leading to Paloma #2.
 | 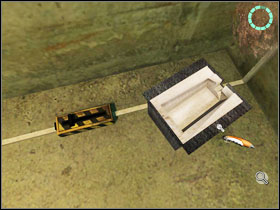 |
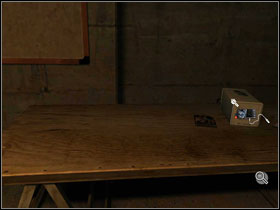
After regaining control over the character, go behind the chair and note the box placed on the cables #1. Bang, bang. The lid didn't stand a chance. Brutally use the metal cutter on it #2. Take the foam isolation fragment.
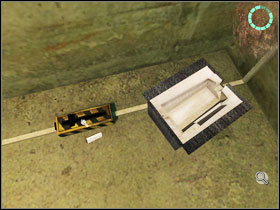 | 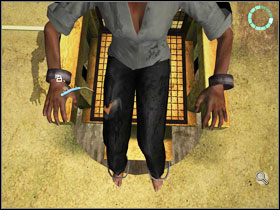 |
Look at the yellow switch #1 and afterwards fill it with the foam isolation fragment. Use the pick gun to free McPherson's limbs from the metal rims #2.
 | 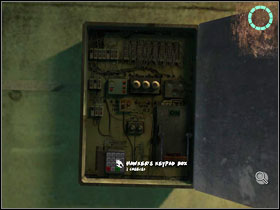 |
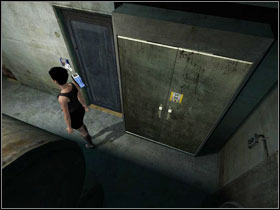
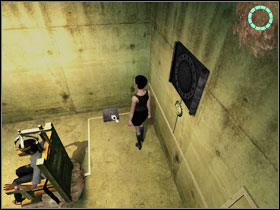
Open the box hanging in the corner of the room #1. Take the keypad box from inside #2. Exit the room.
 | 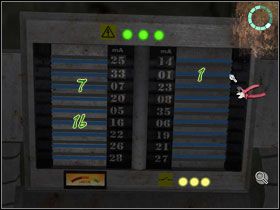 |
Use the keypad box on the metal locker and input the code found in the PDA #1. Between two barrels filled with explosive liquid, you will find a control panel. Point the indicator in the lower left part and McPherson will read an important milliampere value - 24. Take the isolated pliers and cut the wires showed on the screen #2 (summing tem up, they give exactly the amount we need). Congratulations, this time around, there was no big boom in the end.