
Army Warehouses - Quests - part 3 | Walkthrough S.T.A.L.K.E.R.: CS Guide
Last update: 11 May 2016
6. Meet with Freedom soldiers
Received from: Swine (Army Warehouses)
Starting point: 3 on the map
Goal area: 5 on the map
Quest description:
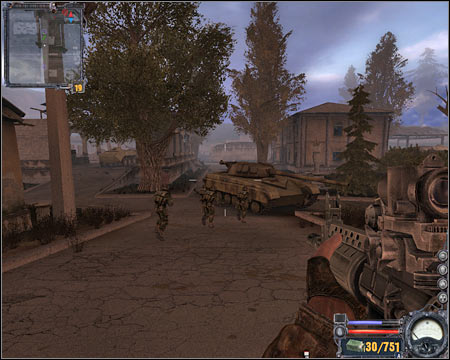
This is also a very simple quest. All you have to do is to get to the military base which can be found in the south-east (screen). Thankfully, your allies won't attack enemy units until you've joined them.

7. Eliminate the military
Received from: automatically once you've finished sixth quest
Starting point: 5 on the map
Goal area: 6 on the map
Quest description:
Notice that your colleagues have automatically begun moving towards enemy positions. I would recommend that you start running after them, because it'll allow you to perform a surprise attack. Reach the crossroads (screen) and take cover behind the tank. Get ready for a challenging battle!
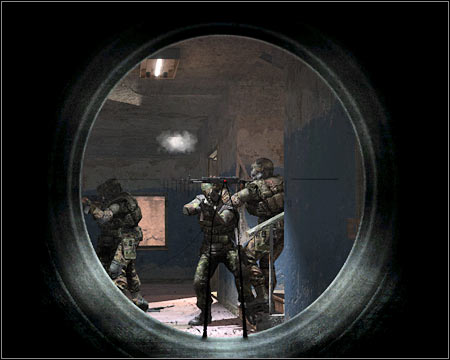
Enemy soldiers are defending themselves inside the large building to your right. That was the main Duty command center in the first game. I would recommend that you take position near one of the windows. Start leaning out and eliminate the soldiers one by one (screen). Obviously you will have to watch out for them fighting back, but you don't have to worry about avoiding any grenades. Monitor the area to the west of your position and prevent other soldiers from surprising you. Once you've killed all enemy units, make sure to collect ammunition, grenades and medical supplies.
8. Transmit the coordinates
Received from: automatically once you've finished seventh quest
Starting point: 6 on the map
Goal area: 7 on the map
Quest description:
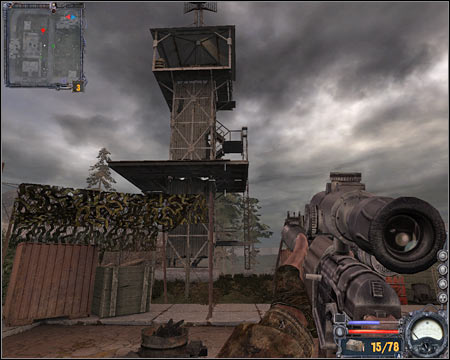
Now you'll have to climb on top of a much larger tower (screen). It shouldn't be a problem, especially since you won't encounter any radiation. Once you've arrived at your destination, use the lever and listen to a short transmission.
9. Meet with Lebiediew #2
Received from: automatically once you've finished eighth quest
Starting point: 7 on the map
Goal area: 1 on the map
Quest description:
Lebiediew is waiting for you in Red Forest. This means you'll have to go back to that sector using the passageway in the north-west. Watch out for wild animals beneath your position (screen). Leave the base without engaging them (if possible).
