
Raid Mission Brother 3 | Wolfenstein Youngblood Walkthrough Wolfenstein Youngblood Guide, Walkthrough
Last update: 05 August 2019
On this page of our guide to Wolfenstein: Youngblood, you will find a detailed description of Raid Mission: Brother 3. This is one of the longest and hardest tasks of the game. It involves infiltration of the research and advanced technologies center. You have to defeat many Nazis, solve a few puzzles and deal with the Bruder 3 Ubergarde boss.
- Raid Preparations
- How to get to Brother 3 district?
- Reaching the research facility
- Bypassing the blockade
- Finding the main computer
- Turn on the main computer
- Duel with the boss - Bruder 3 Ubergarde
- Getting two keys
- Hacking into the mainframe
- Optional step - unlock the exit from the Tower
Raid Preparations
Before you take care of this difficult main mission (raid) we recommend taking care of three things:
- Advance to at least level 20. This will ensure that the level of challenge offered by this mission does not exceed your sister's abilities.
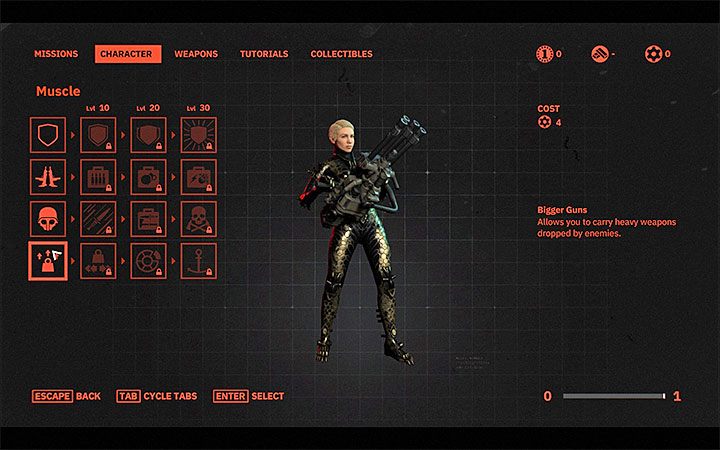
- Unlock at least one heavy weapons skill. The absolute minimum is the purchase of Bigger Guns ability, which allows you to pick up heavy weapons. However, it would also be good to unlock the Extreme Gun Pocket ability (from level 20), which allows you to carry heavy weapons in your inventory. This will make it easier for you to fight difficult battles and especially to confront the main boss of this raid.
- Maximize the Shared Lives limit by finding chests and crates marked with heart symbols. These crates are also being explored during Brother 3, but it is better to have the maximum number of lives ready from the very beginning, just in case.
This raid is available when playing with artificial intelligence, although it may cause problems during the battle with the last boss. If possible, try to invite another player to the game who at least has level 20.
How to get to Brother 3 district?
Brother 3 - this is one of Paris districts, which is initially unavailable. Brother 3 is near Victory Boulevard district.
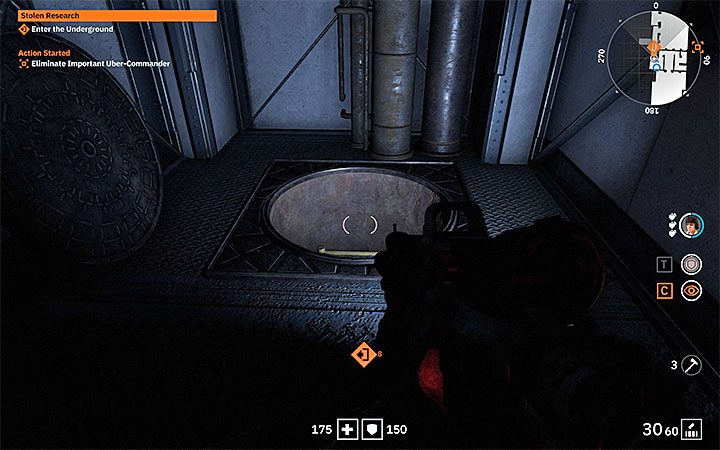
There are two ways to get to Brother 3 district. The first way is to sneak through the sewers and the perfect opportunity happens after starting the side quest of Stolen Research (description of this mission can be found on a separate page of our solution). After selecting this task in the journal, you will be directed to the descent to Brother 3 Underground.
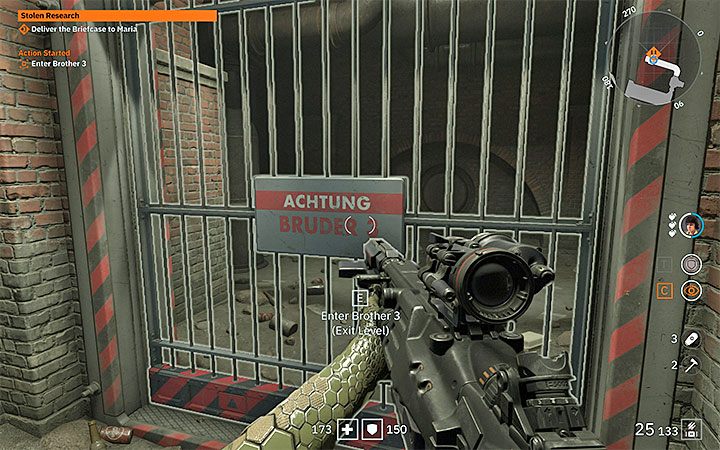
You have to go through all the channels to the place where the documents are found in the mission. Right next door is the gate leading to Brother 3.

The second way is to defeat the enemies at the main gate to Brother 3. One of the enemies in this place is a mini-boss called Zitadelle. In order to destroy a large machine, aim at its shoulder pads and at the heavy weaponry that it uses. Remember to use weapons that weaken horizontal armor rectangles. If necessary, back off and hide somewhere around the corner.
Apart from Zitadelle, there are also Supersoldats in this location and on the huge gate there are two cannons.
After securing the area in front of the large gate, each sister must pull a separate lever (example in the picture). This will allow you to enter Brother 3.
Reaching the research facility
Whether you've moved through the sewers or opened a huge gate, you'll start quite a long way from your first opponents. We recommend sneaking around a lot, especially since there is at least one commandant to kill in the vicinity of the starting point.
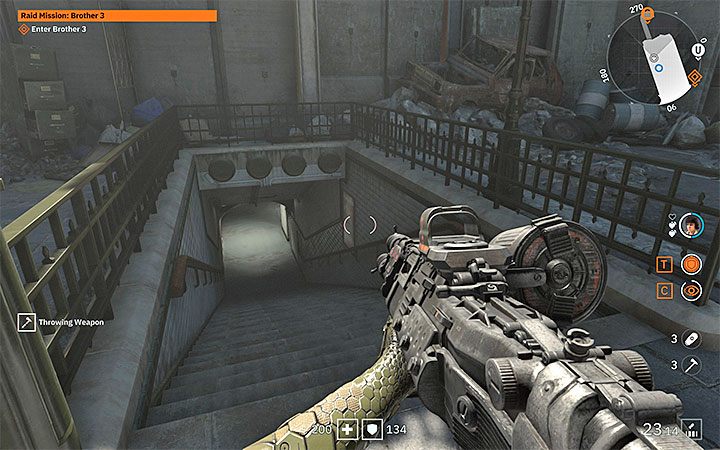
Before you get to the enemy base, explore the area to find the subway descent shown in the picture. Downstairs you will find a map of the subway network. Interacting with it and unlock a fast travel to Brother 3 district. This will allow you to easily return to this place in the future, e.g. for the purposes of completing new missions or finding finds.
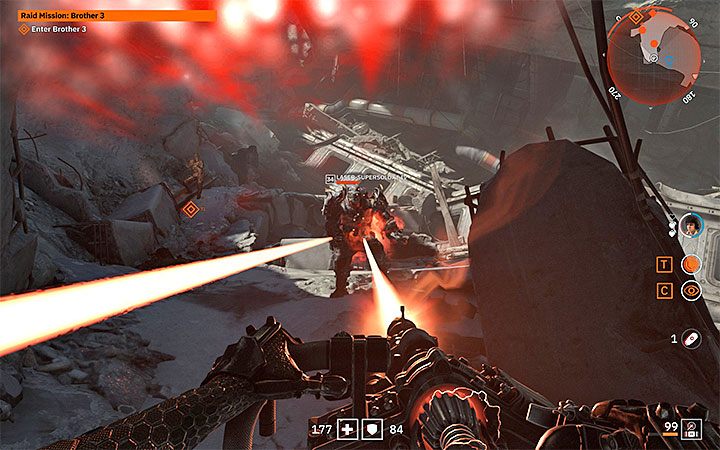
Head for the ruins. In their main part of these you will meet a huge Zitadelle machine once again. You can easily avoid this mechanical opponent by sneaking around behind him. Fighting is also possible and would allow you to get a lot of XP.
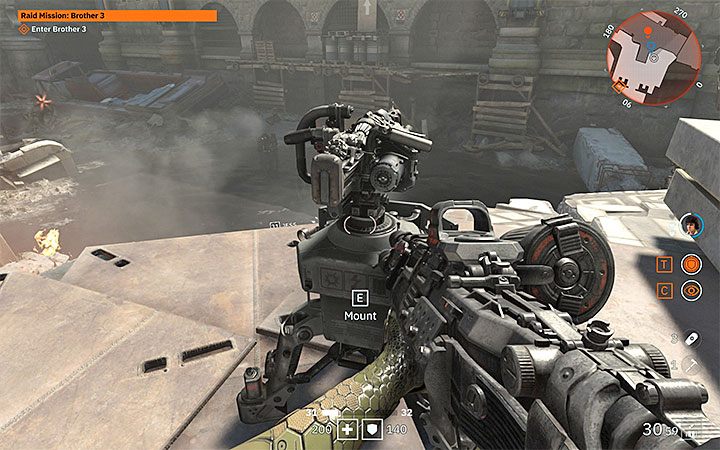
An interesting tactic for this battle is to reach two stationary turrets located next to Zitadelle (shown in the picture above), thanks to which you can carry out continuous fire without worrying about ammunition consumption.
Move towards the large entrance with two statues. The sisters must raise the yellow gate together. In the new location you can sneak around even if you have triggered the alarm in the previous areas. In case of detection, expect that you will have to defeat several super soldiers.
The sisters must again reach the yellow gate, raise it up and then enter the main part of the enemy complex.
Bypassing the blockade
Once again, we propose to consider sneaking, especially that the vast majority of enemies can be killed with throwing weapons. You need to go to a lower level. The new mission objective is to get to the room where the Elektrokraftwerk is stored.
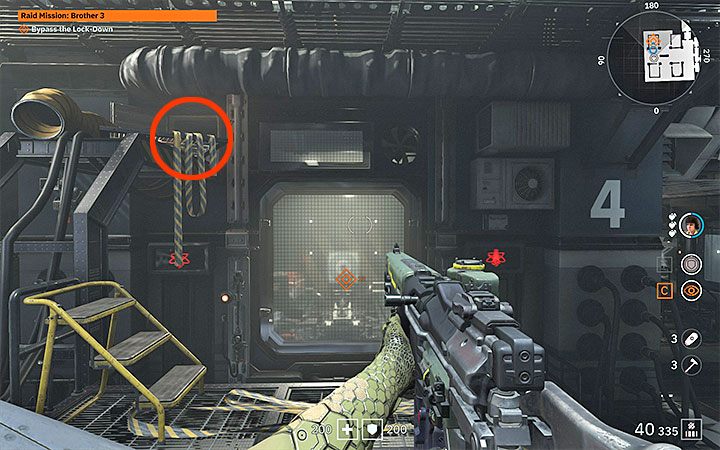
The door to the room with heavy weapons are closed and it may turn out to be very problematic to get inside. You have to squeeze through the opening of the ventilation shaft above the door - we have marked it in the picture above.

Pick up Elektrokraftwerk. You can test it immediately to get out of the room. Aim at the fuse box above the door so that it leads to a short circuit and the door opens.
New enemies will appear in the area and you have to start the fight. After the fighting, go upstairs. Again sabotage the box, relying on Elektrokraftwerk. Once the door is opened, get to the elevator traveling to the lobby.
Finding the main computer

Once in the lobby it is easy to avoid battle, as this is a large location where there are not too many enemies (at least initially). You have to get to the door shown in the picture. Again, you should use Elektrokraftwerk here on the fuse box.
A little further you will find, in turn, a closed door and a keyboard. The well-known riddle has to be solved to pass - Sister 1 stands at the door and waits until Sister 2 reaches the code generator and generates a combination. In our case, the correct code was 4748. Use the elevator traveling to the archive.
Turn on the main computer

This location is dark - try to stay in better lit places or use the Sturmgewehr weapon, which has a flashlight installed. You have to watch out for the usual enemies and the two turrets. Spread out from the side beyond their range of impact and then lean forward for short moments to shoot at them.
After destroying the turrets, reach the lever. Each of the sisters must pull one lever. Before you enter the next area, look around for supplies, as you'll have to fight the main boss of this mission.
Duel with the boss - Bruder 3 Ubergarde
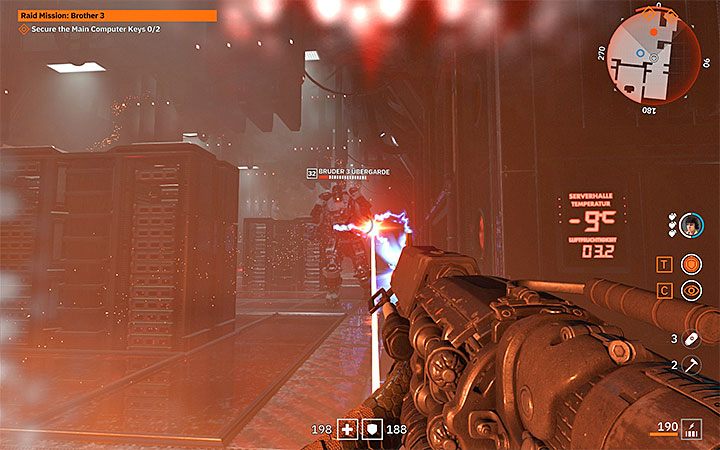
To defeat Bruder 3 Ubergarde boss you will have to kill him in a vast archive room. The boss uses a heavy weapon as his main attack. Bruder 3 has vertical rectangles on the armor panel. Choose the right weapons to destroy his shield. One of the most effective weapon will be Elektrokraftwerk.

Fighting the boss in the main archive room is risky, even if you're hiding behind servers. However, you can easily "cheat" and get to the side balconies and rooms. Because of its size, the boss can't follow sisters there. You can easily search for places to attack Bruder 3 and also withdraw when you want to search for supplies or start a Pep Signal.

Don't expect the fight to be trivial, as there will be reinforcements soon after the start of the battle. Take care of them first so they don't interfere with your main duel. The defeated enemies should not respawn, so you will eventually return to one-on-one combat.
Among the new opponents you may encounter Supersoldats. The greatest danger is, however, Panzerhund. Try to attack the mechanical dog from a long distance to avoid his fire attacks.

During the battle, do not forget about the close cooperation between the sisters. Call for help if you lose all health and always save the almost-dead sister. If you use up your ammo / health / armor, examine the side areas for resupply.
Bruder 3, just like the bosses from the other two areas, has a short health bar and therefore after you destroy its armor, it can be quickly finished off. The defeated boss will drop a heavy weapon, Uberhammer.
Getting two keys
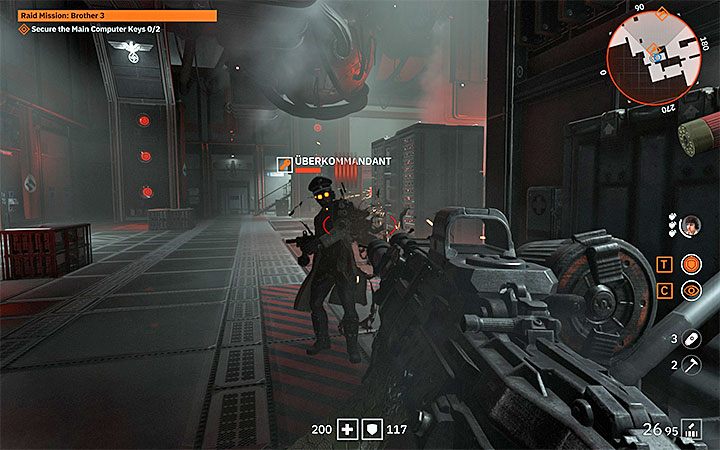
Killing the Uberkomandant chiefs is crucial. There's a good chance you could have killed at least one of them when you were retreating to a side room that wasn't accessible to Bruder 3. Each commandant leaves the Commander Key behind. Commandants themselves are not very strong (they have "vertical" rectangles of armor), but they may be accompanied by other enemies.
Hacking into the mainframe

The main computer is at the end of the archive, where at the very beginning of the battle there was Bruder 3. Place both keys in the main computer and you will complete the mission.
Rewards: 8000 XP, 400 silver coins.
Optional step - unlock the exit from the Tower
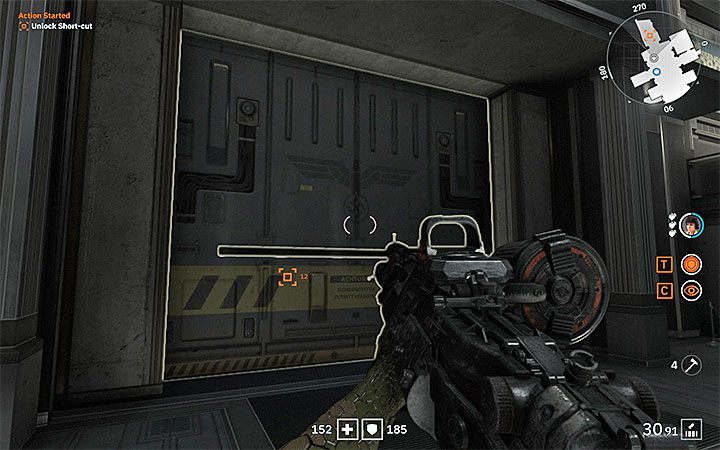
If you want, you can leave immediately by relying on the fast-travel option and move to the Catacombs. You can, however, take on a newly unlocked action that allows you to unlock the exit from an enemy base.
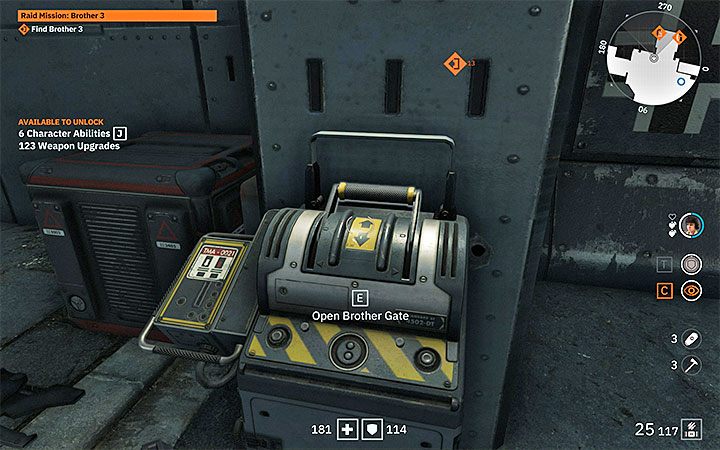
You must return to the previously used elevators. In the hall there will be new enemies - you can bypass them by selecting the side corridors or kill them all. It is possible to unlock the exit shown in the picture - it's a large gate. Sophie and Jessica can lift it up together.