
Watch Dogs Legion: The Face of the Enemy - walkthrough Watch Dogs Legion Guide, Walkthrough
The Face of the Enemy - DedSec Missions, part 2
Last update: 17 June 2021
On this page of the Watch Dogs Legion guide, you will learn how to complete the second mission of the chapter DedSec Missions - part 2. This mission is called The Face of the Enemy. In this mission, you will find out who really is the main antagonist of the game, Zero-Day.
On your next mission, you must locate the Zero-Day signal. To do this, go to the marker that will appear on the map. This signal is transmitted from inside the van. Before you get to a safe distance, get yourself a car. Do not start the chase while on a motorcycle, because the van will be defended by drones and Albion. It is very easy then for your operator to die, so it is better to use a vehicle in which you are much better protected.

You can stop the van in many ways, it is fast, and in addition, opponents do not help in catching up with the vehicle. Block the road with everything you can, raise fences, change the direction of oncoming vehicles, you can even drive into the enemy car.

Once you've located the source of the signal, lose Albion's pursuit. When you're safe, go to the place where the signal came from, it will be marked on the map.
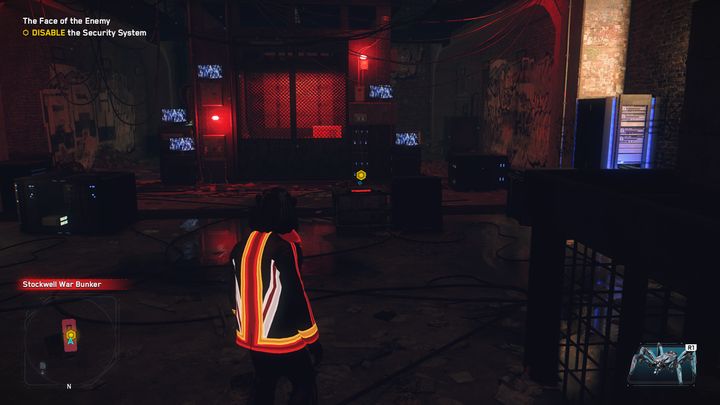
The entrance will lead to the bunker. Go inside and approach the terminal. Your task will be to remember in which order the monitor will light up. If you make a mistake, you activate the spider-bots that will attack you.

At the very beginning, the top left, top right, and bottom left will appear. Hack the given monitors in this order. The next stage will be more difficult. Start with upper left, upper right, lower left, upper right, middle left, ending with the lower right.

The last stage is a combination of the top left, top right, bottom left, top right, middle left, bottom right, top left, and bottom left. When you do the puzzle correctly, head to the elevator.

The bunker is full of traps. Be careful on the ground, because there are mines highlighted in red. First room - run fast through it, the mines are behind the mannequins and barrels. The next room is guarded by a turret. If you have the ability to hack or betray, do not destroy it, just turn it off, later you will need it. However, beware of mines near the turret, shoot them down and run to the end of the corridor.

At the very end there is another turret, and a spider bot, that will run to you when it gets close enough, will stop and after a while will explode. The next room is another mine, shoot it down and go ahead. You meet another arachnid there, shoot it down and move on. Approach each device marked with a yellow marker and learn the identity of Zero-Day.

After going through all the cutscenes, you will have to defend against enemy units until the main door opens. As soon as they open, get out of the bunker. The next waves of enemies will appear in front of your screen. Use arming traps and turrets if you have the ability to cheat.

If you manage to escape from the bunker, you will be attacked by Albion. Get into any vehicle and escape them to complete the task.