

Valorant: Split map description for defenders and attackers, callouts Valorant guide, tips
Last update: 23 July 2020
By reading this chapter of our guide you can find important information about all callouts available on the Split map in Valorant. Also, you can learn more about key locations for the attacking team and the defending team.
Split is one of the maps available in Valorant, which has two Spike locations and three main paths - two on the sides and one in the middle (Mid). Split favours the defensive team because there are only two narrow routes leading to the charge planting spot, making them easier to defend.
- Split point A - important places for defenders
- Split point A - important locations for attackers
- Split Point B - important places for defenders
- Split Point B - important locations for attackers
Split point A - important places for defenders
Playing as a defender in point A on Split, it is best to take a position that allows you to observe the spot from multiple angles and, if necessary, provide protection or the chance to move to another point. Below we present some of the best defensive spots on the Split map in Spike A planting point.
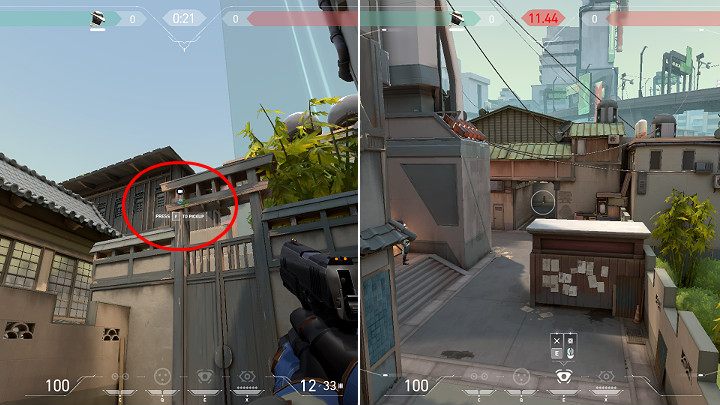
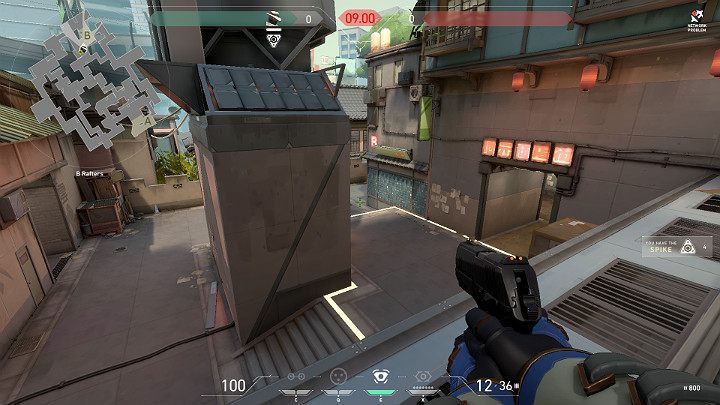
A Rafters (A Heaven)
A Rafters (a.k.a. A Heaven) spot is one of the best defensive spots available on the Split map. From this area, you can observe the path of attack on point A and, if necessary, quickly take action or inform the team of the opponent's movement. A Rafters (A Heaven) also provides player with a solid cover. From there, you can also quickly move to the Mid by using the ventilation shaft.
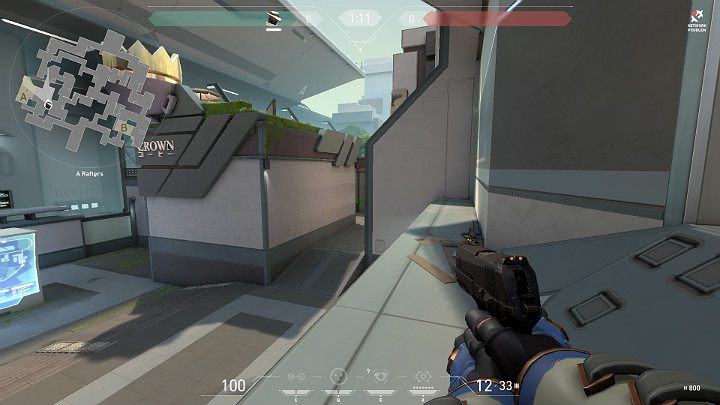
In the picture above you can see a character who stands at A Rafters spot (A Heaven). From there, he can observe the passage to A Site. If necessary, you can react quickly to an opponent's move and open fire or hide behind a wall and wait for team support. Going to A Tower will also provide excellent visibility on A Ramps.
A Ramps
By standing at the A Ramps you will have a great view of the A Main. What's more, by standing on an elevation you can take advantage of your height and shoot your target over a smoke screen or wall. If necessary, you can quickly hide behind a solid wall on the left side and wait for support.
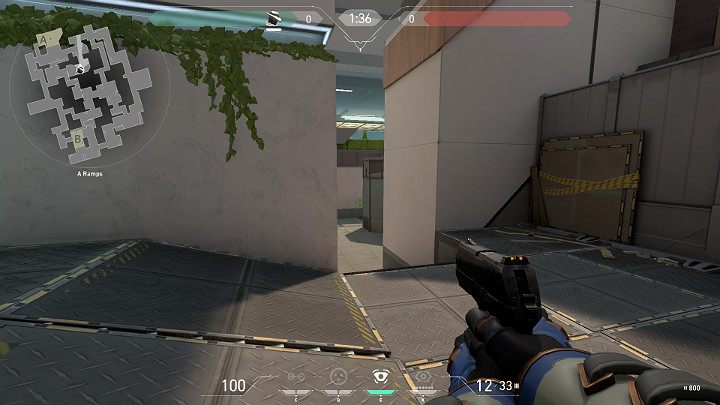
In the screenshot above you can notice a player who has taken an example position at A Ramps. As you can see, the view on A Main is extremely good so it will be easy to track the target. If necessary, a player can quickly retreat from this point and use the ventilation shaft to reach the Mid point in order to support the team in the battle for access to point B.
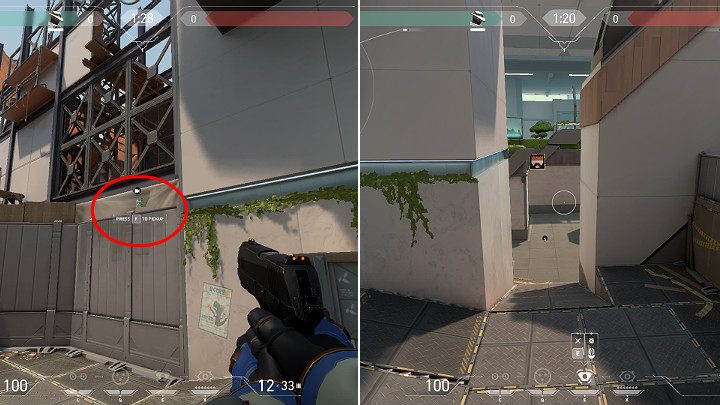
If there is Cypher in the defensive team it is worth to use his Spycam skill. The camera can be mounted at the point visible in the screenshot above (you will have to jump up a bit). After switching to camera view, you can observe A Main passage from a safe distance.
If you prefer to observe A Site instead of A Ramps, then climb on the elevation located near the exit to A Sewers and attach the Spycam at the point marked in the picture above. When you switch to the camera view, you will have a perfect view of what is happening around A Site.
Mid Vent
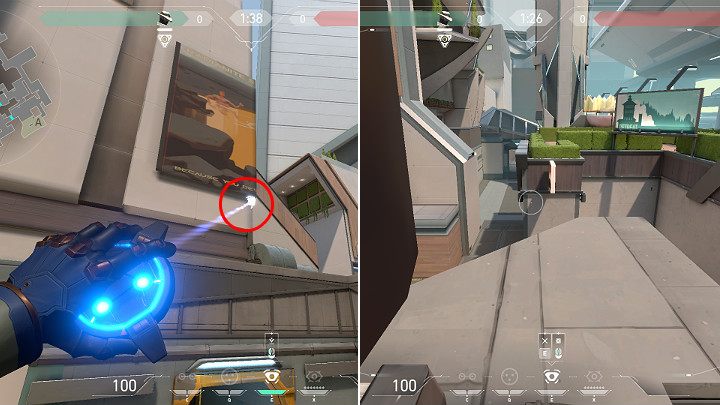
Mid Vent is an important strategic point of the Split map, especially for the defending team. By using this short pass players can move very quickly from point A to Mid and fight for maintaining control of point B.
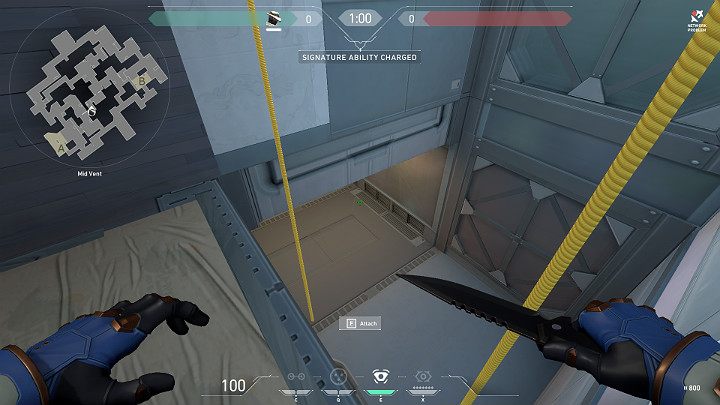
In the picture above you can see a player that looks in the direction of the ventilation shaft connecting point A with Mid area. It is worth noting the yellow zip ropes, which can be used to descend silently into the ventilation shaft and get out of there in the same way. If your opponents are trying to walk through the ventilation shaft you can take advantage of the height and easily shoot them down. The ventilation shaft is also a great place for an ambush - lure your opponents inside and throw a grenade there to instantly eliminate them.
Split point A - important locations for attackers
The attacking team that wants to get to Spike A planting site on the Split map can only use one main path - A Main. Any movement towards point A will require good planning and the use of several skills, such as blinding, smokescreen or walls. When attacking, it is important to keep in mind that players defending access to Point A are already well positioned and can aim in the direction from which the opponent may arrive. Below you will find some of the best offensive locations available on the Split map at Spike A planting site.
A Main
A Main is actually the only road that can be used by the attackers on the Split map to reach the Spike A planting site. Unfortunately, it is difficult to get through this narrow passage, because usually one opponent observes this direction from A Ramps and the other one from A Rafters (A Heaven). Assaulting A point will always require the use of many defensive skills, such as visibility-obscuring walls or smoke screens.

If you are attacking point A, make sure that A Ramps position is clear - this is a convenient shooting position for snipers. It is best to use some kind of smoke screen or wall to protect and cover the team from the eyes of the enemy. Next, you have to make sure that nobody lurks around A Rafters (A Heaven).
During the attack on point A, Cypher's Spycam may be very useful. Instead of exposing yourself to attack, attach the camera to the wall and safely observe the situation.
A Sewers
A Sewers is a way which can be used by attackers to get to the Mid, a strategic location from which they can move to both point A and point B. There is a narrow passage to the Mid, which is usually blocked by one of the defensive skills.
If you are attacking the Mid point from the A Sewers side, pay attention to enemies standing near the Mid Top side. One opponent usually stands in the Mid Mail passageway connecting Mid with point B, and the other from the side of the ventilation shaft. When attacking Mid point, grenades or other area of effect damage abilities will be useful.
Split Point B - important places for defenders
If you play the role of a defender at point B on the Split map, it is best to take a position that allows you to observe the spot from many angles and provide protection or ability to move to any other point if necessary. Below we have described some of the best defensive locations on the Split map at the Spike B planting site.
B Site
B Site is a large area where attackers can plant Spike. Two main passages lead to this point - B Long and B Tower (B Heaven). Point B can be easily defended if you play a defensive character like Sage or Cypher.
In the picture above you can see an example position taken at the B Site, where a player has a good view of B Long - one of the most popular routes used for launching an attack on B Site. A solid wall in the middle or wooden buildings on the right can provide sufficient protection for the player. You can also keep an eye on the B Tower (B Heaven) from this point.
If you play the as Cypher you can fully secure the B point area by using his unique skills. Mount the Spycam at the area marked in the picture above to have a perfect view of B Long. In the B Long passage you can set up a Trapwire and Cyber Cage. You can leave the area secured in such a way and head to the Mid. Don't forget to check the camera view from time to time and activate the Cyber Cage if necessary. While playing as Sage, you can throw a Slow Orb into the corridor or place a Barrier Orb in the passageway and effectively block the entrance to point B.
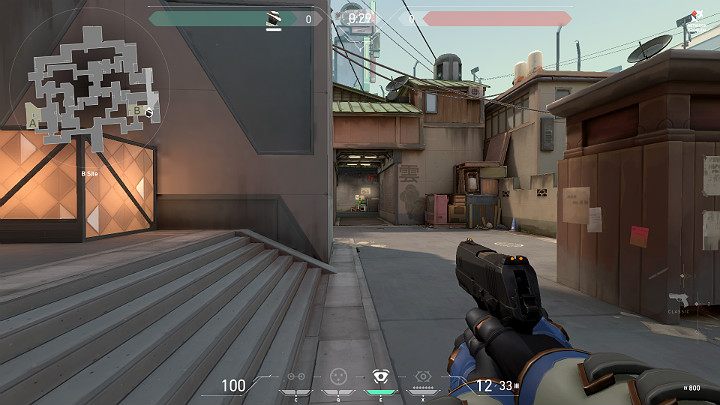
B Tower (B Heaven)
The B Tower (B Heaven) is another good defensive spot available at point B area. From here you will have an excellent view of the Mid Top and the passageway leading to B Long. If necessary, you can quickly retreat to the B Site.
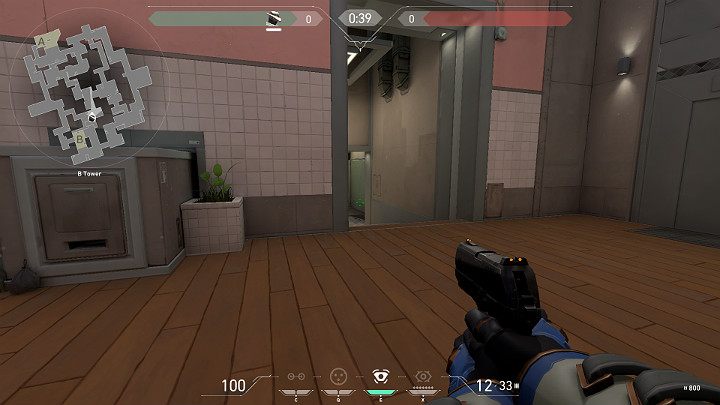
In the picture above you can see a player who took an example position at B Tower area (B Heaven). From here you can watch the passage to the Mid Top. If necessary, you may retreat to defend the B Site or use the ventilation shaft to reach point A.
Mid Top
Mid Top is an extremely important and strategic spot, which is usually defended by two people with strong defensive skills. Two roads lead to this point - A Sewers and Mid Bottom. When defending access to this site it is best to use characters like Sage, Breach or Brimstone. Any ability that blocks opponents, stuns enemies or obstructs visibility will be extremely helpful.
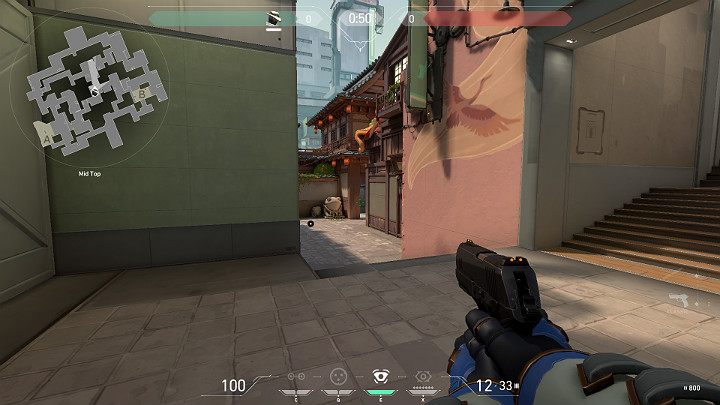
In the picture above you can see notice a player who took an example position at the Mid Top. From here he can observe the square connecting two roads - A Sewers and Mid Bottom. If necessary, the player may move to B Site or use the ventilation shaft to reach point A.
Mid Top was heavily remodeled in one of the latest updates. In the earlier versions, there was a thick wall on the left and attackers could only reach Mid via a narrow staircase which was easy to defend. Now defending that point is much more difficult because the wall has been removed, living more room for attackers. Defenders can only hide behind a box on the left, retreat to the ventilation duct, or move to Heaven B.
Split Point B - important locations for attackers
The attacking team that wants to enter Spike B planting site located on the Split map has two main roads to choose from: Mid and B Long. Any action on point B will require good organization and the use of several skills, such as blinding, smokescreens or walls. During the attack, it is important to keep in mind that the players defending access to point B are already well positioned and can be aiming in the direction from which the opponent may arrive. Below you will find some of the best offensive locations available on the Split map near the Spike B planting point.
Mid Bottom
Mid Bottom is the point where the most of the action takes place. The area below the staircase is often blocked by different types of walls or skills that obscure visibility and slow down characters. No wonder, because when the attackers manage to capture the Mid point they can go anywhere on the map from here.
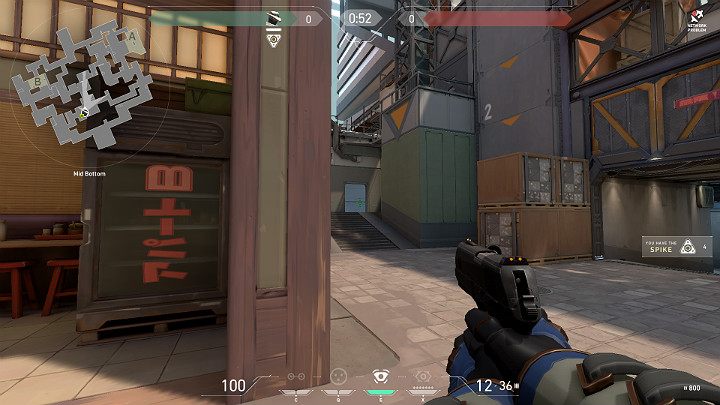
In the picture above you can see a character who is looking in the direction of Mid Top. On the right side there is A Sewers passage, which also leads to this point from the respawn point of the attacking team. Open doors in the distance lead to the ventilation shaft. By going to the left a player will reach the B Tower (B Heaven) and then enter the B Site.
in one of the latest updates, the Mid Top has been heavily redesigned so Mid Bottom attackers have a better view of what's going on the pathway leading to the ventilation duct. Defenders can no longer hide behind the solid wall that was previously on the right, and access to the entire Mid-Top has been made much easier.
B Tower (B Heaven)
B Tower is an elevated point (shooting spot) that can be accessed from the B Site. By capturing this point, attacking players have a great view of what is going on at the bottom and can easily locate their opponent. Important note! Falling from such a height may inflict significant amount of damage, so it's definitely better to jump down on crates, descend by using a ramp or simply via using the rope.
When attacking point B from the B Tower (B Heaven), you have to reckon that your opponents will use their defensive skills to make life as difficult as possible for the attackers and reduce their visibility. If possible, try to eliminate your opponents from a higher position. Watch out for the passage to B Long, the recess behind point B and the passage leading to the respawn point of the defending team.
B Long
B Long is another road leading to Spike B planting site on the Split map. Players attacking via this narrow corridor expose themselves to sniper attacks - defenders have a great view of what's happening in the passageway. The further B Site area is an extremely convenient position for snipers.
After entering point B from B Long you have to check if there are any enemies lurking in the distance and behind the wall on the left. When you enter an open area, you should also beware of the B Tower (B Heaven), because the opponents have another good shooting position there.