Trek to Yomi: Chapter 5 - walkthrough Trek to Yomi guide, walkthrough
This page of the Trek to Yomi guide contains a walkthrough of chapter 5 - symbol puzzles, ghosts, specters, shadows, bosses Sadatame and Sanjuro, second choice.
Last update: 06 May 2022
This page of the Trek to Yomi guide contains a walkthrough of the fifth chapter. The following walkthrough explains, among others, how to solve 3 puzzles with symbols, how to defeat the ghosts of bandits, spirits, specters and shades, how to avoid block traps, how to defeat the mini-boss Sadatame and the boss Sanjuro, and when the second important choice appears.
- Journey forth
- First puzzle with symbols
- First encounter with spirits
- First encounter with the spectre
- First encounter with the wraith
- Second puzzle with symbols
- Enter the depths
- First encounter with the shade
- Mini-boss - Sadatame
- Crossing the desert
- Puzzle with the boat
- Third puzzle with symbols
- Boss Sanjuro and second choice
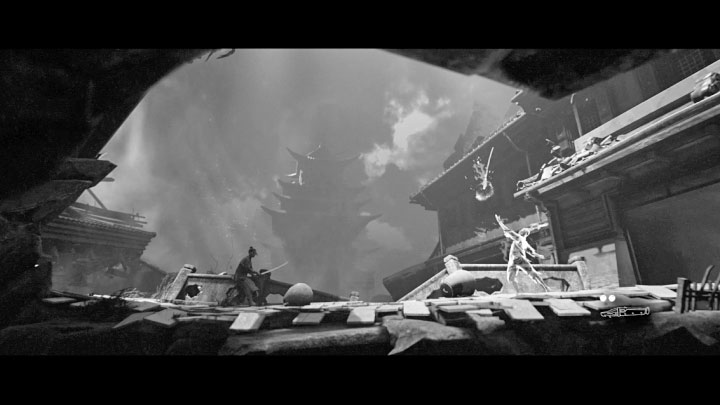
Journey forth

This chapter takes place entirely in the Yomi land, but apart from the need to solve new unique puzzles, it will not radically affect the gameplay.
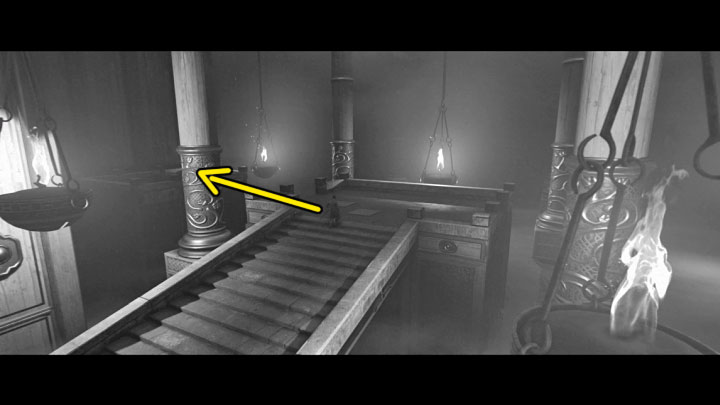
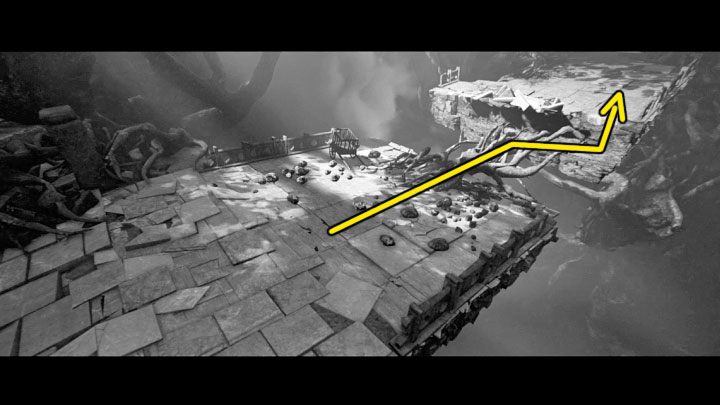
Go forward. The first secret of this stage is on the main path - artifact - Great Thunder.
First puzzle with symbols
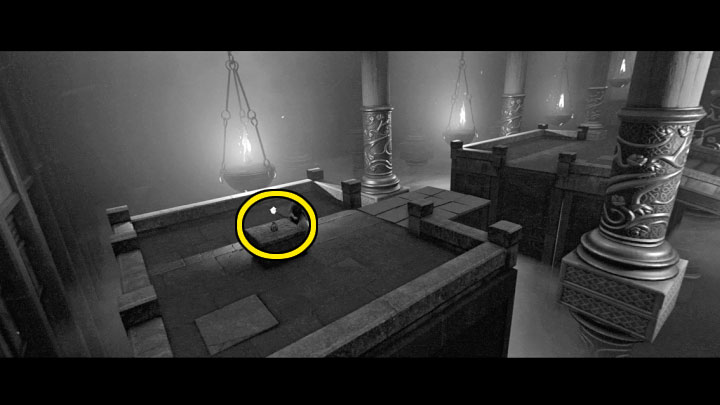
Falling objects will create a new path - it will take you to the first shrine.

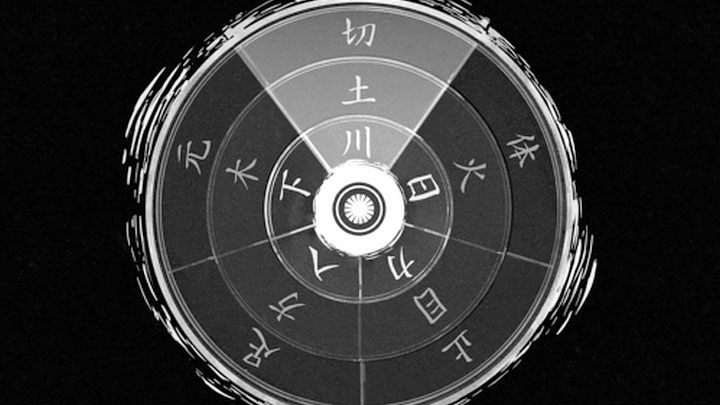
Time for the first puzzle with symbols (you will find the next ones later in the campaign). It forces you to read and remember symbols presented nearby. You start the puzzle by standing on the pressure plate marked in the picture and pressing the interaction button.

To complete the puzzle, you have to rotate three rings. Your task is to match 3 symbols. It is important not only to choose the right symbols, but also to place them in the correct rings. The solution to the puzzle is presented in the picture above (a symbol in the shape of the number Pi, letter K and letter F).
Solving the puzzle will unlock the passage on the right.
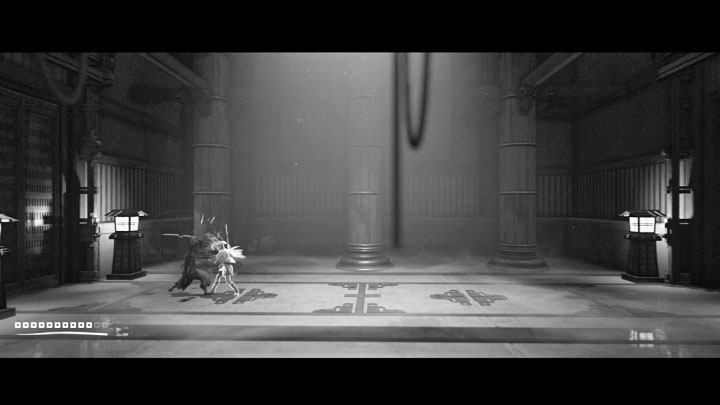
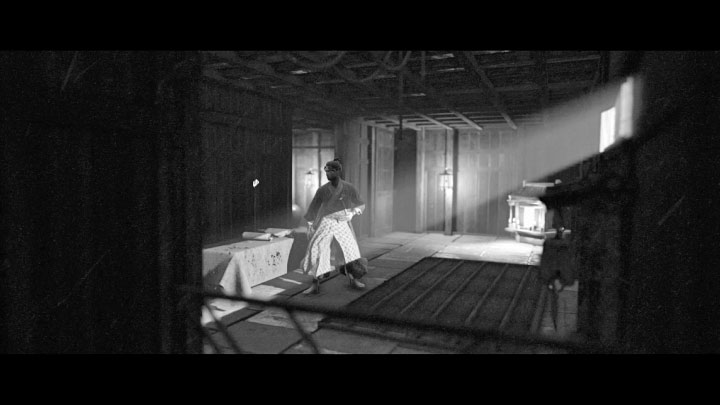
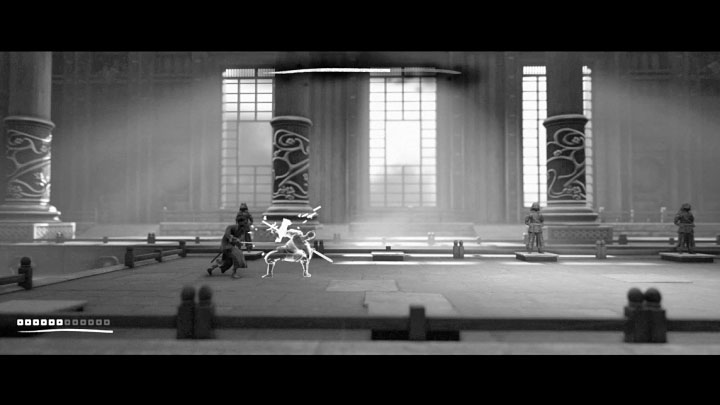
In the new large hall, you will encounter a bandit ghost - this is the first man you killed after the beginning of the journey. During this duel, watch out for the enemy's stronger attacks - even a block will not protect you from getting stunned. The key to exposing the opponent to the hero's attacks are parries. After one of them, you can perform a stun combo and follow it up with a final attack that will finish the fight faster.
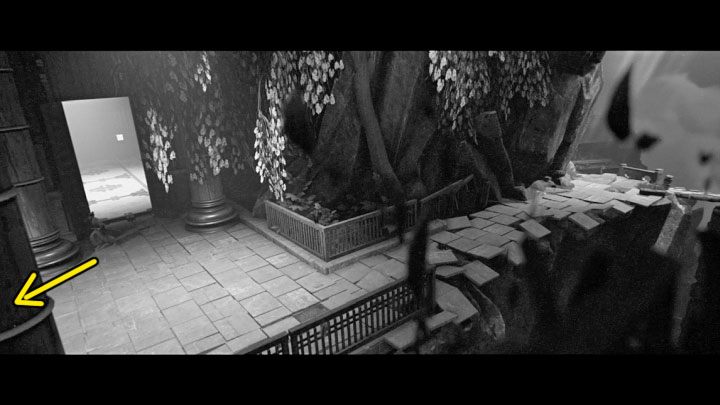
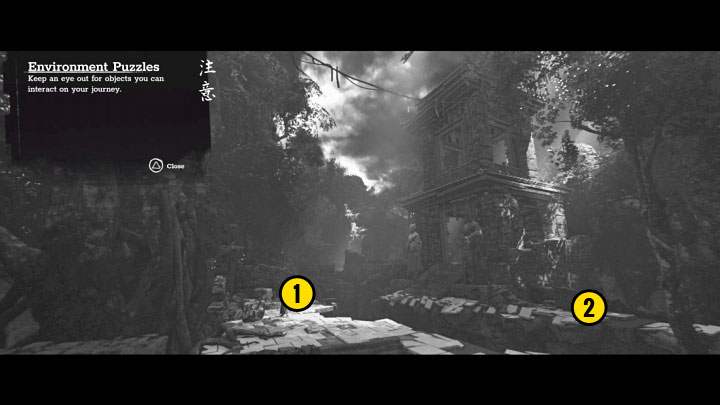
After winning the duel, choose the right room exit. In the next location, go left. In the place marked in picture 1, there is a well-hidden passage to the side area.
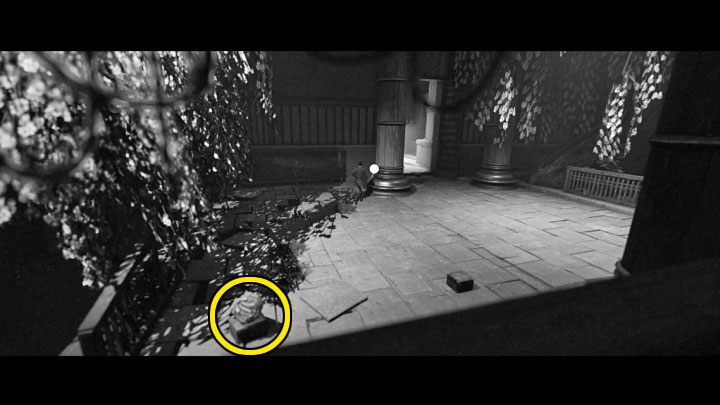
There you can find arrows, ozutsu ammunition and the artifact marked in picture 2 - Cleaving Thunder.

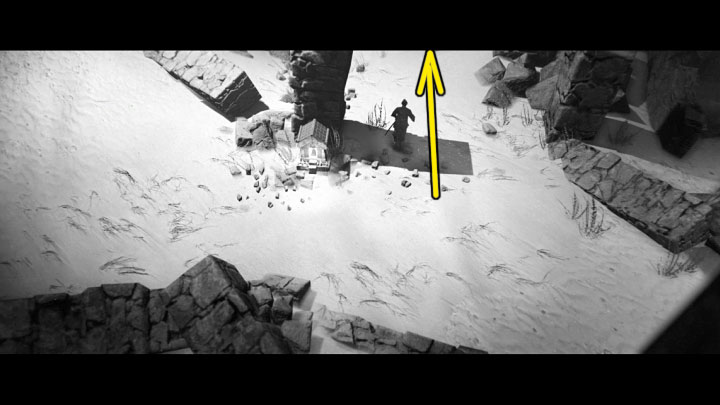
Go back to the main path, pick up the shurikens and go on. Soon after jumping onto the lower ledge, you will find the Stamina Upgrade shown in the picture. Take it, enter the building, and save at the shrine.
Keep going forward - there will be a few arrows along the way. Jump down twice to the lower ledges.
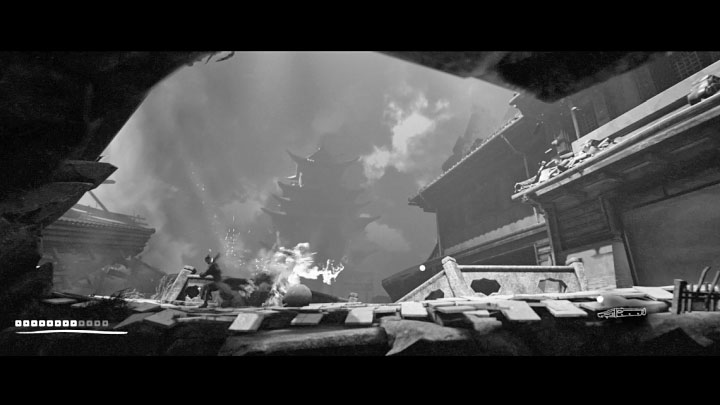
First encounter with spirits

You will encounter a spirit. After the conversation, a fight will start - the unusual camera can make it difficult. You can eliminate the spirit with ranged attacks (e.g. bow) or in direct combat (try a stun combo).
After defeating the first ghost, another one will appear - you will encounter more of these enemies later in the game. After the fights, go down and right. The hero will be attacked by a larger group of ghosts - use attacks combined with quick rotations.
First encounter with the spectre
After one of the jumps, a large structure will collapse, but you don't have to do anything here. The shelf you are standing on will move near the new shrine.
Go right to encounter the first specter. These enemies have a unique attack - katana throwing. This attack is signaled (example in picture 1) - you have to dodge it by rolling. You can attack the specter in any way you like. Ozutsu can be very effective (example in picture 2), but you would have to load the weapon and fire it before the enemy hits Hiroki. If the enemy uses melee attacks, either block them or parry.
Defeating the first spectre will reward you with a new skill - a combination of 4 light attacks.

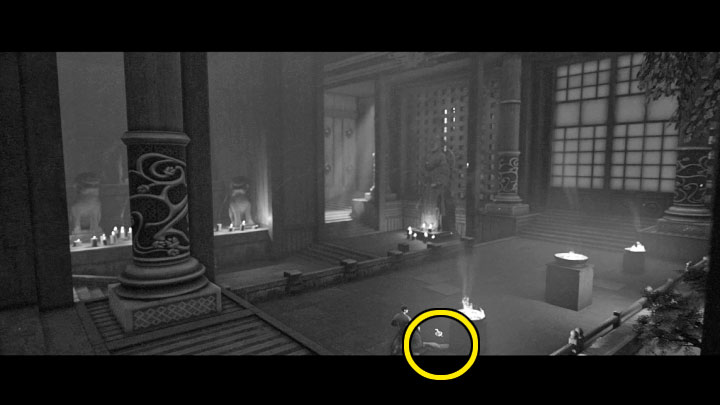
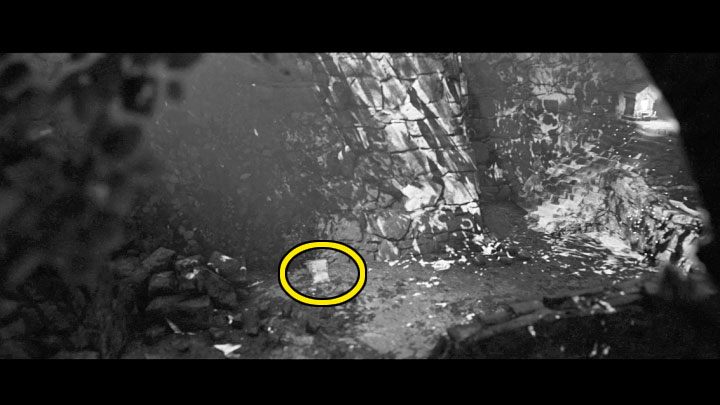
After winning the fight, go right, and in the next room, check the upper passage first. In the place marked in the picture you will find an important Ozutsu Upgrade. It will increase the limit of projectiles for this firearm by 1.
Go back to the previous room and go right. You have to defeat another spirit there, and then a new spectre. Use the tactic that worked before.
First encounter with the wraith
After leaving the building, take the shurikens and start climbing. On your way, you will be attacked by spirits and a spectre. Be sure to use the skills that allow you to quickly change the direction of the attack. You will reach a shrine with some ammunition.
Examine the stairs to the left of the shrine. You will encounter the first Wraith. Its unique feature is the ability to summon spirits. This, unfortunately, prolongs the fight.
Every time you get rid of the summoned enemies, wait for the wraith to lose its cover - the objects around it will stop levitating and the enemy will lower the altitude. You then have to attack quickly to kill the creature before it can summon next reinforcements.
Do as many attacks as possible to quickly end the fight. You can also try to hit the wraith with the bow. Defeating the first wraith will reward you with a new skill.
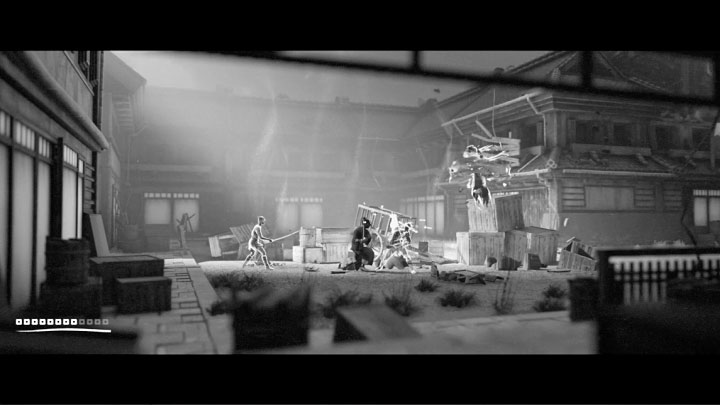
Head to the right and defeat more enemies. After entering the new building, explore the path on the right first. Defeat the ghost and reach the room shown in the picture - it has an Ozutsu Upgrade and a shrine.
Go back to the first room of the building and check out the upper path - there will be more enemies. This path will allow you to leave the building.
Second puzzle with symbols

You will reach a new area with a shrine and a puzzle with symbols. Before you start solving the puzzle, check the upper right area shown in the picture. You will find a Stamina Upgrade.
To start the puzzle, stand on the pressure plate and, just like in the previous one, you need to rotate the rings and set the correct symbols. Its solution can be found in the picture above. Complete it to unlock the wide stairs.

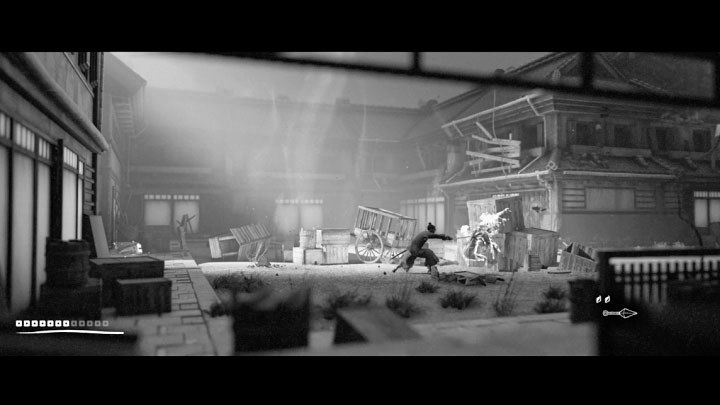
After you go right, new enemies will start to appear. A wraith will be among them. Do as before - try to quickly eliminate the enemy when it is not covered by flying objects.
Go further right and in the new area, find the artifact shown in the picture - Earth Thunder. Now head right, picking up new arrows along the way.
Enter the depths
While going right, a path will form in front of the hero, but you don't have to rush here. Be ready to face more ghosts. At the end of the path, a new wraith will appear and, just like in the previous battles, wait for the opportunity to attack it when its cover is gone.
In the new location, on the left, you will find a shrine. Make your way to the top of the screen, but watch out for the moving blocks that can crush Hiroki. As soon as they start moving, sprint back to the bottom of the screen.
First encounter with the shade

You will learn about an alternative path - it is to the left of the place where the last blocks stopped.
There is another new type of enemy ahead of you - a Shade. The unique feature of these enemies is that they can "teleport" to, for example, suddenly appear behind the hero's back. You probably now have the ability to parry attacks regardless of their direction. Alternatively, you can do a few rolls while waiting for your opponent to reappear. Look for opportunities to use stun combinations and finisher attacks - one such combo can kill an enemy.

Keep going to the left while defeating next ghosts. In the new location, head towards the altar visible in the distance, on which there is an interactive button (picture above).
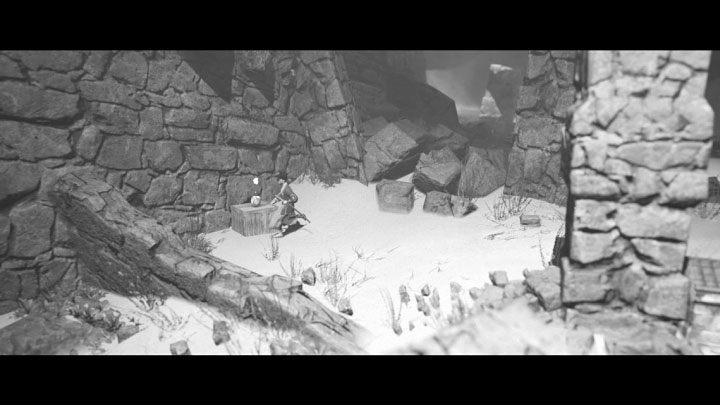
Pressing it will activate new blocks - avoid being crushed by sprinting towards the bottom of the screen. After the blocks stop, check the left area first, where there will be a new shrine.
Go back to the central location and choose the passage on the right. You will encounter new enemy ghosts. You will reach a new location with arrows and a shrine.
First, examine the upper room shown in the picture above. The Bo-Shuriken Upgrade is in front of the large round shutter.

Return to the room with the shrine and this time choose the right passage. Be ready for more ghosts that will "run out" from the samurai statues in the new corridor. You have to defeat a group of them so use ozutsu. Later in the fight, a new shade will join in.
After defeating the enemies, go right. In the new room, approach the central structure. There is a new artifact in the place marked in the picture - Black Thunder. On the left, you will find ozutsu ammo.
Go back to the fork you passed earlier and take the upper stairs now. In the place shown in picture 1, there are two paths to choose from. Take the left path first. You will reach the area shown in picture 2, with a Stamina Upgrade.
You can now choose the right path. Defeat the ghosts appearing on your path. After dealing with them, head to the new shrine.
Go to the right of the shrine and take the lower stairs first. They will lead you to the area with the artifact marked in the picture - Couchant Thunder. Now go to the upper stairs that you ignored earlier.
Mini-boss - Sadatame
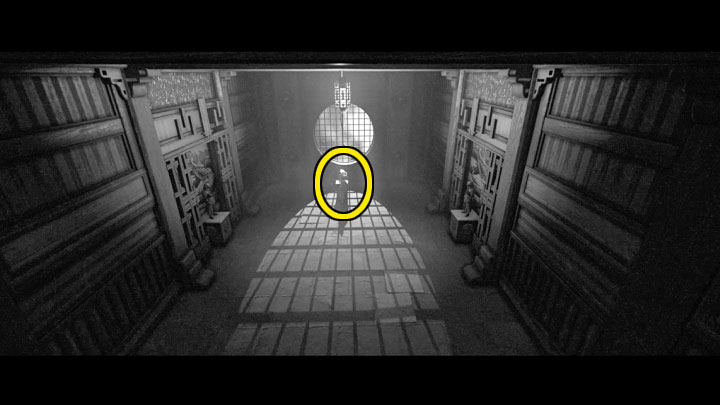
Approach the edge - a new path over the chasm will appear. You will reach the place where Sadatame - chapter 2 boss - is. You must beat him again.
A safe tactic is to block Sadatame's combos and then attack him. Alternatively, you can try to parry the mini-boss's attacks.

Just like in the battle from the second chapter, Sadatame will withdraw from the battlefield at some point and summon his subordinates. They are the ghosts of "regular" bandits, so eliminating them won't be difficult.
After dealing with Sadatame's soldiers, you will return to fighting the mini-boss. Use the same tactic as before to deplete his health bar. Defeating Sadatame again will unlock a new skill which is a combination of attacks that can break through the opponent's block.

Keep going right. There is a shrine to the left of the partially open large gate. Next to it, there is also an artifact marked in the picture - Roaring Thunder.
Go through the large gate and follow the path shown in the picture above. You must hurry here, because soon the damaged part of the bridge will collapse. You have to get off it before that happens.
Reach the upper passage. There is a new shrine there - next to it you will also find arrows and Bo-Shurikens.
Crossing the desert
Now you have to go left. Soon you will encounter new enemy ghosts. There is quite a large group of them to defeat, so apart from blocks and parries, you should consider using ozutsu at least once.
On the way, you can save your game at the shrine. You should also explore the upper path, marked in screenshot 1, next to the shrine. It leads to the area shown in picture 2 with the Health Upgrade.
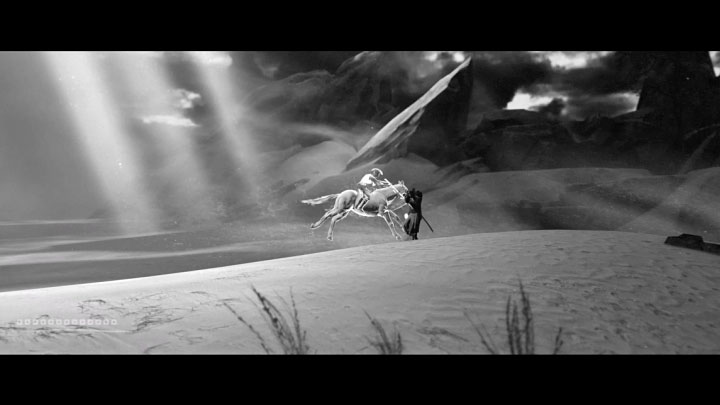
Now go left of the shrine. You will encounter opponents on horses and, just like in one of the previous chapters, you do not have to attack them. You can, however, try to block their attacks. If you want to eliminate them anyway, hit them with the bow. Fortunately, even if you get hit several times, you will reach a new shrine immediately after completing this section.
Puzzle with the boat
Soon after leaving the shrine, you will encounter a new spectre - eliminate the regular enemies and then attack the weakened spectre to destroy it as quickly as possible.

In the location with the boat shown in the picture above, you will have to perform actions in the correct order:
- cut the rope - point 1 in our picture,
- press the right button to release water - point 2 in our picture,
- quickly get into the boat - point 3 in our picture.
Wait until the rising water level allows you to use the upper footbridge. After leaving the boat, you will find a new shrine.


Follow the new path to the right and defeat more ghosts (there may be a shade among them). After the fight, climb onto the ledge on the right and go further, taking the ozutsu ammunition on your way.
In the new location with the shrine, check the easy-to-miss hole presented in the picture 1. It leads to a secret room shown in picture 2, where you can find a Health Upgrade.
Third puzzle with symbols

To the right of the shrine, you will find a pressure plate for another puzzle about rotating the rings and choosing the correct symbols. Its solution is presented in the attached picture.
There is an easy-to-miss secret in the area - stand on the pressure plate from point 1 in our picture and use sprint to run right towards point 2. You must get there before the central part of this area collapses. In the new place, you will find an artifact - Young Thunder.
Now stand on the pressure plate from point 2 and run towards the large stairs - this way you will leave the place.
The linear path will lead you to the next shrine. First, examine the stairs on the left. You will reach the area presented in the picture above, with a Quiver Upgrade.
Now go right of the shrine. Ghosts will start appearing as soon as you enter the new section.

Reach the stairs, take the arrows and head up. There is an artifact - Fire Thunder to the left of the last stairs - marked in the above screenshot.
Keep going up. At the top, you can use 2 ladders to reach ozutsu ammunition. A bit further, there is a shrine.


Jump down onto the ledge below. As you go right, more ghosts will appear in your way - start the fights by quickly killing the wraith with the bow. A shade will also join in the fights, so you must be prepared to frequently change direction of attack and defense.
In the next area, take the shurikens and climb to the higher shelves. After reaching the fork in the picture 1, take the left path first - you will find a Stamina Upgrade and a shrine.

Return to the fork and take the right path - you will fight ghost along the way. As before, watch out for shades and wraiths and use the moves and attacks.
Soon after the fights are over, you will find a lot of ammunition, including a chest with ozutsu ammunition. Be sure to save the game at the new shrine, because you will have to face the main boss of this chapter.
Boss Sanjuro and second choice
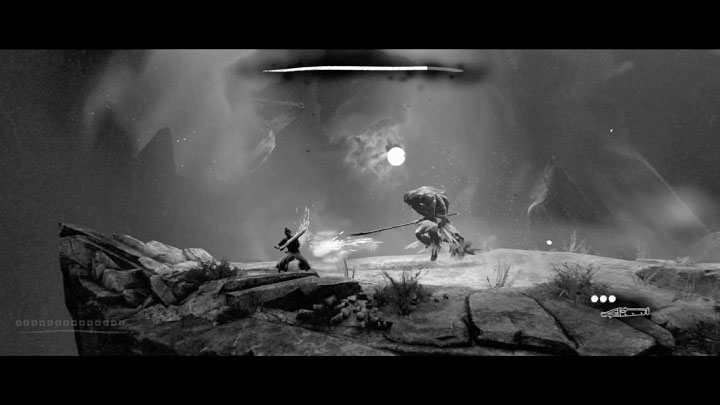
The path will lead you to the portal where the boss Sanjuro will appear. The opponent has a long melee weapon with a great reach. React to them in advance by rolling backwards (example in picture 1).


If you are standing very close to the boss and you cannot get away from him in time, you can alternatively perform a forward roll (example in picture 2). This will also allow you to get behind his back and get a chance to attack a few times.

Sanjuro's another dangerous attack is a long jump combined with a powerful ground hit. Try to roll and/or run right after the boss starts jumping so that you have enough time to move away from where he will land.
Try to weaken the boss by attacking him from a distance. Ozutsu can deal the most damage, but you need to recharge your weapon and fire before the opponent gets close to Hiroki and attack him. Other ranged attacks will also work, although they will take deplete much less health points.

If you want to attack using the katana, try to attack every time you manage to dodge one of Sanjuro's strong attacks - stand close enough to the boss for the attacks to reach him.
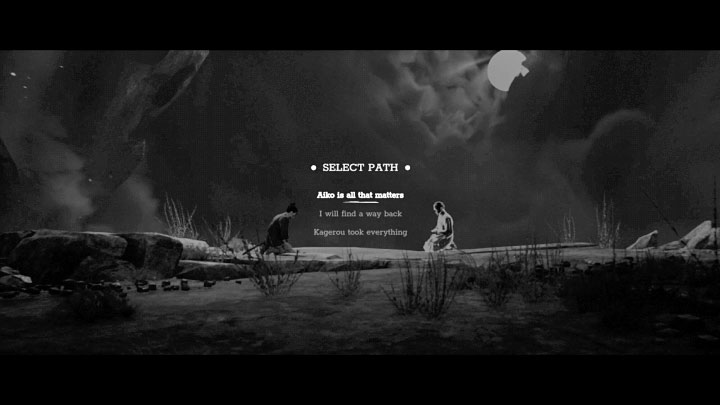
As in the case of chapter 4, after you defeat the boss, you will encounter the spirit of Sanjuro, during which you have to make an important choice. As a reminder, it will only affect the ending of the game - it will not change the course of subsequent levels.