
Trek to Yomi: Chapter 2 - walkthrough Trek to Yomi guide, walkthrough
On this page of the Trek to Yomi guide is the walkthrough for chapter 2 - samurai quest, Kamikawamura, finishing attacks, boss Sadatame.
Last update: 06 May 2022
This page of the guide to Trek to Yomi contains a walkthrough of Chapter Two. Our walkthrough describes, among others, how to defeat bandits in the camp, unlock Stunning Combinations and Finishers, reach Kamikawamura, where to find Morimitsu and the captured Samurai, how to save the villagers, and how to defeat Sadatame boss and his guards.
- Find your companions
- Reach Kamikawamura
- Rescue Morimitsu and his Samurai
- Save the villagers
- Boss - Sadatame
Find your companions
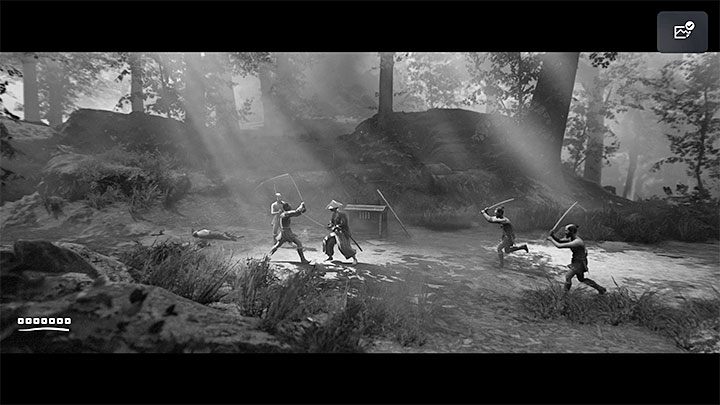
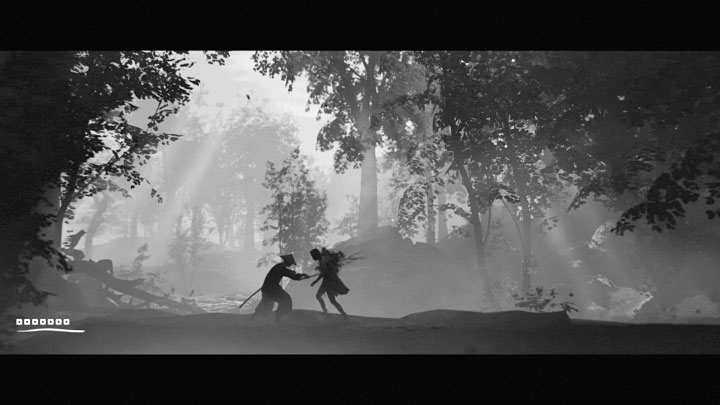
From the second chapter of the game, you control the adult Hiroki. At the very beginning of the battle, you will face some enemies. The enemies will come from two different sides, so use the Rotation Attack skill, which allows you to perform an attack combined with changing the direction the main character is facing.
The reward for dealing with the group of enemies is Bo-Shuriken Upgrade, which increases the limit of these types of items in your inventory.
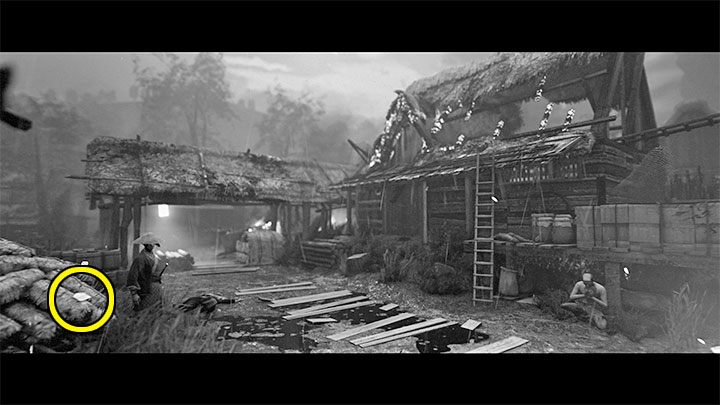
Before you start the travel, check the left viewpoint adjacent to the recent battlefield - it is shown in the picture above. There, you can find a new secret - Stamina Upgrade.
Only now go to the right. You will reach a tree that you have to knock down to unlock a further passage.
A linear path will lead you to the first shrine. Next to it, you can pick up some Bo-Shurikens.
Expect a fight with bandits after reaching the river. During this confrontation, you will unlock a new skill - Stunning Combination. It will be useful soon.
Get out of the riverbed and reach another shrine (and new Bo-Shurikens). After you move away from it, you will also unlock Finishers - they can only be performed on stunned enemies and, apart from ending the clash faster, they allow you to recover some health.
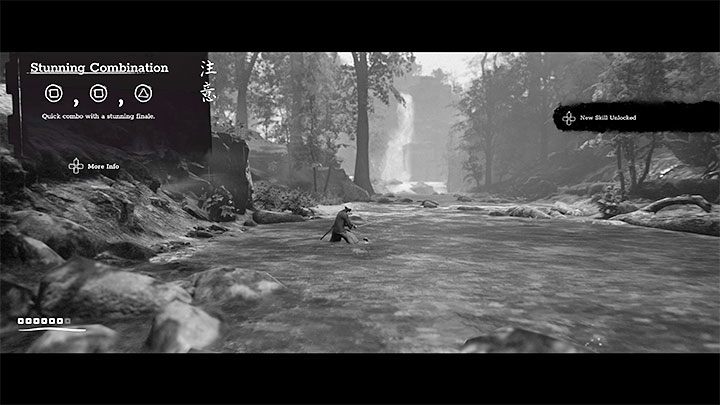
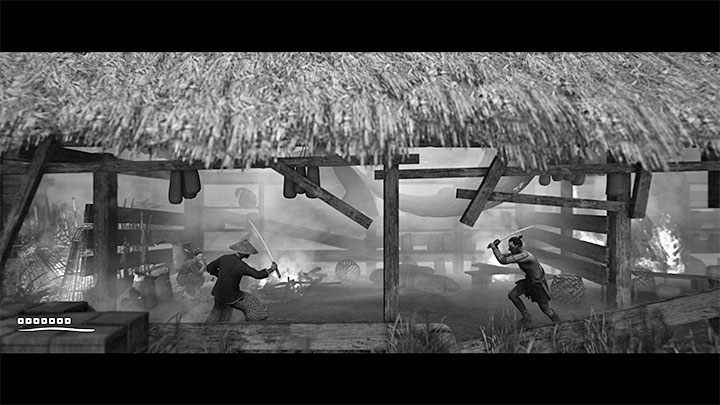
The game will force you to test both new abilities during the encounter with the first armored enemy. Standard katana attacks aren't very effective and you need to:
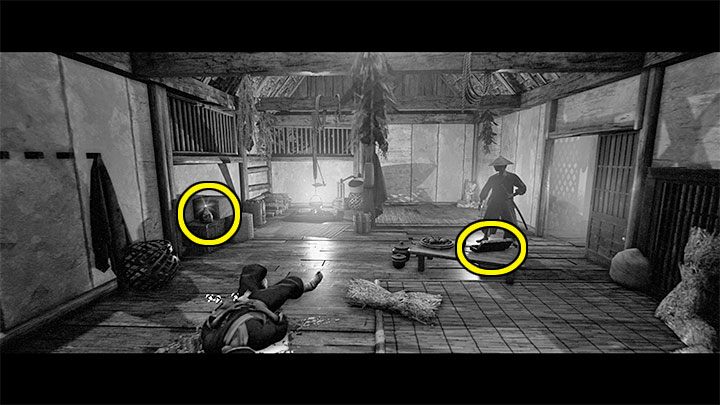
- weaken the opponent with a Stunning Combination (picture 1) - press the light attack, light attack, and heavy attack buttons one by one (not too early, not too late),
- perform an execution on a stunned enemy by pressing the Finisher Attack button (picture 2).
After winning the fight, go further. Pick up new Bo-Shurikens and climb the rocks on the right, reaching the location with a new shrine.
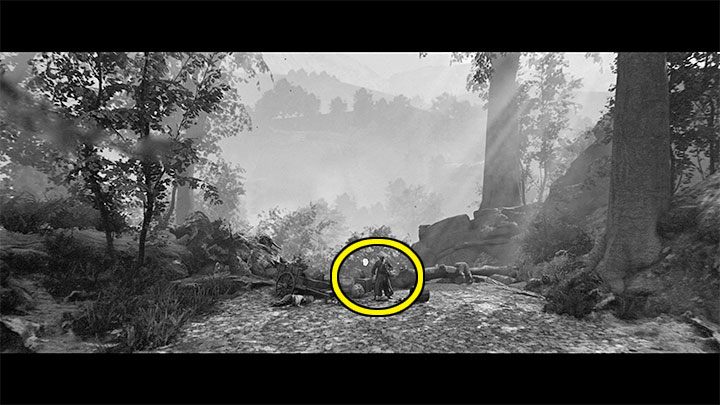
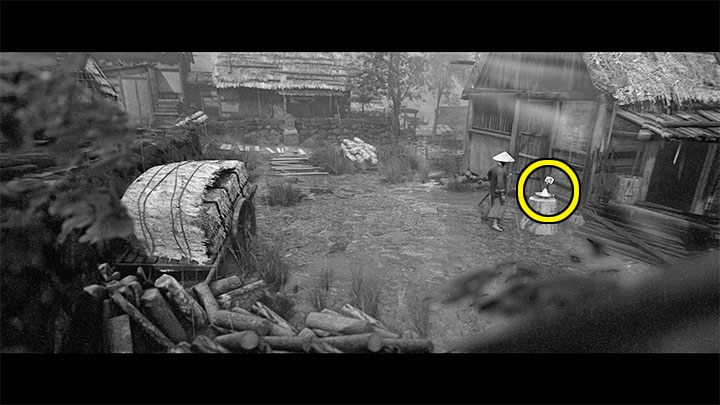
Go to the bottom of the plane to load the area shown in the picture above. In addition to the new Bo-Shurikens, you will also find an artifact - Discarded Kami Carving there.
Reach Kamikawamura
Go back to the previous screen and only now start climbing the rock shelves on the right. At the top, new fights awaits you. Keep going right. You will learn that you have to go through the mine.
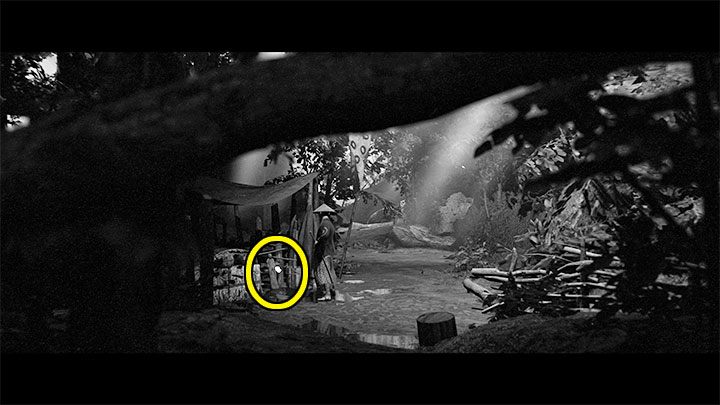
Stay close to the edge of the cliff, enter the mine and interact with the shrine. Next to the shrine, pick up Bo-Shurikens. Approach the ladder shown in the picture and choose it instead of following the main path.
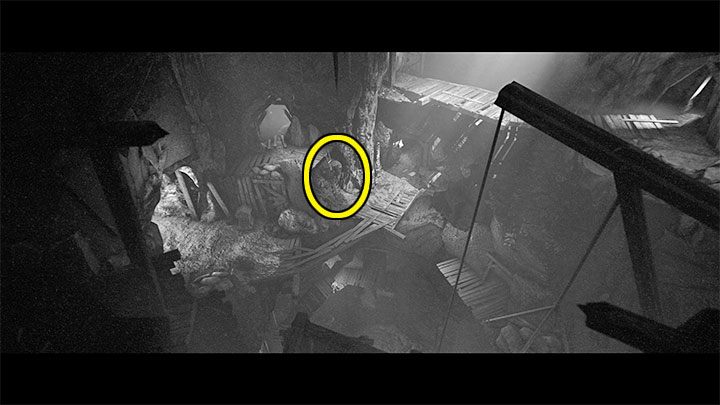
If you have used the ladder and chosen the top path, you can surprise the enemies in the camp. You have to interact with the mechanism shown in the picture and drop a heavy load on the bandits. If you had chosen the bottom path, you would have to engage in (difficult) fights with them.
Regardless of the chosen option, you can optionally free the prisoner next to the camp - you will receive Bo-Shurikens from him.
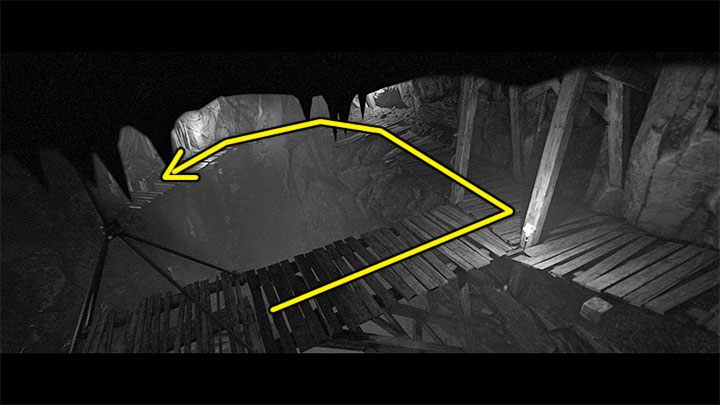
Go deeper into the mine (to the right). You will reach the elevator. Interacting with it will transport you to a new level.
After exiting the elevator, approach the upper path first. Go according to the drawing shown on the screen above. You have to knock down a balk along the way, walk over it and reach the new artifact - Crude Tekko.
Go back to the fork and now take the bottom path. Soon you will reach the exit from the mine, and there is a new shrine next to it. Additionally, next to the shrine, you will find a new secret - the Stamina Upgrade.
Go to the right and be ready to deal with the bandits standing on the fallen tree.
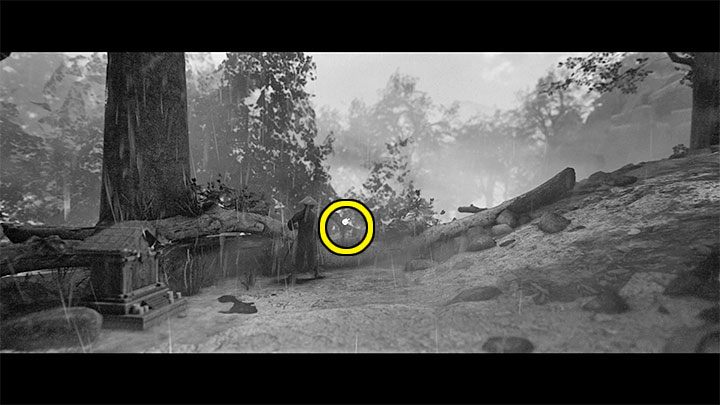
You will eventually reach a new fork. First, choose the left path from picture 1. You will reach the waterfall. There, you will find new Bo-Shurikens and the artifact - The Three Monkeys marked in picture 2.
You can return to the fork and, this time, choose the path on the right that will lead you to a new shrine.
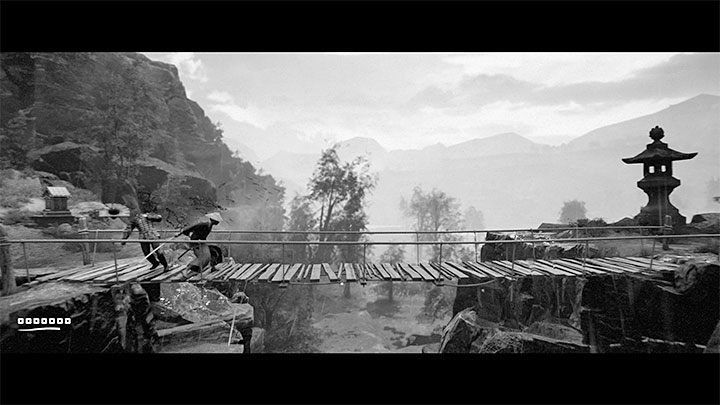
On the rope bridge , you have to fight the armored enemy again. Remember to start the fight by using a Stunning Combination. After the enemy is successfully stunned, launch the final attack to finish him off.
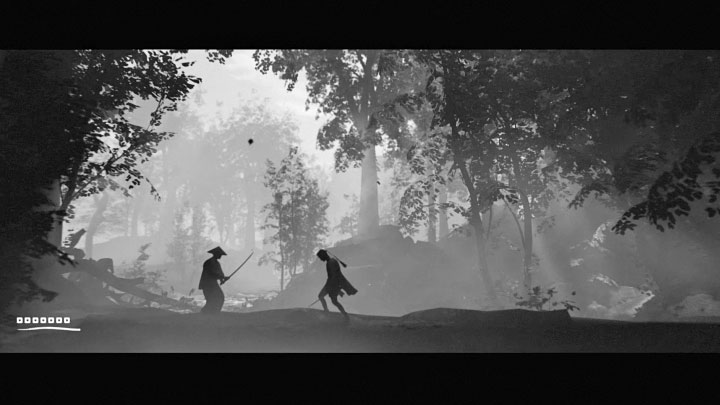
As a reward for dealing with an elite opponent, you should unlock a new skill. You also have to defeat other (fortunately "regular") bandits. After the fights, go right, and you will reach the place where the cutscene will display.
Rescue Morimitsu and his Samurai
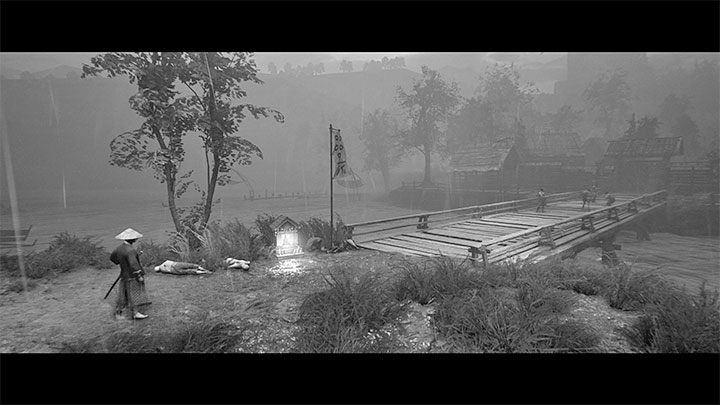
At the new starting point, you will find Bo-Shurikens and a shrine. Go right. You have to defeat the bandits who attacked a defenseless woman. Continue going to the right and expect more fights with opponents.
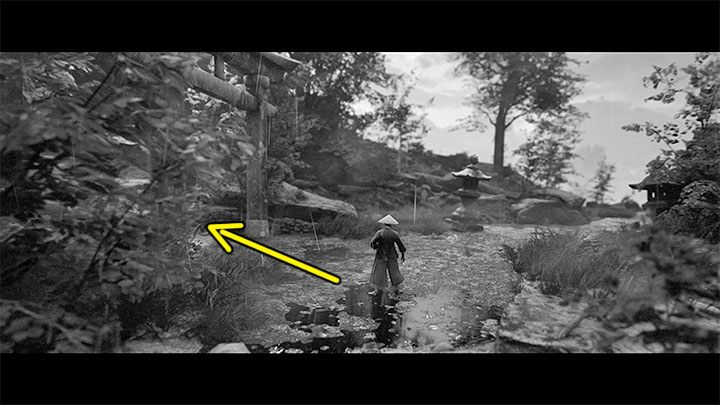
Use the opportunity to activate a new shrine at the bridge. Only then should you go through the bridge leading towards the village. It is guarded by enemies that you have to defeat.
Save the villagers
Go to the village gate and open it. It is worth deviating from the main path and taking the left leading to the house on a small hill. Inside this building, you will find Bo-Shurikens and Stamina Upgrade - picture 1.
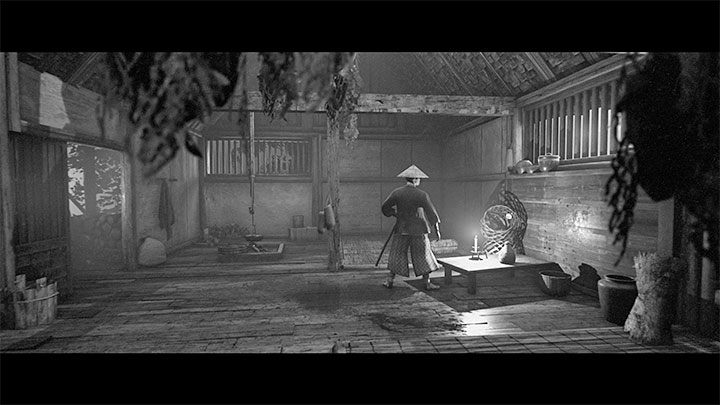
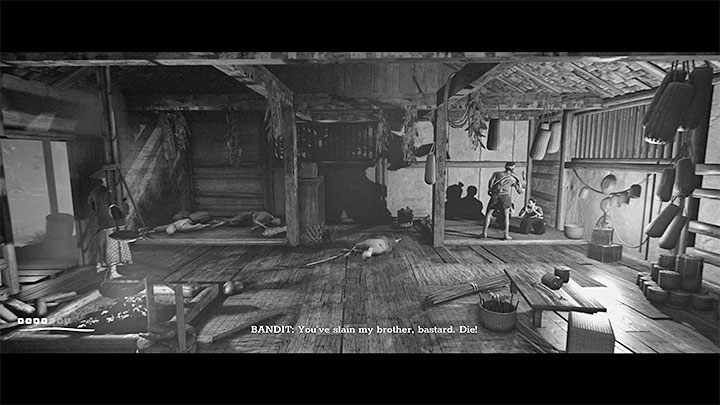
Go down the hill and get inside the next building you pass during the march (picture 2). You can get rid of the bandit and unlock a new skill. It should be a Sprint Attack, which can be especially useful later for running up and quickly attacking enemies that use ranged attacks.
Leave the second hut and go right, reaching a new shrine. You have to push the car there and unlock the path on the right.
In the new area on the left, you will find a hidden artifact - Ema, shown in the picture. Pick it up, and then use the ladder on the right.
Walk over the burnt part of the roof. You have to move right and eliminate more bandits along the way. Be ready to react fast when a fragment of the roof collapses - you will need to attack new enemies quickly.
Go back a bit to the left to collect Bo-Shurikens and only then resume walking to the right.
After reaching the area shown in picture 1, don't follow the upper path immediately, but rather destroy the left gate first. That way, you will reach a secret area. Here you can do the following:
- Look inside the hut and defeat the bandit.
- Explore the area to the left of the hut to find Bo-Shurikens and a Health Upgrade.
- Interact with the shrine.
Return to the main path. Talk to the villager next to the gate to get Bo-Shurikens, then head to the top of the plane. You have to defeat a few enemies on the bridge.
After reaching the area presented in the picture above, choose the passage on the left first.
There is another secret area ahead of you, and you can:
- Look inside the hut on the left and find the secrets shown in picture 1 - artifact - Lost Love Letter, and the Stamina Upgrade.
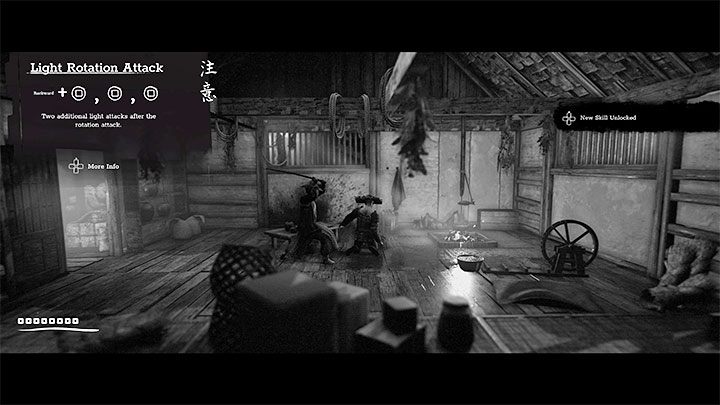
- You can look into the hut on the right, defeat an opponent (picture 2), and unlock a new skill that way. A Light Rotation Attack should be helpful - it's worth using it whenever changing the direction of the attack.
- You can find Bo-Shurikens and use the shrine between the huts.
Return to the main path and resume the journey going to the right. The subsequent fights will take place on the footbridges that allow you to walk on moored boats.
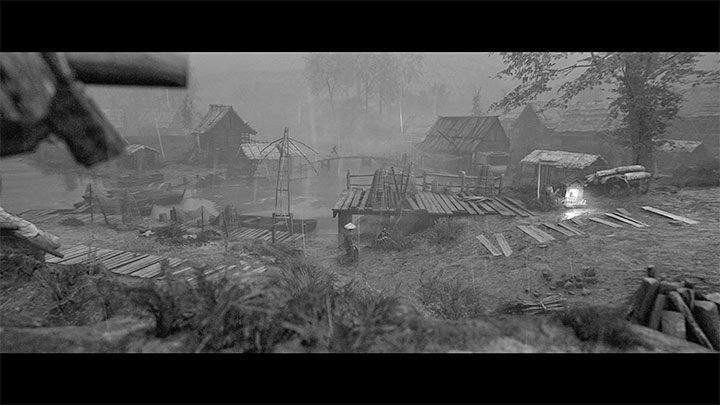
Use the shrine on the small hill and go right. There will be a lot of fights on the way. You should use blocks and parries more often to avoid losing health. You have to survive for quite some time.
After you experience a spectacular lightning strike, change the moving direction. You have to eliminate successive groups of enemies.
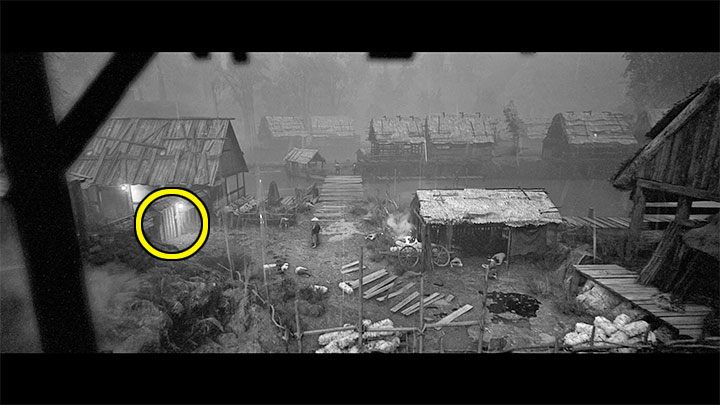
When you enter a new hut, the game will display a message about a unique type of item. Look for the object shown in the picture above - taking it will unlock a new skill. Continue going to the right, and you will soon reach a new shrine.
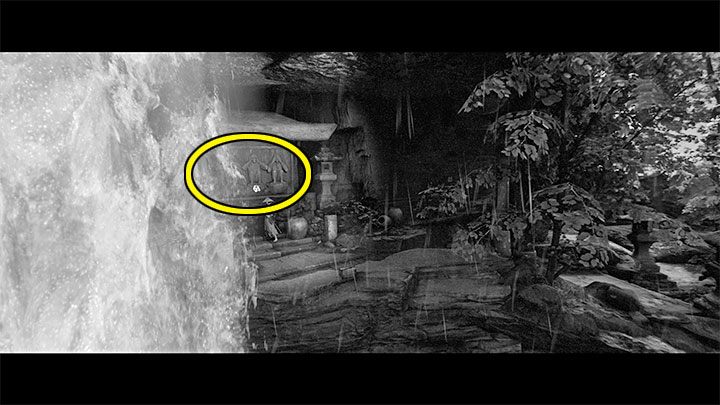
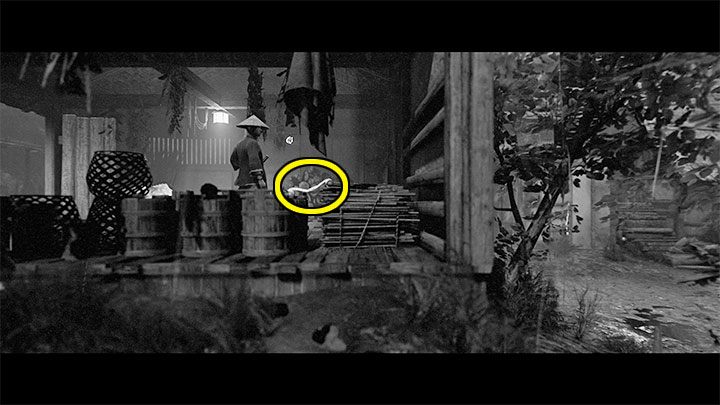
Before going further to the right, take the path from the shrine, which is easy to miss. It leads to the side area presented in the picture above. You can find Bo-Shurikens there and the artifact - Mori Shio marked in the picture.
Return to the main path and head right. You can find Bo-Shurikens along the way, and you will need to use 2 ladders.
Ahead of you is an exceptionally long travel without the possibility to save the game in shrine. You have to walk over rooftops, through ruins of buildings, a fallen tree, and paths surrounded by mountains and forests. Always focus on one enemy, perform dodges and blocks accurately, and use shurikens in more difficult moments. For more problematic enemies, use stuns and finishers.
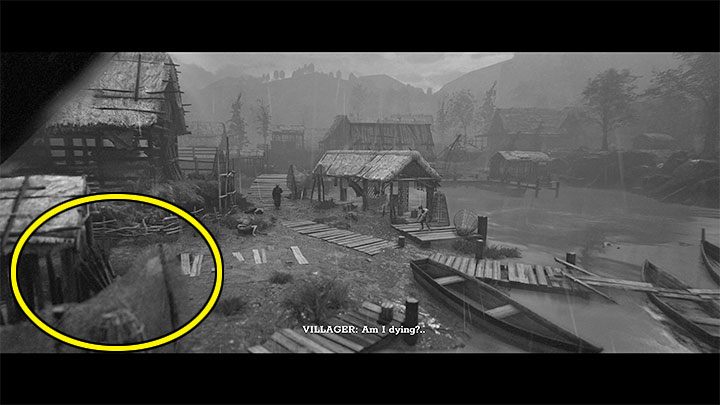
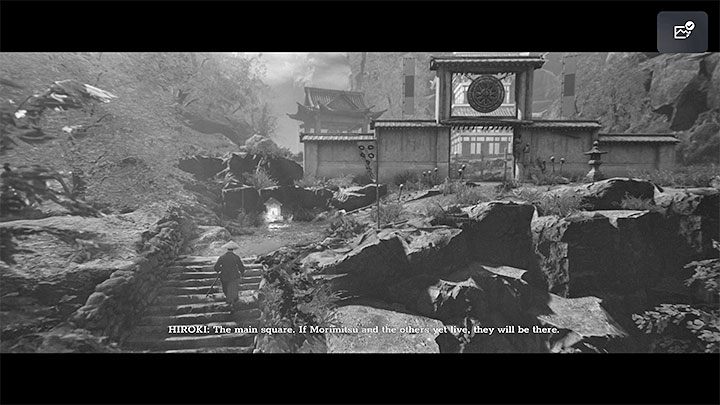
Ultimately, you have to reach the shrine shown in the picture above, adjacent to the courtyard. Be sure to save the game here, because you have a boss fight ahead of you.
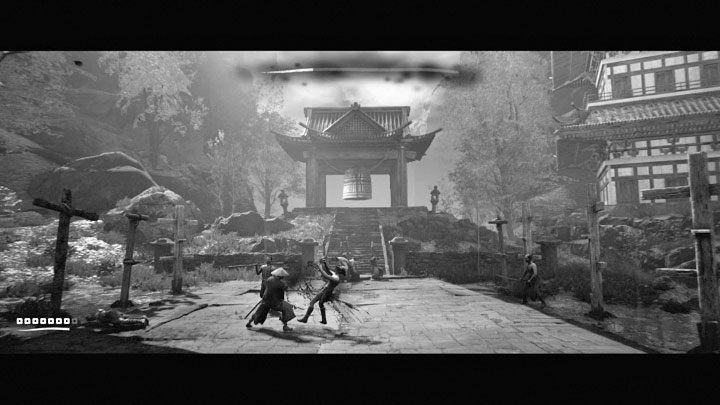
Boss - Sadatame
Sadatame is the first full-fledged boss in the game. Contrary to Kagerou from chapter 1, the duel with him will not end at some point of the fight. You will have to eliminate Sadatame and the bandits accompanying him.
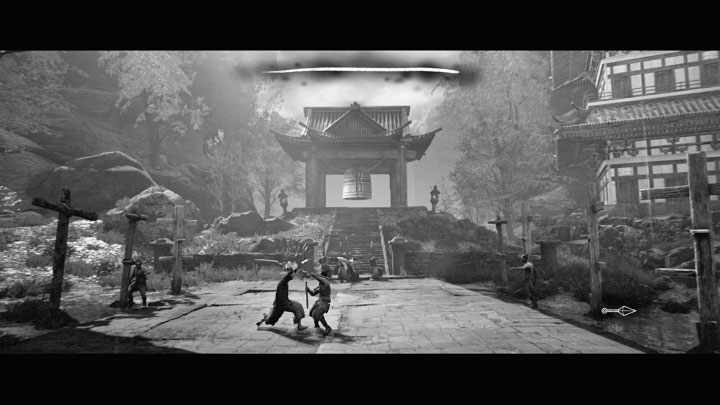
While playing this fight, first of all, look for opportunities to parry. They can stop the boss's attacks and allow you to counterattack - try to land 1-2 hits. The boss's health bar can also be depleted by using shurikens, but you can't win the whole fight with them.
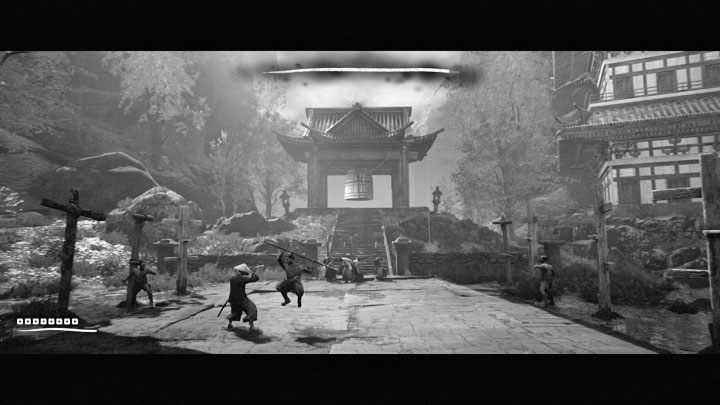
In addition to standard attacks with melee weapons, the boss is able to perform stronger Rotation Attacks. If you are hit by such an attack, your character may be stunned for a short time, even if you use block. Try to recognize them and roll back in advance to get out of their reach.
After Sadatame takes enough damage, he will retreat from the battlefield, and you will have to kill a few regular enemies.
As the bandits come from two different sides, the previously unlocked Light Rotation Attack can be very useful here, - it will allow you to easily land up to 3 quick blows at the enemies behind the hero's back.
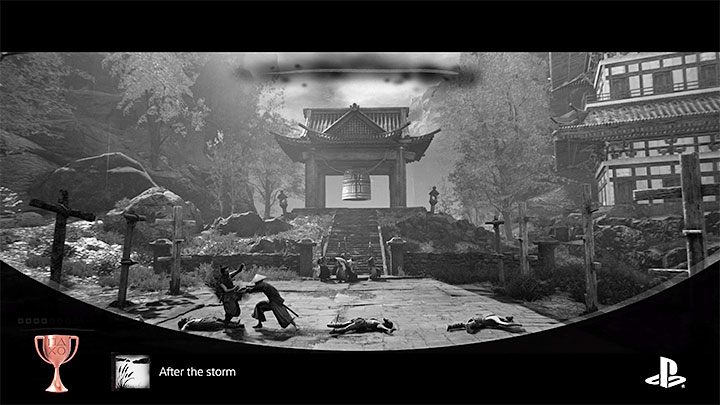
Ultimately , you will resume the fight with the boss. Sadatame will no longer surprise you with any new moves and will not summon reinforcements again. You just need to deprive him of the rest of health. Defeating Sadatame will end the second chapter of the game.