Guides & Walkthroughs New Guides Popular RPG Action Strategy Adventure YouTube Guides Mobile App
Free iOS App iPhone & Ipad
Download Game Guide PDF, ePUB & iBooks

Tomb Raider Game Guide by gamepressure.com

Tomb Raider Game Guide

Table of Contents

Chamber of Judgment | Optional Tombs: Shantytown Tomb Raider Guide

Last update: 11 May 2016

Entrance coordinates: [712617 - Chamber of Judgment | Optional Tombs: Shantytown - Shantytown | Optional Tombs - Tomb Raider Game Guide

Entrance coordinates: [712617; 3416053]

Note: You can explore this tomb as you go through the southern part of Shantytown. The entrance is located south-east of the windmill, right near the Windmill base camp (Liberator). You'll spot it by the traditional white paintings.

Move ahead, but as you go along the linear corridors keep an eye out for a GPS Cache (collectible) - Chamber of Judgment | Optional Tombs: Shantytown - Shantytown | Optional Tombs - Tomb Raider Game Guide

Move ahead, but as you go along the linear corridors keep an eye out for a GPS Cache (collectible). Shortly after Lara is forced to light the torch, she'll lose balance. Get ready to act by pressing the action button.

Start going right; dont mind the fact you cant pull up for now, you can do it when you reach the end of the edge - Chamber of Judgment | Optional Tombs: Shantytown - Shantytown | Optional Tombs - Tomb Raider Game Guide

Start going right; don't mind the fact you can't pull up for now, you can do it when you reach the end of the edge. Proceed forward and when you reach the fork, take the corridor on the right (the left one will lead you back to the entrance).

Follow the linear path, over a beam and through cracks, until you reach the main hall - Chamber of Judgment | Optional Tombs: Shantytown - Shantytown | Optional Tombs - Tomb Raider Game Guide

Follow the linear path, over a beam and through cracks, until you reach the main hall. Same as before, you'll find a base camp (Chamber of Judgment) and a puzzle to solve.

The puzzle involves taking several steps - Chamber of Judgment | Optional Tombs: Shantytown - Shantytown | Optional Tombs - Tomb Raider Game Guide

The puzzle involves taking several steps. The first is to "free" all yellow canisters. Start by locating a small ramp on the left (left of the statue) and leap up to it. When you do, the whole structure should crumble, causing the canister to land in an accessible spot.

The second ramp is located between the statue and the interactive wall - Chamber of Judgment | Optional Tombs: Shantytown - Shantytown | Optional Tombs - Tomb Raider Game Guide

The second ramp is located between the statue and the interactive wall.

Lara cant leap up to it, so you need to find another way to collapse it - Chamber of Judgment | Optional Tombs: Shantytown - Shantytown | Optional Tombs - Tomb Raider Game Guide

Lara can't leap up to it, so you need to find another way to collapse it. You can do it by throwing two canisters on top (use the aiming mode to set the trajectory).

The last ramp is on the right - Chamber of Judgment | Optional Tombs: Shantytown - Shantytown | Optional Tombs - Tomb Raider Game Guide

The last ramp is on the right. Shoot a rope arrow to grab onto the moving element right next to it.

If youve swung it the right way, it should hit the ramp and collapse it - Chamber of Judgment | Optional Tombs: Shantytown - Shantytown | Optional Tombs - Tomb Raider Game Guide

If you've swung it the right way, it should hit the ramp and collapse it.
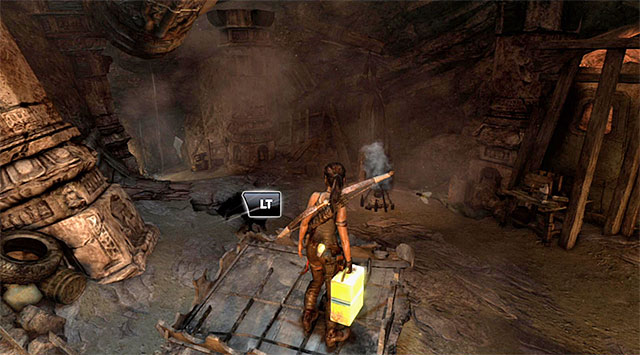
You can now proceed to the second part of the puzzle - Chamber of Judgment | Optional Tombs: Shantytown - Shantytown | Optional Tombs - Tomb Raider Game Guide

You can now proceed to the second part of the puzzle. Your last activities should leave you with four canisters in total. Pick them up one by one and place them on the ramp, on the end nearer the camp (jump to have Lara drop them).

Place all four canisters - Chamber of Judgment | Optional Tombs: Shantytown - Shantytown | Optional Tombs - Tomb Raider Game Guide

Place all four canisters.

Without stopping, move over the ramp towards the previously mentioned interactive wall - Chamber of Judgment | Optional Tombs: Shantytown - Shantytown | Optional Tombs - Tomb Raider Game Guide

Without stopping, move over the ramp towards the previously mentioned interactive wall.

When you reach the edge, jump and use the climbing axe by pressing the action button in flight - Chamber of Judgment | Optional Tombs: Shantytown - Shantytown | Optional Tombs - Tomb Raider Game Guide

When you reach the edge, jump and use the climbing axe by pressing the action button in flight. Ascend the wall until you can reach a ladder.
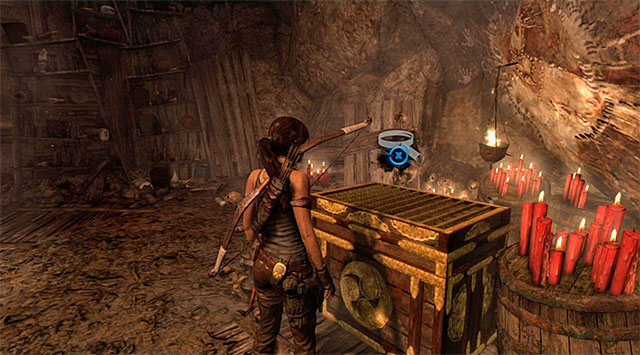
Youll find the treasure chest in the last area - Chamber of Judgment | Optional Tombs: Shantytown - Shantytown | Optional Tombs - Tomb Raider Game Guide

You'll find the treasure chest in the last area. It holds 250 Salvage points and a map of GPS Caches (reward: 1250 XP).

Head back to the entrance - Chamber of Judgment | Optional Tombs: Shantytown - Shantytown | Optional Tombs - Tomb Raider Game Guide

Head back to the entrance. Use the hanging platforms that had been inaccessible up until now, then jump into the pipe. When you get to the fork, turn right in order to avoid the spot where Lara lost her balance.

See/Add Comments

You are not permitted to copy any image, text or info from this page.

This site is not associated with and/or endorsed by the Square-Enix / Eidos or Crystal Dynamics. All logos and images are copyrighted by their respective owners.

Copyright © 2000 - 2024 GRY-Online S.A. for gamepressure.com, unofficial game guides, walkthroughs, secrets, game tips, maps & strategies for top games.