Guides & Walkthroughs New Guides Popular RPG Action Strategy Adventure YouTube Guides Mobile App
Free iOS App iPhone & Ipad
Download Game Guide PDF, ePUB & iBooks

Tomb Raider Game Guide by gamepressure.com

Tomb Raider Game Guide

Table of Contents

Find Roth's Pack | 8: Cry for Help Walkthrough Tomb Raider Guide

Last update: 14 June 2016

Youre free to search the Mountain Village - Find Roths Pack | 8: Cry for Help Walkthrough - 8: Cry for Help | Walkthrough - Tomb Raider Game Guide

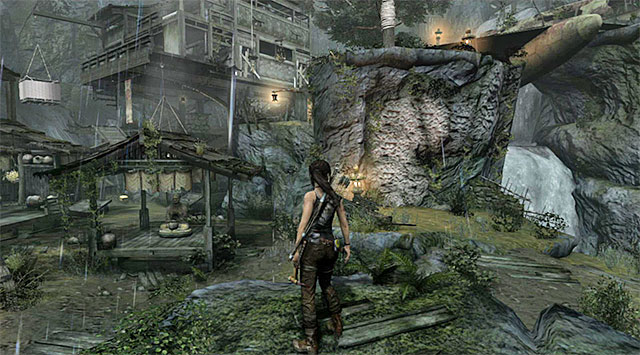
You're free to search the Mountain Village. As you may have noticed, it's a very wide location with a lot of collectibles to find. It would be a good idea to look for them now, but don't get discouraged by the fact that some areas will become accessible only further on. To advance the plot, head north-west, towards the buildings.

Turn north and go through the building that stands between you and your objective - Find Roths Pack | 8: Cry for Help Walkthrough - 8: Cry for Help | Walkthrough - Tomb Raider Game Guide

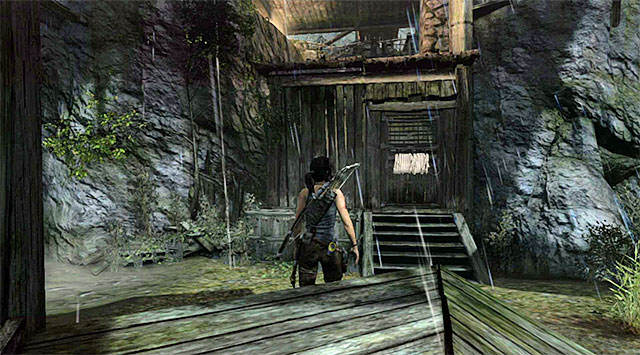
Turn north and go through the building that stands between you and your objective. There are several ways to do it; the easiest is to scramble up the wall, pictured above.

Continue moving north until you reach the foot of a cliff - Find Roths Pack | 8: Cry for Help Walkthrough - 8: Cry for Help | Walkthrough - Tomb Raider Game Guide

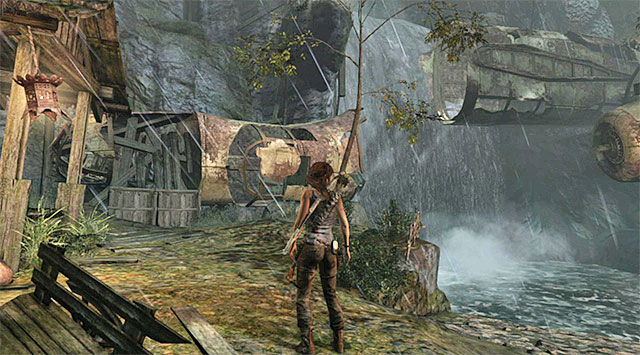
Continue moving north until you reach the foot of a cliff. Your next task would be to make your way all the way to the top; start by scrambling up the wreckage of the plane, pictured on the left (left of the waterfall).

Turn left and start running forward, leaping over the river to reach the right side of the plane - Find Roths Pack | 8: Cry for Help Walkthrough - 8: Cry for Help | Walkthrough - Tomb Raider Game Guide

Turn left and start running forward, leaping over the river to reach the right side of the plane. Continue onwards until you can get out.

Use the nearby rocks and get to the top - Find Roths Pack | 8: Cry for Help Walkthrough - 8: Cry for Help | Walkthrough - Tomb Raider Game Guide

Use the nearby rocks and get to the top. Face the wreckage again; from where Lara stands, as pictured above, you can jump on its right side.

Walk along the right side; Laras weight should eventually affect its position - Find Roths Pack | 8: Cry for Help Walkthrough - 8: Cry for Help | Walkthrough - Tomb Raider Game Guide

Walk along the right side; Lara's weight should eventually affect its position. Stop when you reach the end and leap up towards the interactive ledges you see on the above screenshot.

The final part of the ascent is much easier, just scramble up the ledges above - Find Roths Pack | 8: Cry for Help Walkthrough - 8: Cry for Help | Walkthrough - Tomb Raider Game Guide

The final part of the ascent is much easier, just scramble up the ledges above. When you get to the top, move towards the entrance to a cave, wolves' tracks will lead you there.

Have Lara light the torch and start exploring the cave - Find Roths Pack | 8: Cry for Help Walkthrough - 8: Cry for Help | Walkthrough - Tomb Raider Game Guide

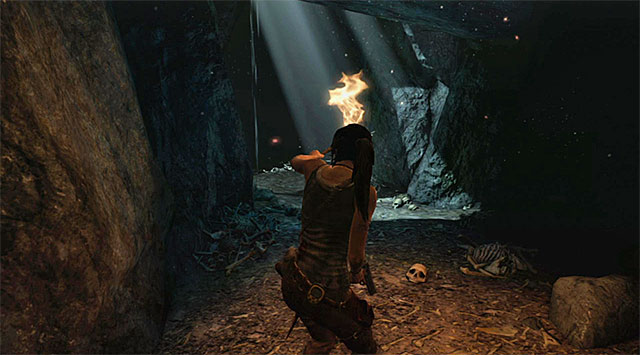
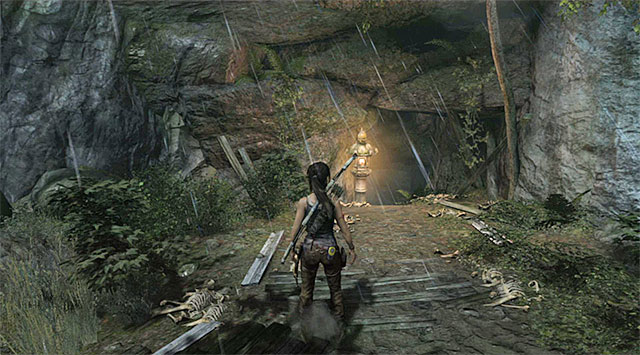
Have Lara light the torch and start exploring the cave. There's no need to look around, you won't find anything of value. You're safe from wolves for now, too.

Your destination is pictured above - Find Roths Pack | 8: Cry for Help Walkthrough - 8: Cry for Help | Walkthrough - Tomb Raider Game Guide

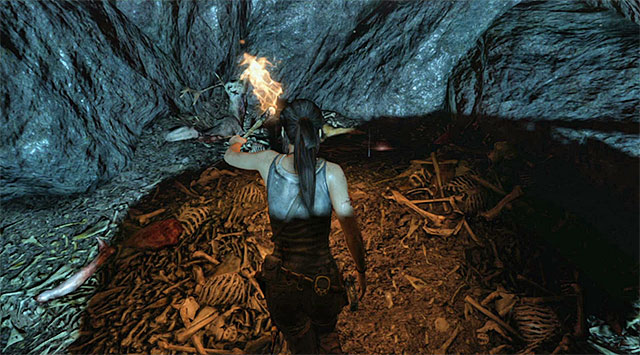
Your destination is pictured above. Approach Roth's pack to trigger a cut-scene illustrating its recovery (reward: 500 XP).

See/Add Comments

You are not permitted to copy any image, text or info from this page.

This site is not associated with and/or endorsed by the Square-Enix / Eidos or Crystal Dynamics. All logos and images are copyrighted by their respective owners.

Copyright © 2000 - 2024 GRY-Online S.A. for gamepressure.com, unofficial game guides, walkthroughs, secrets, game tips, maps & strategies for top games.