
Descend to the bottom level in the asylum | Chapter 5: The Forsaken Thief Guide
Last update: 11 May 2016
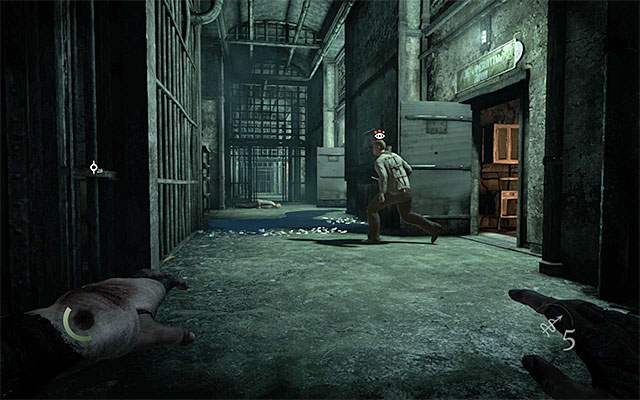
You need to be very careful, from now on, because the restoration of power and pressing of the button in the guard booth, also opened the other cells. As a result, there are three hostile patients. You should especially watch out for the person shown in the above screenshot, because he is walking between the main corridor and room 3E (Operating Room). I recommend that you enter this room and remember not run and not to walk over broken glass. Note - if you want to, you can try to rob the patient of his Earring - 20G, where it is going to be highly risky, of course. The best method is to wait for the person to stop somewhere, after which you approach him and hide back in the shadows, after the successful theft attempt.

Explore the entire location. Inside one of the drawers, there is a note (Knocking in Pipes) and its contents hints at the correct safe, on the Northern wall, combination. By listening to the sound of banged pipe will let you determine the correct combination, which is 731. Open the safe and collect the Microscope - 30G, a Blast Arrow and a ring (Serendi Stone Circles - Ivory Circle). Apart from that, in this room, you can find a Syringe - 10G, Surgical Scissors - 20G, a Magnifying Glass - 15G and one more note (Sterilisation).

The best way to reach another side room is to walk through the hole win the wall, because this will allow you to walk around the patient from the main hall safely. In this location, you will not encounter any more opponents. In here, you can find a Flash Bomb, Surgical Scissors - 20G, a Syringe - 6G and a note (Lobotomy Room).

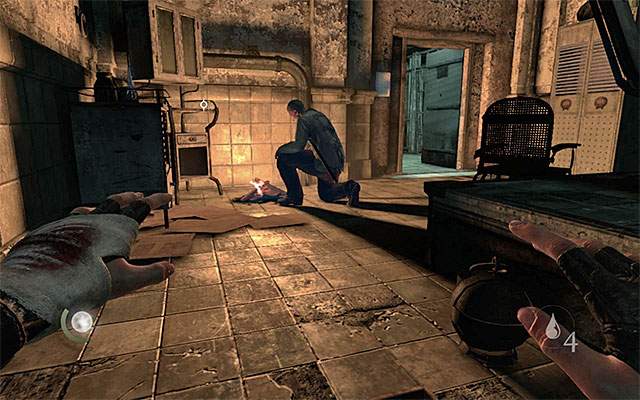
The next location is being occupied by a patient bullying one of the doctors. It would be good if you managed attract the opponent's attention with a throwable, because this will allow you to collect a Magnifying Glass - 10G from the cage's roof. apart from that, you can find a note (Hydrotherapy), a Flash Bomb and another Magnifying Glass - 10G here.
IN the North-most room, you will find the last patient who is kneeling at a fire. You can attract this character's attention e.g. by using throwables, or by putting out the fire with a water arrow. Explore this area, thanks to which you will find a Microscope - 30G, Scissors - 3G and a note (Shock Therapy).
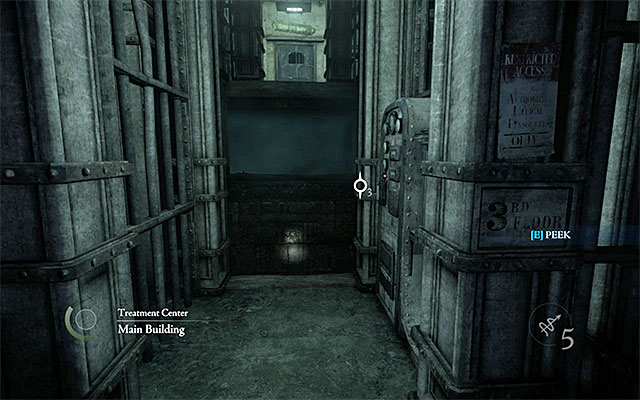
There are two ways in which you can reach the bottom level of the asylum. The first variant assumes that you return to the area where you started the exploration of the Treatment Center. Approach the elevator shaft [Treatment Center - Main Building] and press the button (it became available after you restored power), which will summon the elevator. Descend on the elevator to the lower level. I recommend against this variant, because you will miss additional loot, if you go for this one.
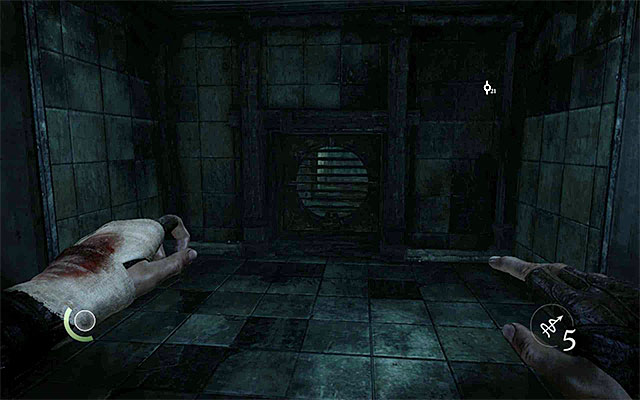
The second variant assumes taking a venting shaft and the entrance is in the room with the patient and the doctor that he is torturing. jump into the hole in the central part of this room and locate the shaft entrance shown in the above screenshot (you need to use the wrench, of course) Follow the shaft and explore all of its branches, along your way. This way, you will obtain a Blast Arrow, a Pocket Portrait - 10G, a Bracelet - 20G and a note (Treasure). After you exit the shat, pull the lever.
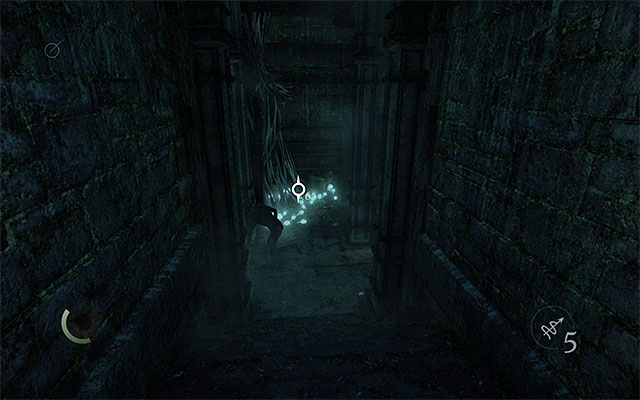
Both of the above variants will lead you to dimly-lit corridors [Old Prison - Stairwell]. Start by examining the area around the shaft to find a crate with a Fire Arrow and a Poppy. Then, follow the linear corridors and ignore the creatures here. Keep looking around for a Magnifying Glass - 10G, an Ancient Ingot - 17G, a Poppy and Surgical Scissors - 20G.

Pull the lever and enter a new location. Start by exploring the area under the stairs, which you took to get here. Thanks to this, you will find a new symbol and you will receive an additional Focus Point - FP. apart from that, there is one more Ancient Ingot - 17G here. Go West now and examine another note (Prison Rules) along your path. Enter the main area in the prison [Old Prison - Reformation] and wait for new objectives.