
Callisto Protocol: Tower The Callisto Protocol guide
This page of the guide describes the final Chapter 7 of the Callisto Protocol game - the Tower. In the walkthrough we describe how to defeat the final two bosses of the game (Captain Ferris and Alpha), how to reach the laboratory, how to kill the Two-Headed (mini-bosses) and how to reach the Warden's Tower.
Last update: 05 December 2022
This page of the Callisto Protocol guide contains a walkthrough for the last seventh chapter - Tower. From the walkthrough, you will learn, among others: where the laboratory is, how to get through the hospital, how to defeat the Two-Headed mini-bosses, how to reach the Warden's Tower, and how to beat two final bosses of the campaign.
- Search for the lab
- Get through Asylum
- Head for the Warden's Tower
- Look for the Warden
- Final boss #1 - Captain Ferris
- Final boss #2 - Alpha
- Run to the Escape Pods
Search for the lab
You will regain control over Jacob only after you get the cell (the same one you finish up in after the prologue). Listen to the conversation - the cell will open.
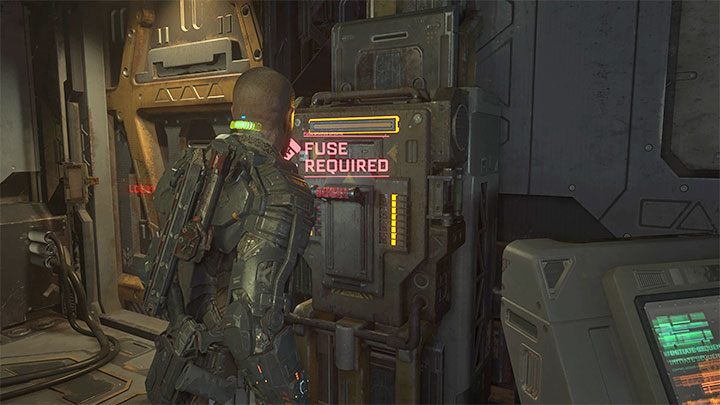
Go right to the Security P341 passage and then Data Center B310. You'll find the Reforge station. You'll need a fuse to unlock the next door.
Enter Server Room B315.

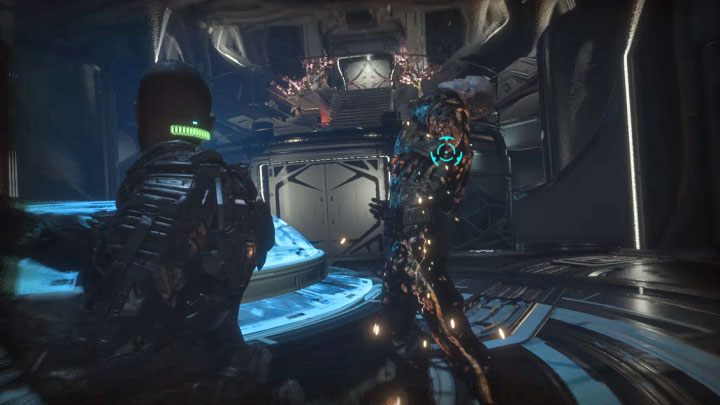
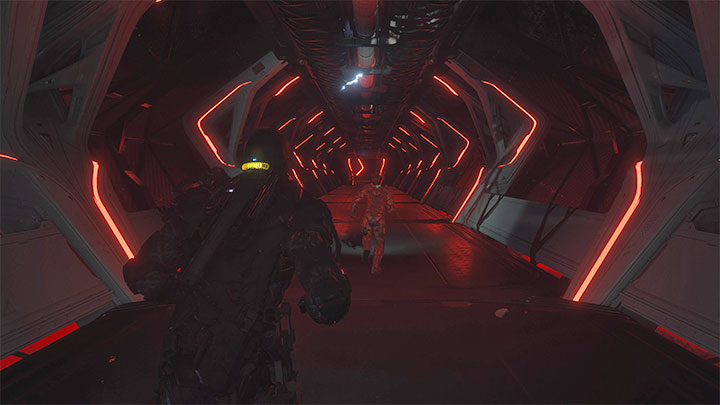
Go to its far left corner - you will meet a new mini-boss called Two-head:
- Make perfect dodges in close combat because if Two-Heads catches Jacob, he can kill him immediately.
- Be careful in the narrow passages between rows of servers because it can be harder to get away from the boss.
- Attack Two-head from a distance and use the best weapons you have.
- Run up to the kneeling mini-boss to attack him with a melee weapon. You have to do this twice.
After killing Two-heads, collect the loot and reach the Gate Fuse box. Take out the fuse and return to the previous box.
Get through Asylum
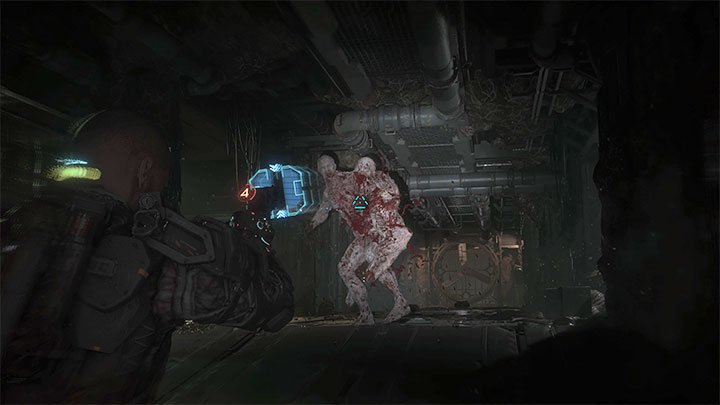
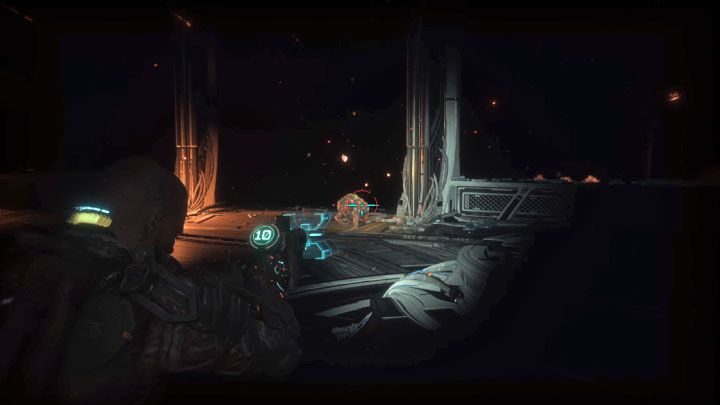
You will unlock Panopticon Surveillance B330 passage. Reach the passage to Psyc Ward A301 and then to Psyc Block 1 A320. Watch out for sudden monster attacks, and kill the crawling exploding creatures first. Also, kill the monsters with tentacles quickly so they can't mutate into stronger versions.
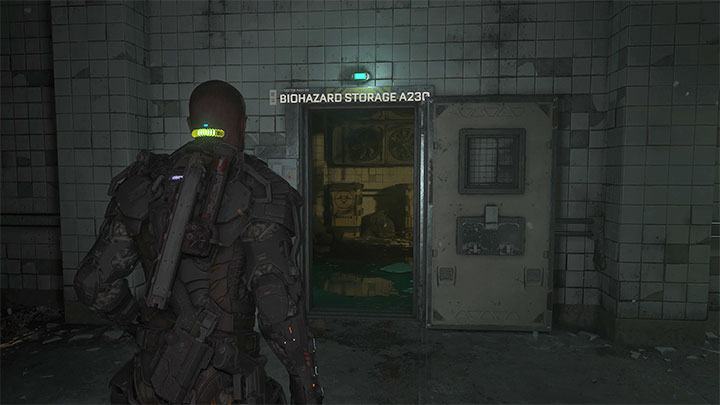
Go down to the lower level. Go through the Morgue and reach Psyc Block 2 A220. After more fights, locate Biohazard Storage A230 passage. Kill another monster and use the ladder.
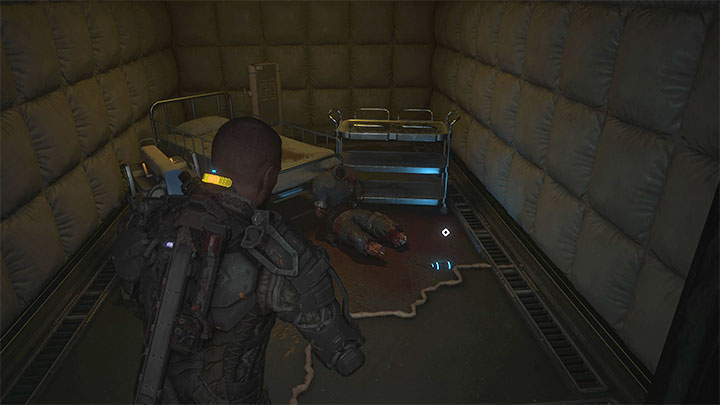
On the new floor there is another box that requires a fuse. Enter the ventilation shaft to the right of the closed door of Psyc Block 1 A140. Defeat the new monsters and find the gate fuse in one of the cells (picture).
Open Psyc Block 1 A110 and place the fuse into the box. You will access Hall M150 - there is e.g. Reforge.
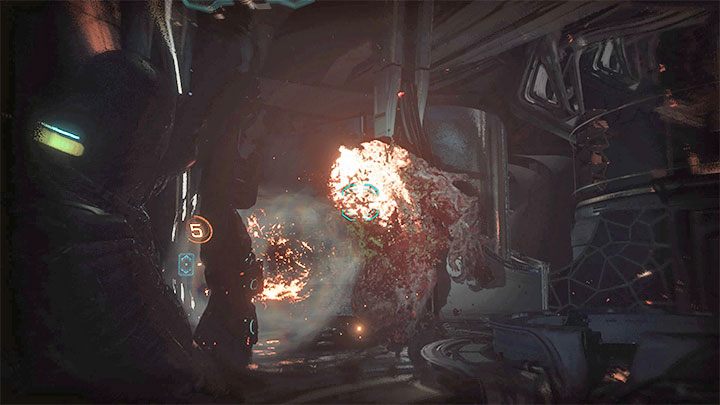
Head towards the door of the Mezzanine M123. You will return to the areas from the beginning of the game, but they will now be overgrown. Get to the nearby corridor and another mini-boss, Two-head, will spawn:
- Retreat after the boss spawns so that other monsters don't spawn too early. If they get here, quickly grab them with a GRP and throw them.
- Some objects on the ground may slow down Jacob's movements. Keep this in mind when trying to get away from Two-head.
- Use dodges in close combat and attack Two-Head with a powerful firearm. You have to attack the kneeling boss twice with a melee weapon. After winning the fight, take the loot.
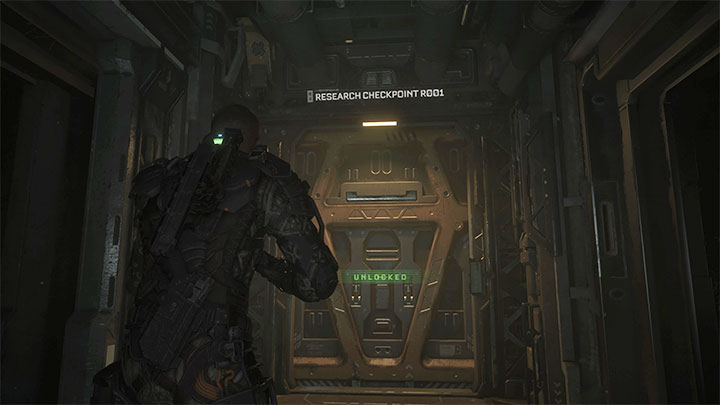
Choose the corridor where Two-Head appeared before and defeat the regular monsters. Get to the Research Checkpoint R001 and the large gate leading to the lab.
You can take a look at the cells or go straight to meet Dr. Mahler.
Head for the Warden's Tower
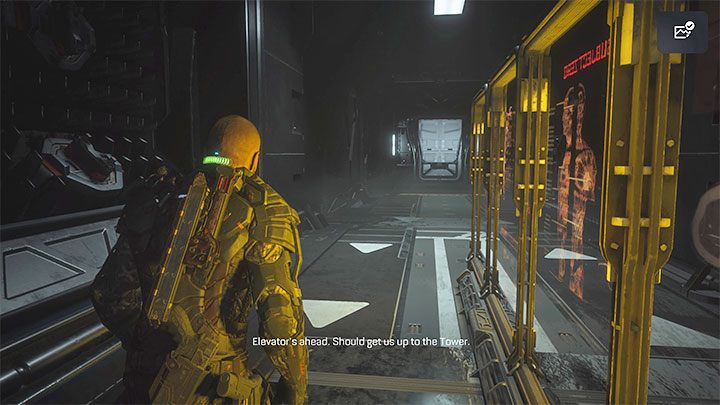
Take the back exit from the lab - it leads to the elevator to the Tower.
On the new floor, reach the door. A scene on the city streets will begin - go through the streets to where the cutscene will be displayed.
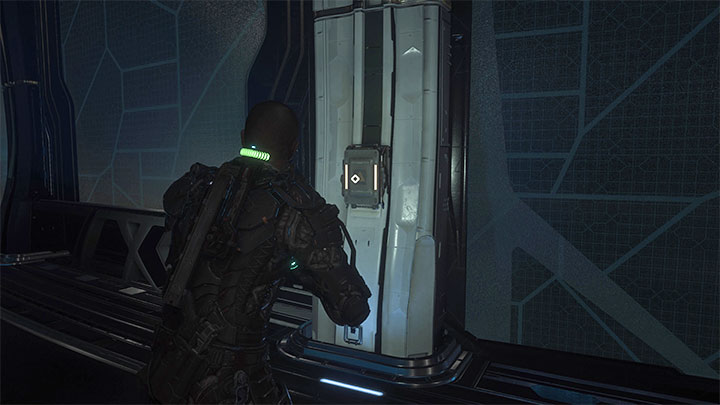
Look for the Warden
You will find yourself in an area where you can prepare for the final boss fight. You should:
- Spend all credits in the Reforge station - you won't need them later because the game has no endgame.
- Pick up loot from small chests - you can pull them towards you with a GRP.
After completing the preparations, use the shiv to open the door (picture), thanks to which you will find the Warden.
Final boss #1 - Captain Ferris
The final battle of the game consists of two fights. First you have to defeat a mutated version of Captain Ferris again.
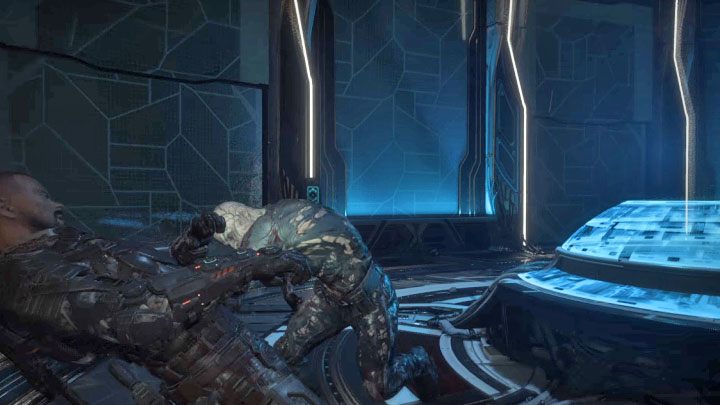
The general premises of this fight are identical to the previous fight with Ferris. The boss makes 3 swings in close combat and you have to dodge all of them.
Counterattack when Ferris finishes his combo. Hit him with melee weapons. You can also fire a couple of quick shots. Repeat the steps until the cut-scene starts.
Final boss #2 - Alpha
Ferris will transform into a larger Alpha beast. Use the best firearms you have and aim at the upper body of the boss. This way, you will deprive the boss of many more health points.
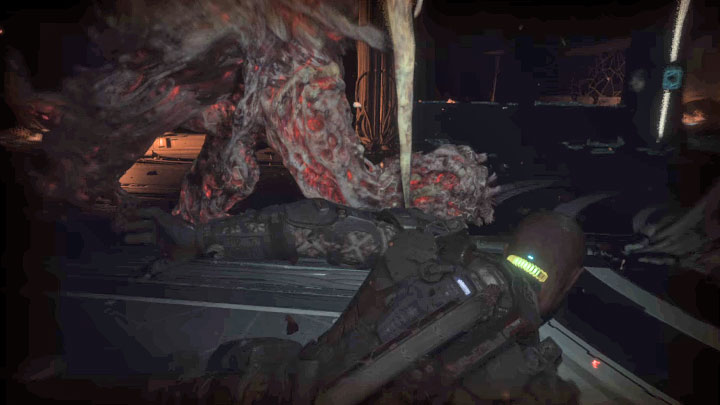
Alpha will run up to Jacob from time to time. Once he does it, you will have to dodge his attack. This way, you will not get caught by the boss, which would result in your immediate death. After performing the dodge, stay away from Alpha and resume shooting at him.
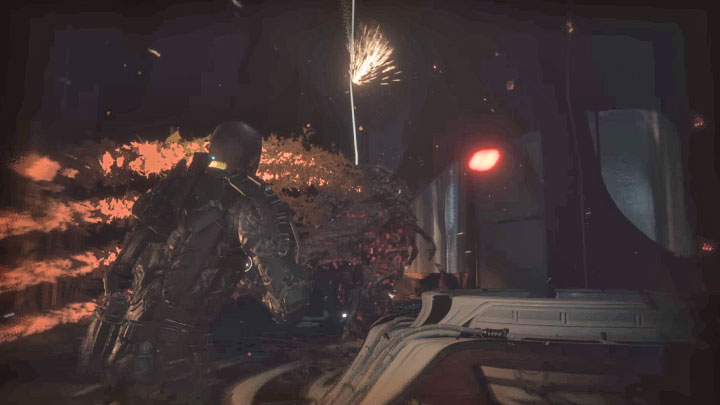
From time to time, Alpha will spit projectiles. When it happens, you can run to the side, try to move between the projectiles, or block the attack completely.
A big difficulty is that the boss summons crawling monsters, which can explode upon approaching Jacob and deal huge damage. Stay on the move and shoot them from a long distance. At the same time, keep an eye on Alpha and dodge his charges.
Keep weakening the boss until the cut-scene of defeating the Alpha starts.
Run to the Escape Pods
The end of the game is very linear and you won't fight any battles. Run after Dani. There is only one path leading to the capsules. When you reach there, cutscenes ending the game will be displayed.