
Callisto Protocol: Below The Callisto Protocol guide
This page of the walkthrough is about stage 5 from the game Callisto Protocol - Below. From our guide, you will learn how to defeat the Two-Headed boss and survive the battles on the transport platform, as well as how to get the tactical gun schematic and activate the reactor.
Last update: 05 December 2022
On this page of our Callisto Protocol guide, you can find a walkthrough for the fifth chapter - Below . Our solution will show you how to avoid being detected by blind monsters, where to find the Power Tunnels keycard, how to activate the power reactor (3 breakers), how to return to the transport platform and how to survive the encounter with boss Two-Head.
- Follow Dani
- Find another way down
- Find the Power Tunnels keycard
- Find the power reactor
- Reset the breakers
- Return to the Transport Platform
- Ride the platform to Arcas
- Locate Arcas Station
Follow Dani

You can either follow Dani right away or explore the neighborhood more thoroughly in search of loot and collectibles.
Travelling onward, you'll encounter a large shaft. Continue to the next balconies. Unfortunately, one of the footbridges will collapse and the heroes will be separated (you don't have to save Dani in any way).
Find another way down
Continue to the bottom - eventually, you should reach the ladder and use it to descend. Another attempt to reach Dani will fail and you're back to the bottom.
There are blind monsters in this location - they hunt via hearing, and they will attack you once you make your presence known. Make sure to move crouched and wait a moment for the enemies to go away. These blind monsters should be eliminated with stealth attacks (shiv backstab) so they leave some loot behind. However, they can be simply passed by.

In between fights, sneak - the blind monsters can "come out of walls" if you start making too much noise. Such carelessness may end with additional unwanted battles. Staying crouched will make the monsters remain unalarmed.
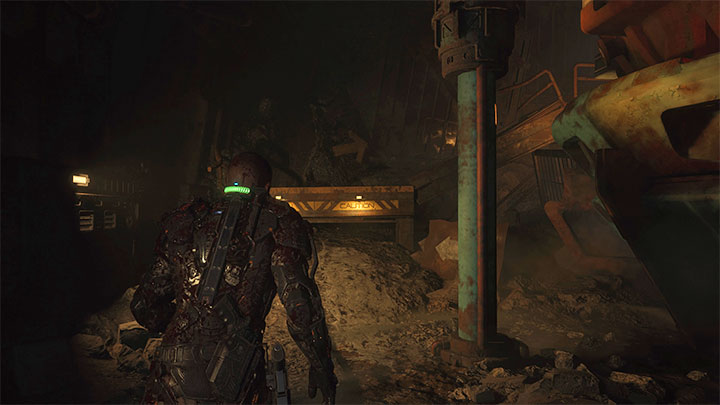
A fork in the road - it is by the wall with L1 written on it (screenshot above).
- The corridor on the right leads to optional locations (e.g. a large chest with loot).
- The path left leads further into the mission.
In the area with spikes, you can grab monsters and throw them at them to get rid of the problem easily.
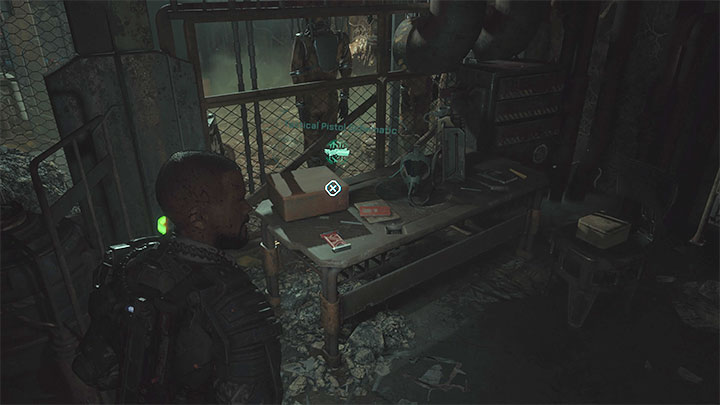
Examine the right area of the next location, as you can find a Tactical Pistol Schematic. You can upload it at the nearest ReForge to unlock a new type of pistol (cost - 600 credits).
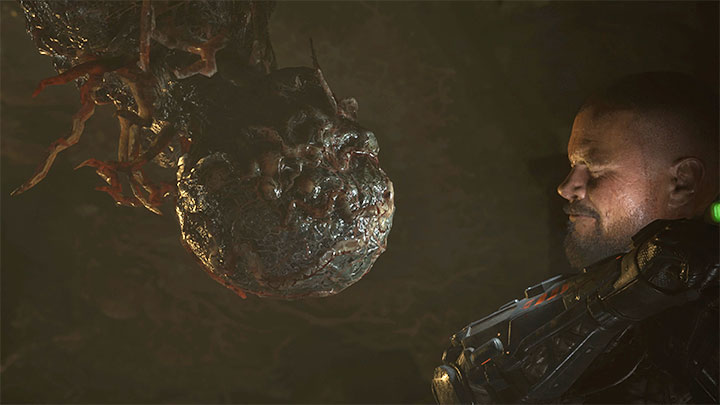
Reach the ladder and go down, but watch out for a cocoon with the popping-up head - try to destroy it from a distance. After you get rid of all opponents, make sure to visit the nearby ReForge.
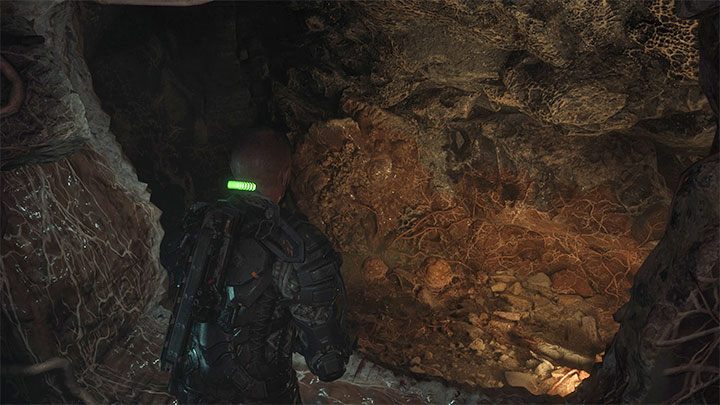
There is a hole next to the Reforge that you can use (screenshot above), but watch out for a monster waiting for you (you cannot sneak and eliminate him quietly). Be prepared for fights
Proceed. The next group of blind monsters can be easily defeated by throwing a explosive container at them.
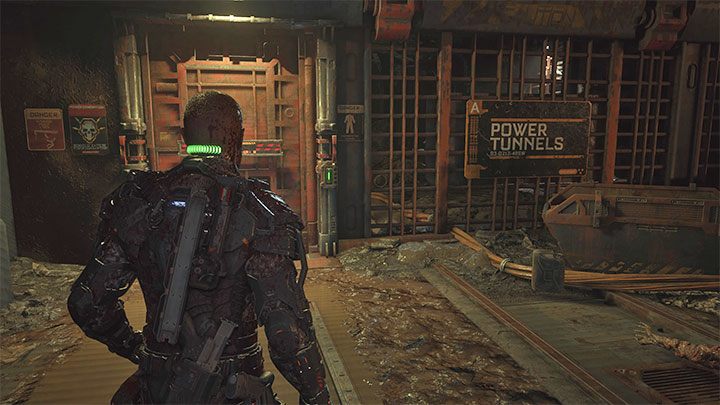
After a short climb sequence, you'll encounter a cocoon, as well as monsters with sight. In the location with large vehicles, there are many spikes that are perfect for killing opponents. Approach the Power Tunnels entrance - it is closed for now.
Find the Power Tunnels keycard
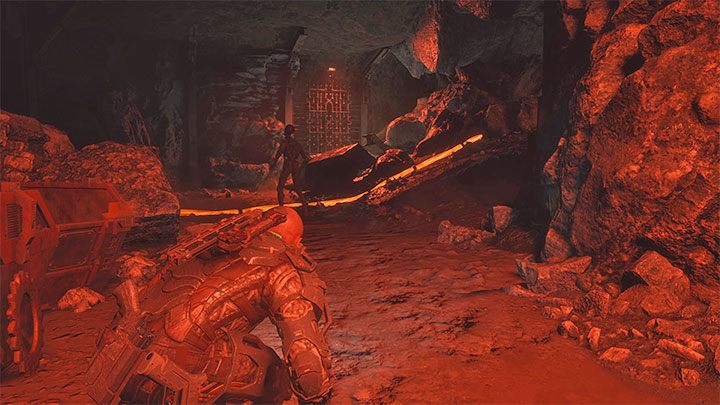
Keep sneaking and avoid or surprise attack new blind monsters. Choose a better-lit path with Transport Platform written on it - you can squeeze between the rocks.
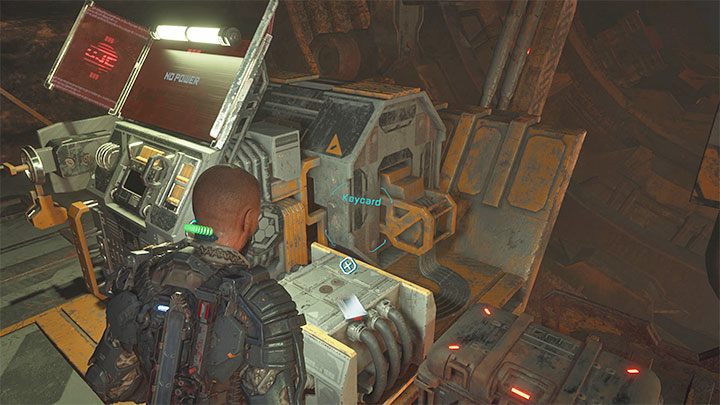
There is a ReForge here and door leading to the platform. You can't activate the platform right now due to a power outage, but you can pick up the Keycard (screenshot above). Return to the Power Tunnels entrance - you can now unlock it thanks to the Keycard.
Find the power reactor

You can either stay on the main path or make a detour into a side tunnel - there is a collectible at the end of it. Eliminate or avoid next monsters and go between the rocks.
Choose the stairs but watch out for 3 sleeping monsters (screenshot - you can impale them on the spikes). You've reached the Power Station door.
There's a ReForge in the new room, but watch out for another cocoon.
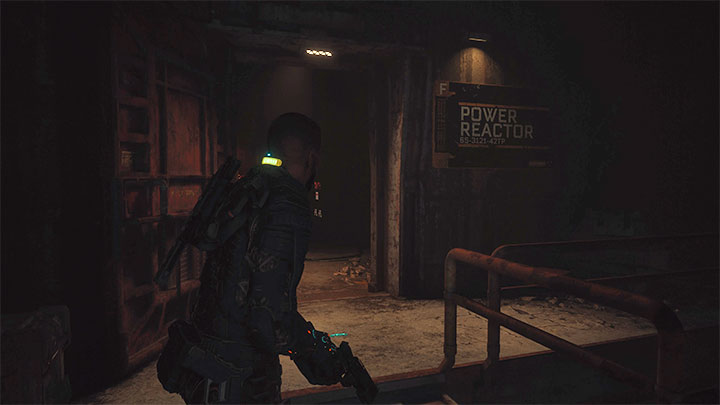
Proceed. Along the way, you may encounter crawling monsters - it's best to shoot them before they get dangerously close. Reach the ladder, go up and choose the Power Reactor pathway . There is another ReForge and a reactor panel here - an attempt to start it will end in failure and you'll receive a new objective.
Reset the breakers
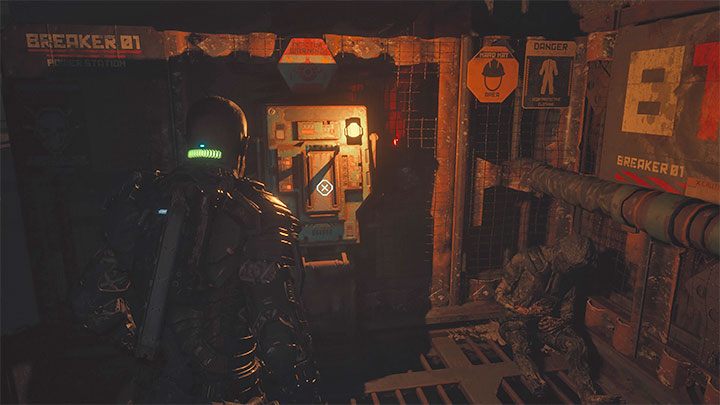
There are 3 breakers to reset, and you'll reach them in a fixed order.
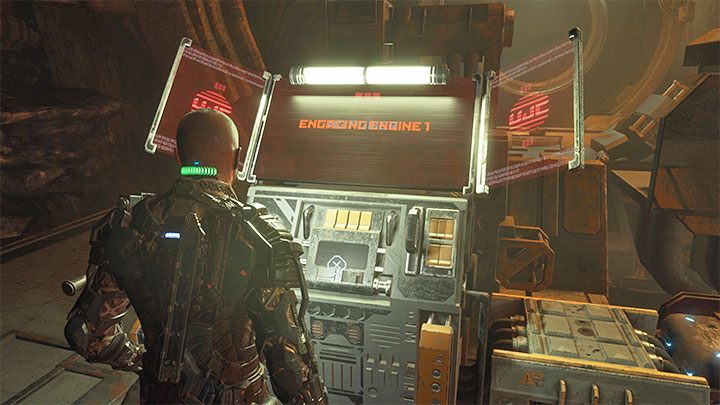
The first breaker (B1) is found shortly after using the pathway next to the control room. You can recognize the breakers easily as they pulse with light.
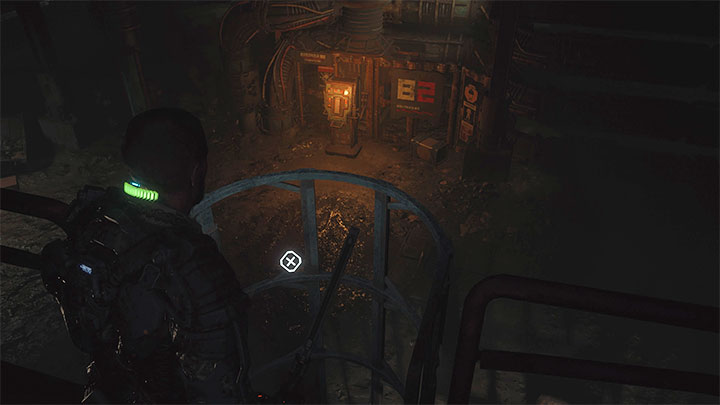
The second switch (B2) is on the lower level. Defeat the monster, reach the ladder and, after going down, eliminate further enemies. Make sure that the area is safe before interacting with the switch.
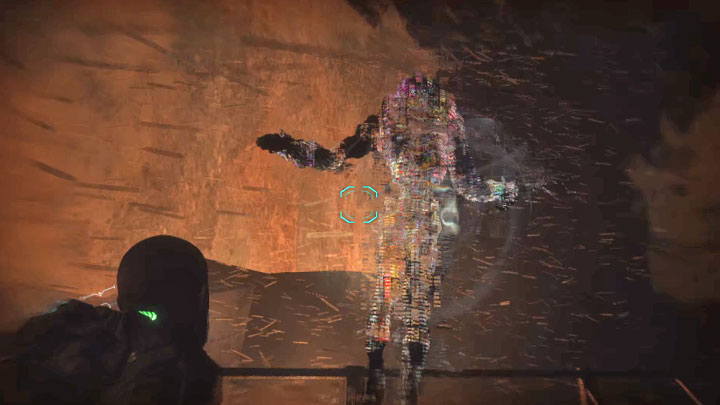
The third switch (B3) is upstairs and you can find your way to it thanks to arrows pointing you in the right direction (screenshot).
A short cut-scene signals that the reactor has been activated.
Return to the Transport Platform
You need to revisit Transport Platform location again - the same area where you've found the keycard to open the door to Power Tunnels.
Jump down from the balconies. The pulsating cables will help you find your way to the objective. Follow them, but take your time, because you will meet new monsters along the way. Make sure to save up supplies, as they will be needed in a short while.
Ride the platform to Arcas
You will receive a new mission objective after reaching the platform. Before you do anything else:
- spend credits in the shop - the GRP upgrades will come in handy;
- take supplies from nearby chests - try to save up at least one GRP Battery Pack and a lot of ammo for your most used weapon (probably one of your shotguns).
Once the preparations are complete, use the panel to activate the platform.
Soon after starting the climb, the platform will be attacked by groups of monsters. Be on your toes, as there are elite monsters among them that have tentacles.
The best way to defend yourself is to quickly grab monsters with the GRP and throw them off the platform. The beasts will die immediately and you will avoid risking your health.
Use the glove until all your energy reserves are exhausted. Switch to using firearms then. You must deal with them quickly to avoid being surrounded and to kill them before more appear.
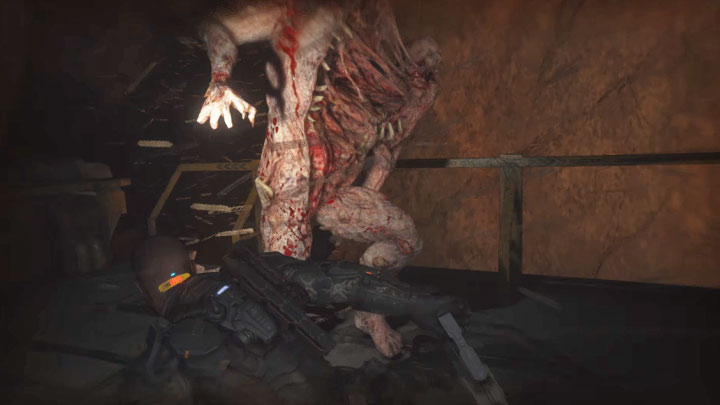
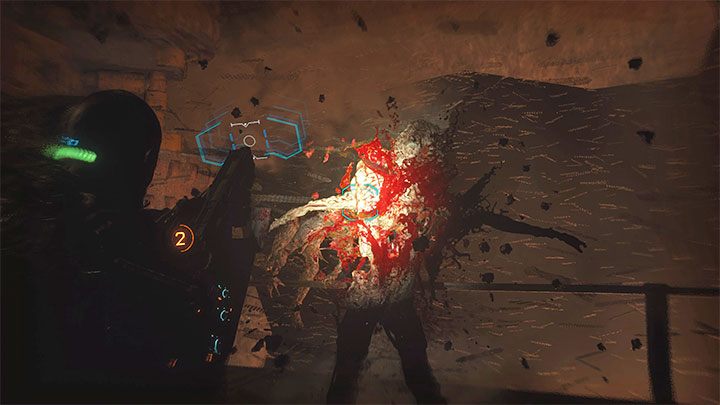
Defeating all standard opponents will initiate a cut-scene depicting the appearance of boss Two-Head. You face him one-on-one.
The most important thing is to dodge Two-head's melee attacks flawlessly - you need to have the stick tilted to the left or right. Jacob can die instantly if he gets caught.
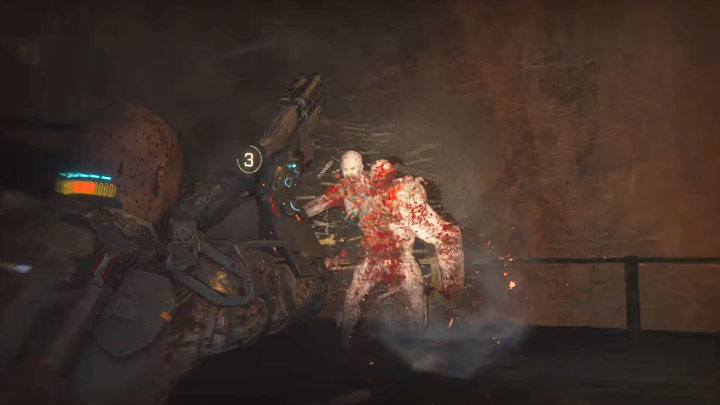
Use the most powerful firearm to attack the boss. It will probably be one of the shotguns you have. After depleting the magazine, perform another dodge and then start running away from Two-head and reload the weapon in peace.

The stunned boss will kneel on the platform. You have to use this chance quickly - run up to it and use melee attacks. This should cause the boss to detach one of the heads.
If Two-head didn't rip off one of the heads, you need to weaken it again and attack with a melee weapon.
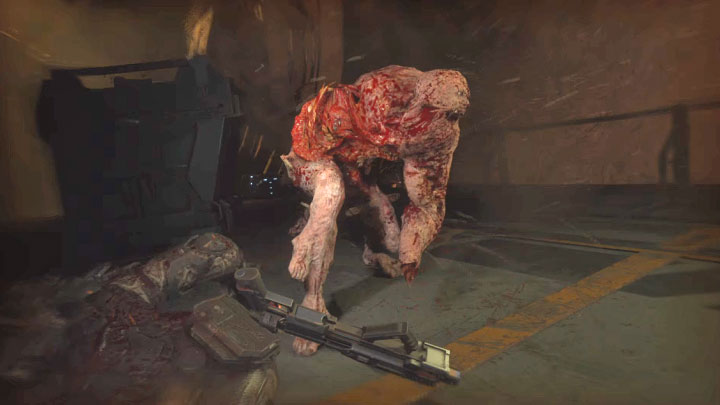
The tactic for fighting the boss with 1 head is the same - dodge and use the best weapon.
You have to stun the boss a second time. After it kneels on the platform, finish it off with a melee weapon. Two-Head will leave valuable loot - a printer worth 1000 credits.
Locate Arcas Station
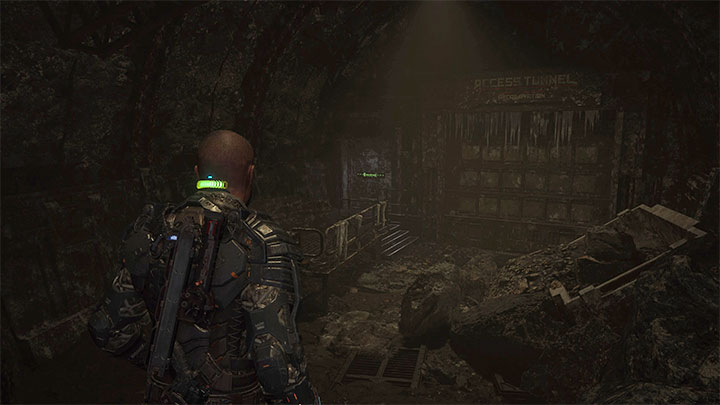
Soon after defeating the boss, the platform will reach its destination and you can continue by moving to the nearby balconies. You'll reach the entrance to Access Tunnel. Entering this pathway starts a new chapter - Colony .