
Marvel's Avengers: Once an Avenger, walkthrough Marvel Avengers guide, walkthrough
Last update: 15 September 2020
On this page of our guide to Marvel's Avengers, you can find a detailed walkthrough of the fourteenth campaign mission. You go back to Helicarrier, this time as the Black Widow, get some additional equipment, and participate in the interrogation of the previously captured Dr. Rappaccini. As Thor, you will fight the forces of AIM.
- Interrogation Anxiety
- Follow Iron Man
- Swing to the server room to defend Jarvis
- Destroy the AIM machines burrowing into the Chimera hull
- Destroy the huge Dreadbot
Interrogation Anxiety
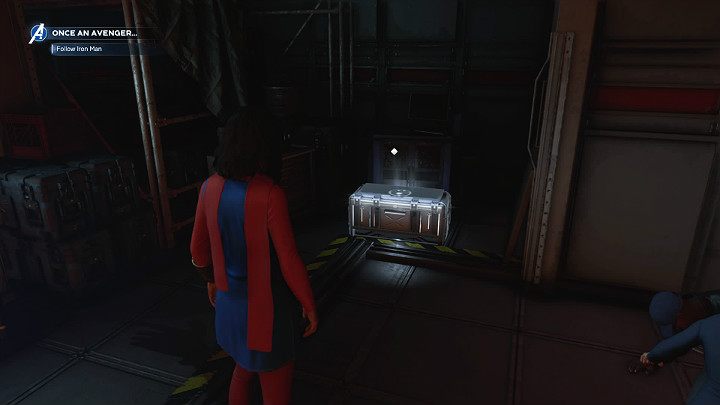
When you get back on the Helicarrier, you will have the opportunity to explore its deck and collect some extra equipment. The chests are spread all over the accessible area of the ship. You won't miss them - just check all the rooms.
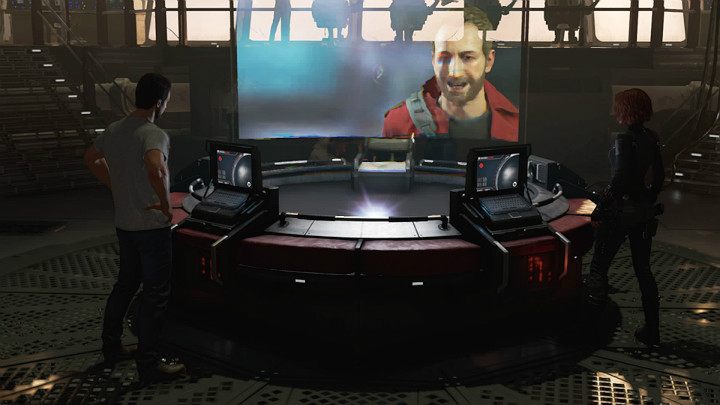
When you're done, go to the war table to talk to Tony and then Dr. Hank Pym through the hologram.
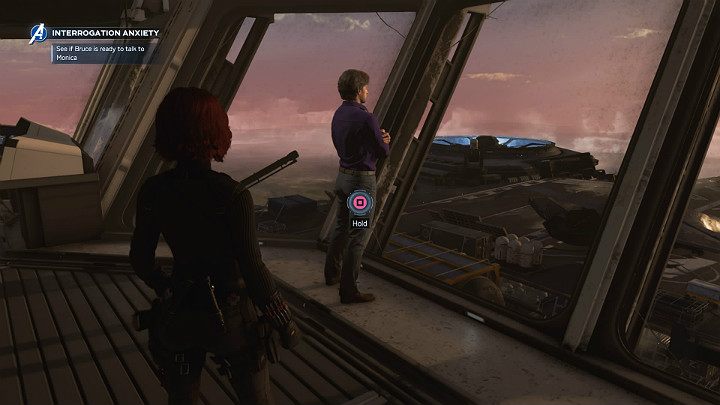
Find Bruce near the war table. Talk to him to see if he's ready to confront Monica.
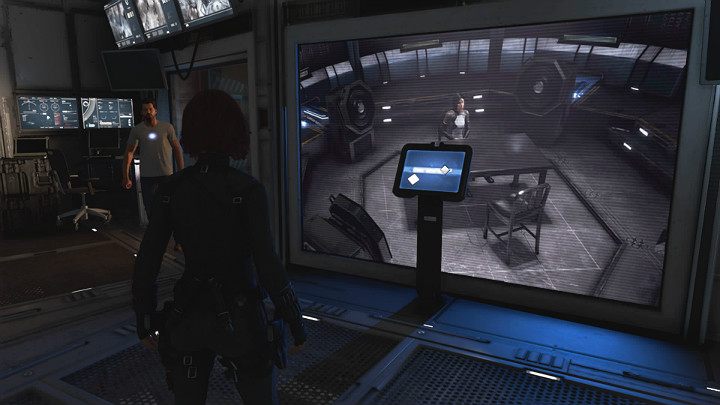
After the conversation, head to the hangar to the interrogation room to witness Bruce's conversation with Dr. Rappaccini.
Follow Iron Man
Unfortunately, the interrogation of Dr. Rappaccini didn't end with success. The Avengers were unable to get the location of the secret lab. To add insult to injury, the AIM units are attacking the Helicarrier to rescue Monica.
After leaving the interrogation room, you get back to playing as Kamala Khan. Open the silver box on the left and follow Iron Man.
When you come down the stairs, look to the left - you'll find a second silver box with gear. Continue going right by following the corridor.
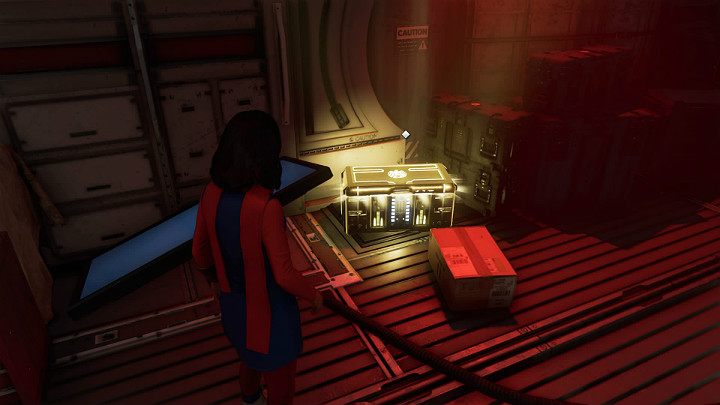
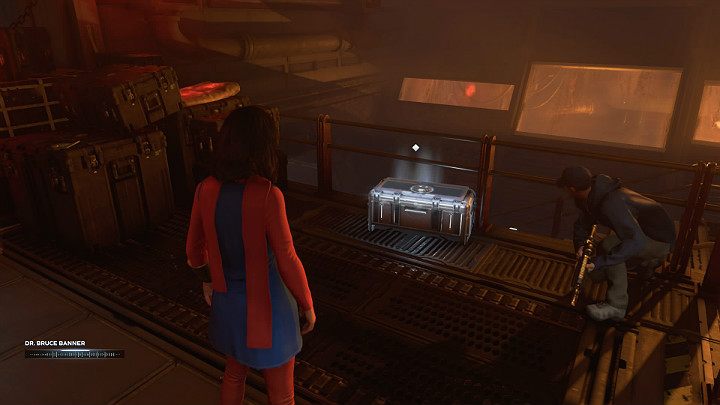
After reaching the hatch, where several Synthoids commit suicide, turn left. There's a gold chest near the wall. Collect the items and follow Iron Man.
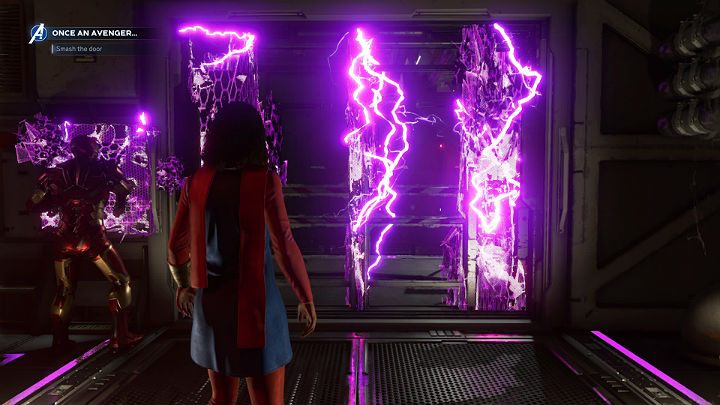
Jarvis will be blocked by AIM - you have to create the path to the next location yourself. Use an enhanced heavy attack to smash the door.
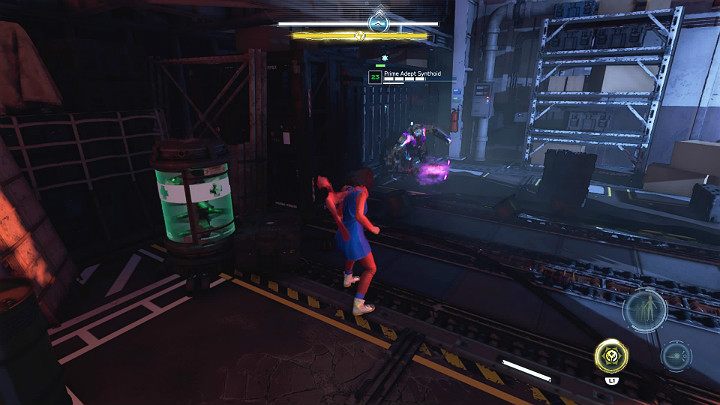
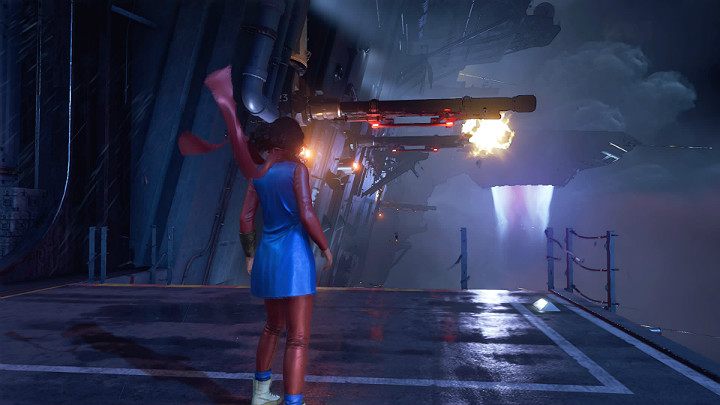
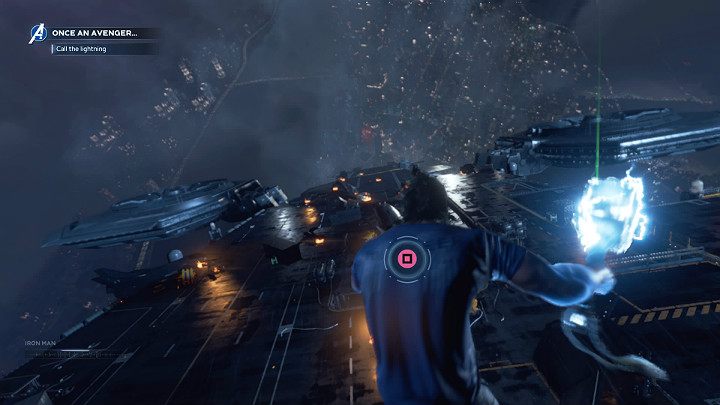
In the next room, you'll have to fight several Synthoids and AIM soldiers. These include one Prime Adept Synthoid, which can use unblockable attacks as well as block your frontal strikes. When you go outside through a hole made by the enemy, you will see Iron Man fighting one of AIM's ships.
Swing to the server room to defend Jarvis
The rooms on board the Helicarrier have been blocked by AIM. Kamala must find an alternate route to the server room.
Jump off the platform and grab metal pieces protruding from the ship to jump onto the next platform.
The further path goes along one of the Helicarrier's walls. Jump off the platform and then grab onto the protruding crossbar to jump onto the next platform.
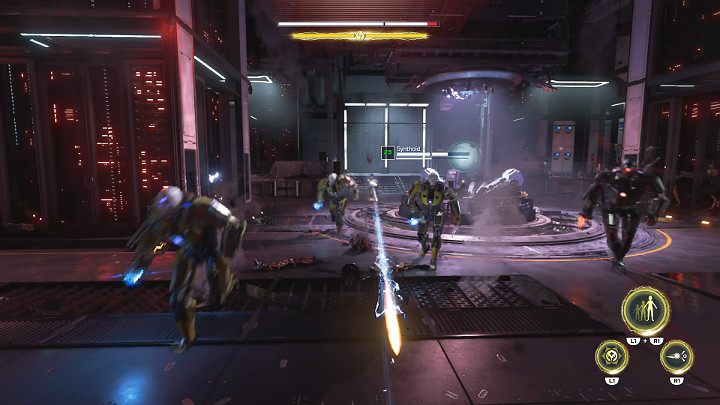
In this room, you have to neutralize the Synthoids that are trying to destroy Jarvis' servers. Watch out for elite Synthoids, rocket Synthoids that can explode causing significant damage, and soldiers with biological weapons appearing in the later phase.
A Prime Cryo Synthoid will appear in the third wave of enemies - avoid its freezing cannon. After the fight is over, Jarvis is revealed to be gone, and that Tarleton now controls the Helicarrier.
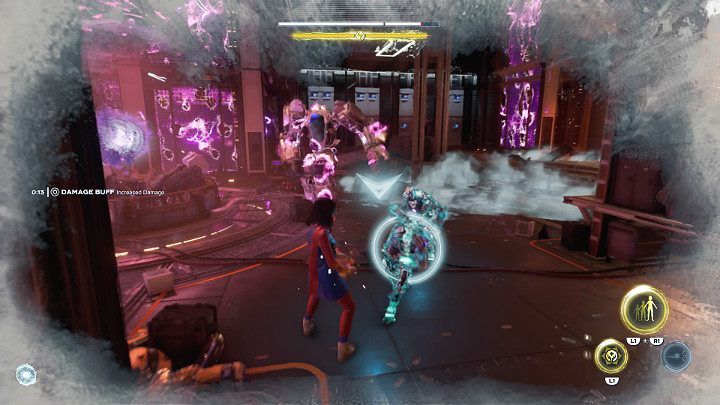
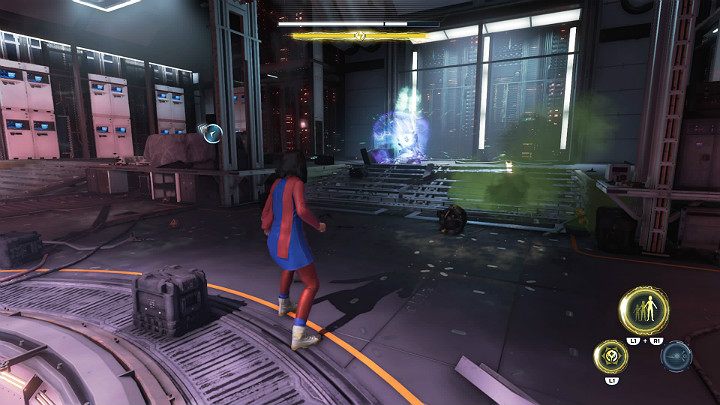
After a brief cut-scene, you will face more opponents, including one soldier in a cryogenic exoskeleton and two Synthoids with Nanite shields. This is the best time to use the Embiggen ability. After the fight is over, Jarvis will overtake Tarleton and regain control of the ship.
Destroy the AIM machines burrowing into the Chimera hull
While the Avengers were fighting the AIM forces, Tarleton arranged an escape for Dr. Rappaccini and took her off the Chimera. You now play as Thor, The God of Thunder. As soon as you land on Chimera's upper deck, you'll have to deal with a few Dreadbots and an army of Synthoids.
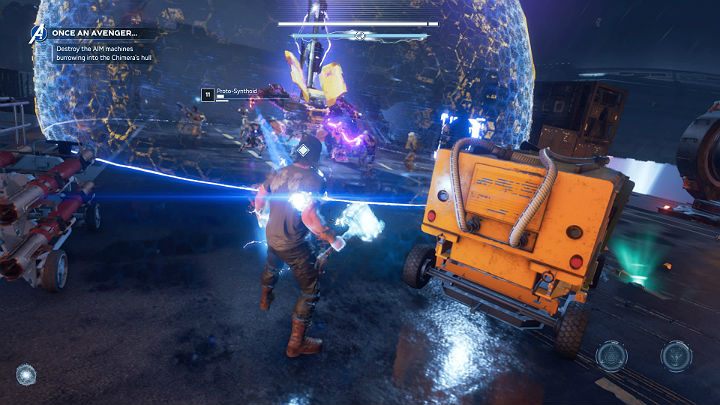
Dreadbots are surrounded by a barrier that protects them from receiving any damage from the outside - you have to get inside it. Even though you can't attack the enemies behind the barrier, their attacks can hurt you.
Deal with the enemies defending the Dreadbot, then move on to destroying the machine. These Dreadbots are not as aggressive as the machines you faced in the earlier stages of the campaign. Watch out for their flamethrowers and laser guns, though.
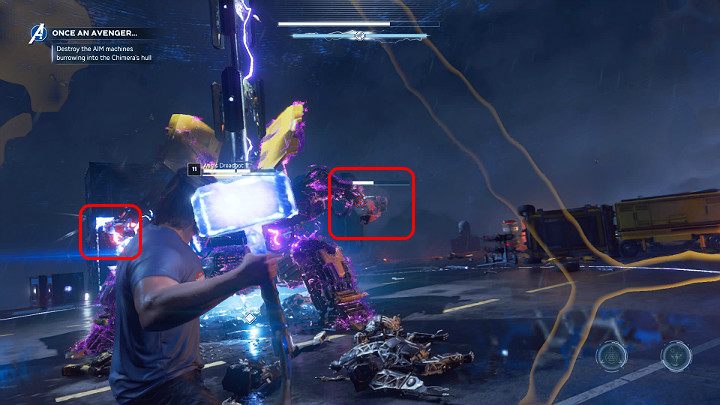
You can make battles with the Dreadbots easier by destroying their laser guns on both sides. Aim at them and throw Mjolnir - the cannon should fall off after two hits.
After the first machine is destroyed, you will have to fight a large number of opponents, including elite units such as a Stiletto Riotbot and a Cryotronic Exo. There will also be two additional robots drilling through the Chimera's hull.
You don't have to rush during this stage. Defeat minor opponents first, then take on the robot. If you lose a lot of health, destroy one of the green containers to restore some willpower.

The next stage of the task is exactly the same as the previous one. You have to deal with a large enemy force and destroy two more Dreadbots. Pay special attention to Adaptoids and Prime Adept Synthoids, which can cause you the most problems.

After dealing with elite units, you can move on to the Dreadbots. Once the last robot has been disabled, you will begin the next phase of this mission.
Destroy the huge Dreadbot
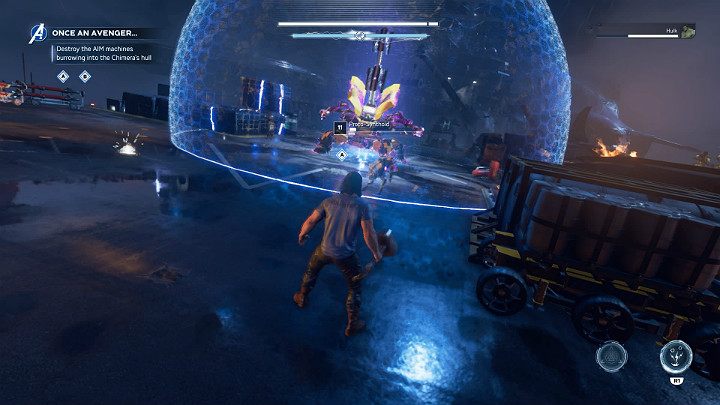
Despite the heavy losses, Tarleton refuses to give up and uses Megadreadbot. The Hulk and Iron Man will join you later.

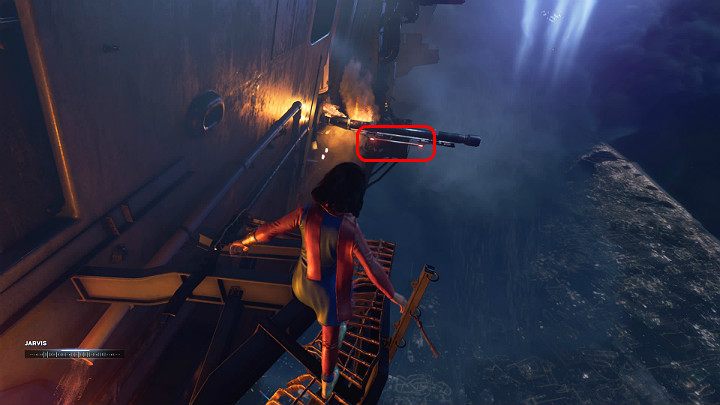
First, focus on eliminating the defenses - Adaptoids standing on both sides of the robot. Fly and keep using your ranged attack until your opponent starts regenerating health. When it does that, fly to the enemy and finish it off. It's the easiest way to eliminate a target that may be interfering with the fight against the machine.

Megadreadbot has a Nanite shield and a large health bar. Focus on attacking the boss's weak points (two side cannons highlighted in the image above) to quickly reduce its health. Use range attacks or fly close to your opponent and attack with the hammer. With the help of the other Avengers, you should be able to deplete half of its health bar.
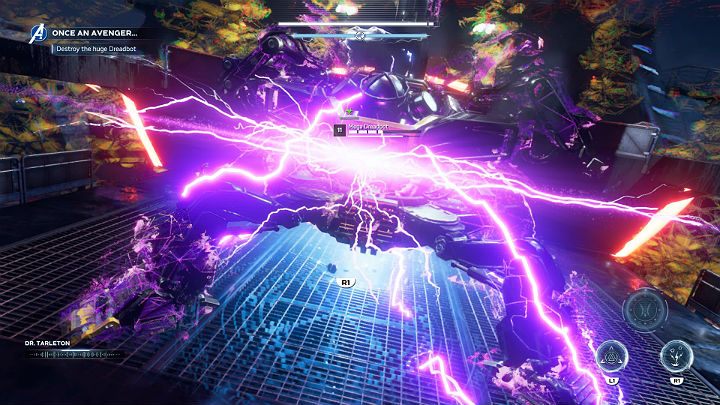
When the Megadreadbot's health level drops to about 50%, Tarleton will cover his machine with a special shield. Use Bifrost Heroic Ability and aim directly at the Megadreadbot to end the fight
You now have to restore power to the Chimera's engines. When Thor ascends into the air, simply press the right button quickly to save the Helicarrier from crashing.
After returning to Chimera's main deck and watching the cut-scene, you will go back to playing as Kamala. During this short episode, you will have to visit the destroyed Helicarrier and watch a video of Dr. Rappaccini's interrogation. You will also find a clue for the location of the AIM's lab. After the cut-scene, you can move on to the next mission called Agony and the Ant Hill.