
Marvel's Avengers: To stand alone, walkthrough Marvel Avengers guide, walkthrough
Last update: 15 September 2020
On this page of our game guide to Marvel's Avengers, you can find a detailed description of the 13th campaign mission. In To stand alone mission you will play as Kamala Khan. However, at the further stage of this mission you will have an opportunity to take control of Black Widow for the first time in the game. As you make progress in this mission, you'll find a few hidden chests. Also, in the final stage of this task you will have to confront another boss - Monica Rappaccini.
- Head for the AIM prison
- Sneak in through the back of the prison
- Sneak through the maintenance corridors of AIM's prison
- Defeat the AIM security units
- Decontamination protocols
- Head for the prison's security control room
- Defeat the Adaptoid
- Defeat the AIM security forces
- Stop Monica - boss fight
Head for the AIM prison
After a short conversation between Kamala and Dante which took place in The Ant Hill, the heroine wants to try to get into the prison where AIM is imprisoning the Inhumans. As Bruce does not share her enthusiasm, Kamala tries to save the Inhumans on her own.

At the very beginning of this task, go straight ahead and instead of jumping over the first crack in the ground, go down. Here you'll find some resources and a well-hidden chest.
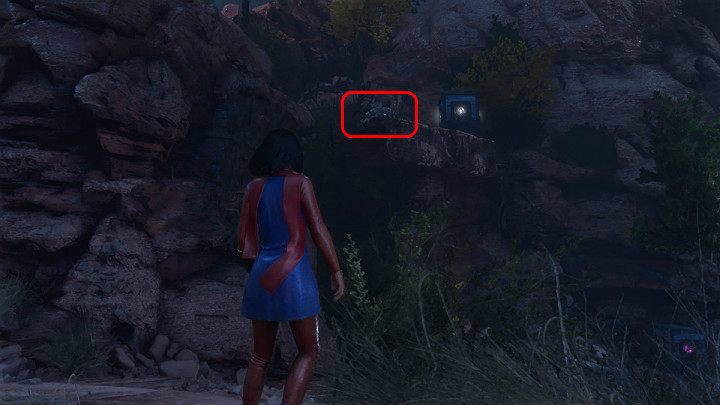
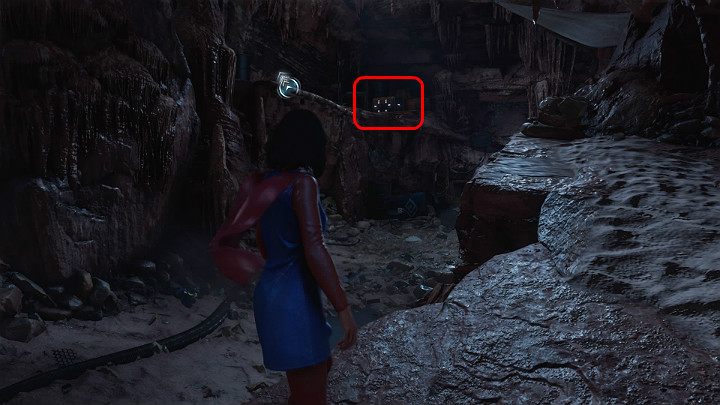
Proceed on and you'll notice some AIM drones patrolling the area. Turn left and jump onto the rocky ledge. You'll find a second hidden chest here, this time a silver one, and also some resources. Keep moving forward.
When you get to the first big chasm, look to the left again. Another silver chest was hidden on a rocky ledge. Take a long run, then jump out and grab the edge in order to get to the other side.
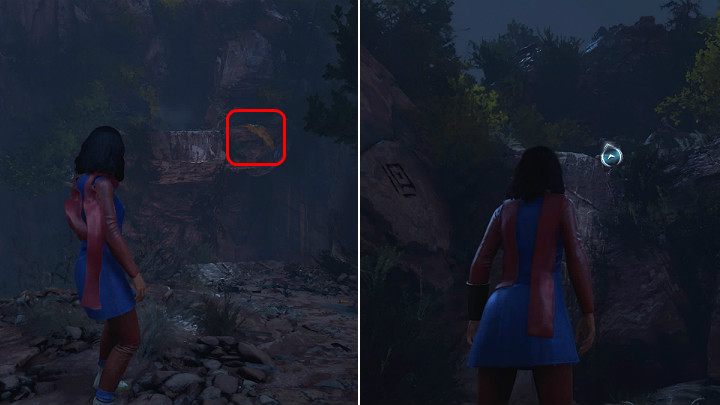
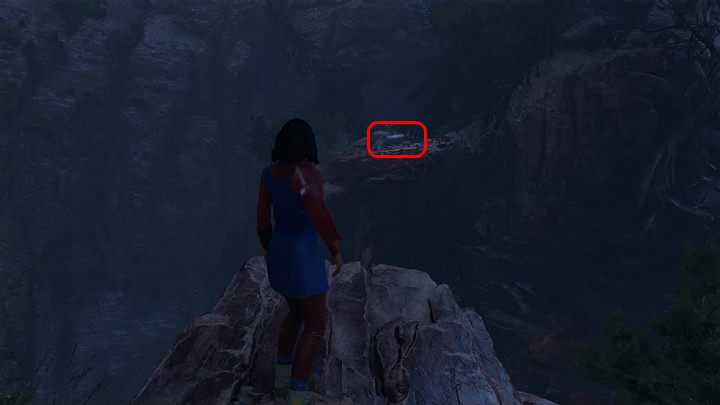
Walk straight ahead to reach another large chasm with a distinctive yellow piece of material on the right. As you get to this spot, turn 180 degrees, look up and jump onto a rocky ledge.
Destroy the cracked wall with a heavy attack, and you'll find another hidden chest behind it - silver one. Return to the main path, start running and make a longer jump over the chasm.
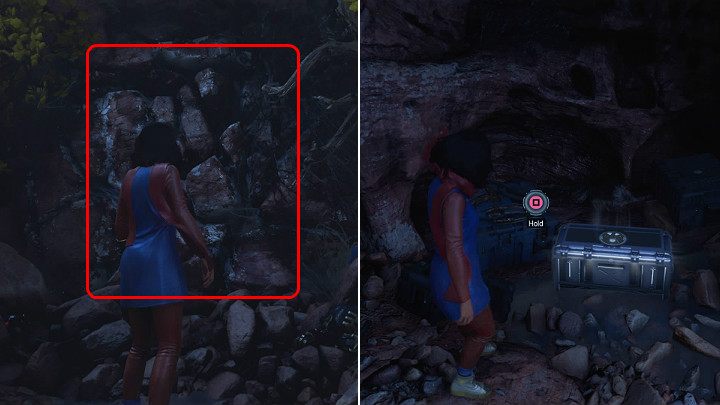
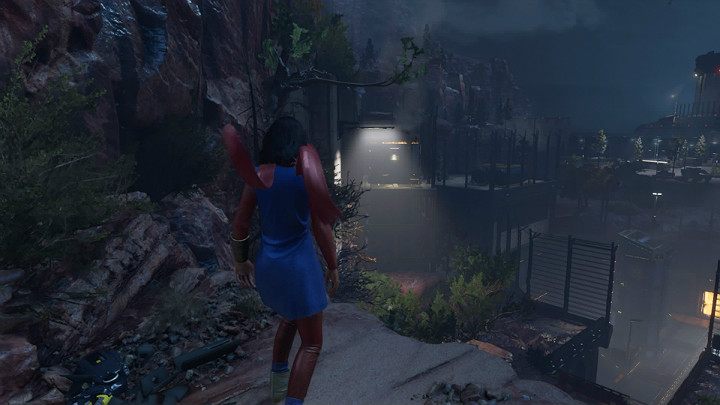
When you enter the tunnel and pass the SHIELD containers, jump onto the narrow rocky ledge on the left side to loot another chest with equipment. Keep going straight ahead until you finally get to the AIM prison.
Sneak in through the back of the prison
There is no option of entering the AIM prison through the front door, so you'll have to look for an alternative route.
Before you start walking towards the main marker, turn to the left. Start running and jump out in order to grab a branch to reach the crossbar, which will allow you to get to a small platform.
Here you will find a well-hidden golden chest with special resources and at least one item of rare quality.

Now, go to the right edge of the map and jump onto a high rocky ledge next to the metal fence.
Upstairs, you'll find another hidden chest - this time it's a silver one. Go down and head towards the main objective marker.
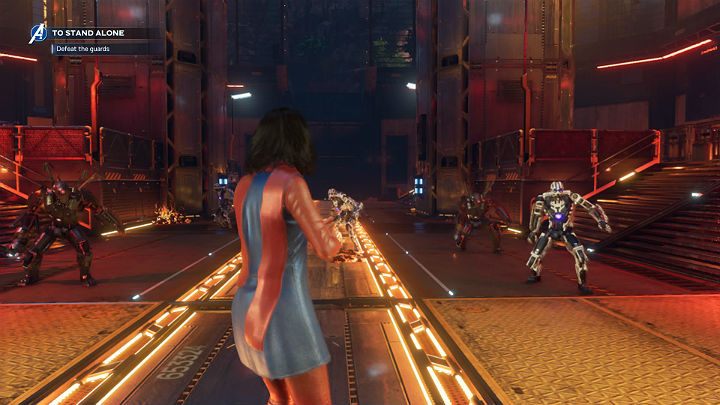
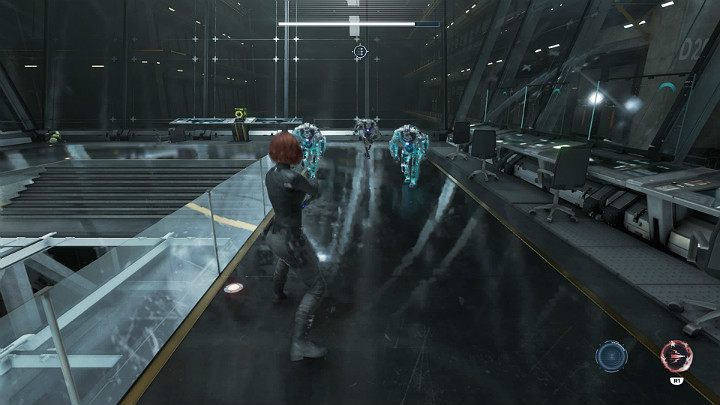
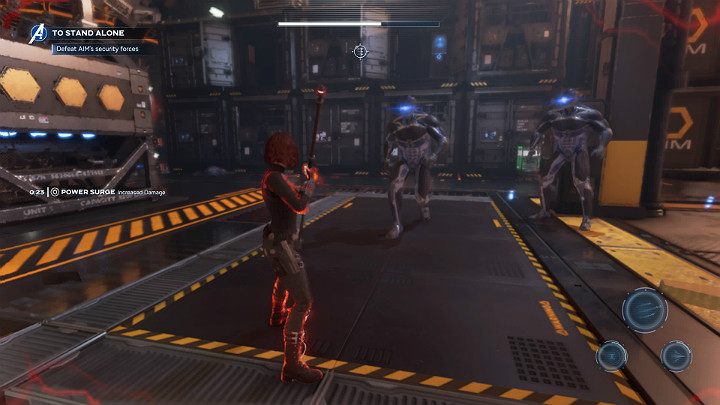
As soon as you try to open the back entrance of the prison, an AIM unit will appear behind your back. The enemy group consists of elite Synthoids, regular Synthoids, and opponents with cryogenic cannons. Remember that the laser attacks of elite opponents cannot be blocked so you will have to dodge the deadly beams.
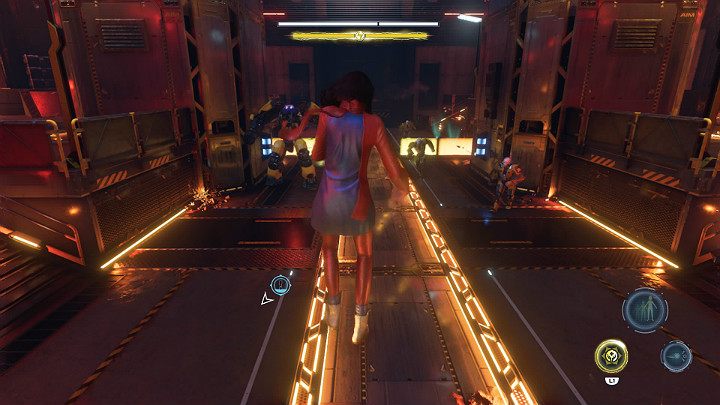
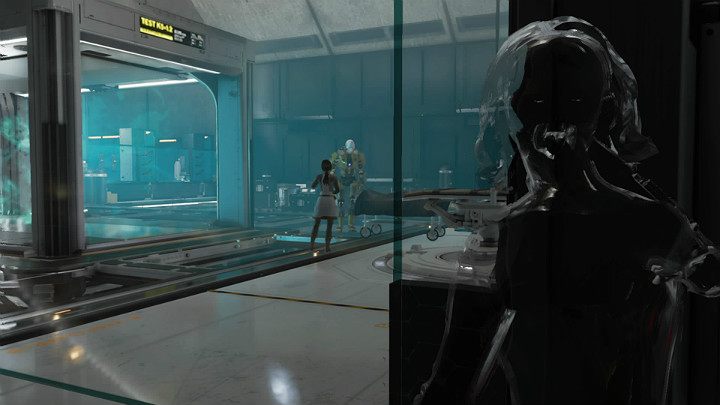
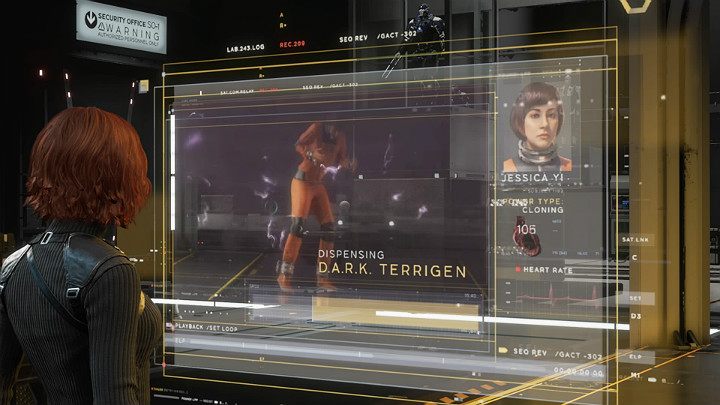
After dealing with the first wave of enemies, another squad of AIM troops will arrive. This time you'll have to confront two soldiers in an exoskeleton and a few Synthoids. This is the perfect time to take advantage of the Polymorph ability. After the battle is over, Kamala Khan will lose consciousness. She will be taken to the lab. Once the gets there, she will witnesses a conversation between Doc Rappaccini, Senator and Tarleton. After that cutscene, you'll start playing as the Black Widow.
Sneak through the maintenance corridors of AIM's prison
Natasha sends a message to Hank in order to inform him that Kamala Khan has been captured and imprisoned by Dr. Rappaccini and that she will try to rescue Kamala from the hands of enemy. By using the grappling hook of Black Widow (Widow's Line), jump from platform to platform in order to reach the next part of this location.
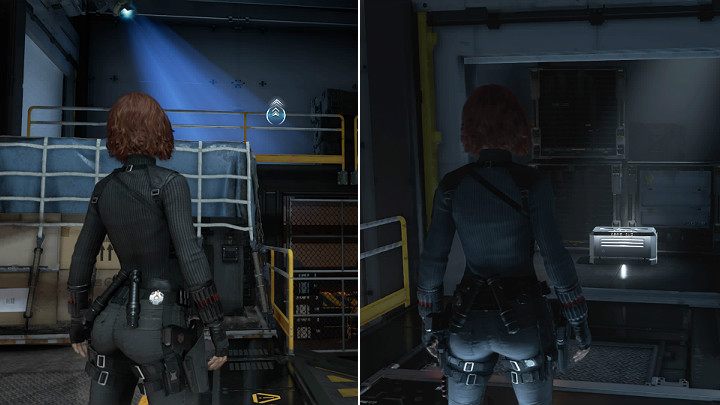
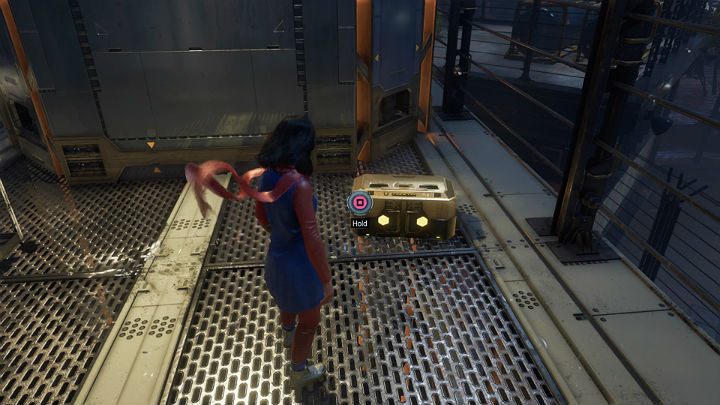
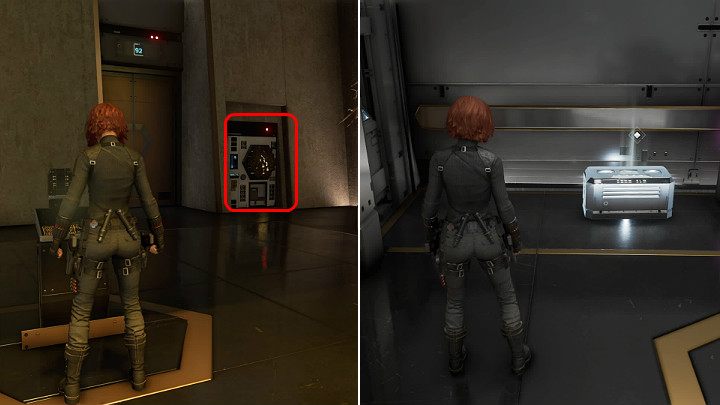
When you enter a room with a large closed door, turn to the left and jump a little higher. There's a button located in the floor that you can stand on. It will open a hidden storage with silver chest.
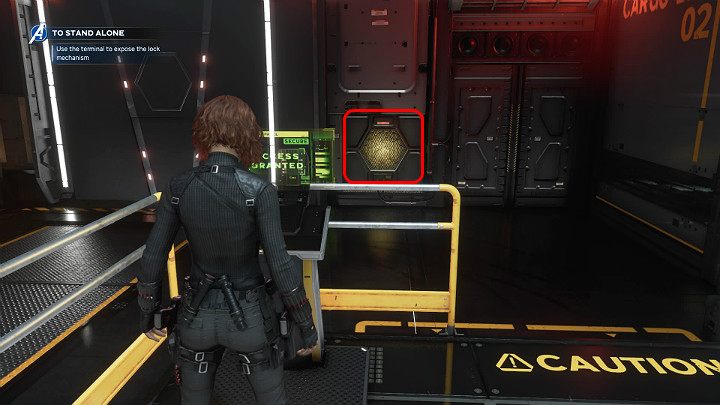
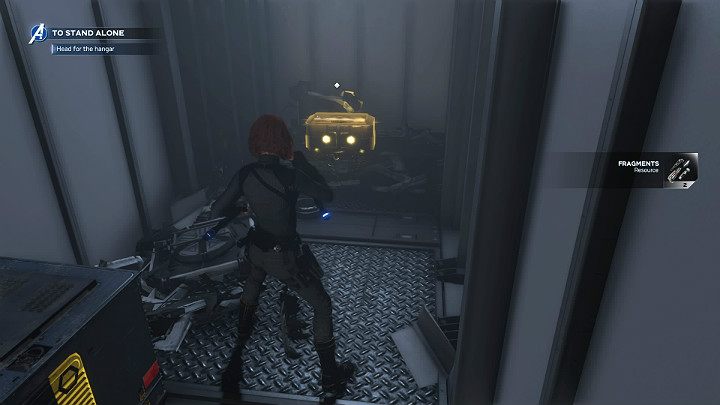
Now head to the control panel and reveal the door opening mechanism. Then, approach the button and hit it several times to open the door. By walking through the technical corridor you will find a location where machines produce Adaptoids. Looks like Tarleton is building a real army. Unfortunately, your presence will be discovered by the AIM security. You won't be able to sneak around anymore. Keep walking and follow the path.
You'll reach one of the rooms of Doctor Rappaccini's laboratory. Black Widow will quickly use the Veil of Shadows ability to hide her presence. You will notice that a Synthoid is moving a bed out of the room - Kamala Khan may be lying on it. You need to get inside.
Walk straight ahead, activate the Veil of Shadows and defeat one opponent. Enter the room on the left and activate the control panel. You will discover a button that opens the door to a hidden room which contains a silver chest.
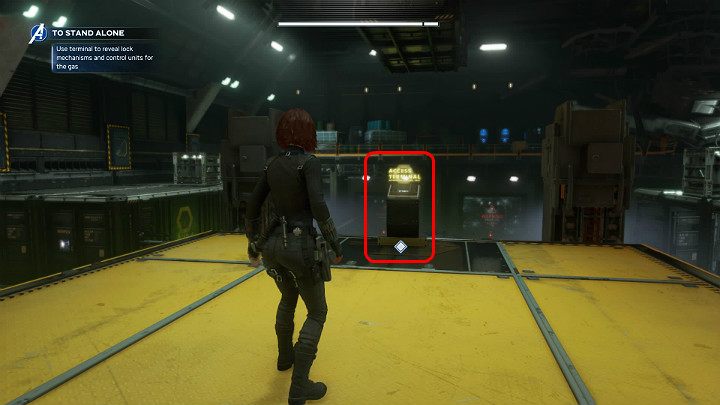
By going the other way, you'll reach the next control terminal. After interacting with the terminal you will reveal two buttons. They will open a path which leads to the next part of this location.
After you walk through the vast Office of Doc Rappaccini you will reach the next control terminal. Activate it and you'll reveal a hidden passage in the floor which leads into the lab.
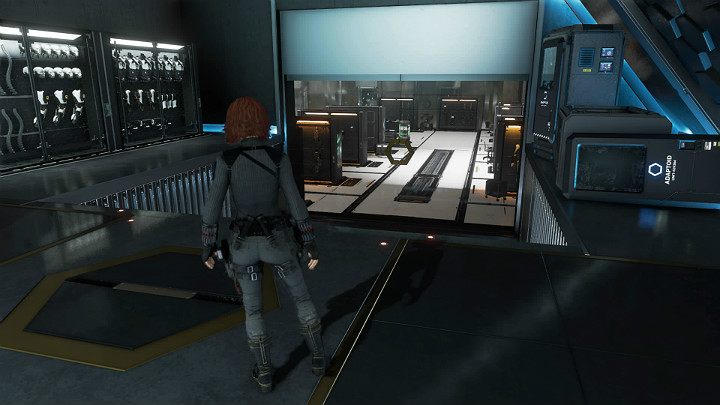
Inside, you'll find another control panel. After activating it, you'll have an opportunity to watch videos which depict the experiments conducted on Inhumans. This will help you discover the secret that the main goal of Doctor Rappaccini was not to cure the Inhumans but provoke their abilities and keep them alive long enough in order to copy their powers for Adaptoids.
Defeat the AIM security units
As soon as Natasha has entered the laboratory of Doc Rappaccini's, and activated the terminal, she has also triggered the AIM's security systems. This event has awoken the special Synthoids located in this room.
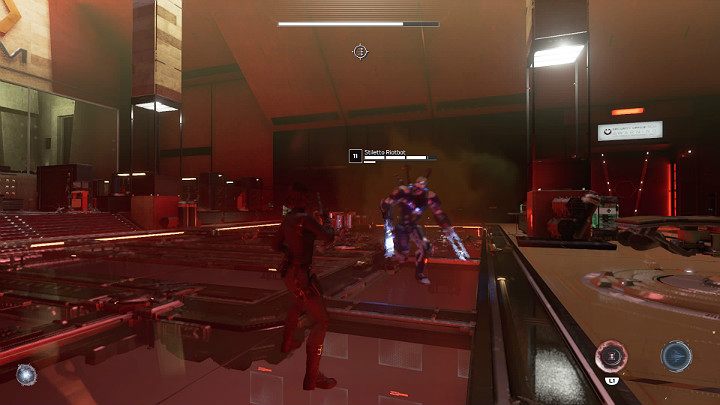
At this point you will have to confront a brand new enemy unit, the Stiletto Riotbot. This opponent can fire powerful energy charges at you which cannot be blocked, so you must dodge them at all costs. In addition, these robots are able to jump in your direction and perform rotary attacks around their own axis which can severely injure Natasha due to their daggers.
Stiletto Riotbot can block attacks incoming from the front. So, you have to be clever and use some tactics here. Watch their attacks and perform dodges at the right moments in order to perform a counter-strike.
As soon as you deal with a new threat, you'll have to fight against next AIM squad. Group of enemies consists of Stiletto Riotbot and regular Synthoids. Firstly, defeat all weaker enemies. This way, you will be able to take care of the stronger opponent later.
Decontamination protocols
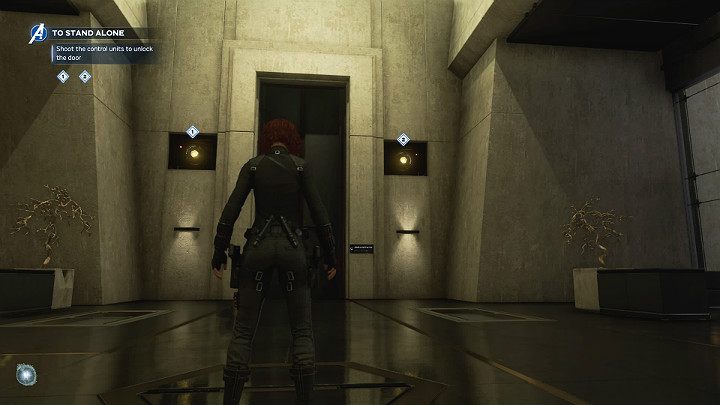
After defeating all enemies in the laboratory of Doctor Rappaccini the decontamination protocols will activate in the room. Your main task consists in stopping the spread of toxic gas.

On the wall of the room there will be three control units. You have to shoot at them (numbers 1, 2 and 3) in order to deactivate them. Also, there will be two buttons (numbers 4 and 5) emerging from the floor. You need to activate them.
In this task you will be disturbed by the Syntoids, but don't bother with them. Just focus on turning off the gas releasing mechanism, because it causes damage over time.
Once the situation is contained, you'll have to fight a few more opponents. Another Stiletto Riotbot will be among them. After the battle, walk through the open door to the next room.
Head for the prison's security control room
While you were fighting the Synthoids in the laboratory of Dr. Rappaccini, AIM has began moving Inhumans to safe spot outside the research facility. You have to stop this procedure.
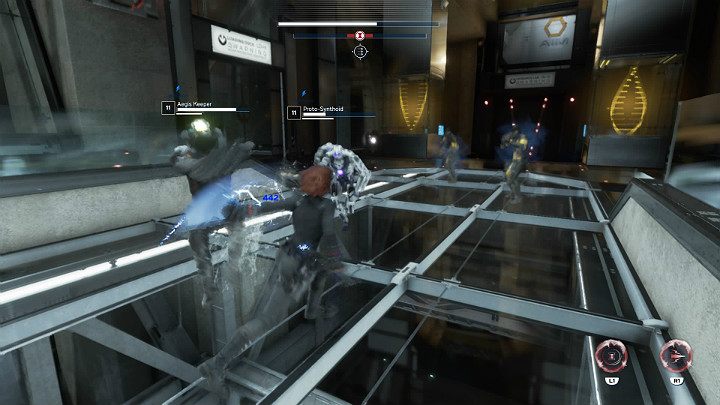
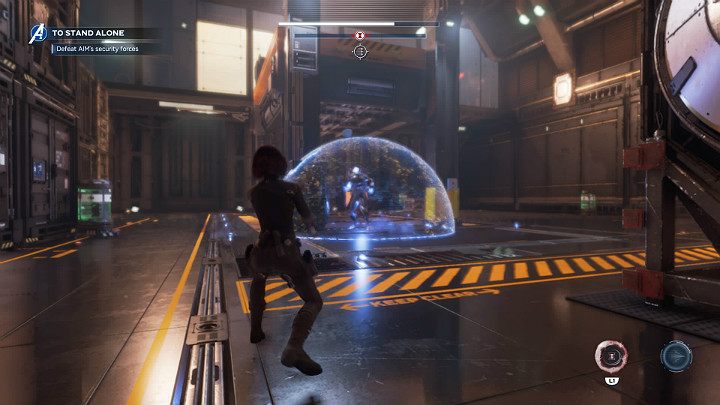
Once you enter the prison security control room, you will have to fight another group of enemy forces. The AIM forces will consist of Aegis Keepers, regular sentinels, and some Synthoids.
After the battle is over, use the security terminal to release the AIM prisoners. This activates more security protocols and Synthoids protected by nanite overshields will appear in the room. The shields protect them from receiving standard type of damage so you'll have to break them first. Then, defeat a few more drones and disable the turrets on the walls. After the fight, get in the elevator and ride down to the next checkpoint.
Defeat the Adaptoid
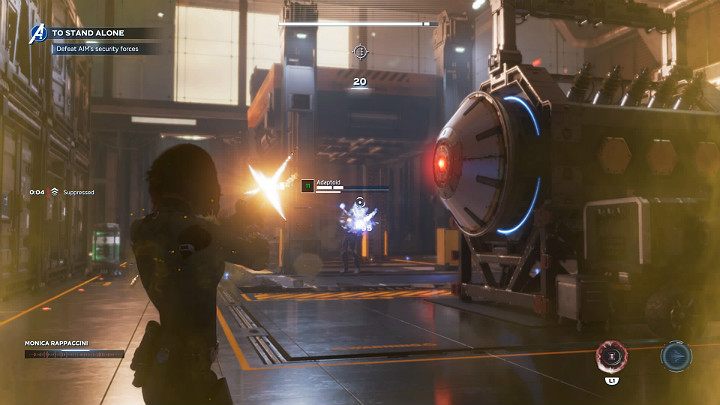
At this stage of the mission, you will fight against a new enemy, the Adaptoid. It's an extremely demanding enemy, so you have to be on your guard. The Adaptoid has a very powerful frontal laser attack that can't be blocked - you will have to dodge it. What's more, Adaptoids are capable of regenerating health points (they cover themselves with a barrier while they're restoring their health points). As a result, you have to finish him off as quickly as possible.
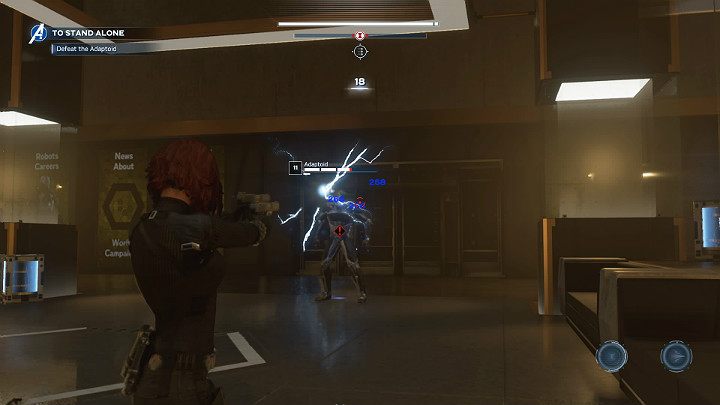
You will start the duel at quite a distance from the Adaptoid. Quickly use your heroic attack ability and then immediately switch to ranged weapons in order to shoot the enemy in his head with all you've got. When the opponent will start to charge at you, perform a dodge and fire at him again until he gets killed.

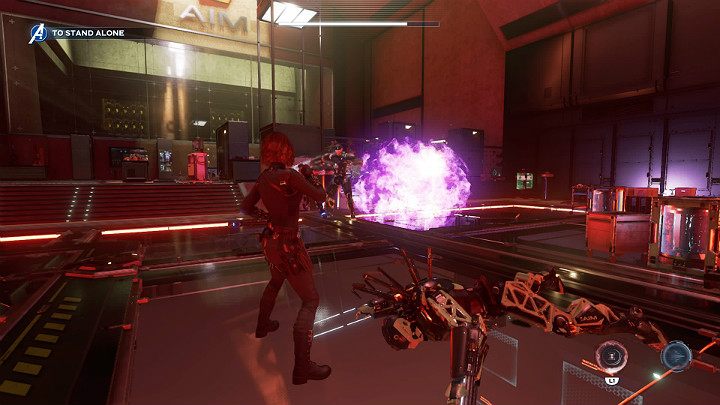
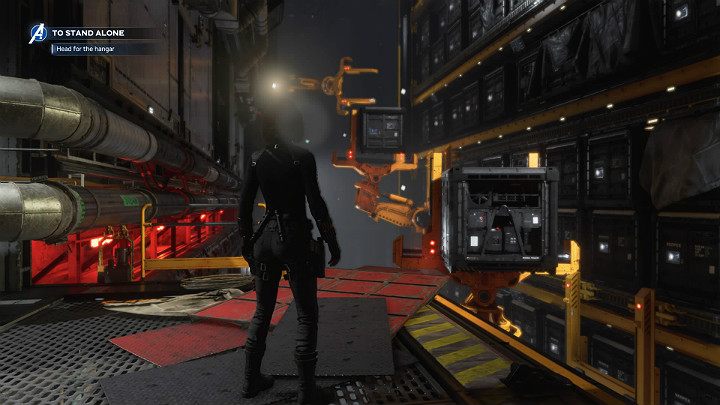
After a while, more AIM soldiers will appear in the room, including Elite Synthoids and Stiletto Riotbots. Also, there will be some opponents with protective shields and biological weapons among enemy forces. If your hero's health levels drop to a dangerous level, destroy the green container to replenish your willpower. After the battle is over, use the terminal to reveal the locking mechanism. Hit a button on the opposite wall. Walk through the door and head straight for the hangar.
Continue the road through the containers that leads to the other side of the location. During a longer jump you will have to use the grappling hook - Widow's Line.
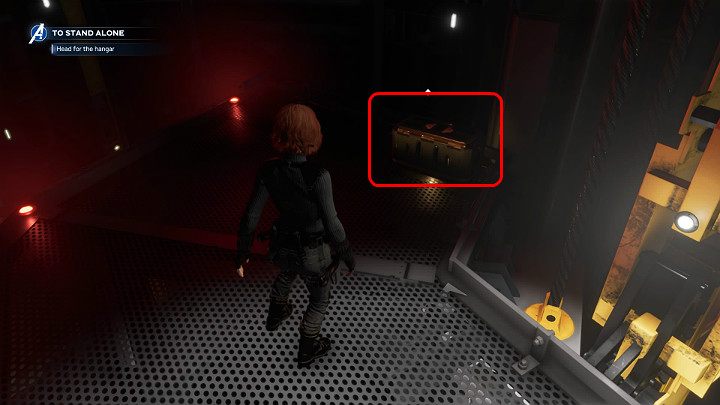
When you land on a small metal platform, make sure you've collected the chest, which can be found in a dark spot on the left. Go to the main mission objective marker.
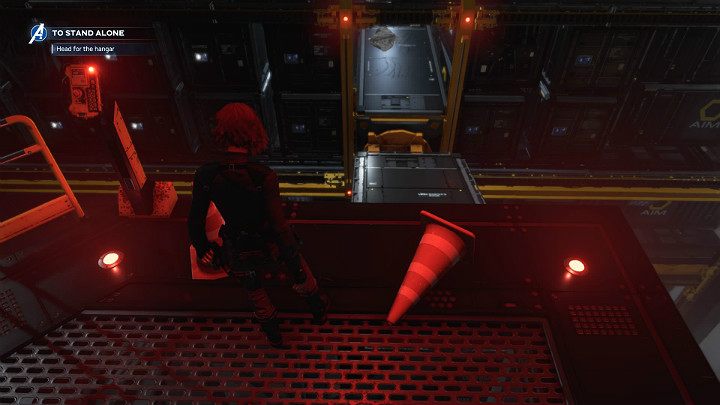
Before you walk through the door on the left, turn to the right towards the overturned traffic cone. In the distance, you'll notice one open container. You can reach it by running and jumping on two other containers hanging in the air.
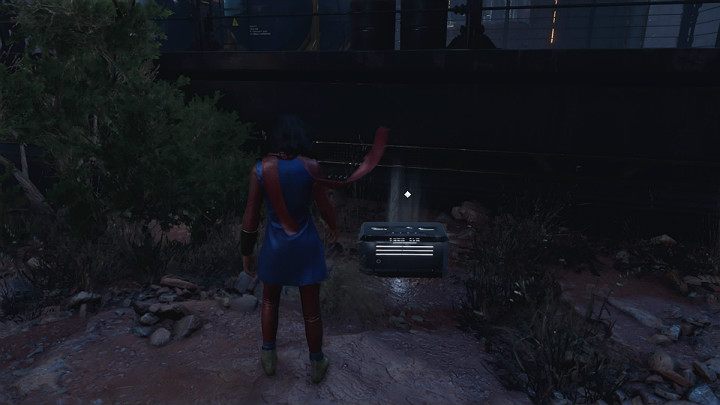
Destroy small containers with resources and you'll find a well-hidden golden chest behind them. Gather the equipment and go to the next checkpoint of the mission.
Defeat the AIM security forces
In the hangar, you will have to fight with another Adaptoid. However, this opponent will have more power than the last one. The Adaptoid is capable of blocking your frontal attacks, and has several ranged attacks: plasma projectiles, cryogenic lasers and ground slams that cause electrical damage in a certain area. Also, he has an ability to regenerate health.
The best way to start this duel is to use a heroic attack in order to significantly reduce the health of your opponent. Then, use a ranged weapon and by aiming at the Adaptoid's head empty the entire weapon's magazine. This way you will quickly reduce opponent's health bar by 75%.
When the opponent activates the protective shield and begins to regenerate his lost health, you must quickly approach him and punch him in order to interrupt the healing process. Then move to a safe distance and continue attacking the Adaptoid by shooting him in his head. After a short while, the opponent will fall to the ground. However, a few more Elite Synthoids will appear in the area.
When two more Adaptoids appear in the hangar, you will have to complete a short tutorial that explains how you can use another heroic ability of Black Widow - the Power Surge skill. With special strikes that cause major shock damage, you should deal with your opponent efficiently. However, remember to perform dodges and counterattacks.
After the battle is over, use the Widow's Line in order to jump to the upper level of the hangar. Then, use the terminal to disable the controls responsible for the release of the poisonous gas. Get ready to fight a boss.
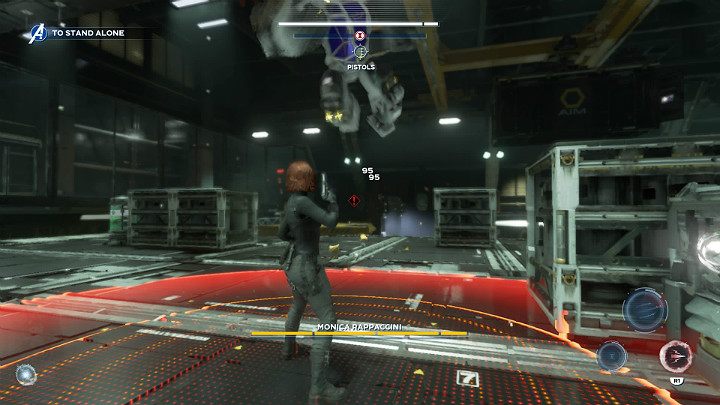
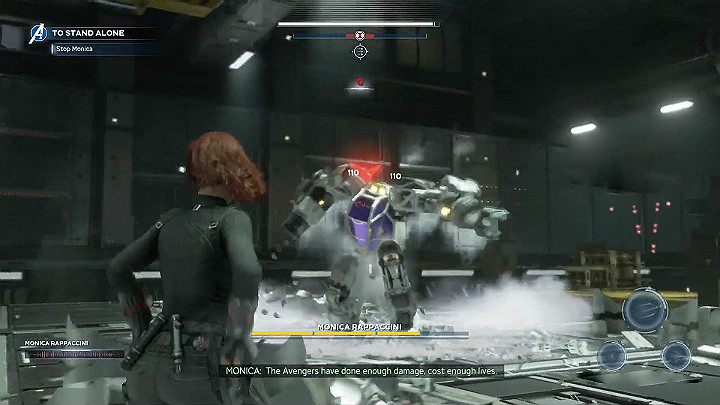
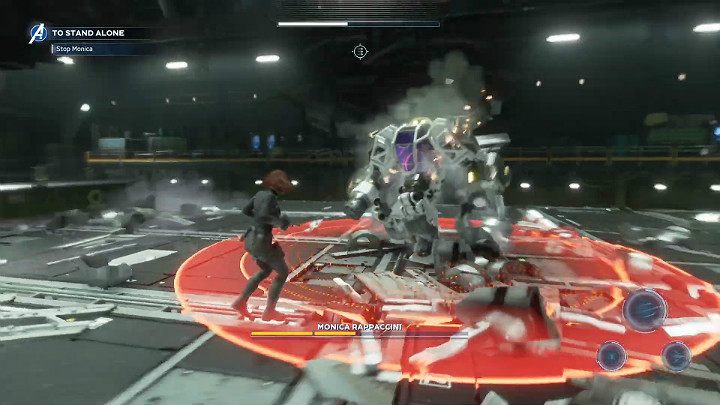
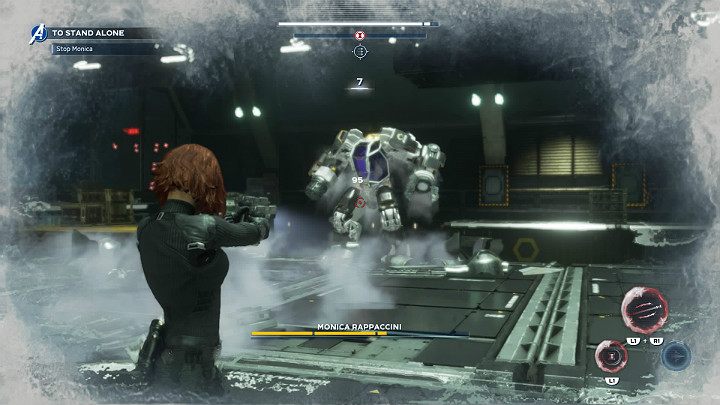
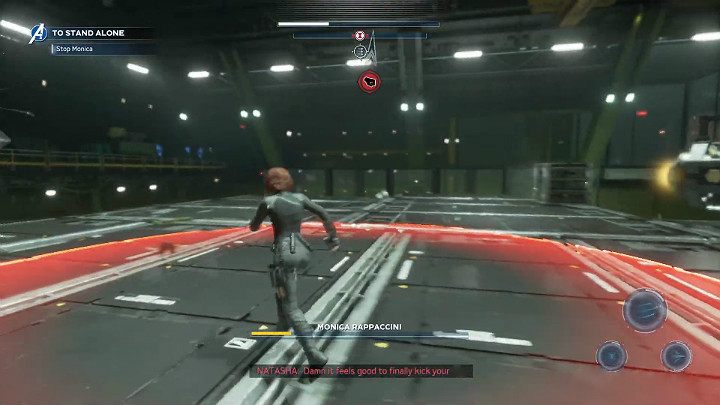
Stop Monica - boss fight
After the Black Widow managed to reach the laboratory and disable the AIM security forces, Monica Rappaccini has appeared. During this boss fight, you have to focus on a few important issues:
- The duel takes place on the platform so be careful not to fall off it - there is a cloud of poisonous gas floating below;
- Avoid attacks from the air and ranged attacks of Doctor Rappaccini;
- Dodge opponent's charge;
- Make use of ranged weapons;
- When additional AIM forces appear, you need to eliminate them quickly.
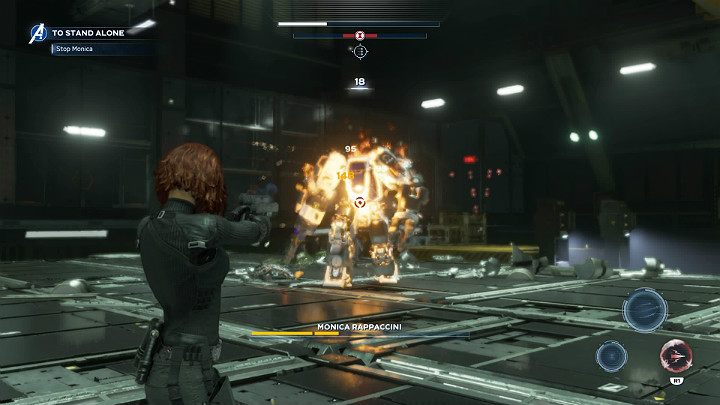
- Warbot - first phase of the fight
- Doctor Rapaccini - second phase of the fight
- Monica Rappaccini - third phase of the fight
Warbot - first phase of the fight
In the first phase of the duel, focus on performing dodges at the right time and counter the incoming strikes of Doctor Rappaccini. Because you start the duel at a certain distance from the enemy, you will have an opportunity to fire a few shots.
When the opponent begins to crouch it's a sign that she's about to make a jump. There will be a red circle around the landing spot - it's a signal that she's about to land there so just try not to stand in the affected area and nothing bad will happen to you.
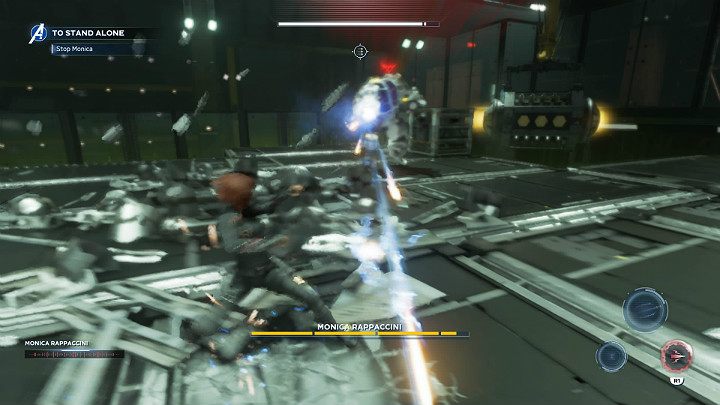
During combat, Monica will use long-range weapon, which was mounted on the right hand of the exoskeleton. The robot will stand still and extend its right hand forward. Then, it will fire a long series of projectiles. At this moment, press the dodge button as quickly as possible and move in both directions in order to avoid any injuries.
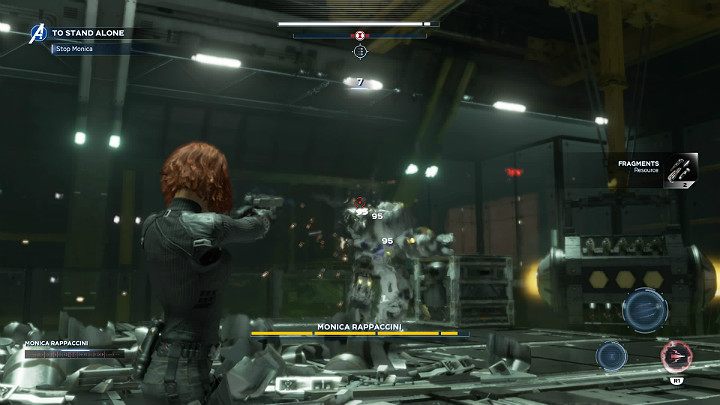
During the first phase of the duel try to make the best use of your ranged weapon - Monica's mech is not that mobile. However, if you engage in melee battle, focus on performing dodges and counter-attacks.
Doctor Rapaccini - second phase of the fight
At the beginning of the second phase of the duel, Monica disappears from the range of your sight. Also, AIM drones will appear in the room. Try to eliminate them as soon as possible with a ranged weapon.
After a while, Monica will reappear. This time she will have cryogenic abilities that can immobilize your heroine. When a red icon appears above the opponent's head and she covers her chest with her left arm, it means she is about to attack you. In such case, you have to be prepared to dodge. The charge leaves behind a cryogenic trail that can freeze Black Widow.
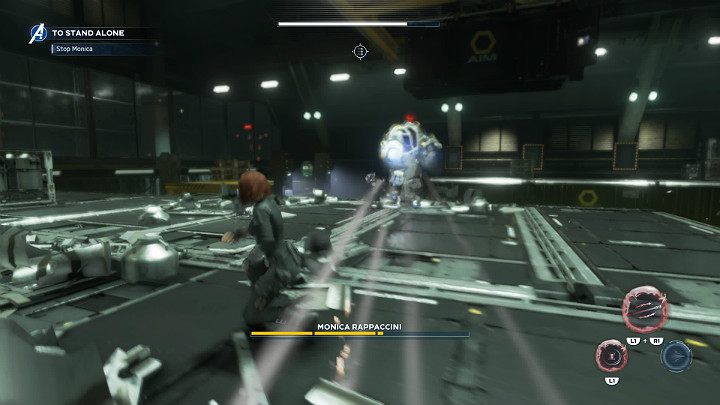
When the mech stands still and begins to charge the cannon it has in the right hand, it is a sign that after a while Monica will make use of the long-range weapon. She will start firing projectiles which leaving behind a white cryogenic trail - you must avoid these projectiles and trails by constantly pressing the dodge button and moving sideways. If you get hit by a few missiles or stand in a trail left by a projectile then you will be frozen.
If you get very close to your target during the battle, Monica may try to attack you with her area of effect abilities. When a red marker appears above her head and raises her left arm of the exoskeleton, a red circle will appear on the ground - it is a sign that an impact is about to occur. Don't stand in the dangerous area.
During the second phase, also try to avoid melee combat and attack your opponent by using ranged weapons. If you engage in melee combat, perform a few quick punches and move away to a safe distance.
Monica Rappaccini - third phase of the fight
At the beginning of the third phase of the boss fight, Monica will disappear once again. Proto-Synthoids and Adaptoids will appear in the room. Eliminate them to move on to the next stage of the boss with.
The Adaptoids, at this stage of the battle, are capable of absorbing all power of the Black Widow. In other words, they can deprive her of the possibility of using her heroic abilities. This type of attack can occur when the Adaptoid gets closer the Black Widow - dodge his incoming strikes.
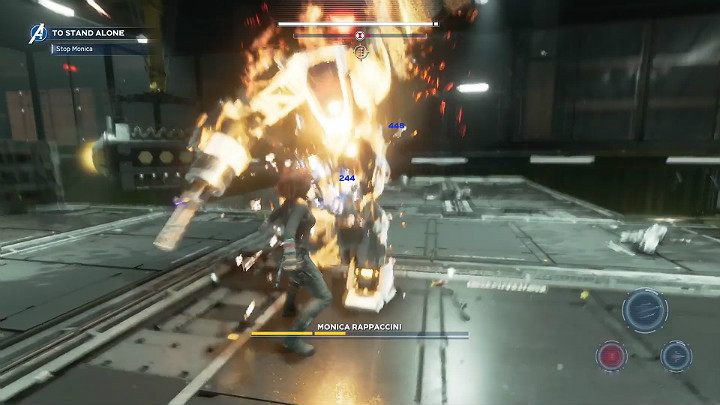
Monica will return to the battlefield even stronger than before because she will have some fiery skills. If you start the battle with melee combat, then Monica will try to use her area of effect abilities. When a red marker appears above her head and she raises her left hand up it is a sign that she will hit the ground and cause an explosion.
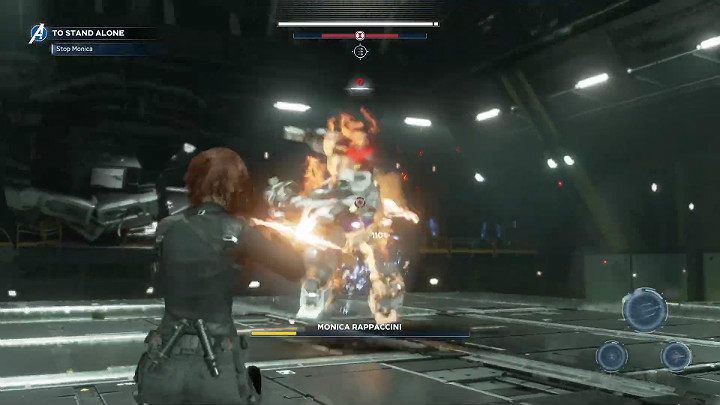
When the mech covers its chest with its arm and a red marker appears above its head, Monica will perform a charge. This ability will leave behind a trail of fire, which can further inflict more damage. You have to perform a dodge at this point, because this attack takes as much as 75% of your heroine's health.
In the final phase of the boss fight, Monica doesn't have the high-speed machine gun, but a grenade launcher. If she pulls her right hand forward, then she will start firing grenades which cause area of effect damage. The bombs fly slowly and their landing site will be marked with a red circle. That means you'll have enough time to avoid being hit.
When Monica's health is low, she will try to surprise you with a powerful jump attack. There will be a large red circle on the ground so make sure you don't stand in the affected area.
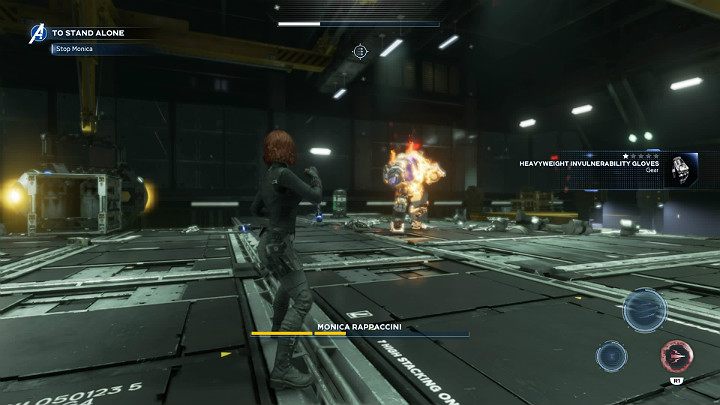
Monica will try to inflict damage with slow but extremely powerful melee attacks, so try to keep her at distance and attack her with ranged attacks until you finally kill her.
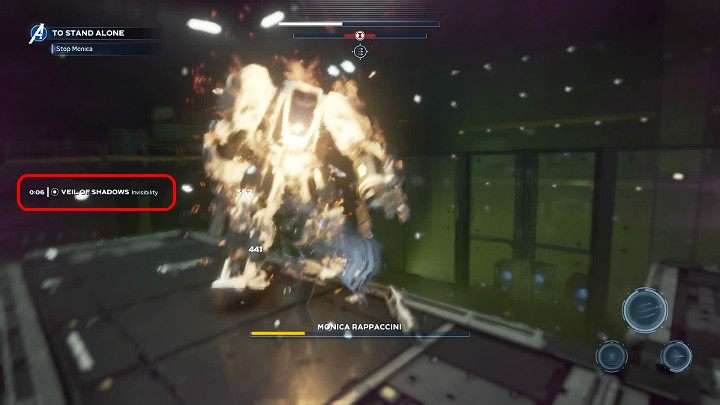
If the Veil of Shadows ability becomes available, then you will be able to strike your enemy without any limits for a few seconds. Activate the ability as close to the boss as possible so that you don't waste time getting to her and use heavy attacks that cause more damage.