On the way to the Tau station | SOMA Game Walkthrough SOMA Guide and Walkthrough
Last update: 27 November 2018
On this page of SOMA Guide you'll find a walkthrough for Tau Station location.
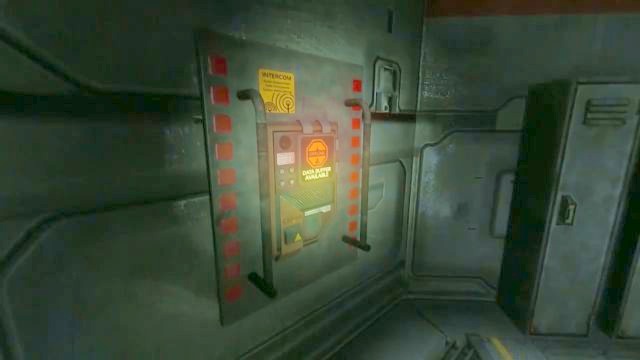
Data Buffer panel.
When the entrance to the station opens, go through it, move a little further forward and then take a turn to the left. Inside you will find a terminal for Data Buffer. There's nothing else to do here, so just go back to the corridor, take a turn to the right and go straight ahead. Ignore the doors on the right (with the "Maintenance" sign) on the first crossroads, because they are blocked. Get to the second crossroads and go through the doors on the left.

Directly in front of the entrance there's a computer, from which you will have access to the map of the location. When you're done looking at it, go through the next doors (located to the right, if you're still in front of the map), and then through the next one, and next one, until you reach another crossroads.
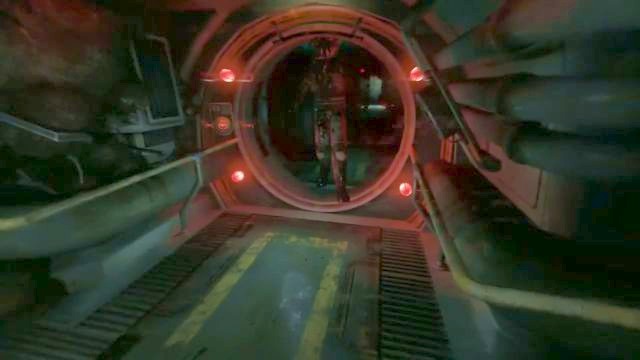
When you arrive at the crossroads, go straight ahead and press the button to open the hatch. Prepare yourself - there's an enemy lurking on the other side of the doors, the one who reacts to light, movement and is extremely aggressive when looked at. You should remember about those - don't flash it into the eyes, don't stand in a well-lit room, and when the enemy is extremely close, or in your immediate vicinity remain still, so it won't be able to hear you.
To get past the enemy, who was lured by the sound of opening doors, take a turn to the tunnel on the right side (while standing in front of the hatch), and then go repeat all the steps to get to the hatch (like walking near the computer with the map) - you should also remember that most of the rooms have a light switch, which can be turned off to be less visible to the enemy. Each time you open any doors in this area, the enemy will come check what is making all the ruckus. If you have to open the doors, do so, get inside and turn off the lights.
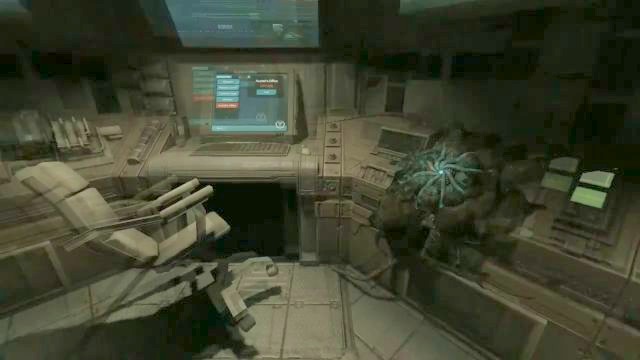
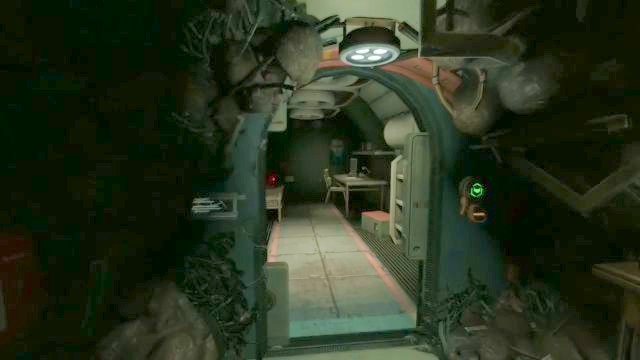
Go through the hatch, through which the enemy came at you, and then go straight ahead until you reach doors. Open them, get inside, close the doors behind you and continue on to the room on the left side. Inside there's a growth (WAU), and a terminal with some information.
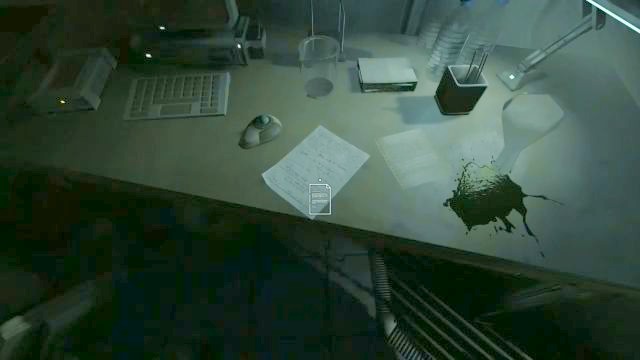
Leave the room using the other doors, and then take a turn to the left, to the right, and yet again to the right - from there go straight ahead to the end of the corridor. Get inside the room, close the doors behind you, turn off the lights and read the note located on the desk, on the left side of the room. It's almost certain that the enemy will enter the room as well, so just wait for it to go away, leave the room and take a turn to the right.
The hatch will take some time before it's opened, and there's a high chance that the enemy will come at you - if that happens, use the corridors to lose the pursuit and then go through the newly opened passageway. Go through the next doors straight ahead, climb up the ladder, go through the corridor and climb the next ladder down.
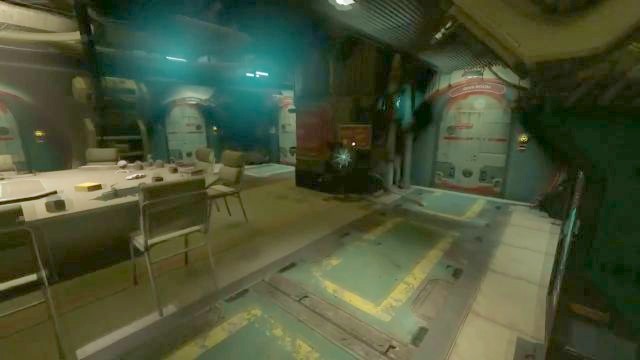
After getting through a couple of additional doors, you will end up in a large room, connected with several doors. To the right from the entrance you will find the growth (WAU), in case the enemy managed to hurt you. There's a couple of things to examine here. Looking from the entrance, go to the room directly in front (the first door on the left), where a body for a Data Buffer can be found.
Leave the room, take a turn to the left and enter the first doors on the left side. There's a tablet lying on the cupboard on the right side of the room, a corpse for a Data Buffer, and a photograph lying on the bed.
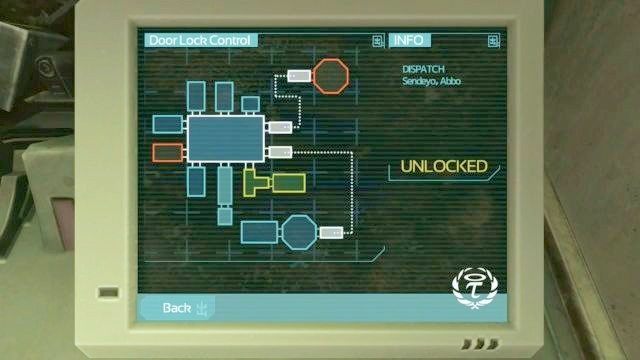
Go to the room with the Dispatch sign above the doors and go to the subsequent room. On the right side there will be a note. Approach the computer, select the "Door Locks" option, and click on the locked rooms to unlock them. One of the rooms will not be unlocked immediately and it will require you to input the password. Get away from the computer, leave the room, and then get back to it. Click on the locked doors again, and the password should appear automatically. Afterwards, a number of additional rooms should be opened, together with the room of "Johan Ross", where a tablet and a note can be found.
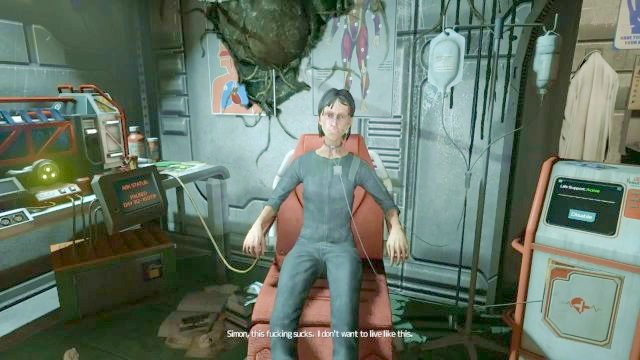
Go to the Infirmary, climb up the ladder and go through the door, to get into the last living human being on the planet. Start a conversation, after which you will be given the ARK. When the conversation ends, you will be able to make a choice - you can either let her live in solitude, or disconnect her from the life support systems. In the room there's also a computer, and a photograph hidden below her chair.
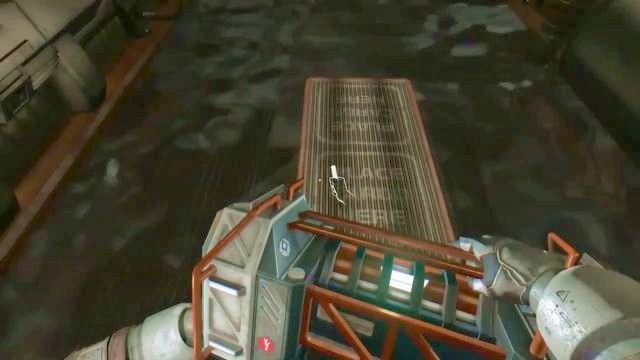
Pick up the ARK and jump down, to get to the "lobby". Go to the room called "Dive Room", jump from the next ladder, open the doors and go through the next one. Place the ark on the platform, in the middle of the room and then activate the panel with your Omnitool. The equipment (as always!) will malfunction.
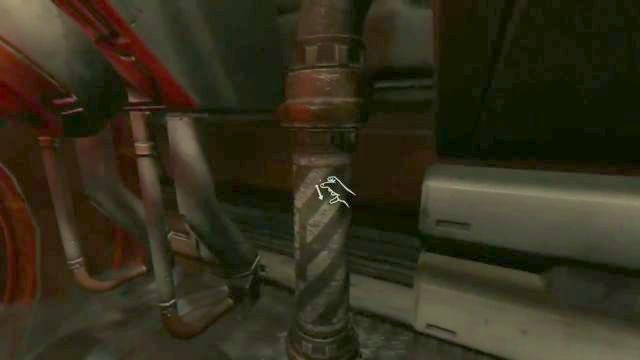
You now have to find and open 3 pipes, which are used to pump water into the room. Two of them can be found to the left of the Omnitool panel, while the last one is located on the other side of the room. When you open all of them, a short cutscene will initiate. When you regain control, go through the open passageway, and then go straight ahead, pushing the junk aside. Some of the obstacles must be passed through by crouching.
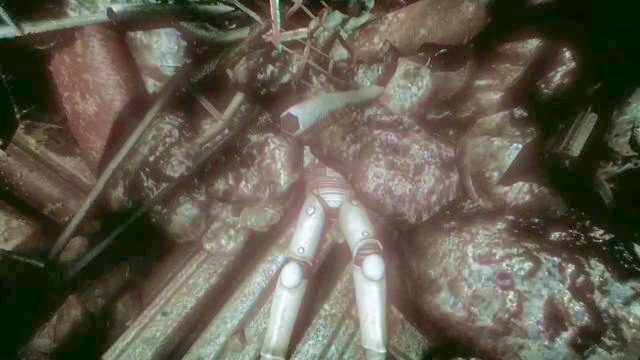
When you reach a mound of junk, pull a few of them away to uncover a corpse, on which you can perform a Data Buffer.
When you're done, turn around, and when the monster disappears from the screen, take a turn to the right, into the passage - it's located in the same place as the monster was standing in. Squeeze through the tunnel and continue your journey until you reach the entrance to the Alpha station.