Omicron station | SOMA Game Walkthrough SOMA Guide and Walkthrough
Last update: 27 November 2018
On this page of SOMA Guide you'll find a walkthrough for Omnicron Station location.

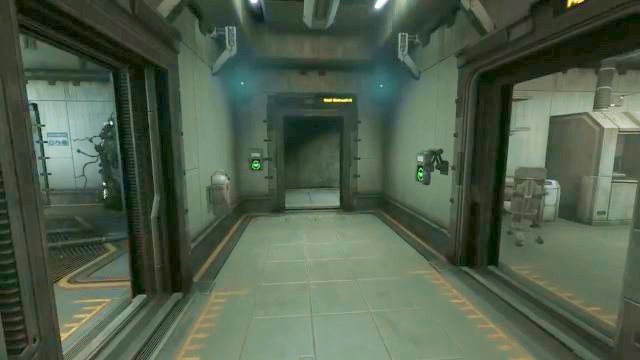
When you enter the station, perform Data Buffer on corpses lying on the ground. There's nothing to do here, so just go through the door on the left side, and then climb up the stairs to the upper floor. Enter the first doors on the right.
When the screen stops shaking, head straight ahead, to the passage marked as "North Hall F1". From here take a turn to the right, and then into the "Medical Bay". Now you have to go to the further section of the room, on the right side, and then through a tunnel. At the end of the tunnel there's an entrance to the "Dive Room".
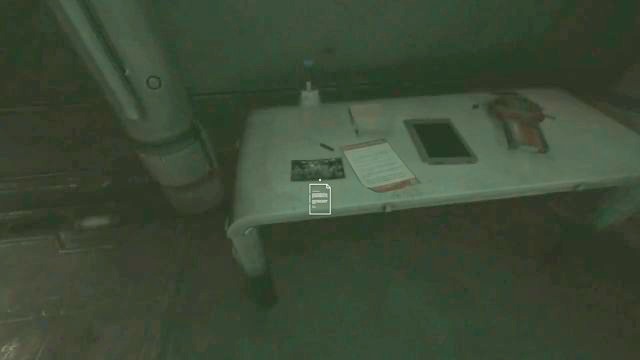
Don't worry about the fact that the doors behind you have been shut. Place the Omnitool into the socket, and wait for Catherine to "boot". When she is done talking, turn around and look through the items on the table near the wall - there will be a photo, note, as well as a tablet there.
When the light is back, go to the further section of the room. Open the locker marked as "D", and then interact with the "body" present there. When Simon is done talking, turn around and approach the terminal standing in front of the lockers. Press the "Activate Terminal" button, and then from the right monitor select the "HPS Activation".
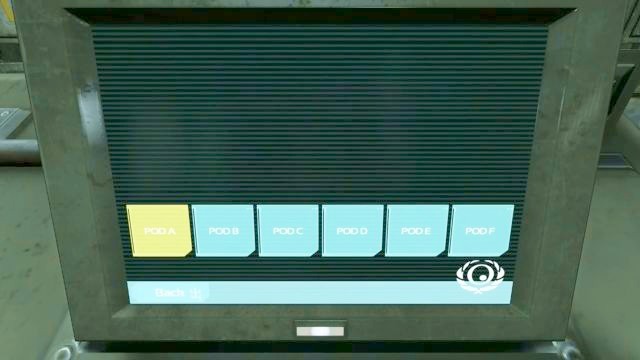
From the new screen select the "POD D", and then wait for the system to load. From the diagnosis carried out by the computer you will learn, that you need three items: Cortex Chip, Battery Pack and Structure Gel. Leave the room and go to the Containment Room, where the weird creature appeared and the screen was tearing.
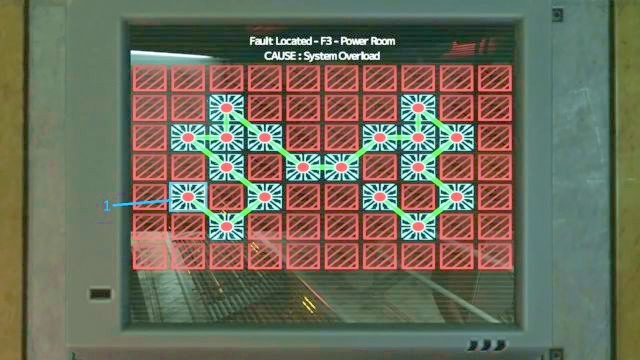
Approach the terminal standing in the middle of the room, which should now be active. Press the "Override" button, and afterwards you will have to solve a small puzzle. You must connect the squares in such a manner, that each of them is connected only once. The above screenshot presents you the ready scheme, with the starting location marked as 1. All you have to do is to drag the line in the same manner. When you're done with the riddle, doors on this floor will be unlocked.
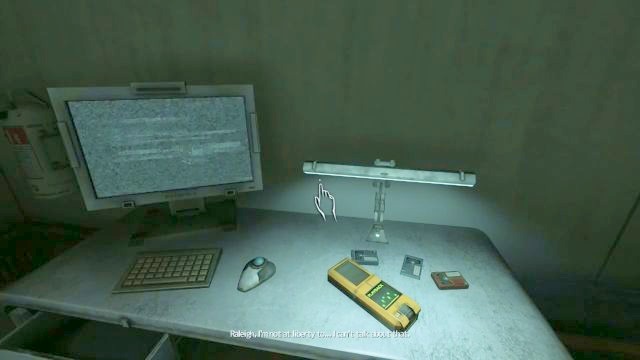
In the Laboratory, the room straight ahead from your current position, there's an audio recording (lying on the desk, to the right of the entrance), a tablet (in the drawer of the desk to the left of the entrance), and on the opposite side you will find a growth, to heal yourself. Get back to the terminal in which you've done the puzzle - right next to it there will be another terminal with a couple of messages.
Structure Gel
First things first, you should focus on collecting the Structure Gel. Turn around (while still standing in front of the terminal with the puzzle), and enter the room called "Cleanroom". When you finally get inside, head towards the board located on the left side - there are several photographs hanging on it. To the right there's a computer.
When you are done with reading and looking at pictures, head towards the cabinet, to the right from the computer. Activate the panel, wait for the smoke to come out, and then pick up the chip from the small slot, below the panel. Head behind the glass doors, to the right, and then continue to the other side of the room.
There are 3 cabinets here, from which the middle on is empty. On the bottom of the said cabinet there's a light, and a button right next to it - press it, and then pull the drawer out of the cabinet. Place the chip on the drawer, push it inside and go to the control panel in front of them.

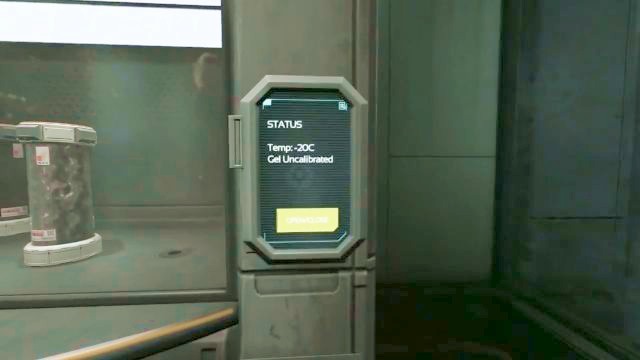
Grab the joystick lying on the desk and with it move the laser to the right, right above the chip that was put in the drawer. When the laser is directly above it, let go of the joystick and press the "Dispense Gel" button. Wait for the operation to end, pick up the chip and insert it back into the cabinet from which you've taken it. Press the button again, and when the cabinet is open, pick up the Structure Gel bottle. Get back to the "Containment Room" (where you solved the puzzle).
Battery Pack
While standing by the terminal, take a turn to the right, through the passage called "South Hall F1". Get inside the room in front (Hydrophonics), and pull out the drawer of the desk standing on the left side. Inside you will find a recording. Leave the room and get back to the corridor, turn to the left and get inside the "South Stairwell". Climb up the stairs, and get inside the "Containment F2".
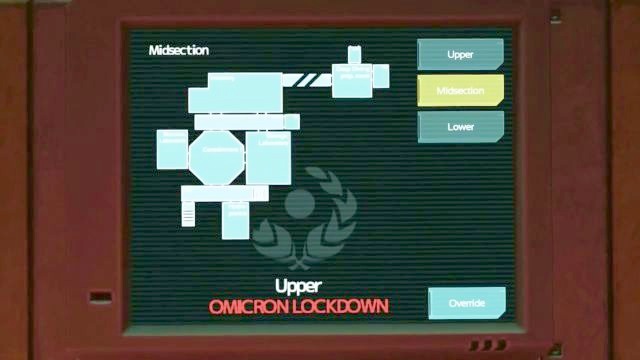
Approach the terminal, press the "Upper" button, and then the "Override", to open all the rooms on this floor. Go through the doors on the right side of the room, and enter the "Power Room". From here take a turn to the room on the left side, where a new type of enemy will await you. Continue forward until you reach the place at which the new foe is standing still.
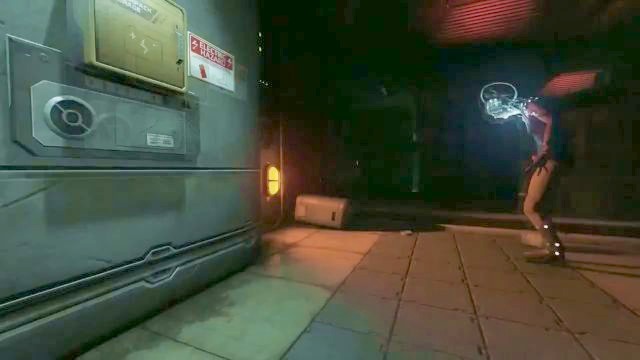
When the enemy assumes this position, you have a few seconds before it attacks.
When you get closer to the enemy, it will change its appearance. If you don't want to be attacked immediately, sneak by hiding behind bookstands on the left side. Move slowly, and when you are close enough, stand on your feet, open up the locker near the enemy and pick up the Battery Pack. You now have a few seconds before you are attacked - turn around and run as fast as you can back to the stairs.
You now have to get back to the "Containment F2". If the enemy was able to hit you, go to the "West Hall" and then to "Dinning Hall", where you will find a growth which can be used to heal your wounds. There's a recording here as well. When you're done, get to the lower floor and locate the passage called "East Stairwell" (it's in the same corridor as the stairs you took to get to the upper floor).
Cortex Chip
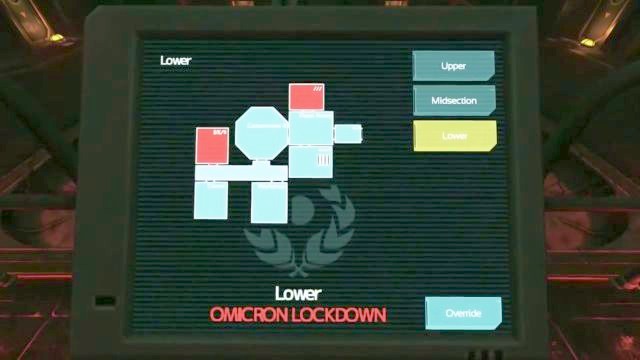
When you reach the lower floor, go through the "Sec. Entrance" and then enter the "Containment FB". Approach the terminal, press the "Lower" button, and then the "Override" one to unlock all the doors on this level. When you're done, head towards the passage on the left side, and then into the next room - "Robot Repair Bay".
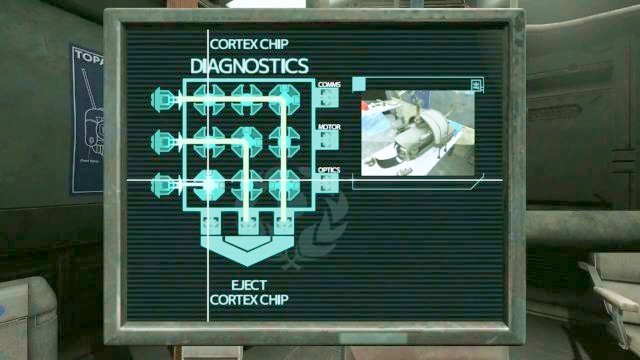
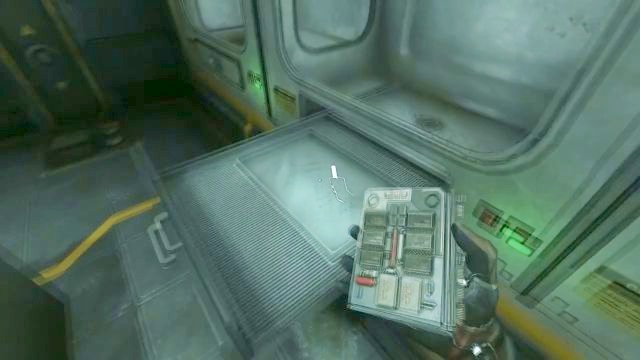
Approach the terminal in the middle of the room, where another puzzle awaits you. In order to solve it, you must lead the lasers from the left side to the receivers on the bottom. The top left laser must go to the rightmost receiver, the middle laser must go to the middle receiver, and the bottom laser must go to the leftmost receiver - just like on the screenshot above. When you're done, a Cortex Chip will be ejected from the robot on the right side.
Take the chip, leave the room and head left, where another growth can be found, as well as a computer with a couple of recordings, a few notes and photographs. Get back to the upper floor, to the "Containment F1" room, where a weird phantom appears from time to time. Enter the "North Hall B" room, and then turn off your flashlight, as there's an enemy in the area.
This situation is different from before - the enemy will kill you in one strike, if it manages to get to you. Sneak by the enemy and go to the corridor heading right, ignoring the "Medical Bay" room where the monster is lurking, and then go through the other door (near a small Storage). When you reach the tunnel leading to the Dive Room, stand up on your feet and start running - the enemy is already aware of your position, so sneaking won't help at all. When you reach the room, Catherine will close the door behind you.
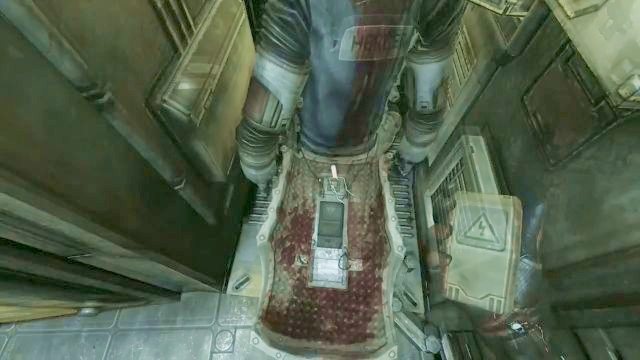
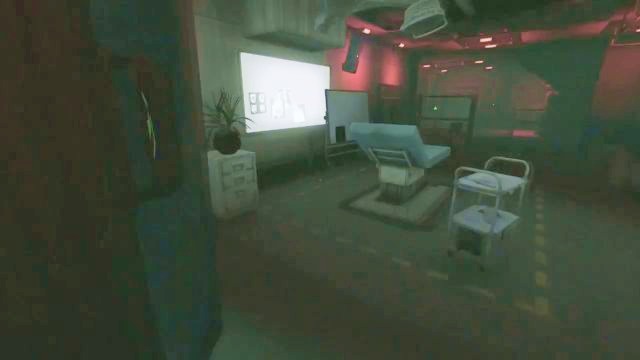
When the conversation between Catherine and Simon comes to an end, approach the power suit located in the "D" drawer and install all the items you've managed to collect. When you're done, approach the terminal and restart the whole procedure by pressing the "Retry" button. This time everything will go well. Leave the terminal and go to the small room with an armchair in the middle of it.
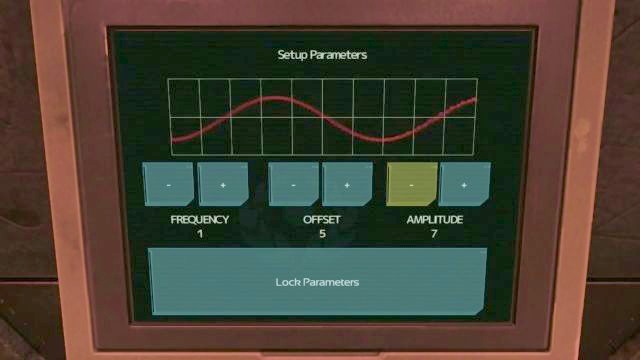
The last puzzle in this chapter awaits you here - approach the terminal on the right side. Your task is to overlay two sound waves. To do so, you have to set:
- Frequency to 1
- Offset to 5
- Amplitude to 7
When you've done it, press the "Lock Parameters" button and sit in the armchair, so that the Simon's consciousness can be moved into a new body.
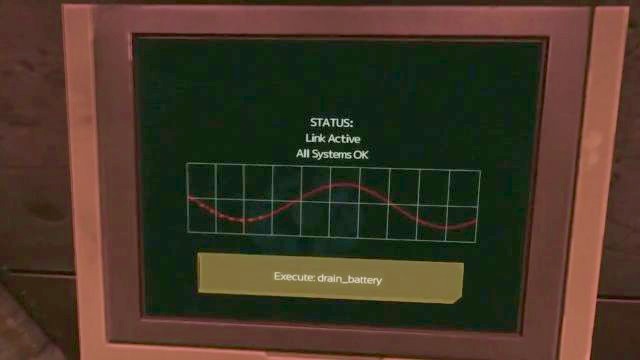
When you regain control, get back to the armchair. It seems, that the consciousness of Simon wasn't transferred, but copied. You now have a choice - you can, literally, sentence the Simon's clone for a life in solitude, or kill him by emptying his battery from the terminal where you just solved the puzzle.
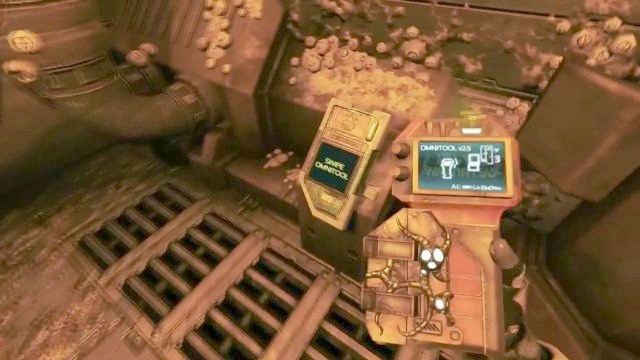
Regardless of your choice, get back to the room, take the Omnitool, and then open the hatch located near the lockers where you've found the Power Suit. Get inside and open the second hatch by using your Omnitool to end this long chapter.